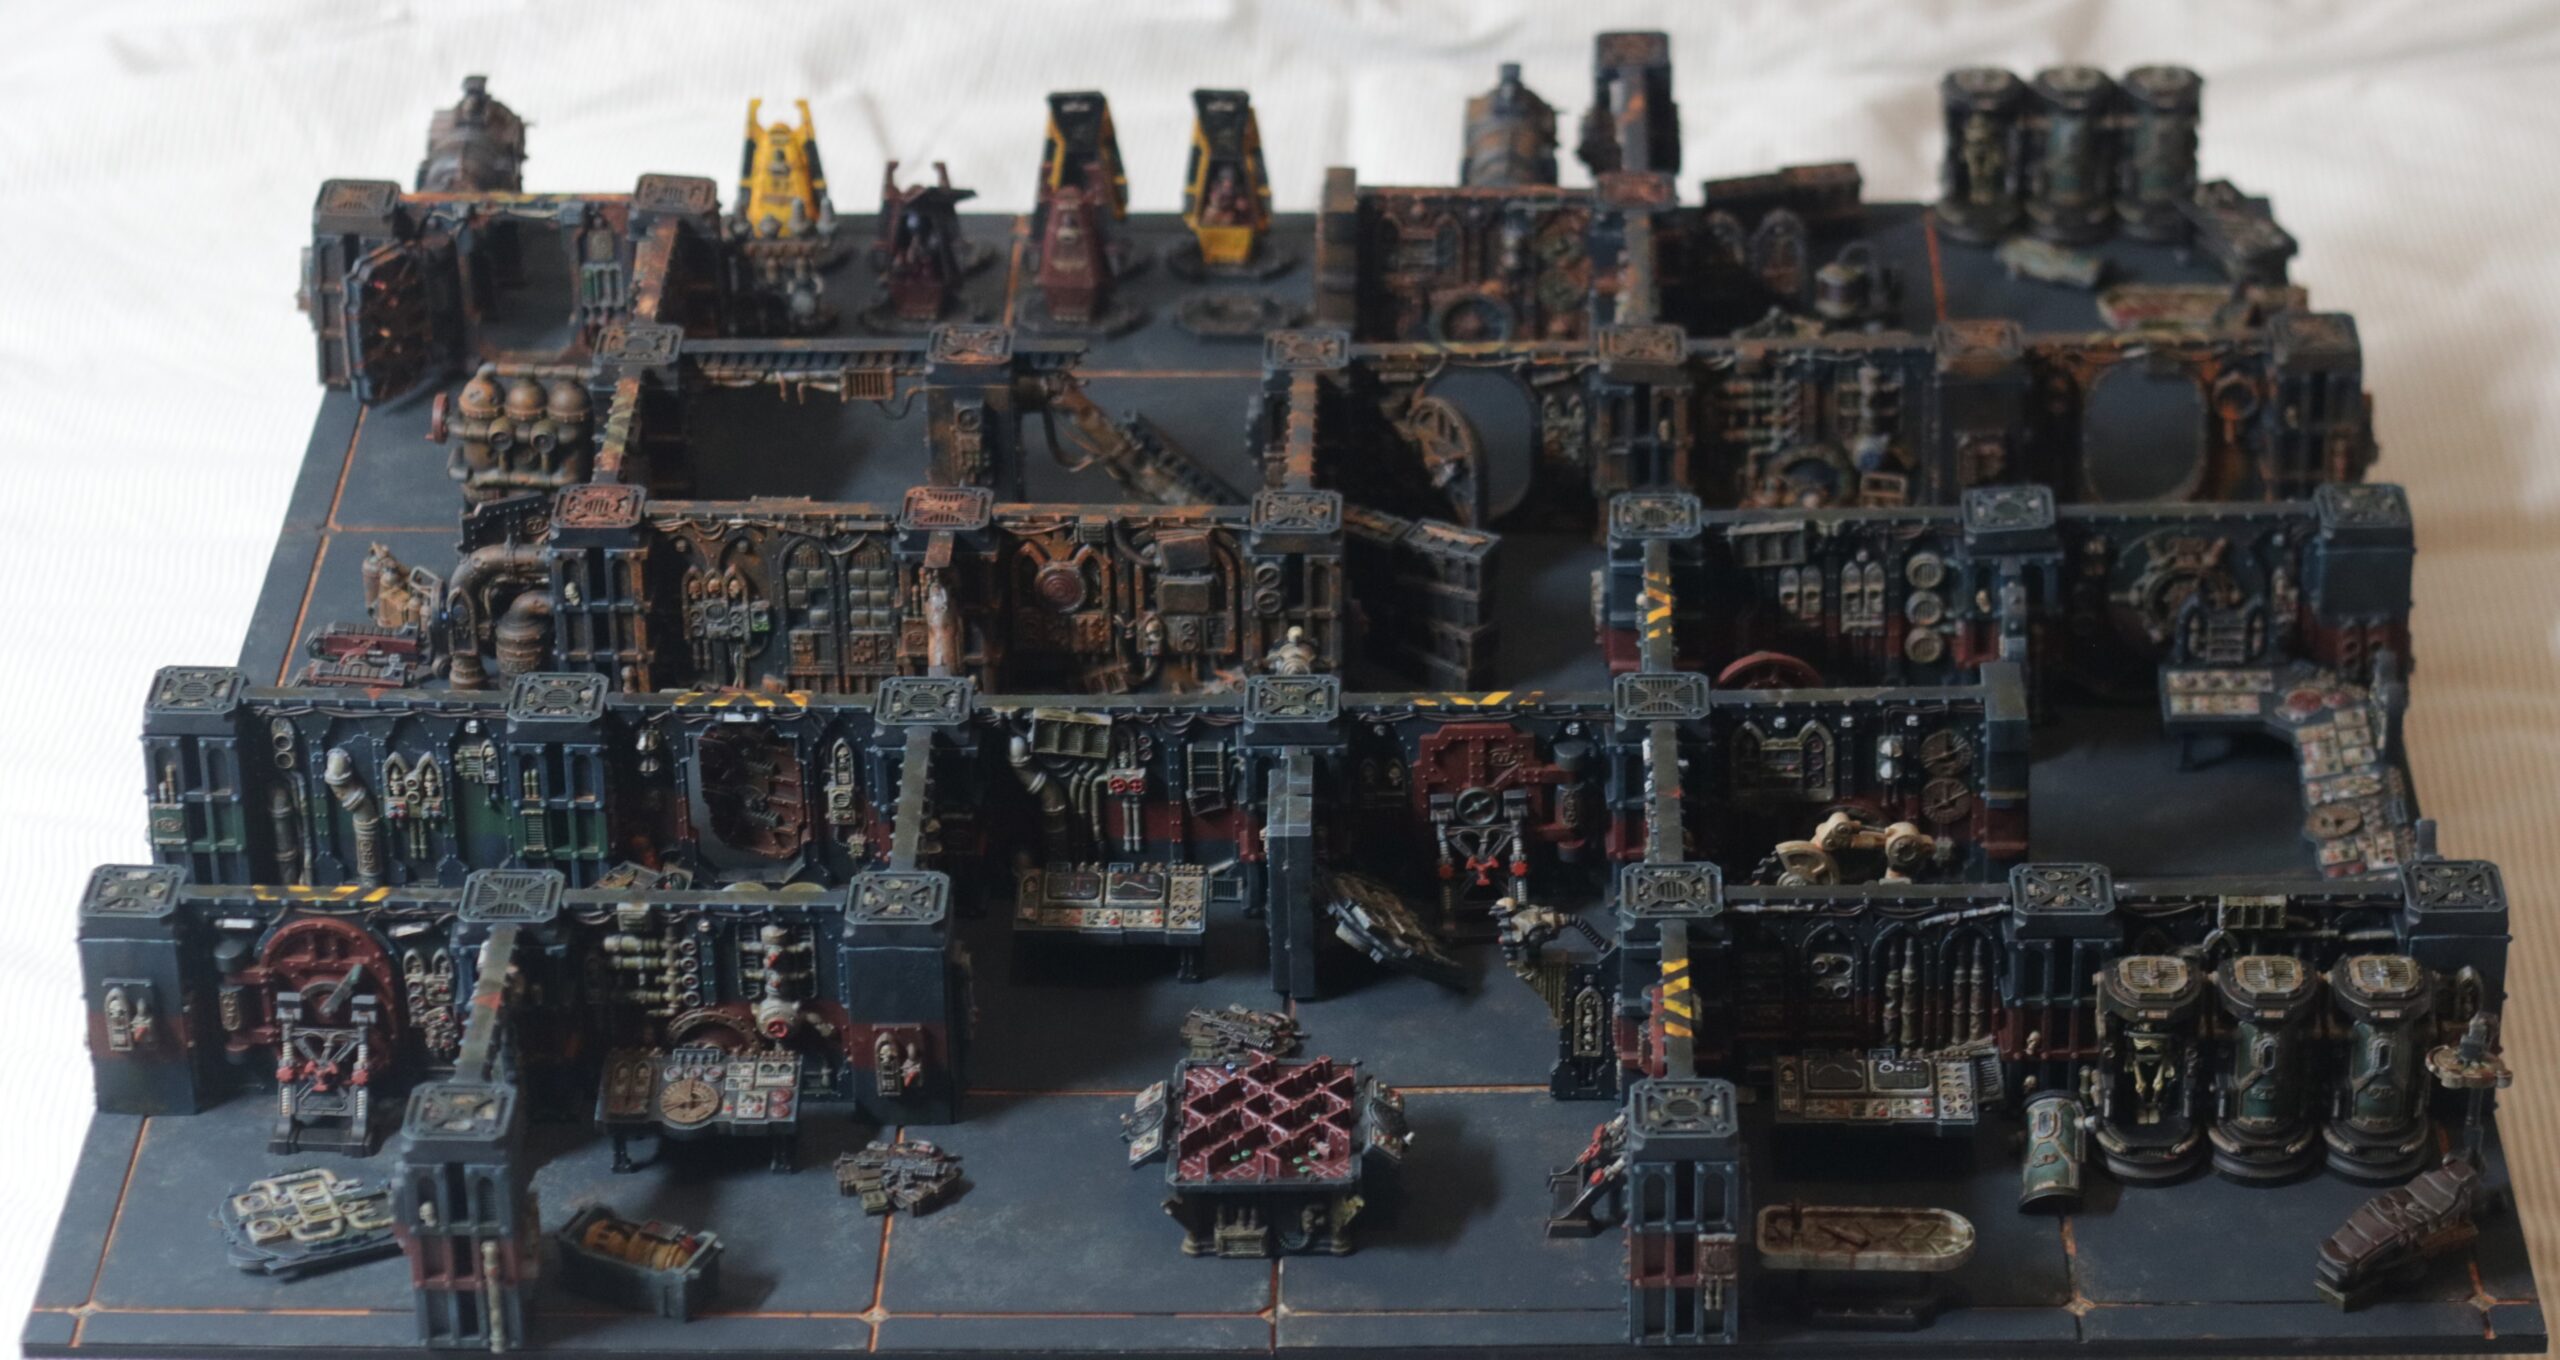
This has been my largest project so far, combining all the terrain included in the Kill Team Gallowdark Season.
Here is a quick breakdown of all the plastic found in these sets with those in this project marked in Green, and those otherwise completed linked in Red:
- 4x Killzone: Gallowdark Sets
- 4x Killzone Upgrade Sets:
- Into the Dark
- Shadowvaults
- Soulshackle
- Gallowfall
- Combat Gauges & Barricades
- 8x Kill Teams:
- Imperial Navy Breachers
- Farstalker Kinband
- Kasrkin
- Hierotek Circle
- Adeptus Arbites Exaction Squad
- Hand of the Archon
- Hearthkyn Salvagers
- Fellgor Ravagers
The terrain makes up a huge portion of these sets and completing it has taken a massive chunk out of my Kill Team backlog.
It’s worth noting that this came with some spare terrain as overall there were 4 Killzone: Gallowdark sets when only 2 are needed. So my plan for the remaining sets is to sell one, and keep the other for kitbashing material, which can already be seen on the display boards for the Imperial Navy Breachers and Adeptus Arbites Exaction Squad.
The end result is a lovely set of terrain that is suitable for several purposes, it can be used for any of the Gallowdark scenarios in Kill Team, for Boarding Actions in Warhammer 40,000, or for creating sci-fi RPG maps such as old space ships or underground facilities.

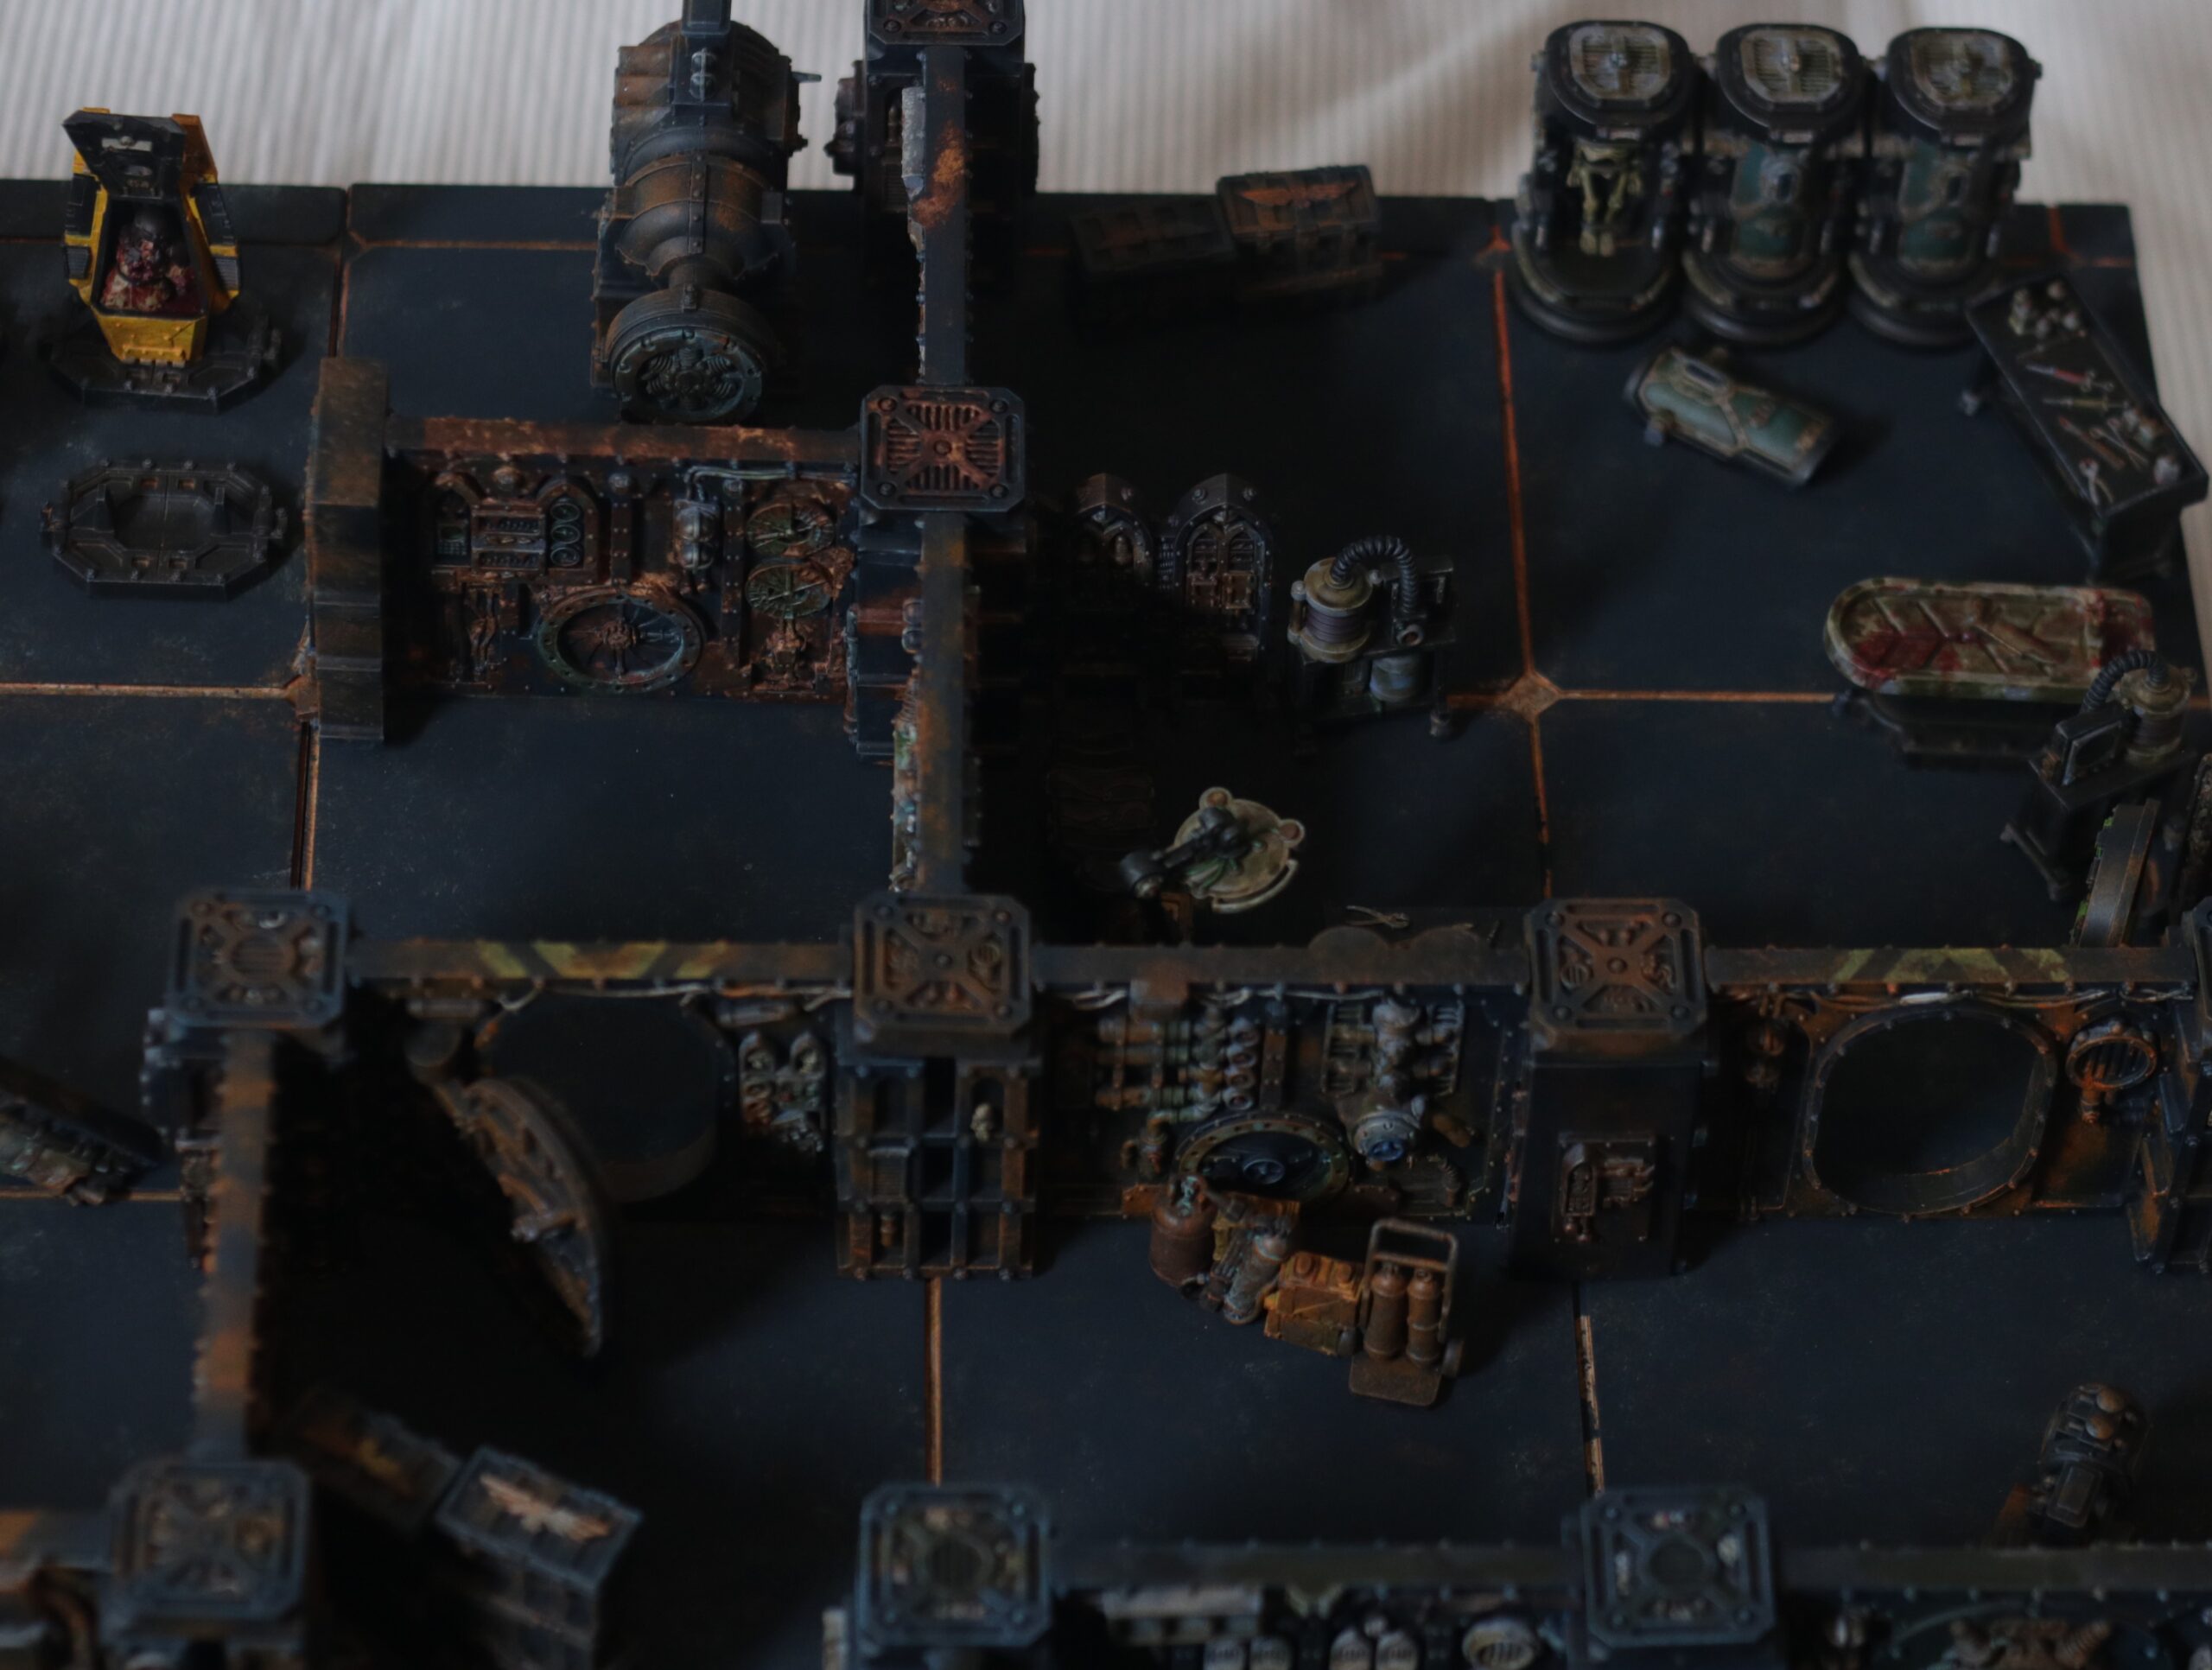
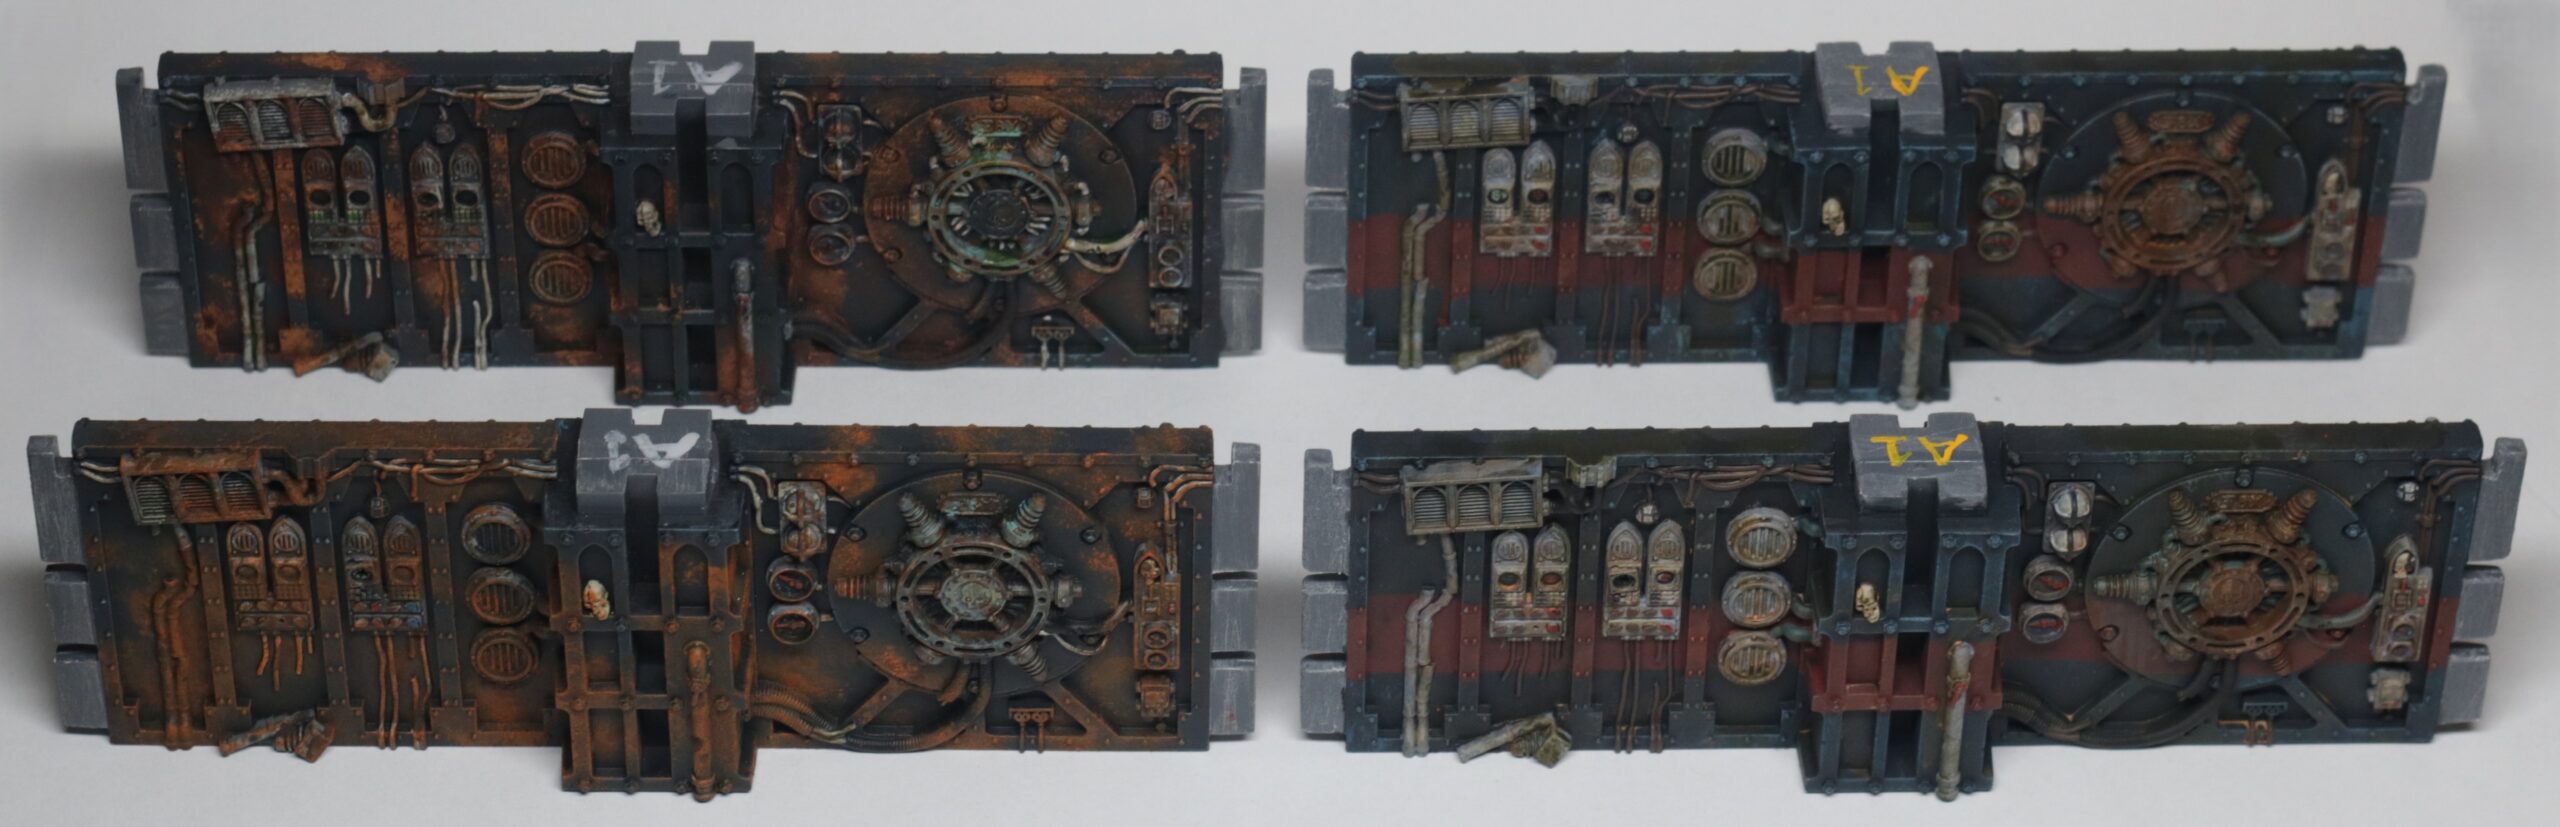
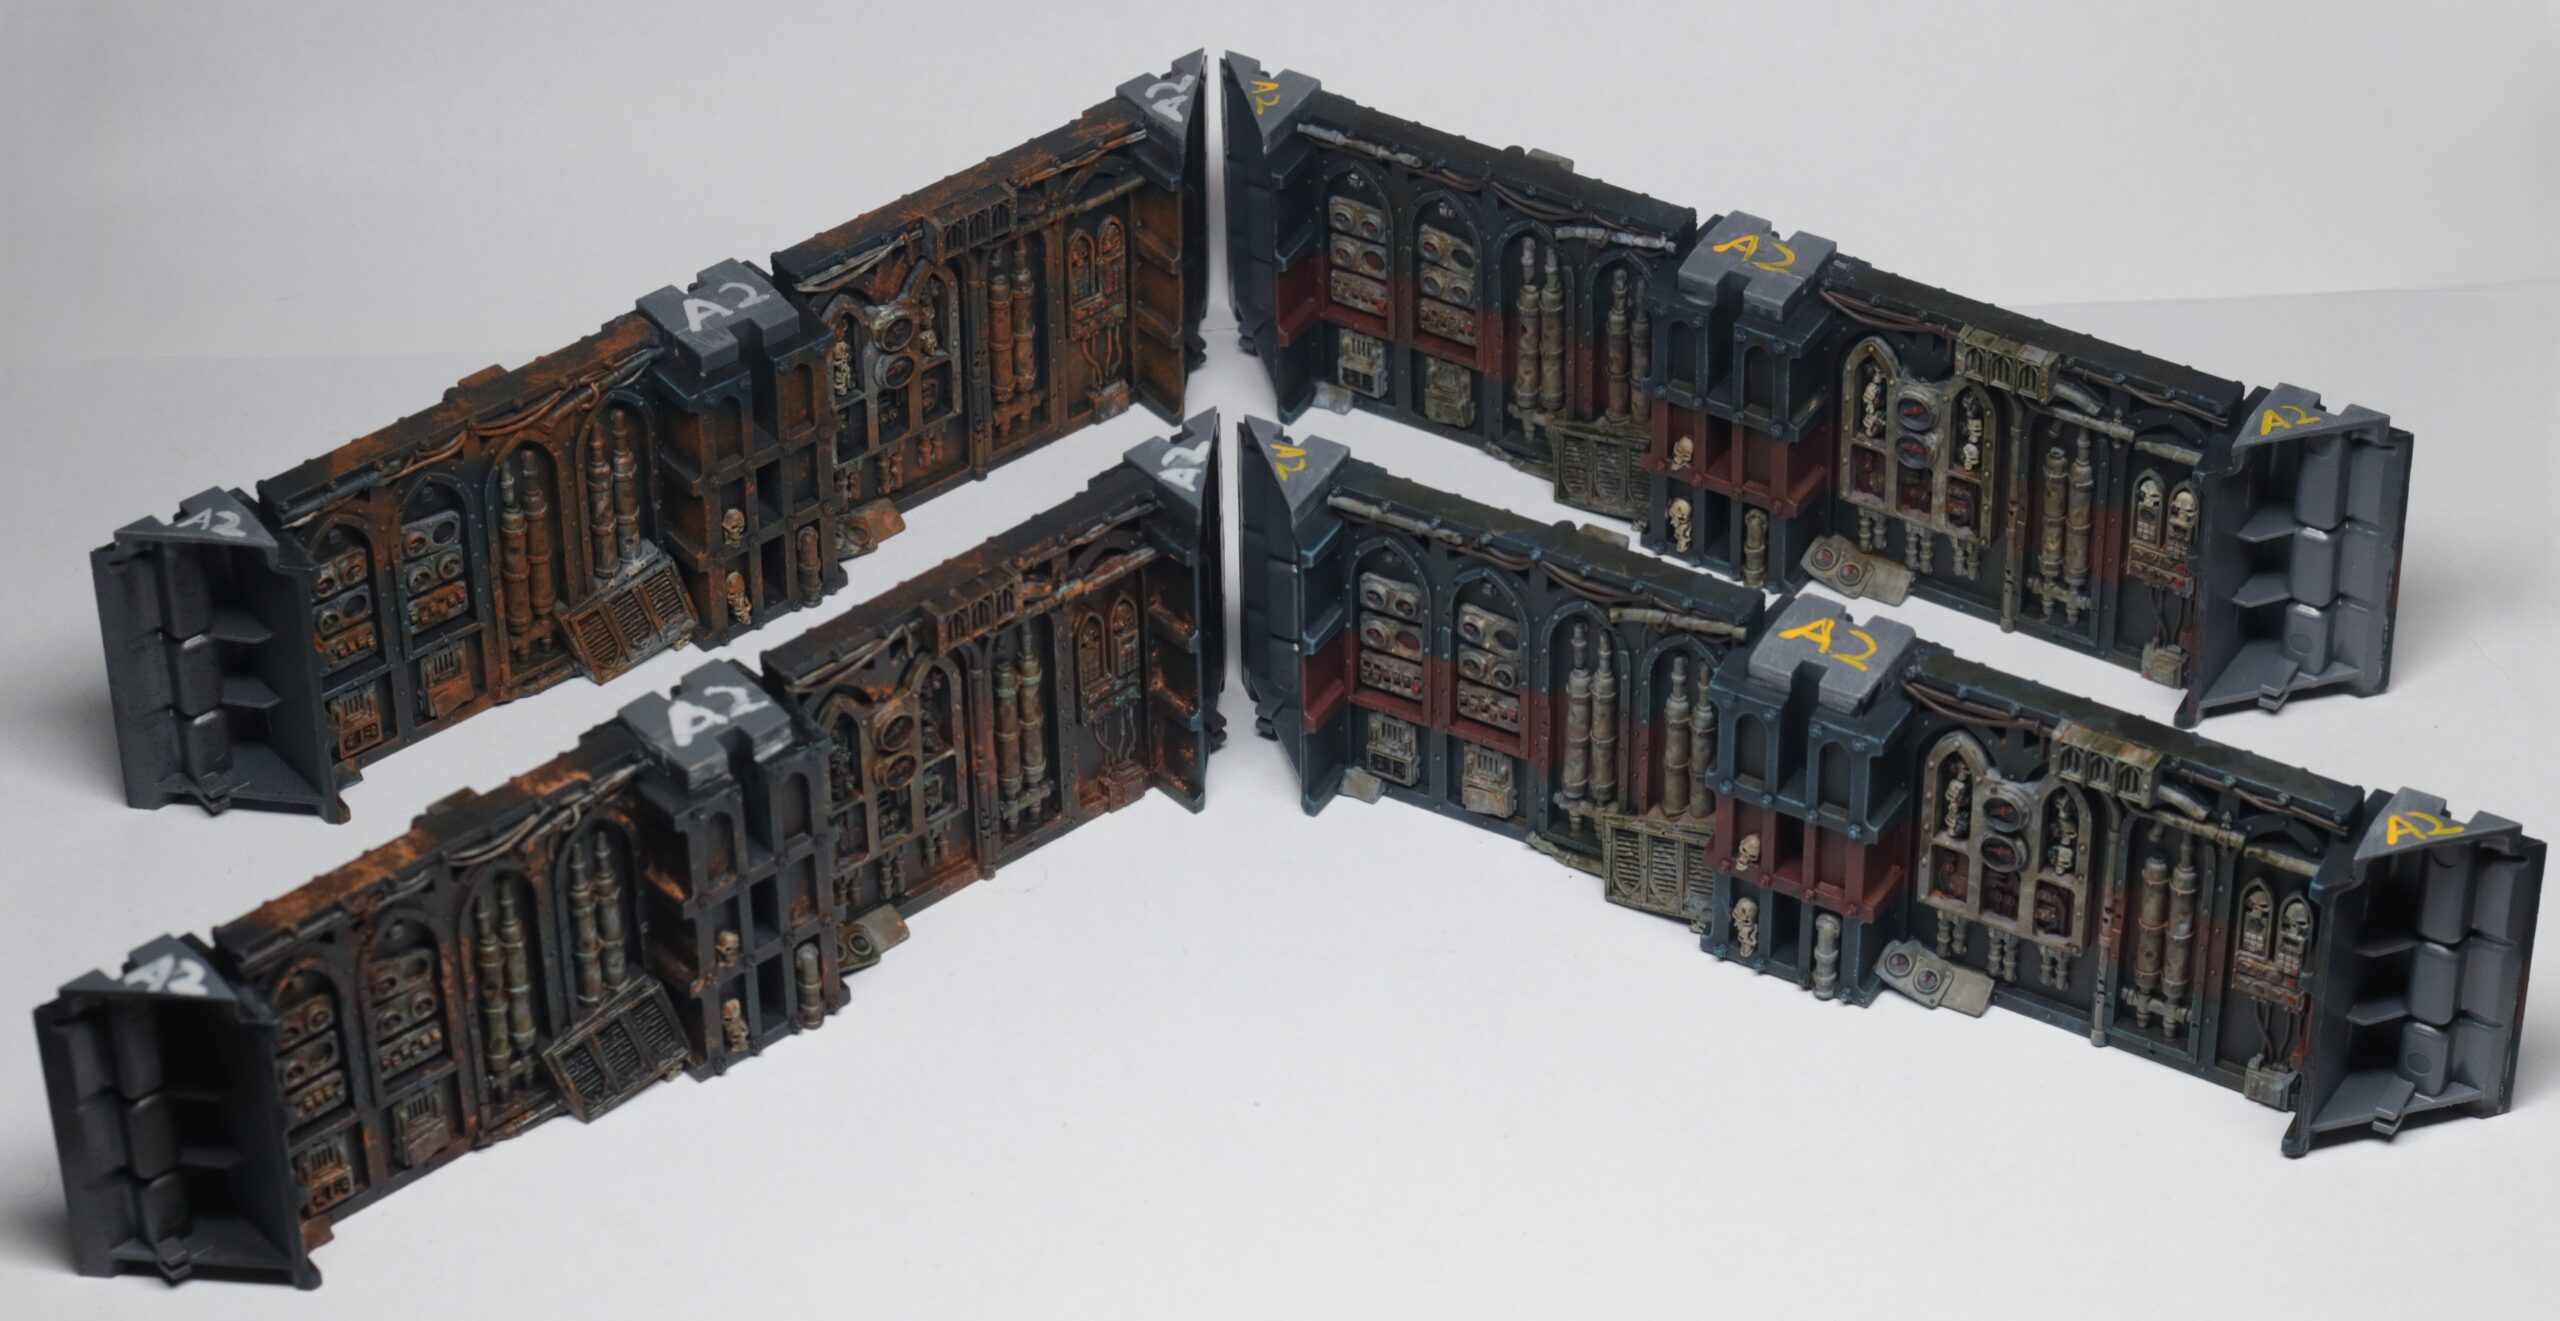
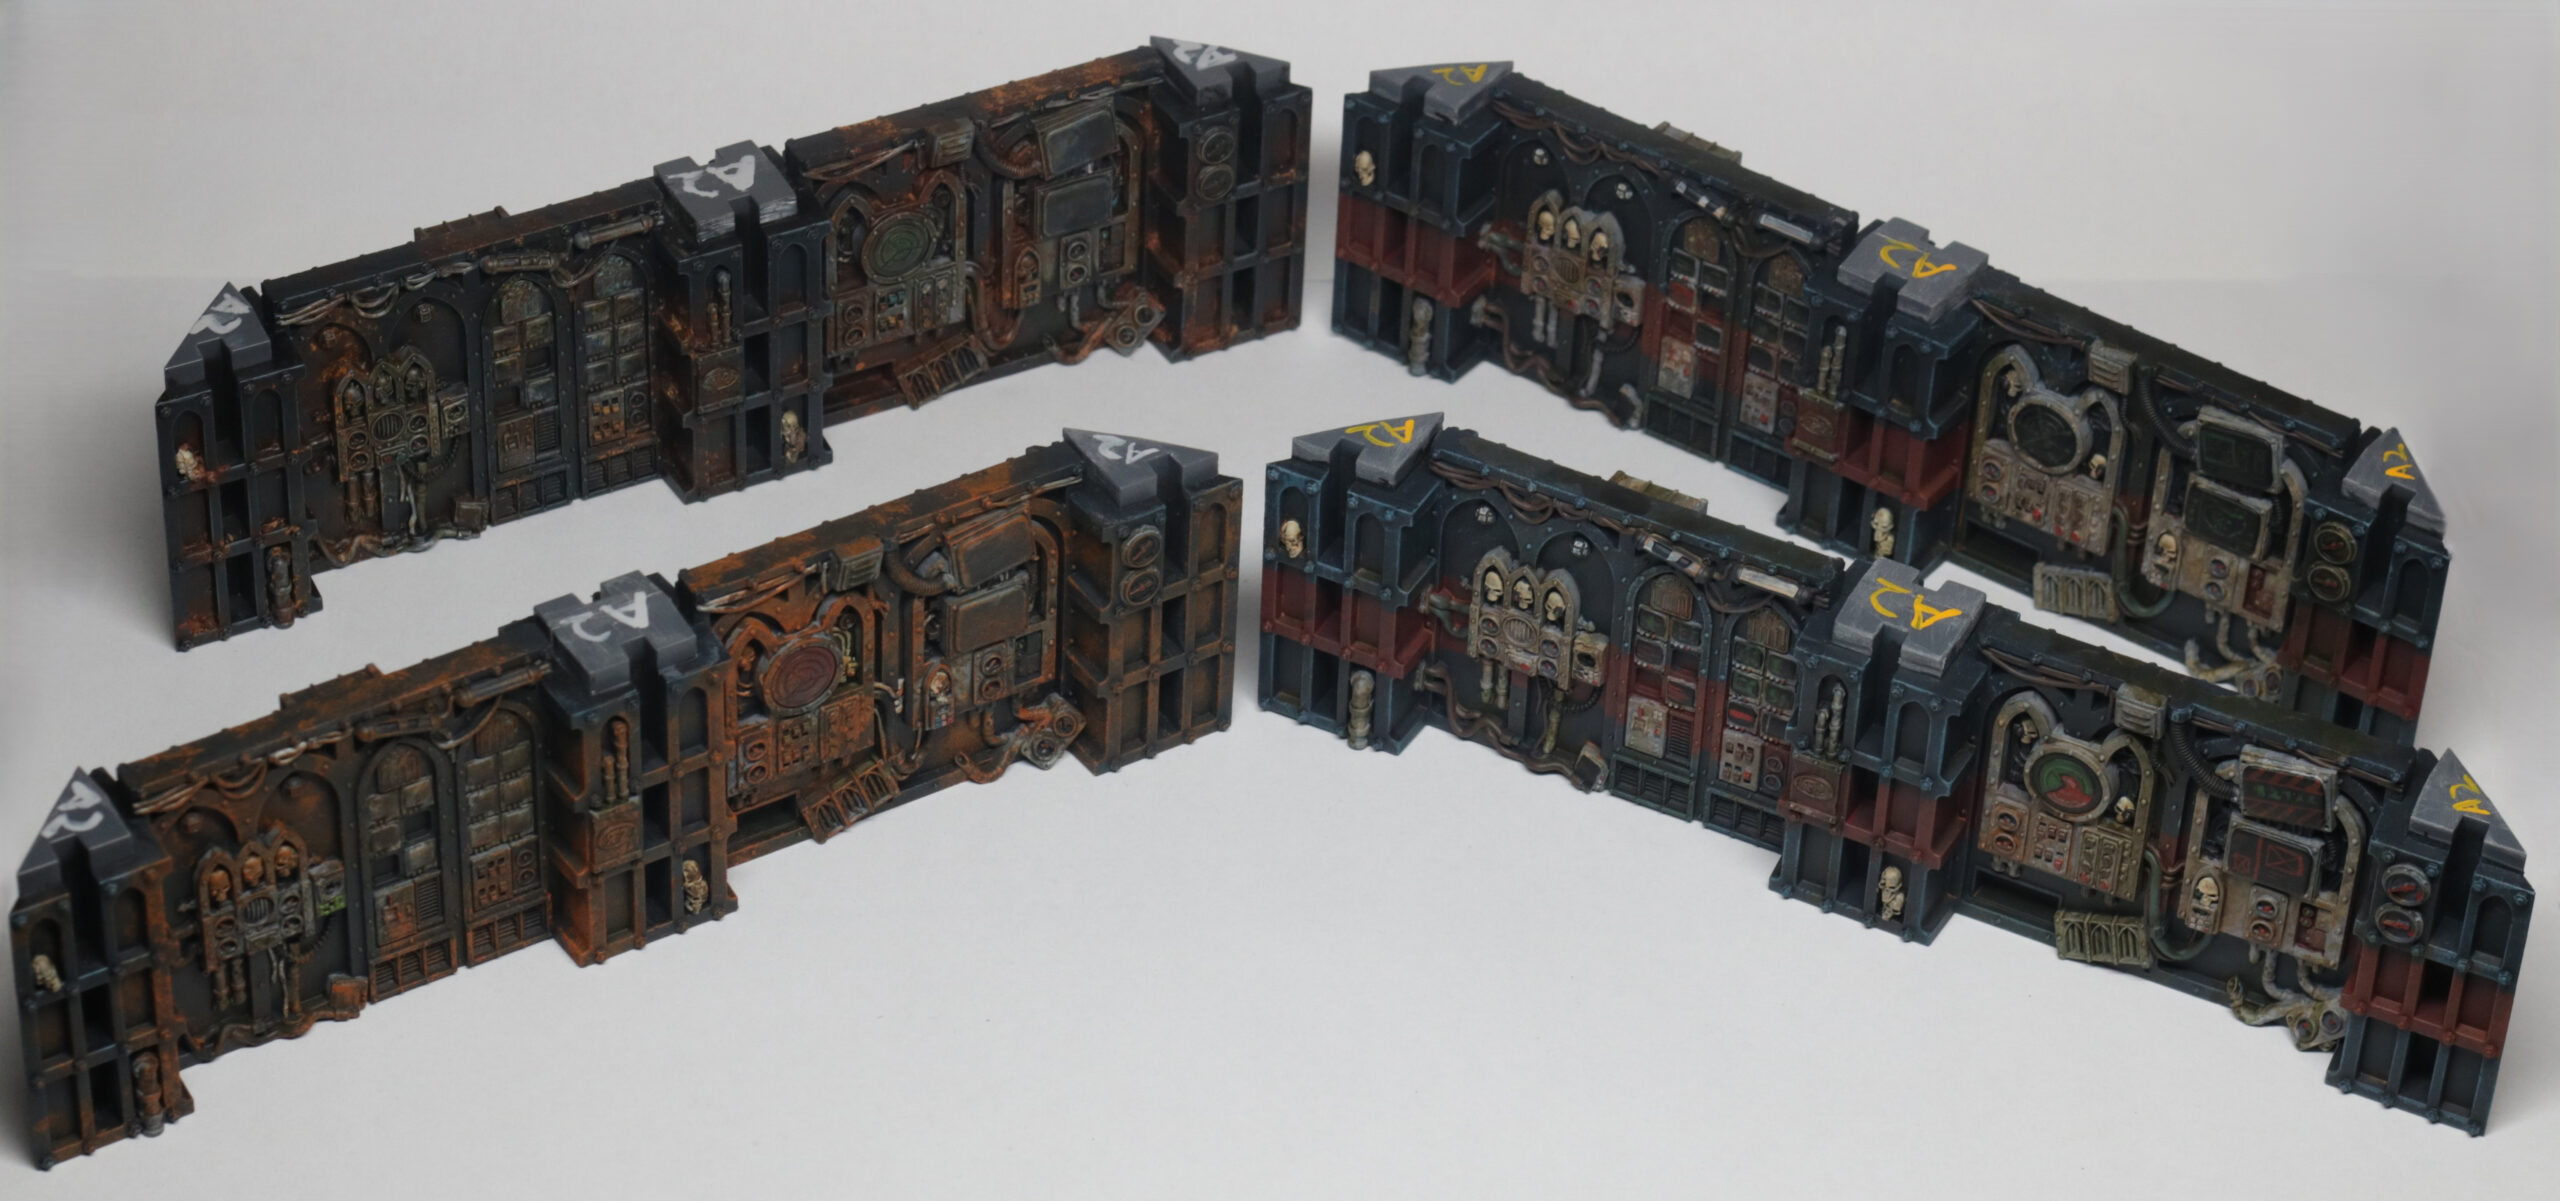
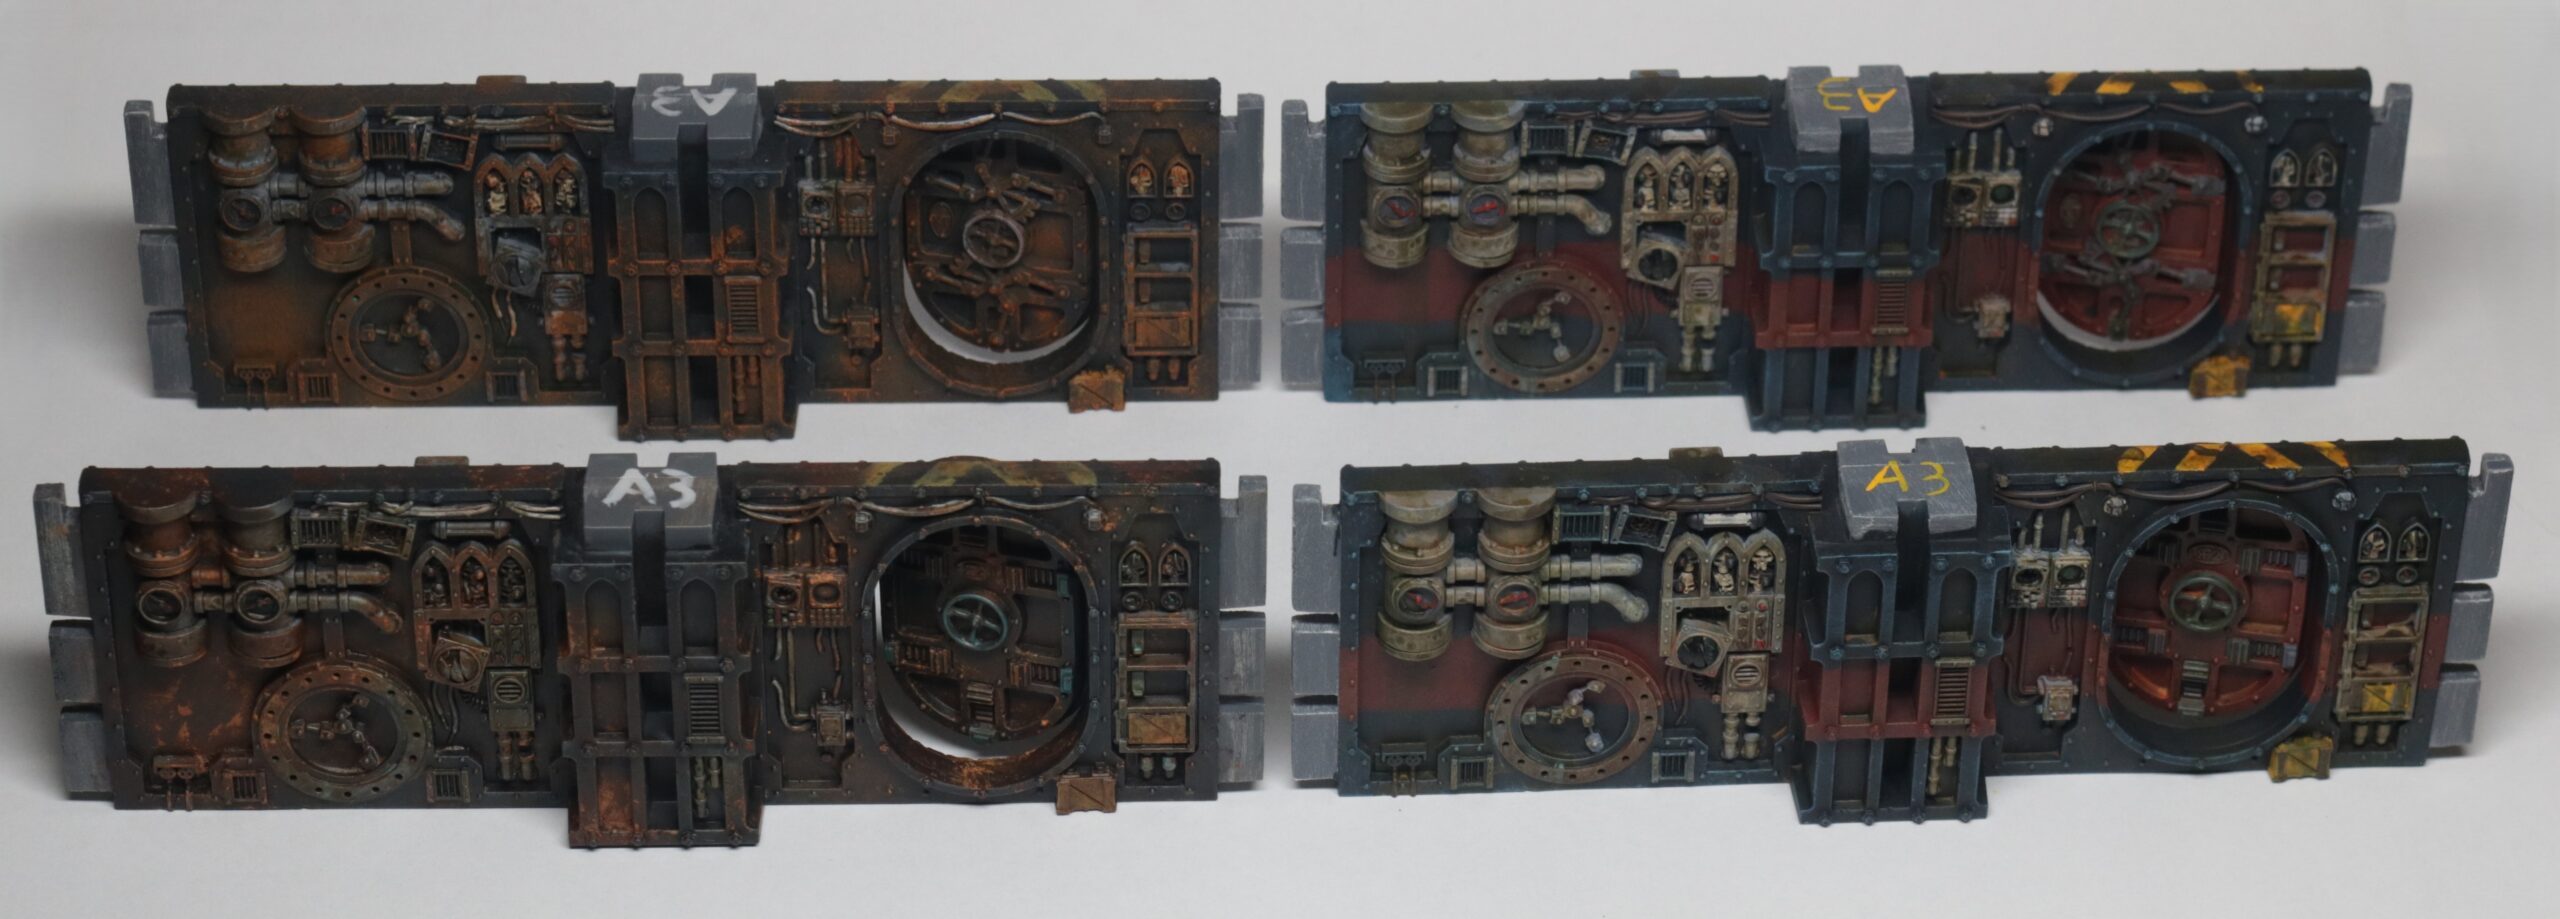
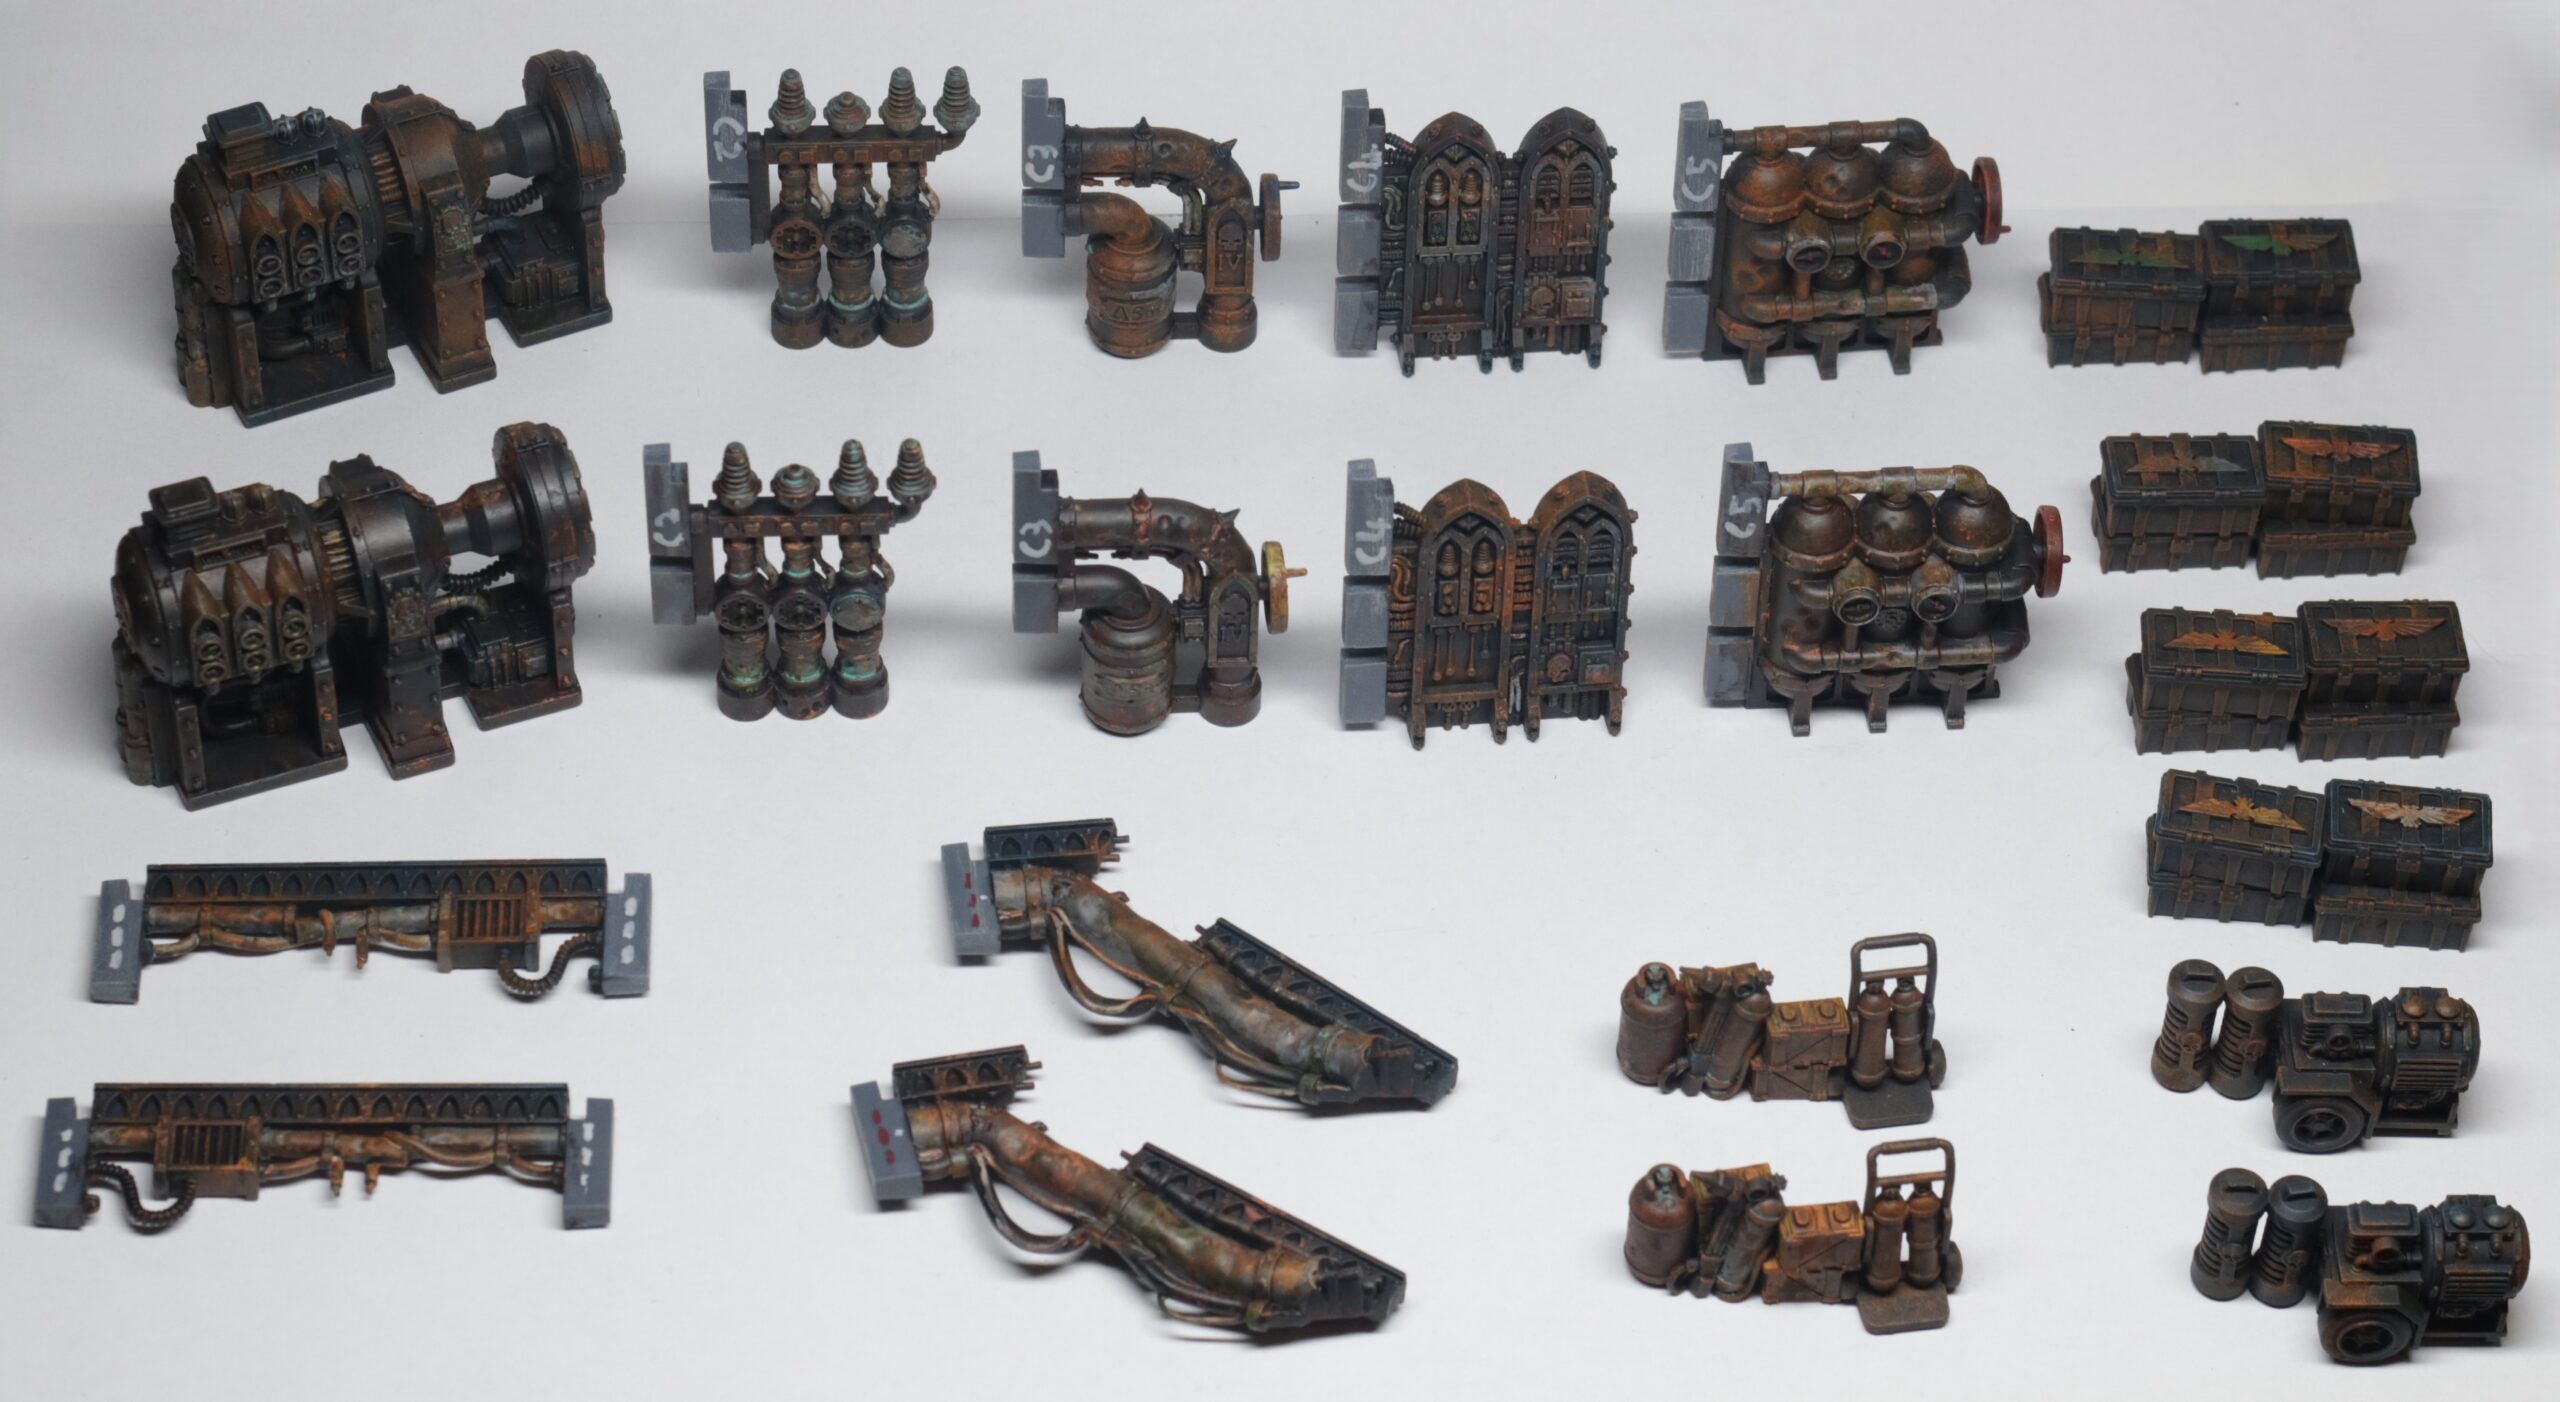
Killzone: Gallowdark
As mentioned above, this is actually 2 separate sets which can be combined together. The first set took quite a while to complete as it was further split up into 2 halves with the first half painted shortly after Into the Dark released, and the second half painted almost a year later.
Before even beginning to paint, the wall pieces needed a lot of heavy filing and scraping due to a design flaw that resulted in the connection points being an incredibly tight fit and very hard to separate. This was a very long and annoying step that quickly became infamous with several guides online detailing how to fix the error.
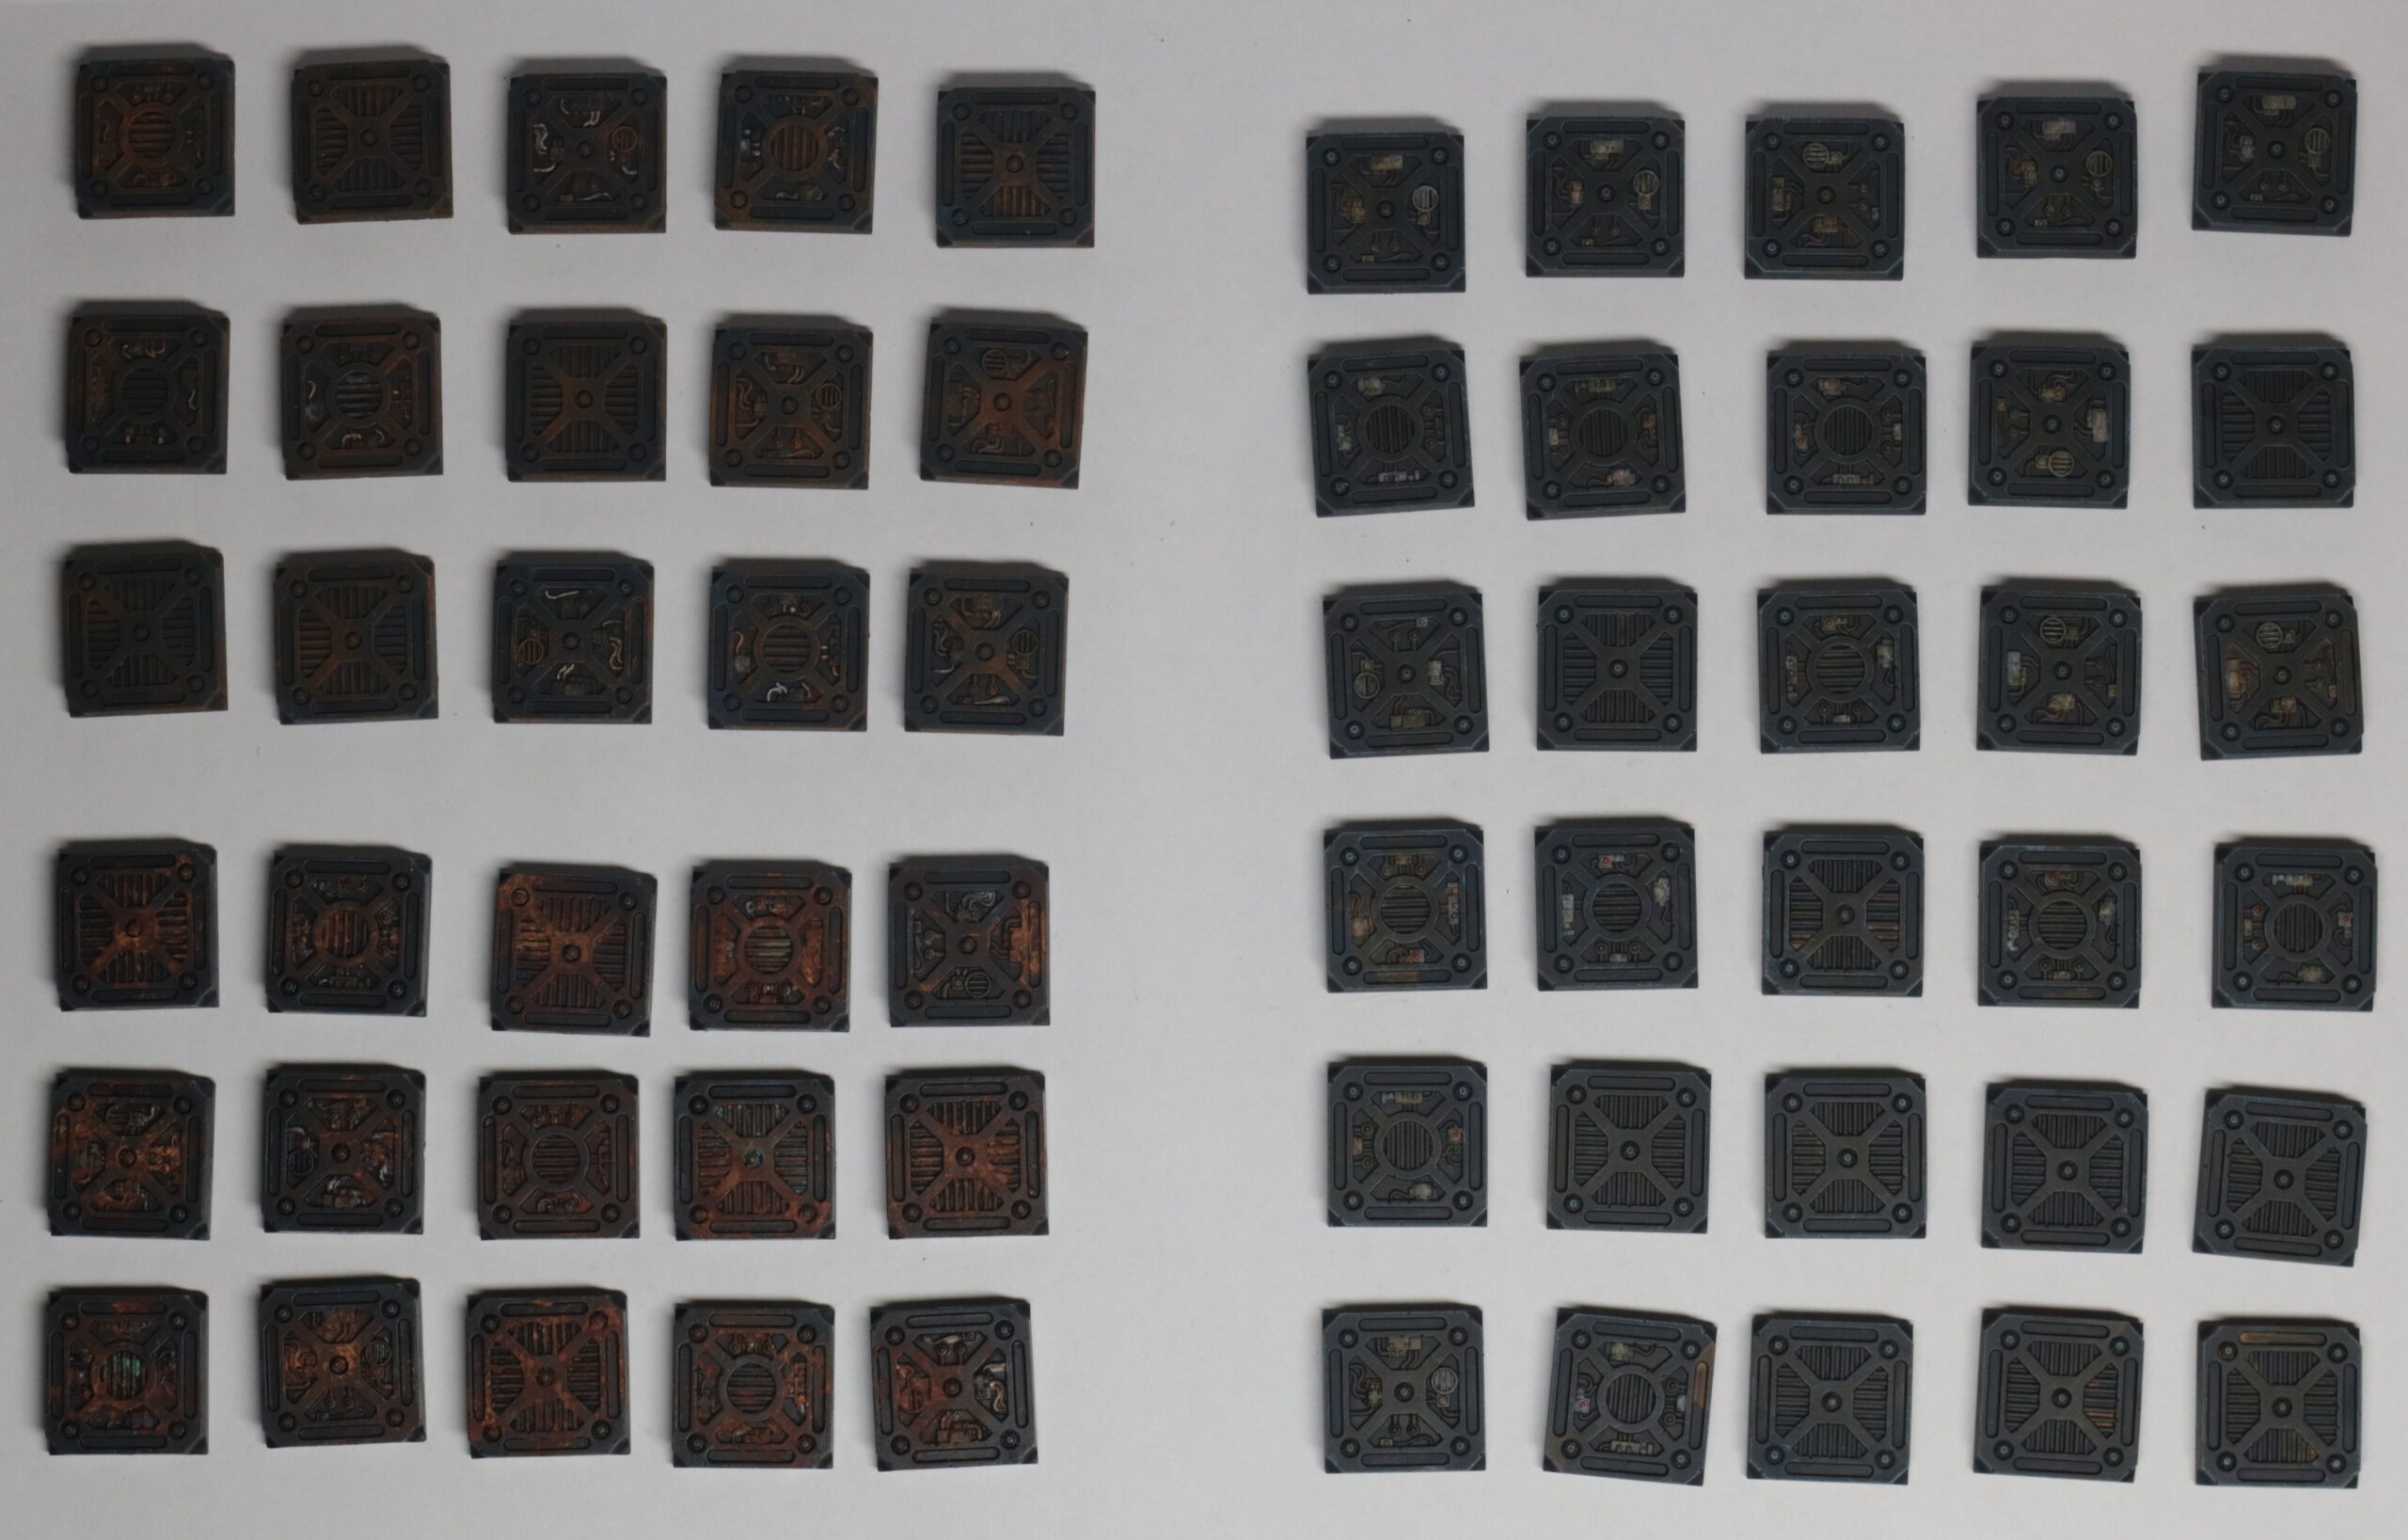
The bulk of the painting was quite straight forward, until the final rust effect for which I chose to experiment with pigment powder. Later on I used simpler technical paints as the pigment would wear off quite easily, and although varnish prevented any further wear, I felt it would be best not to use them further.
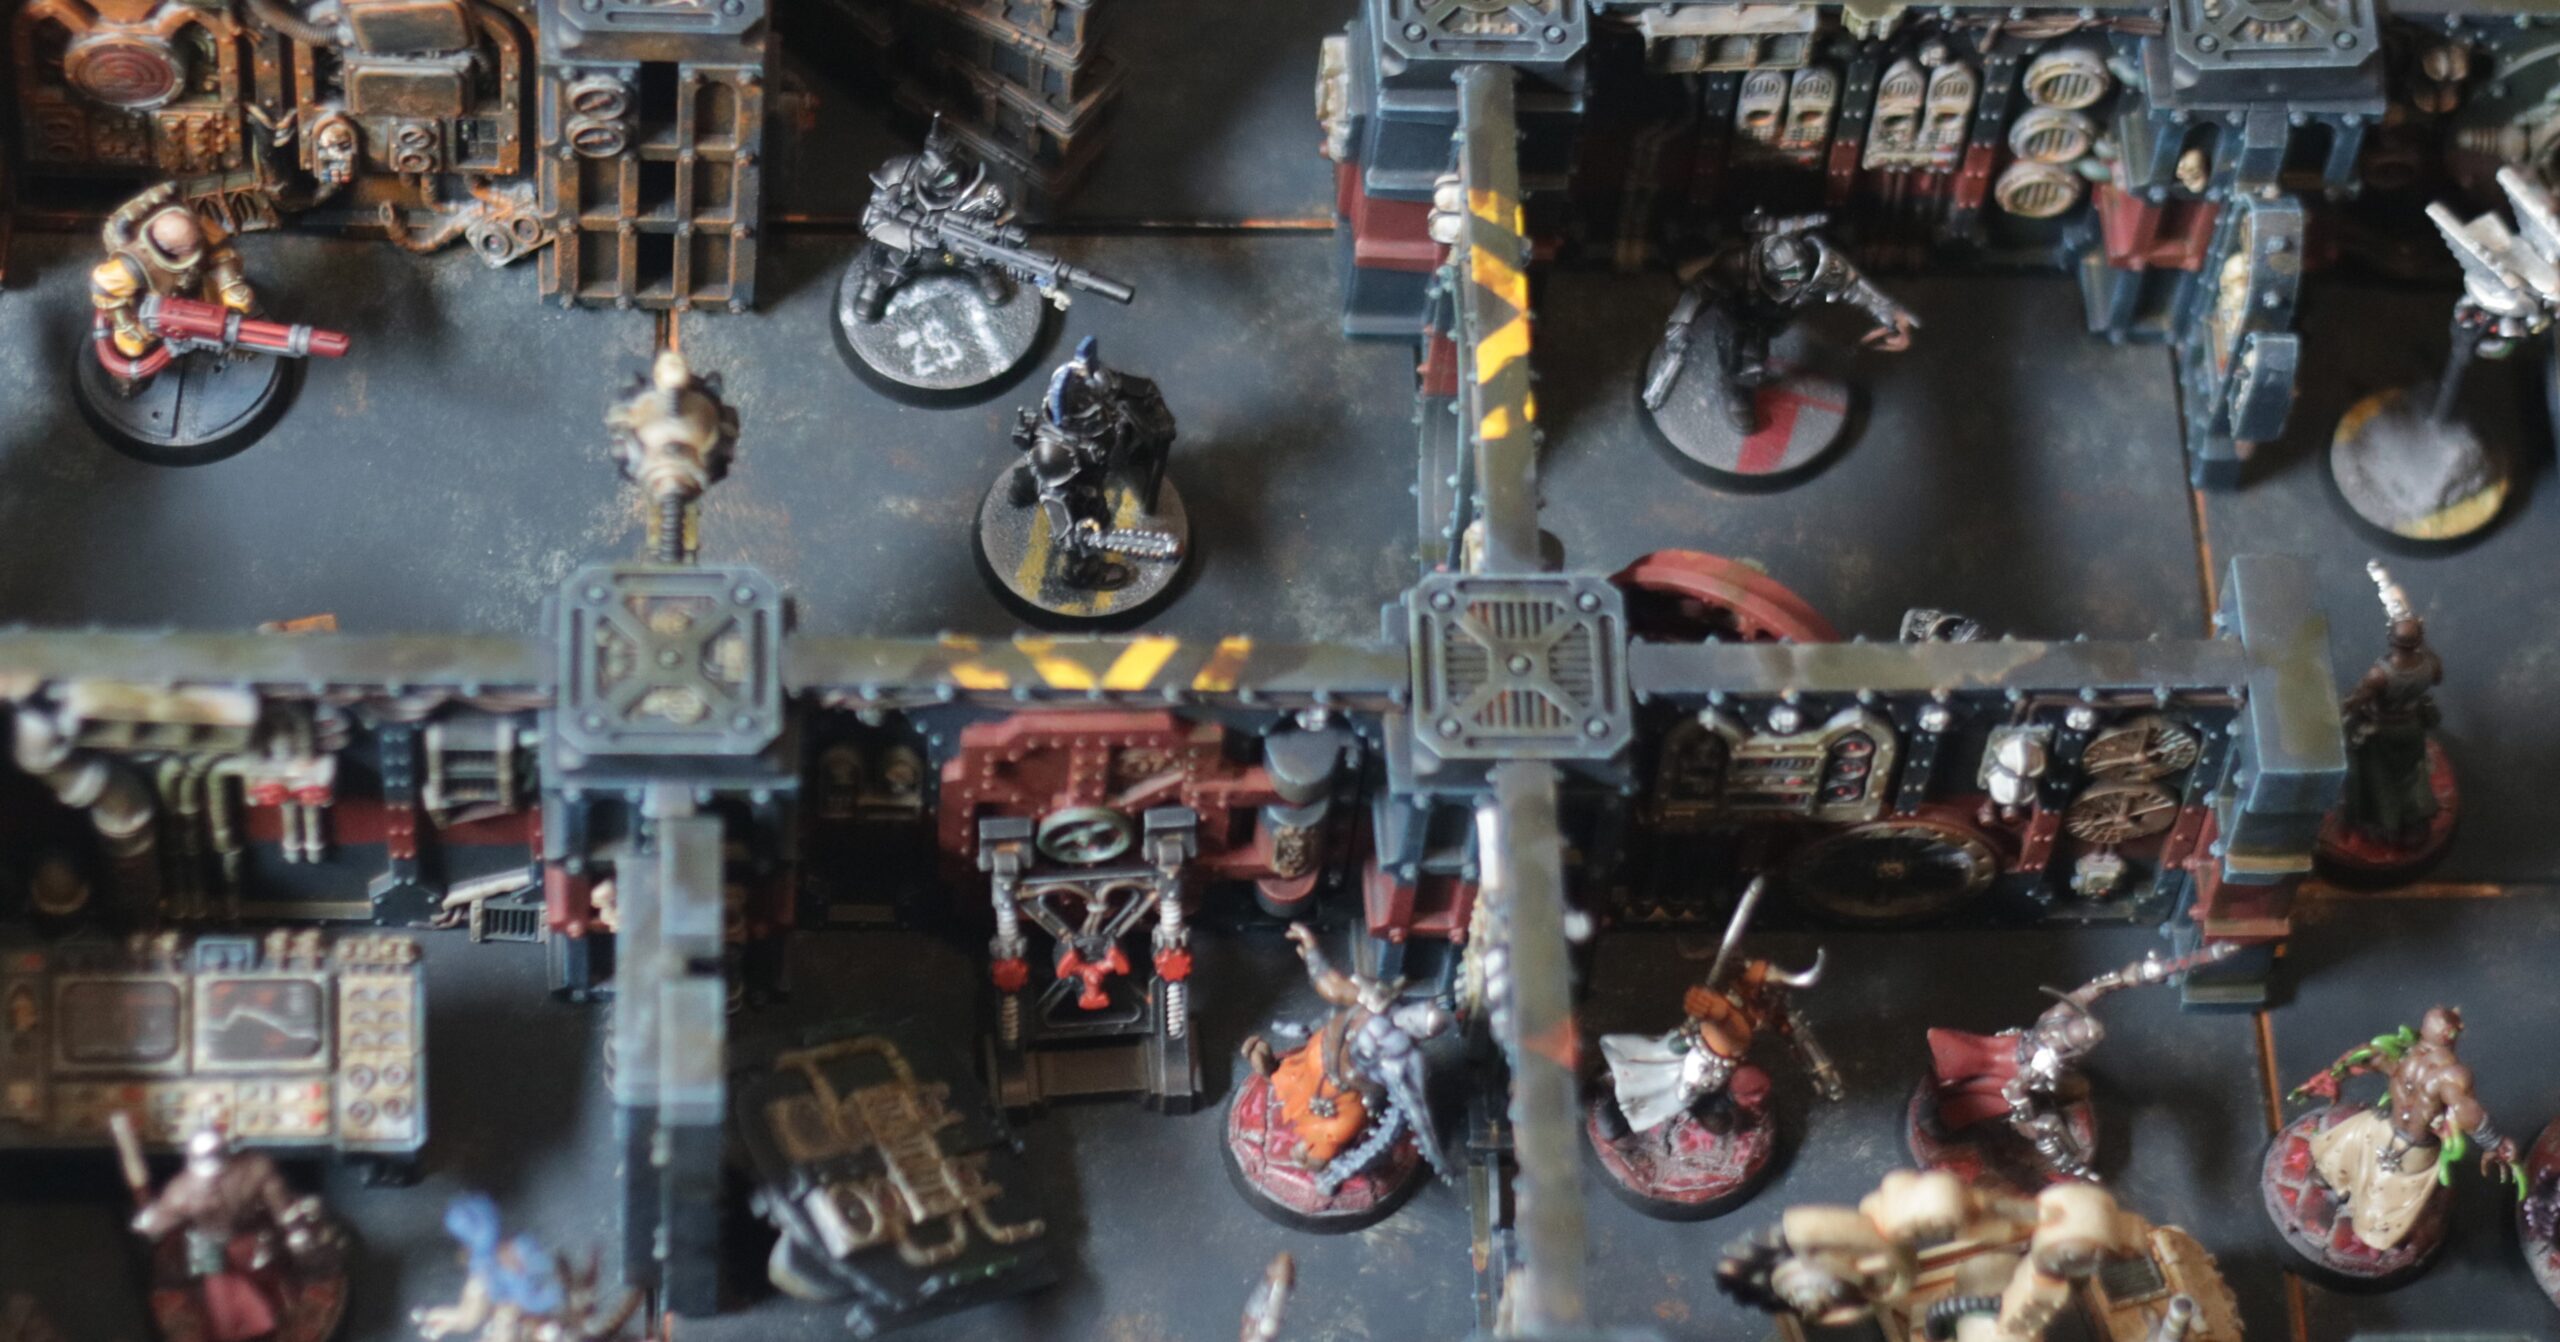
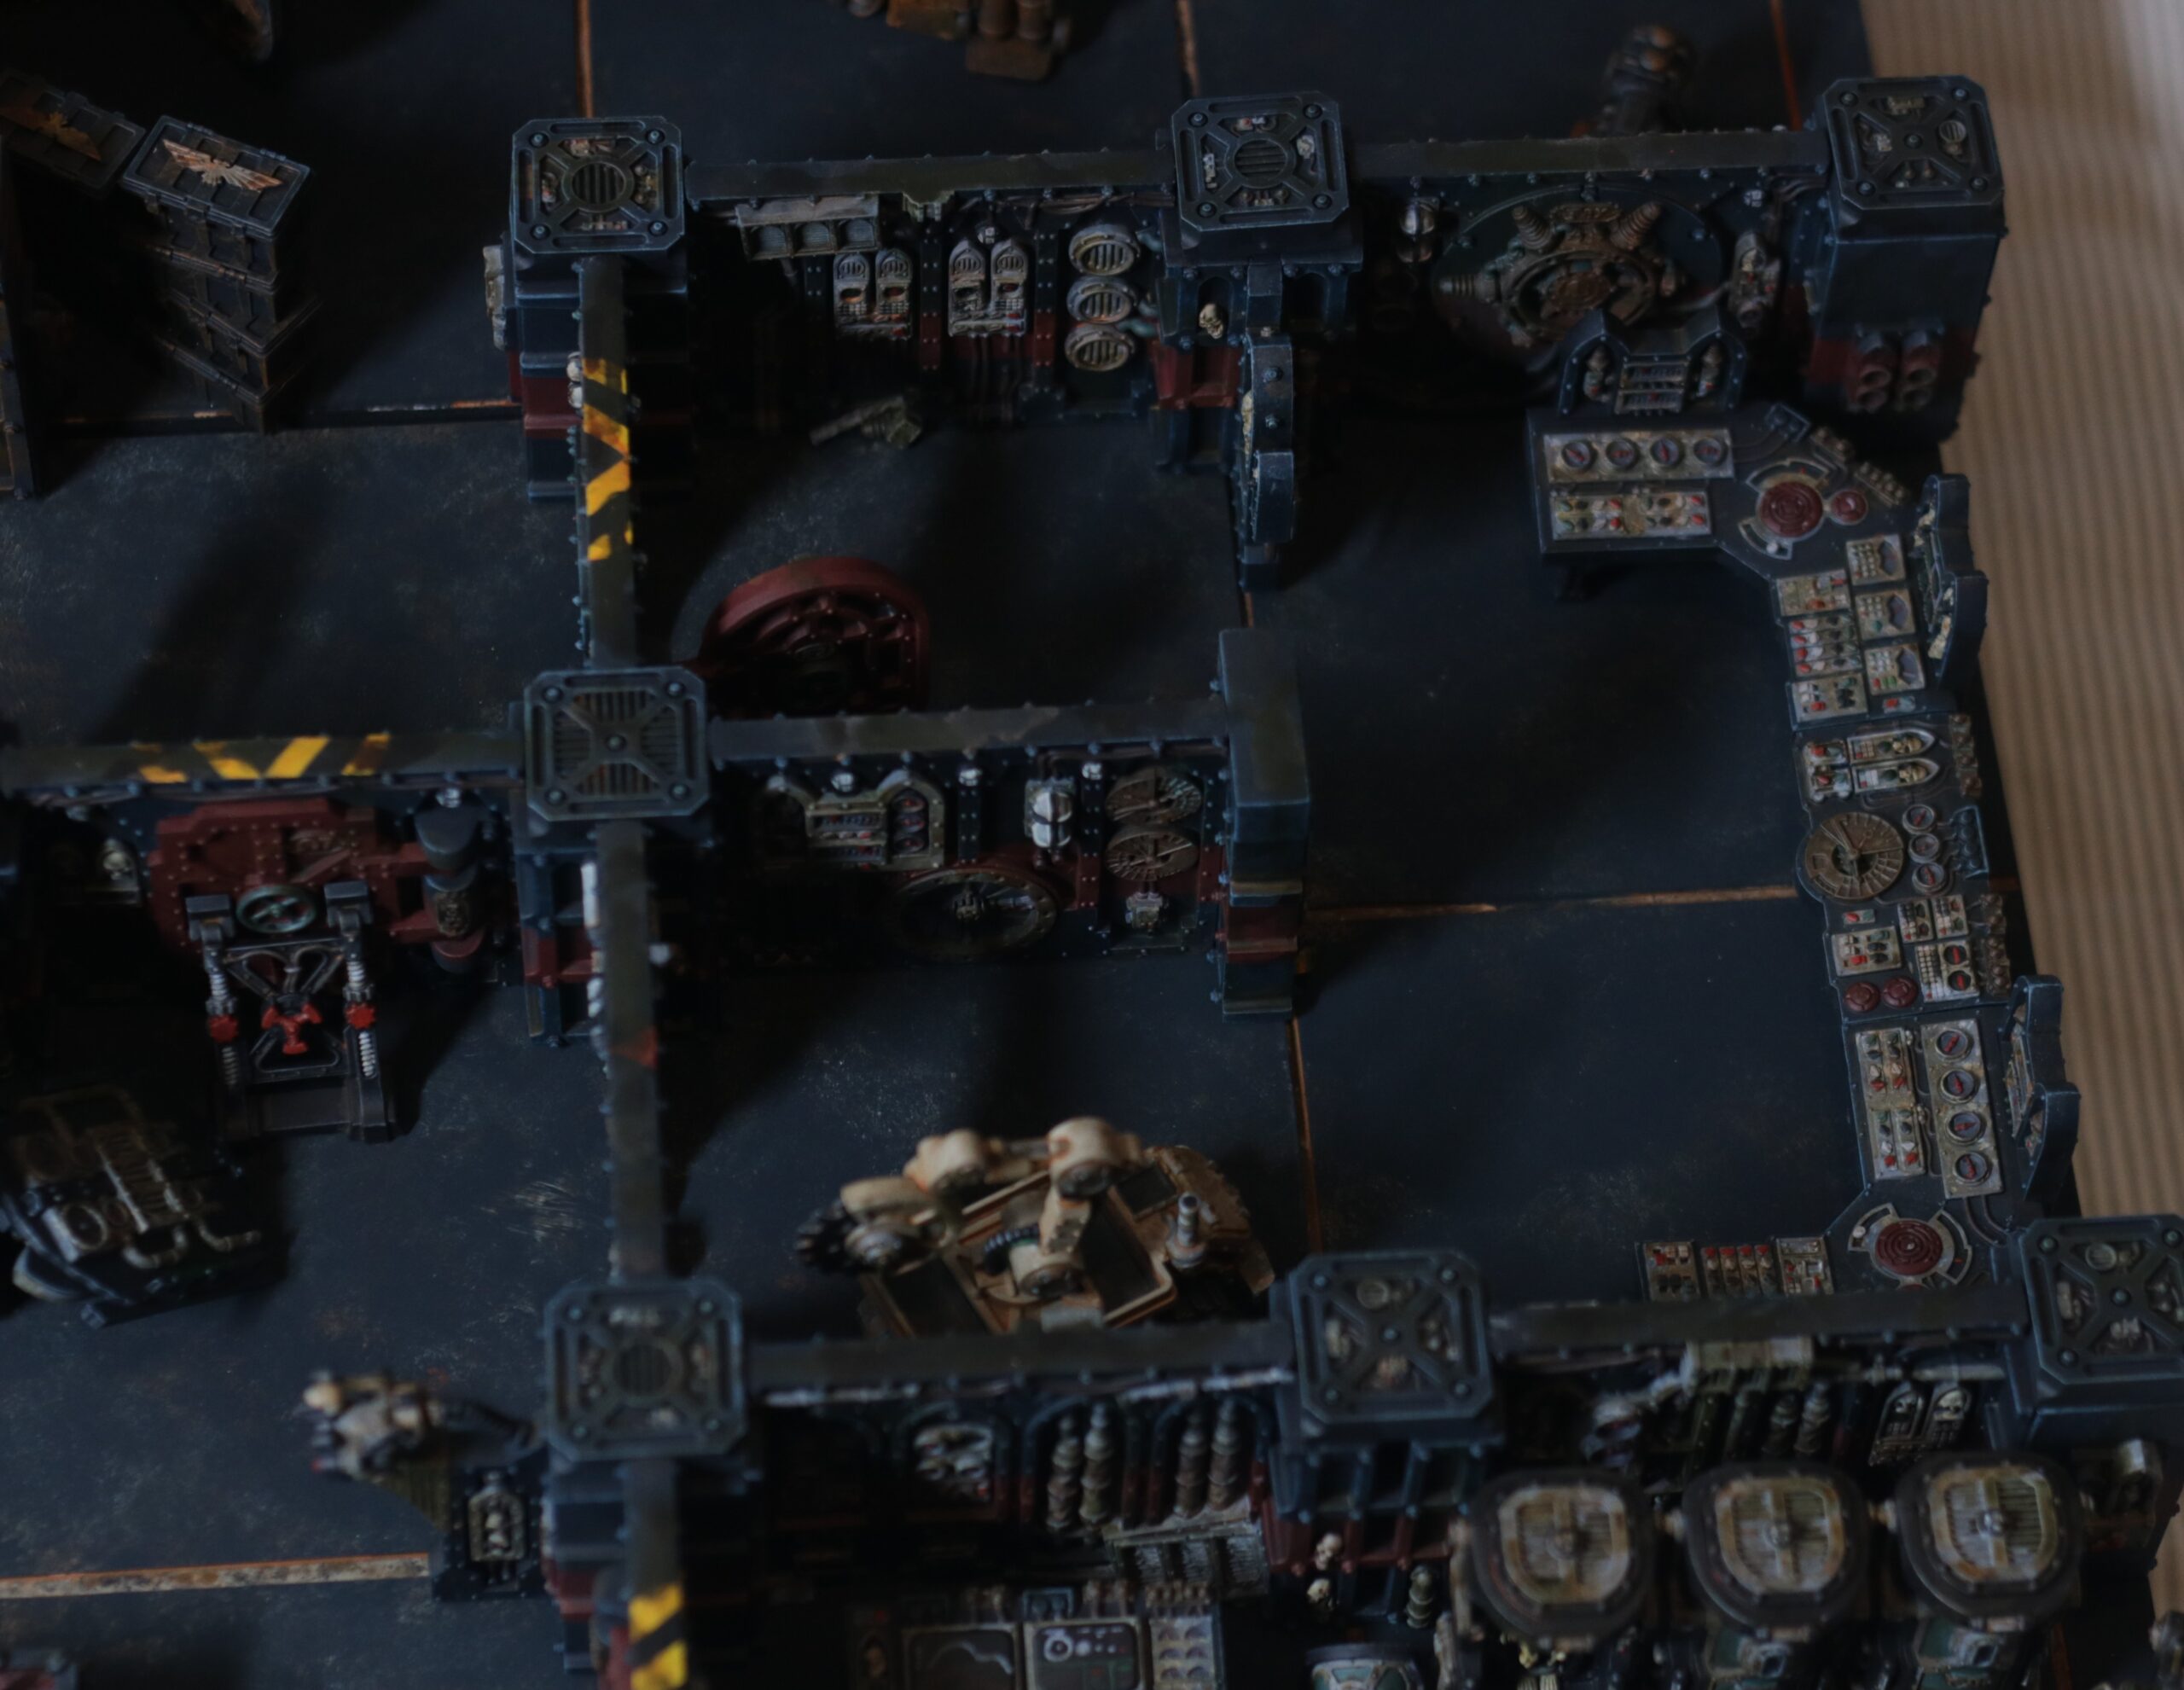
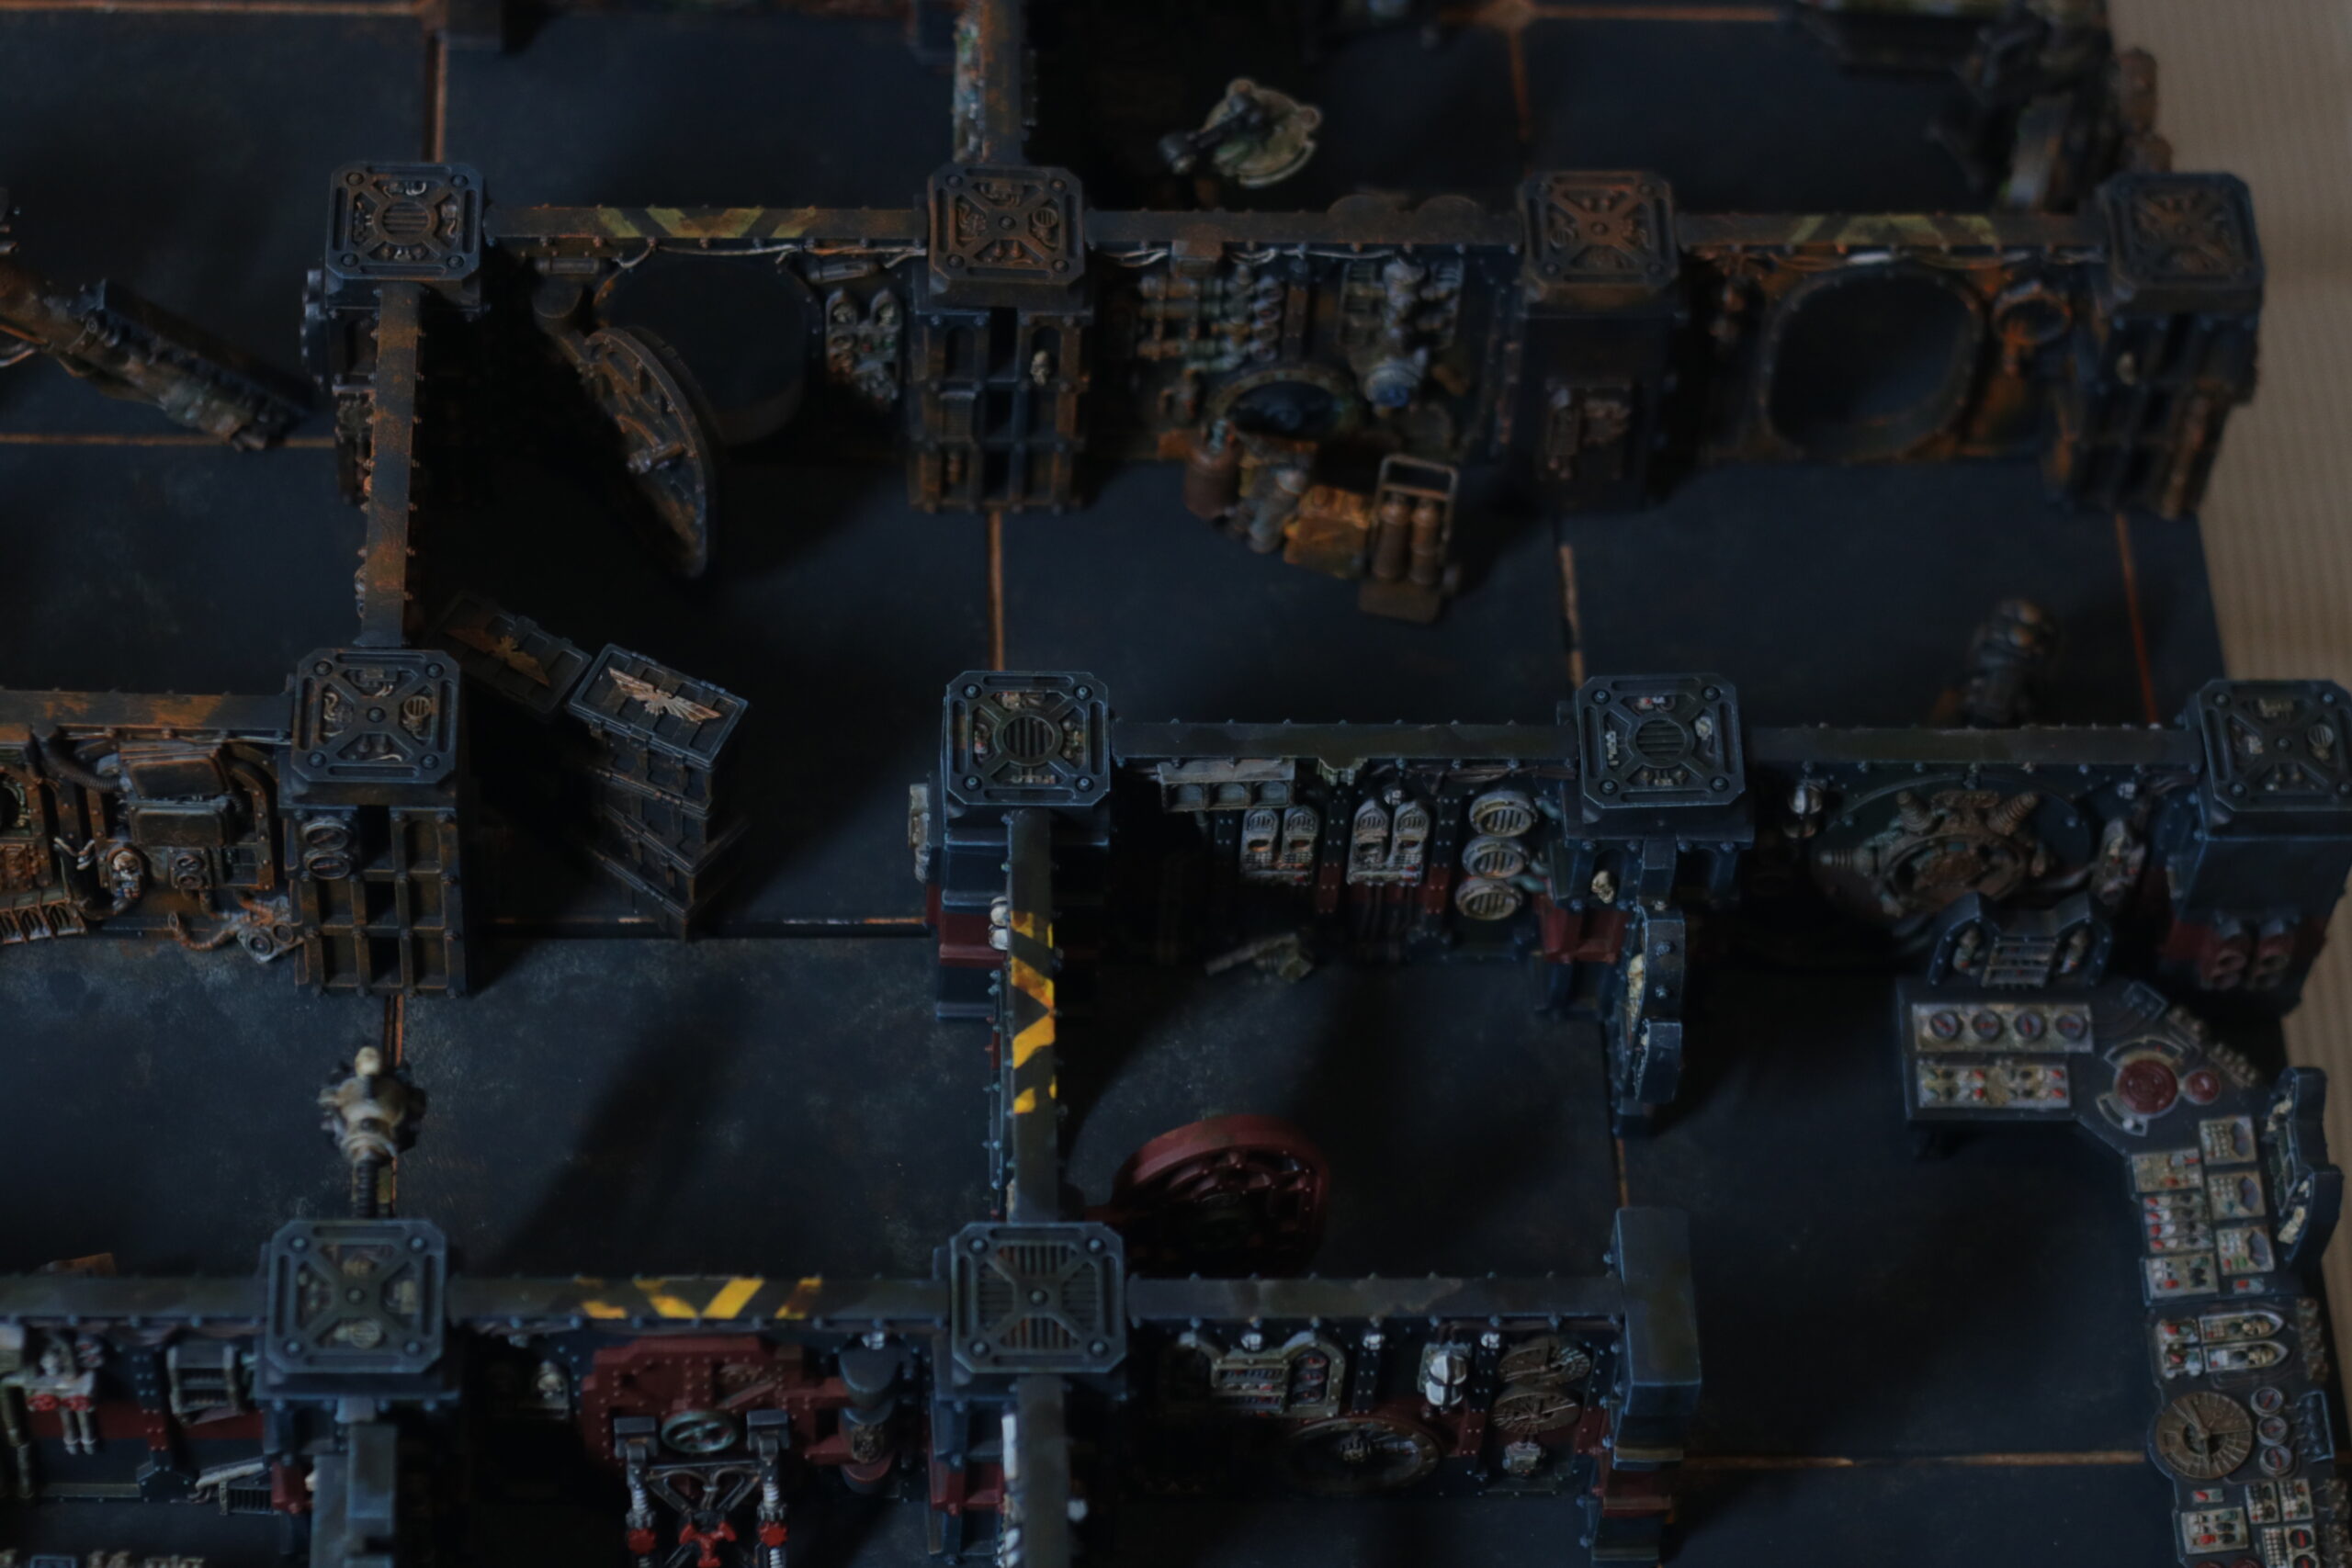
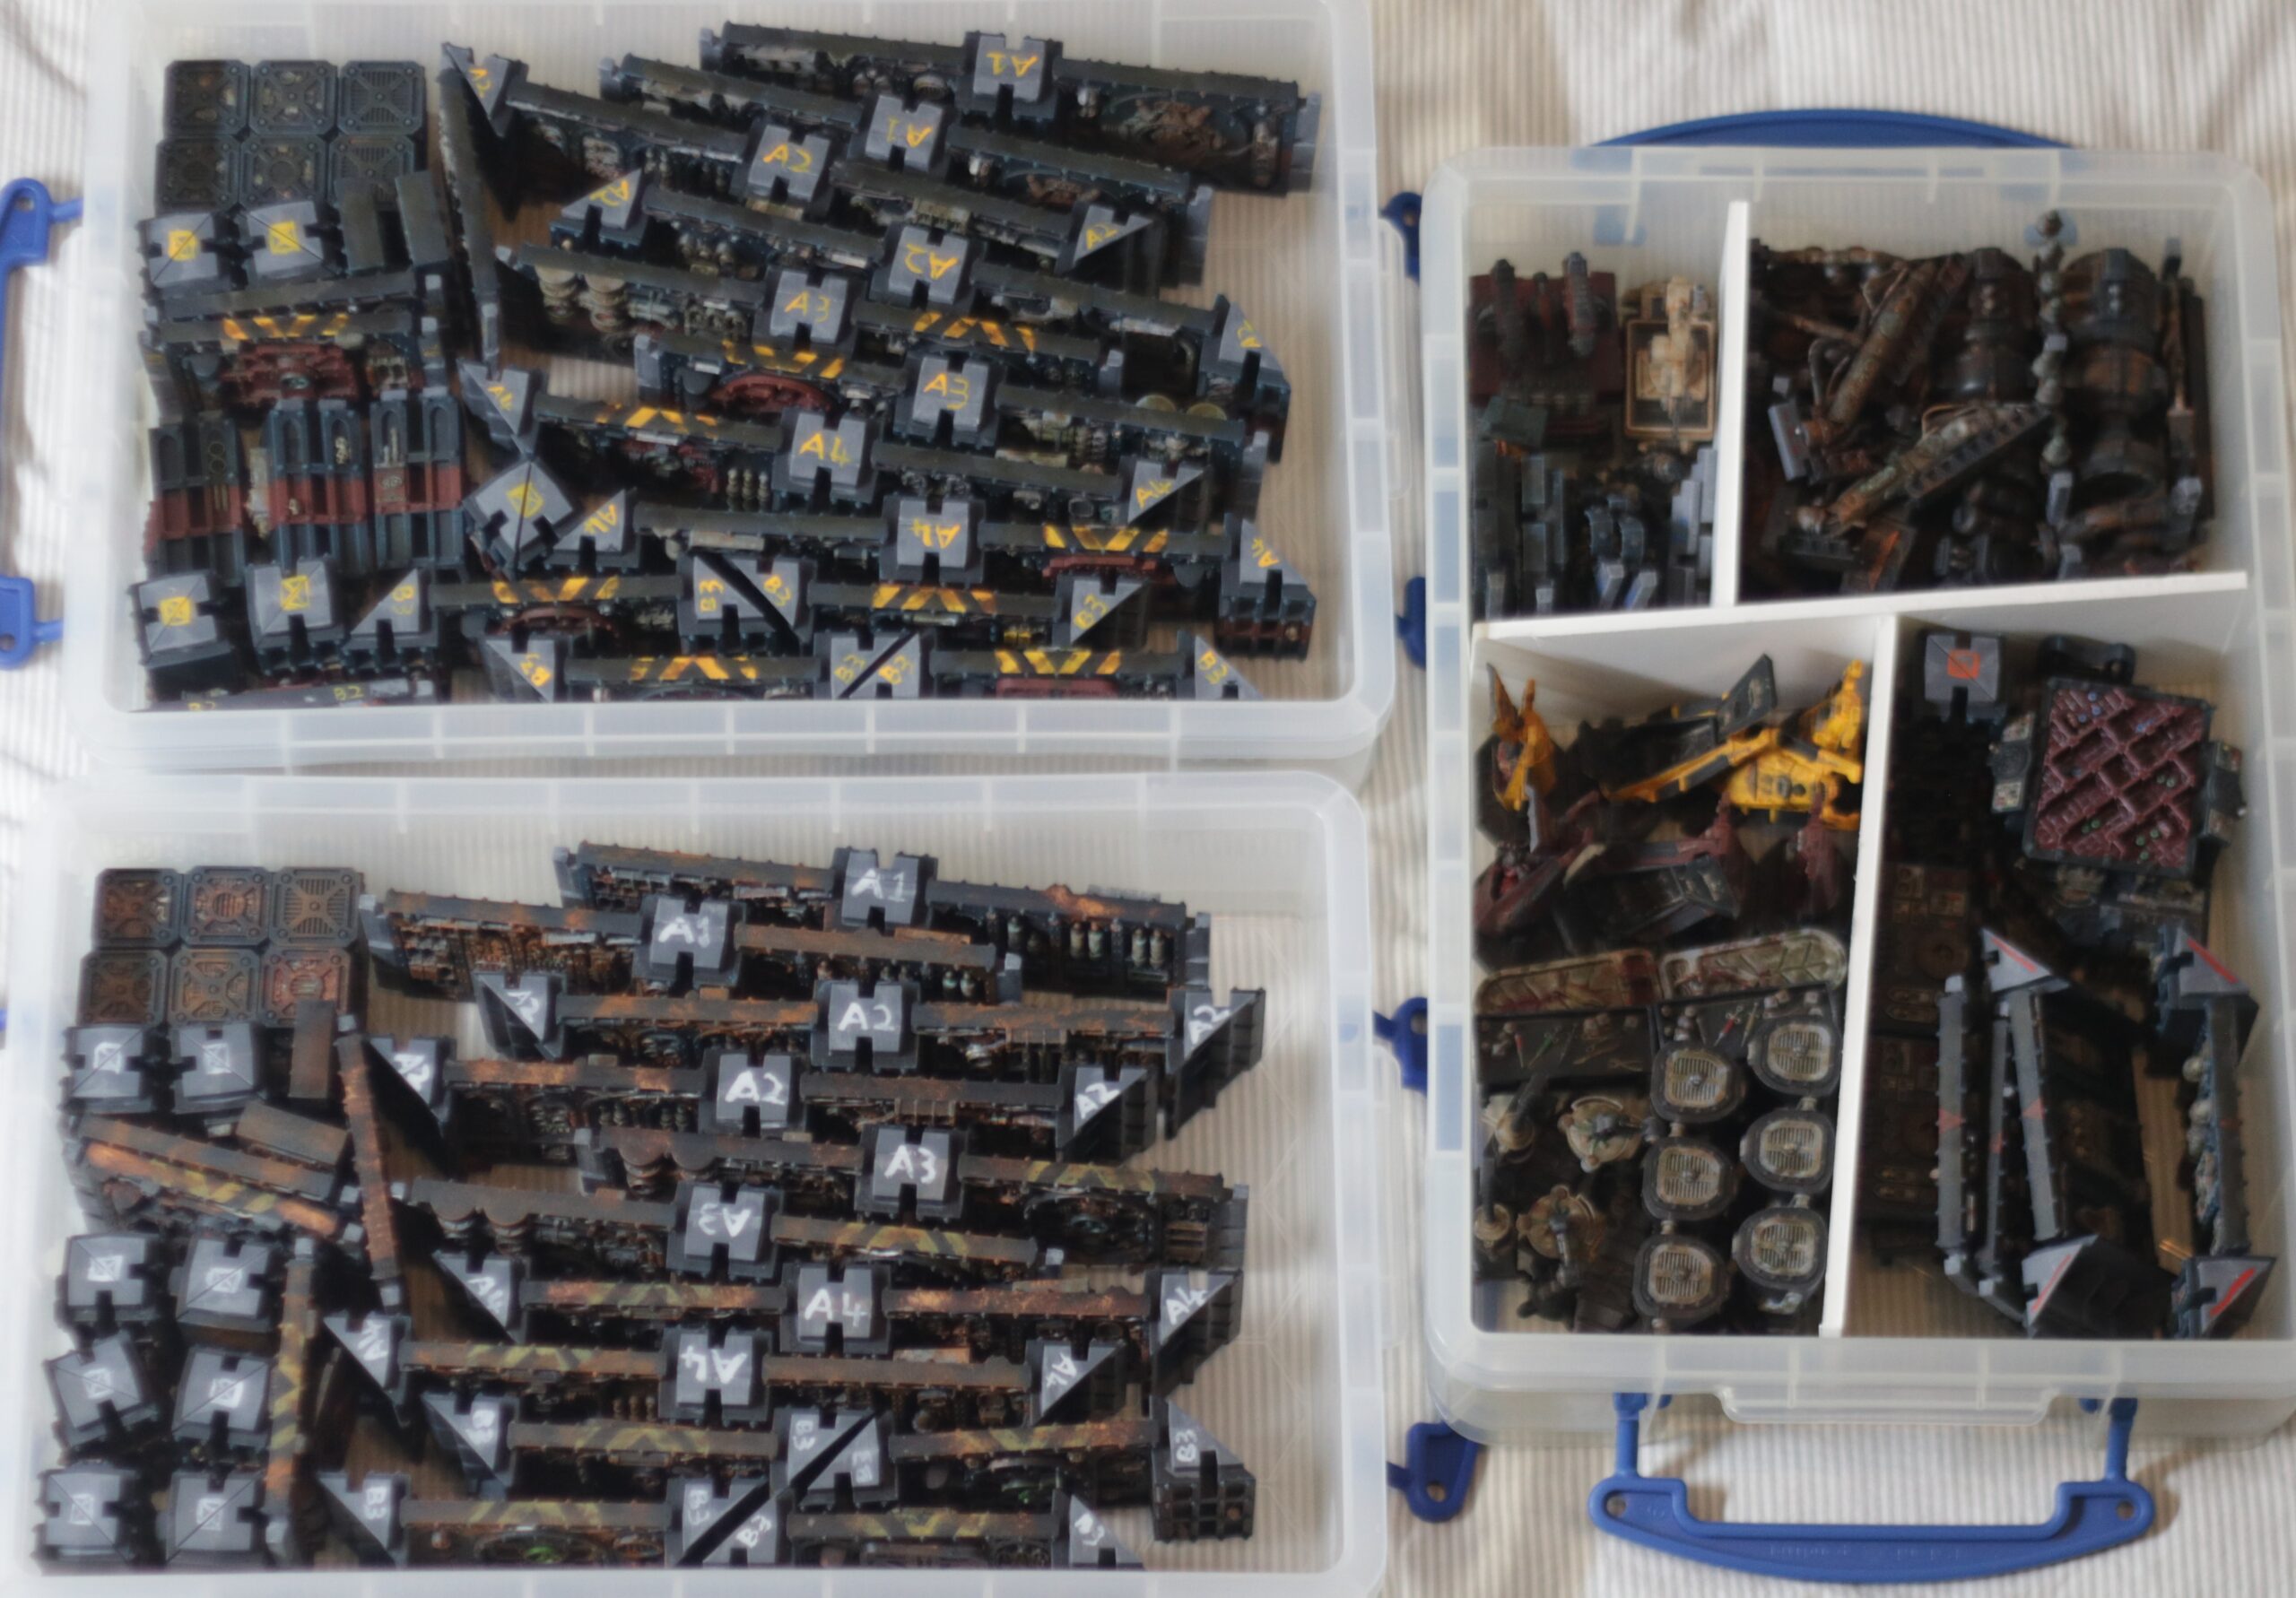
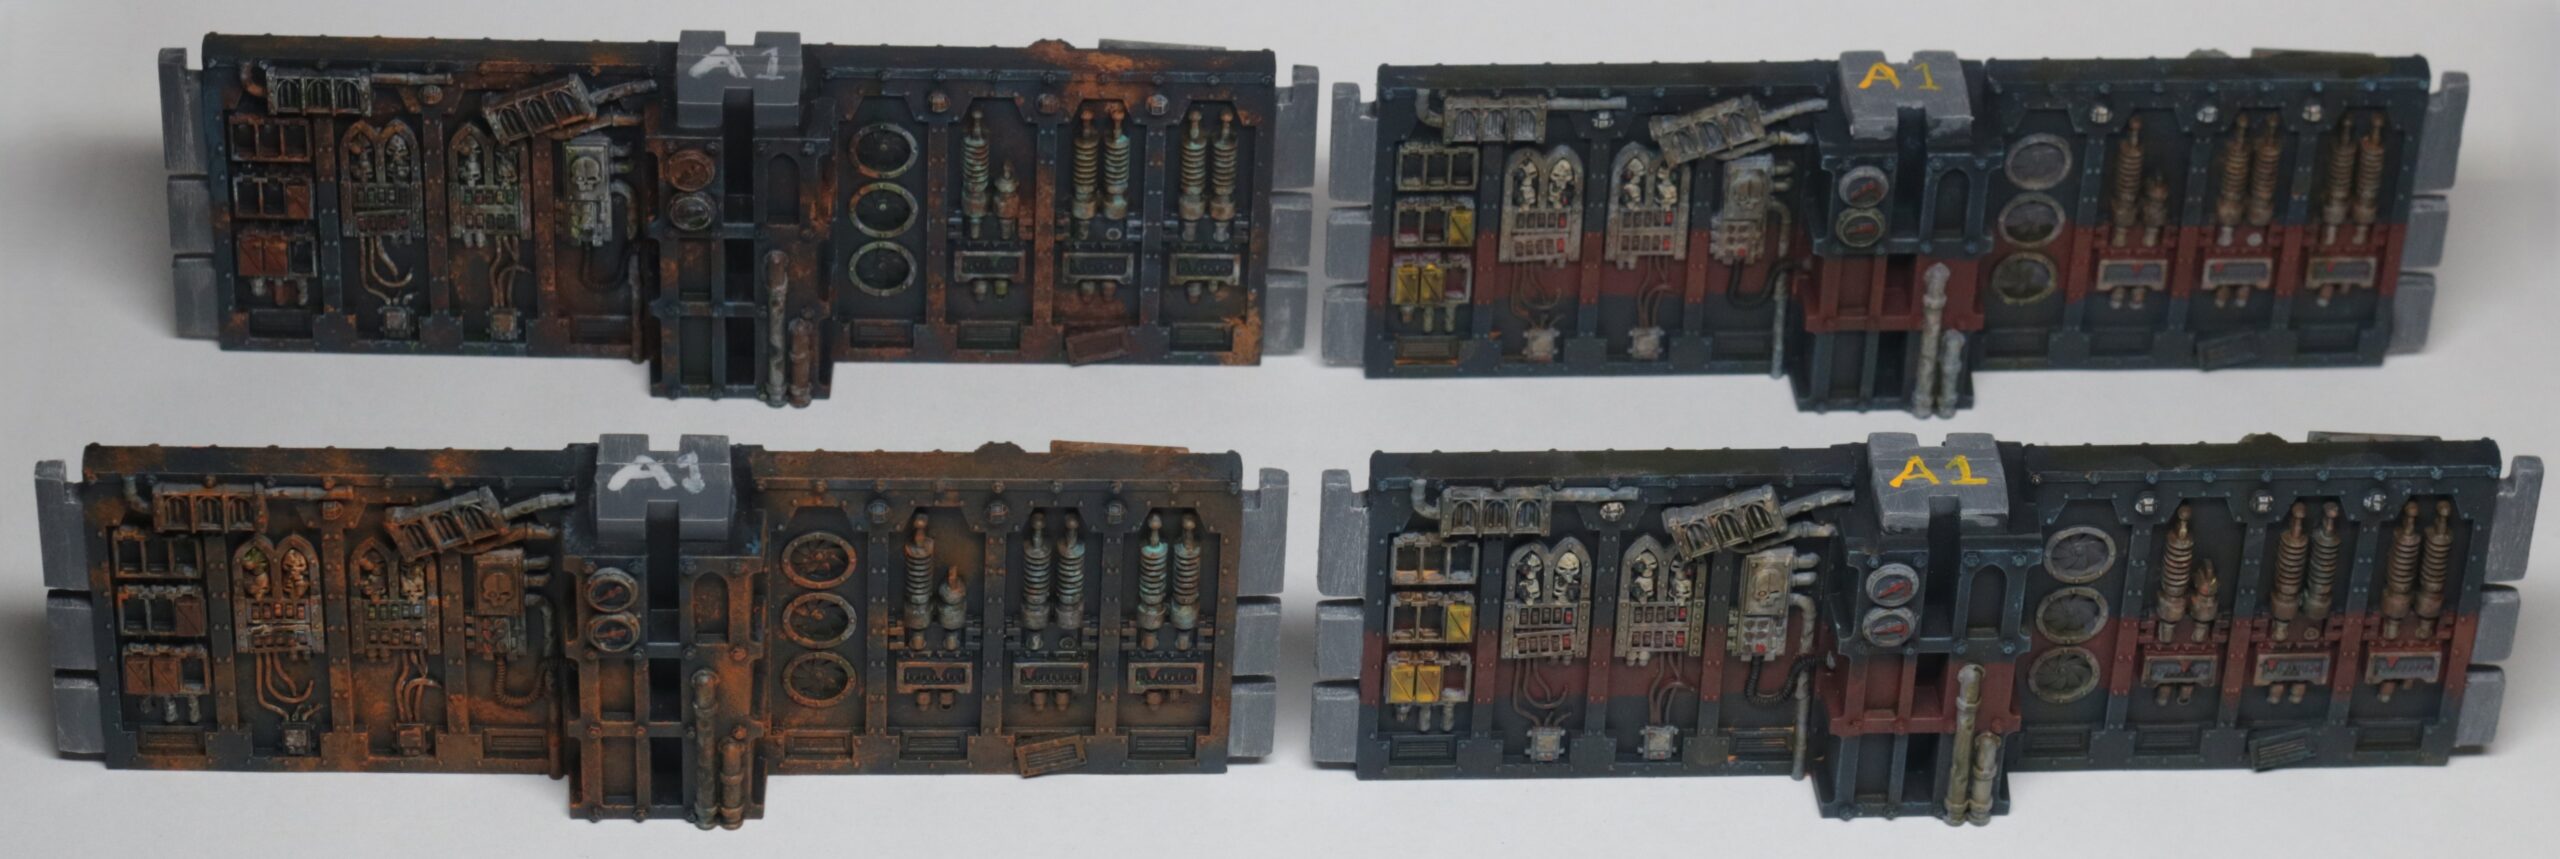
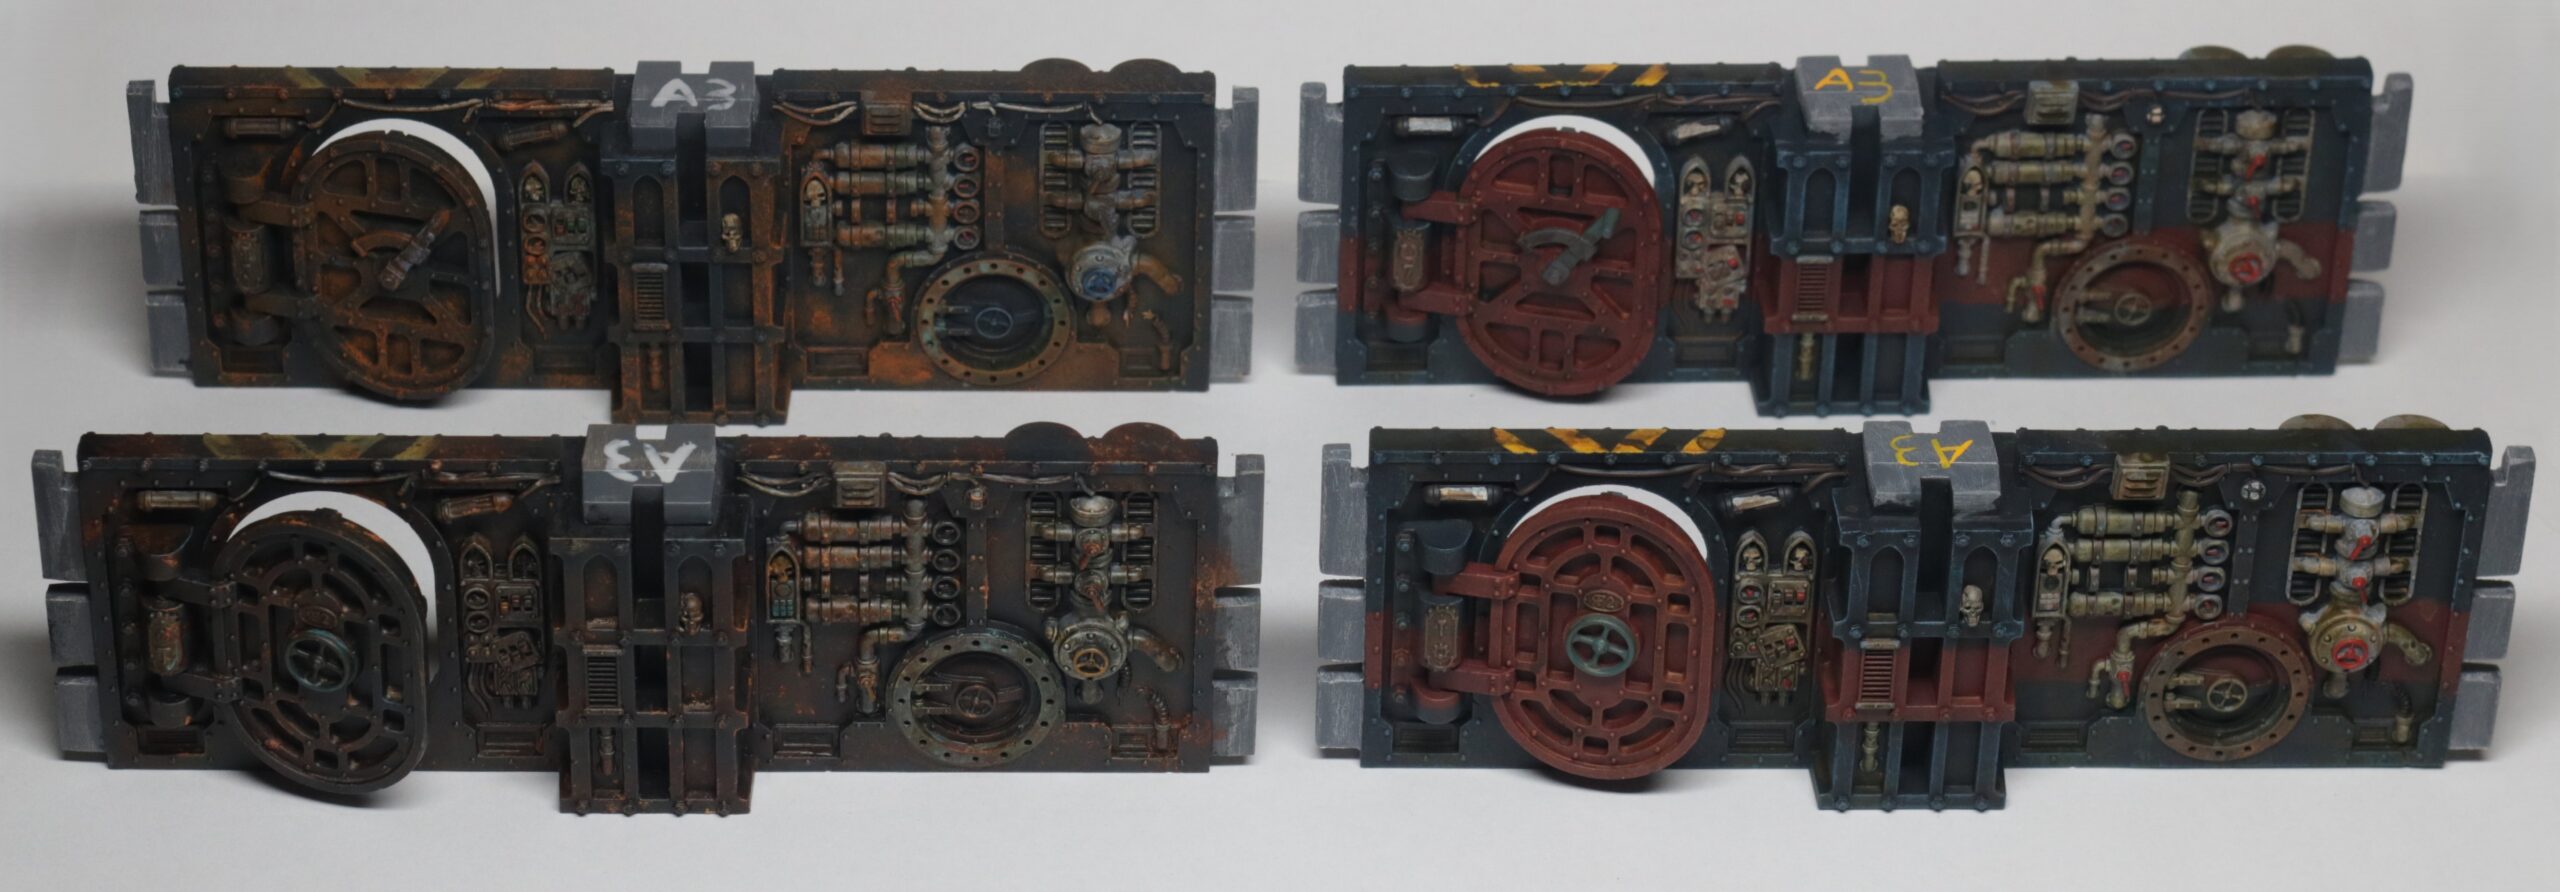
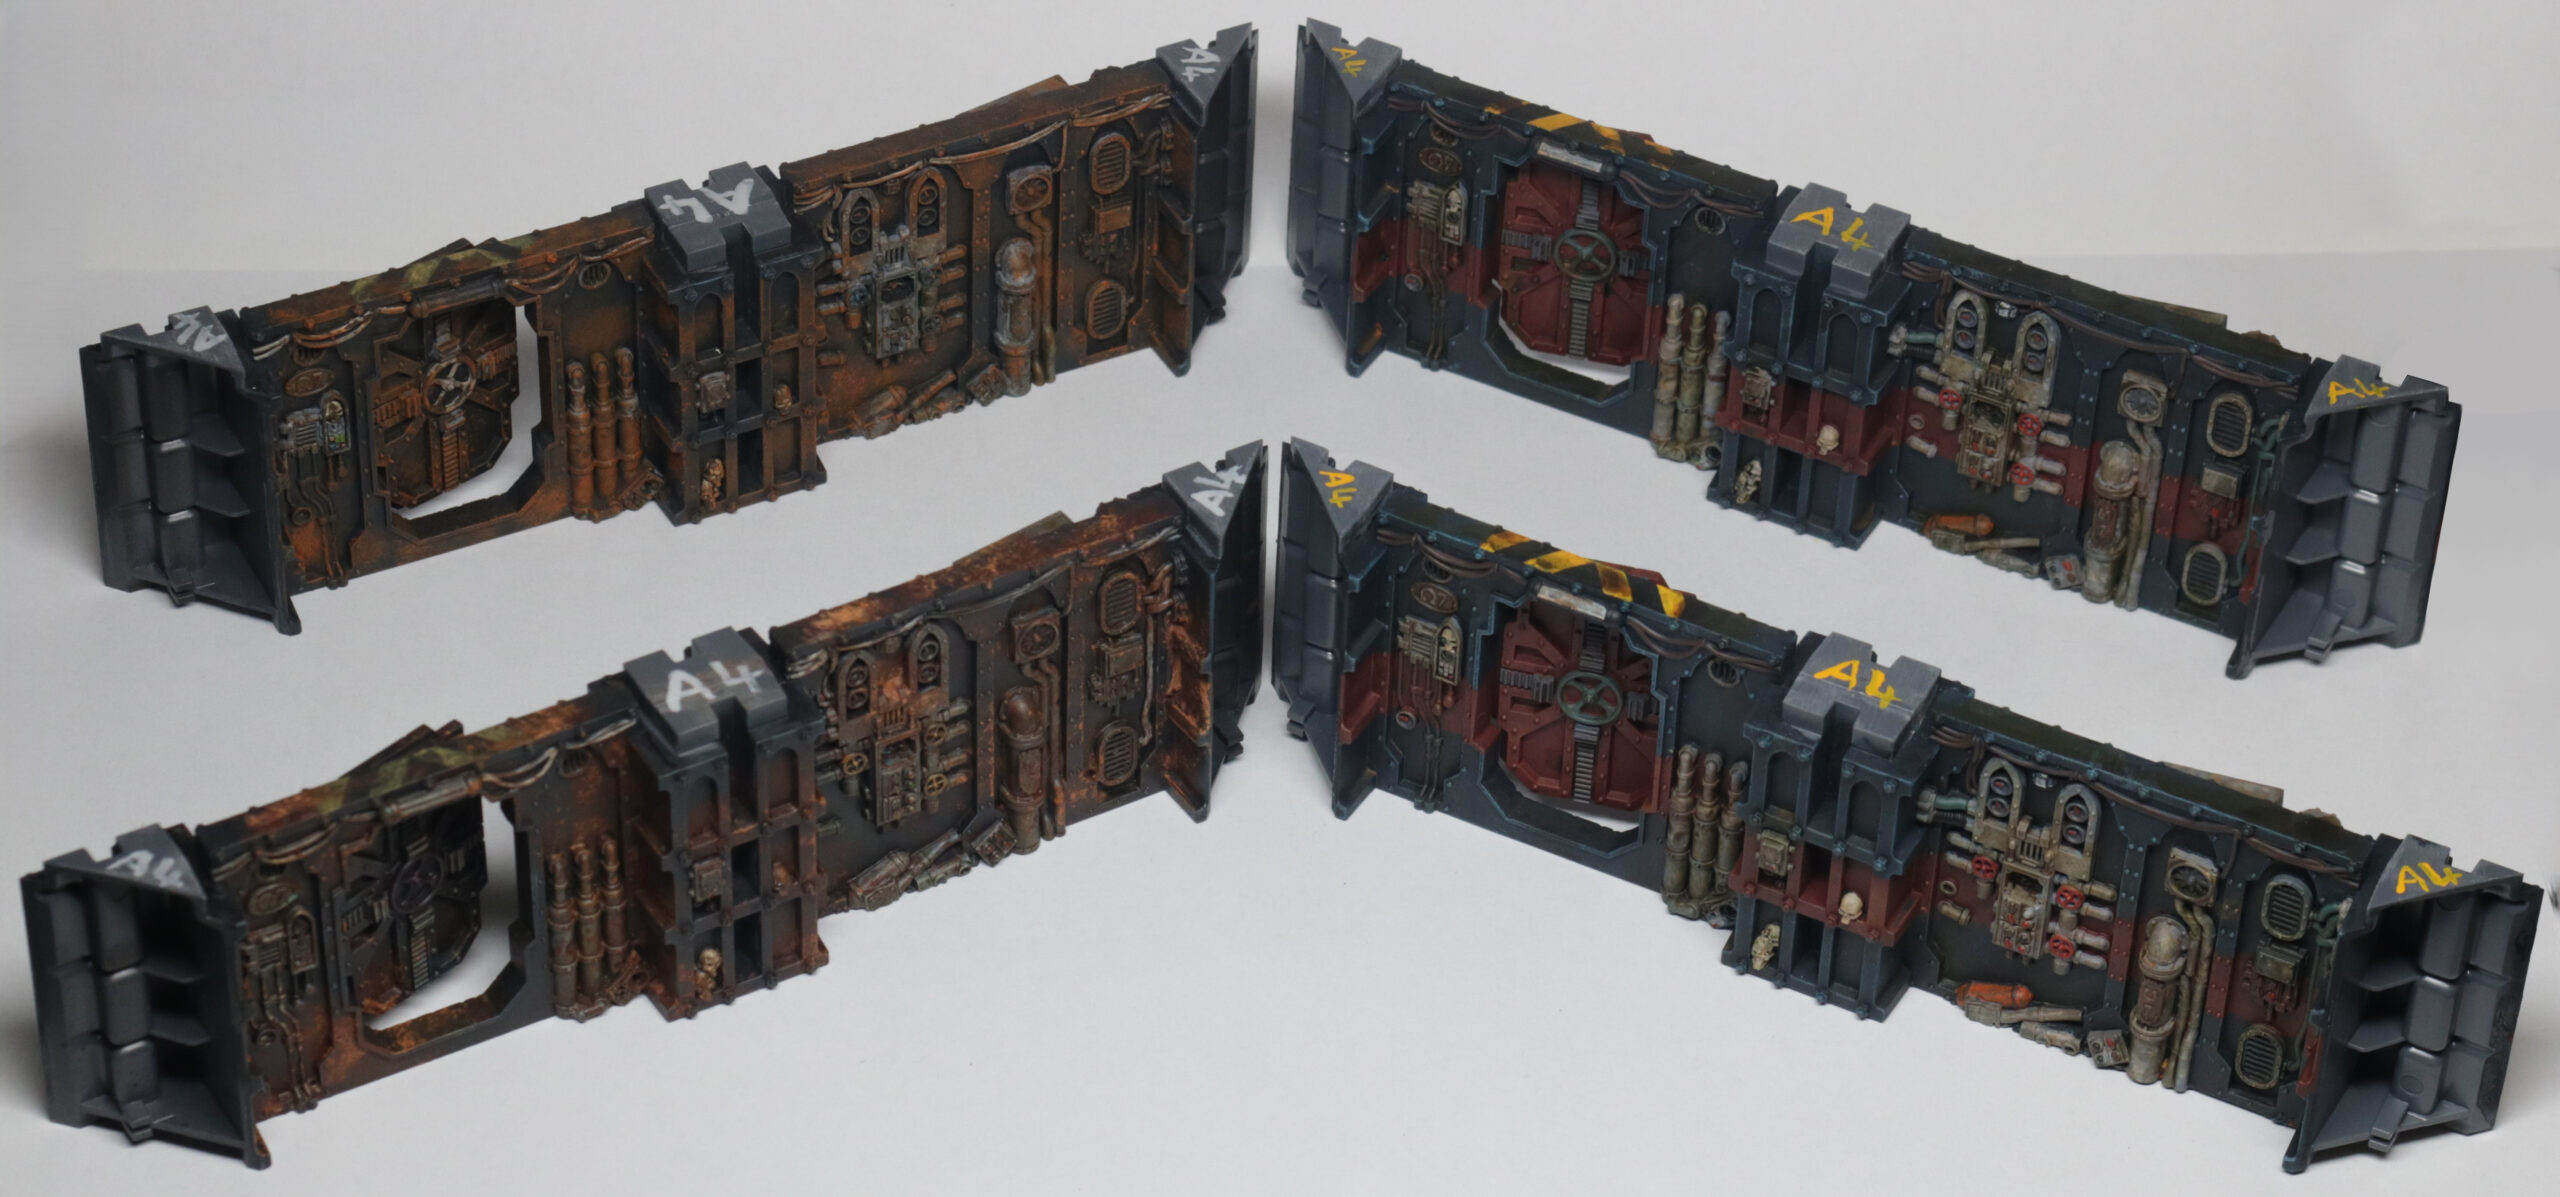
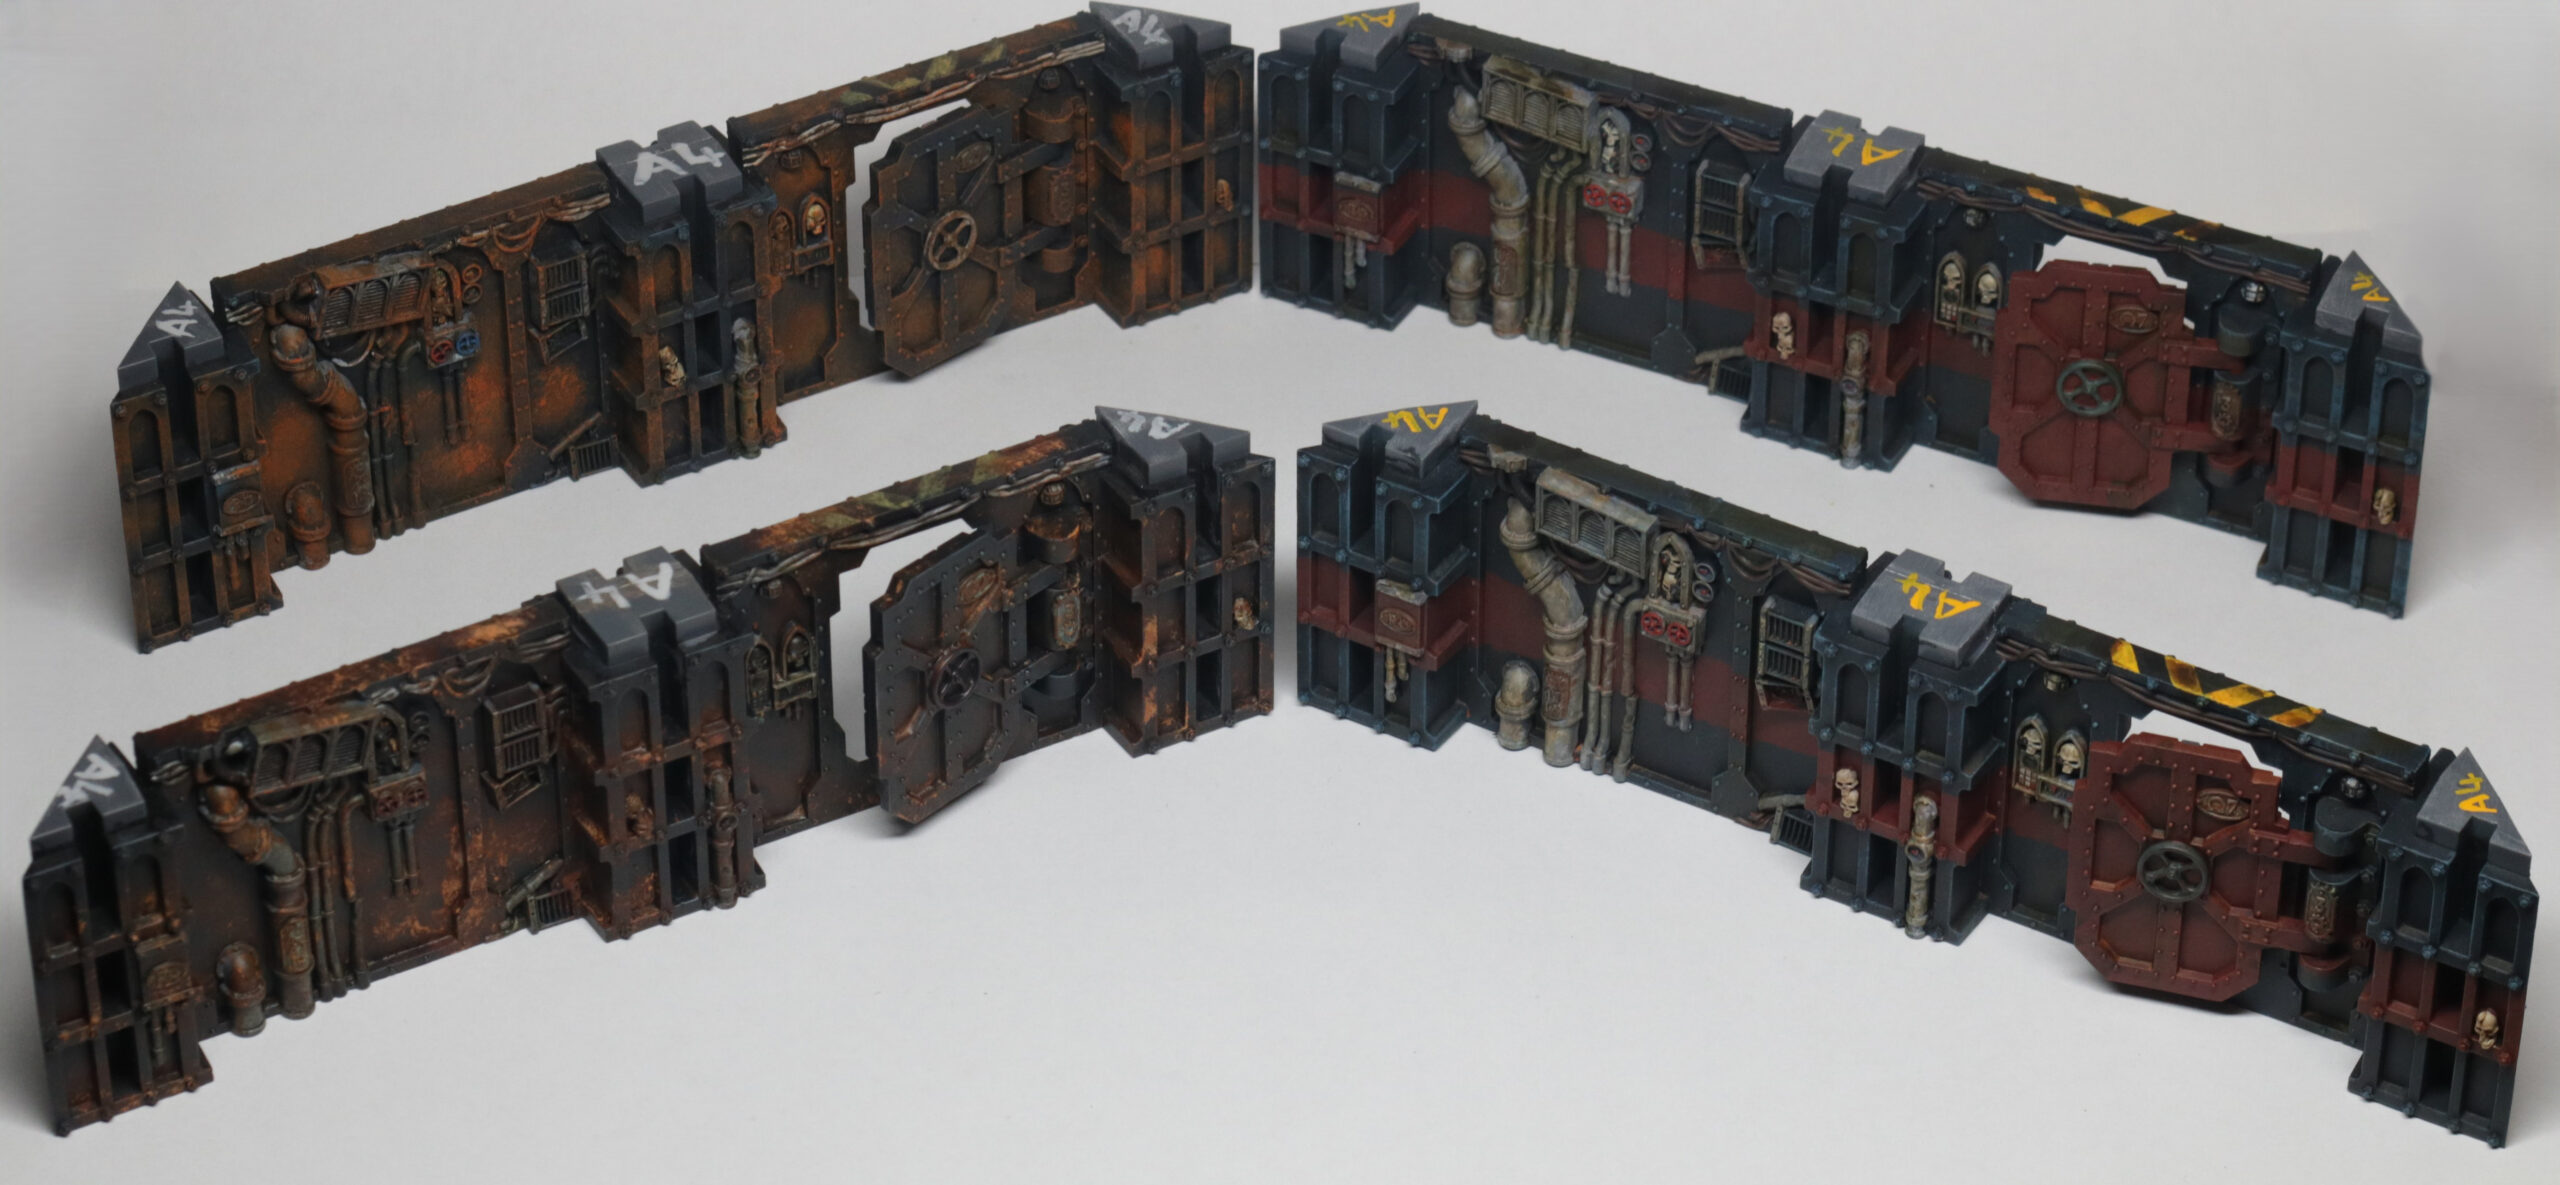
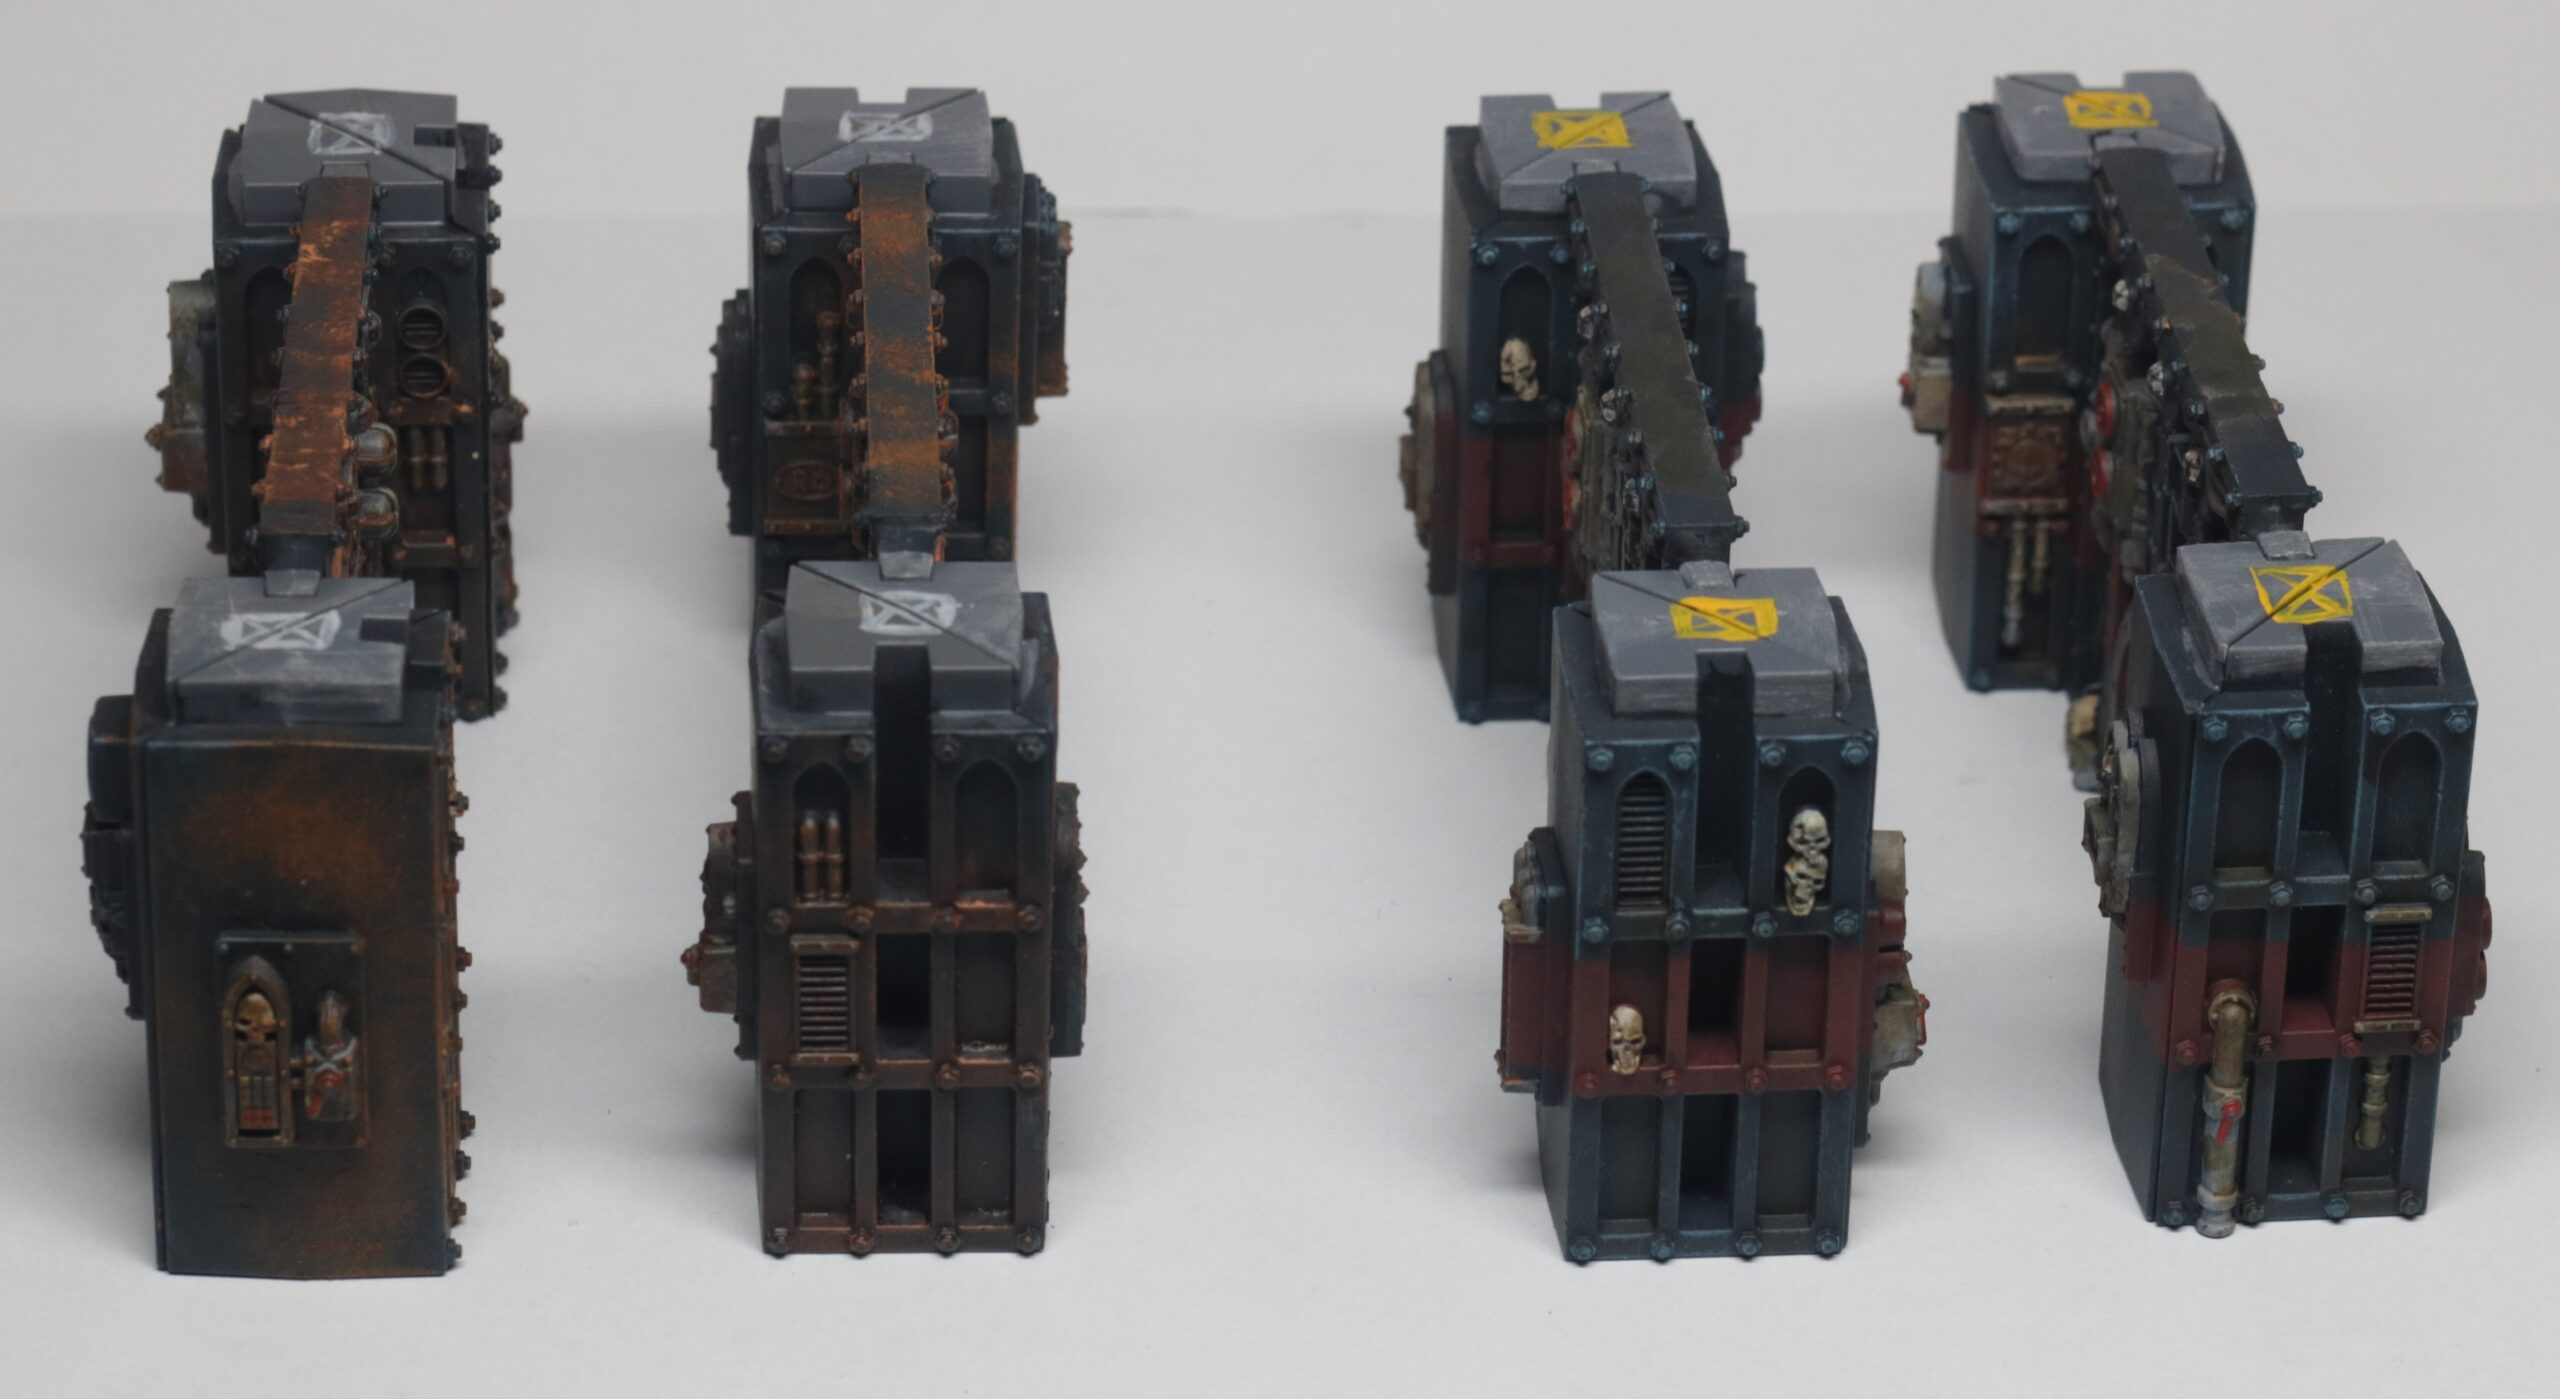
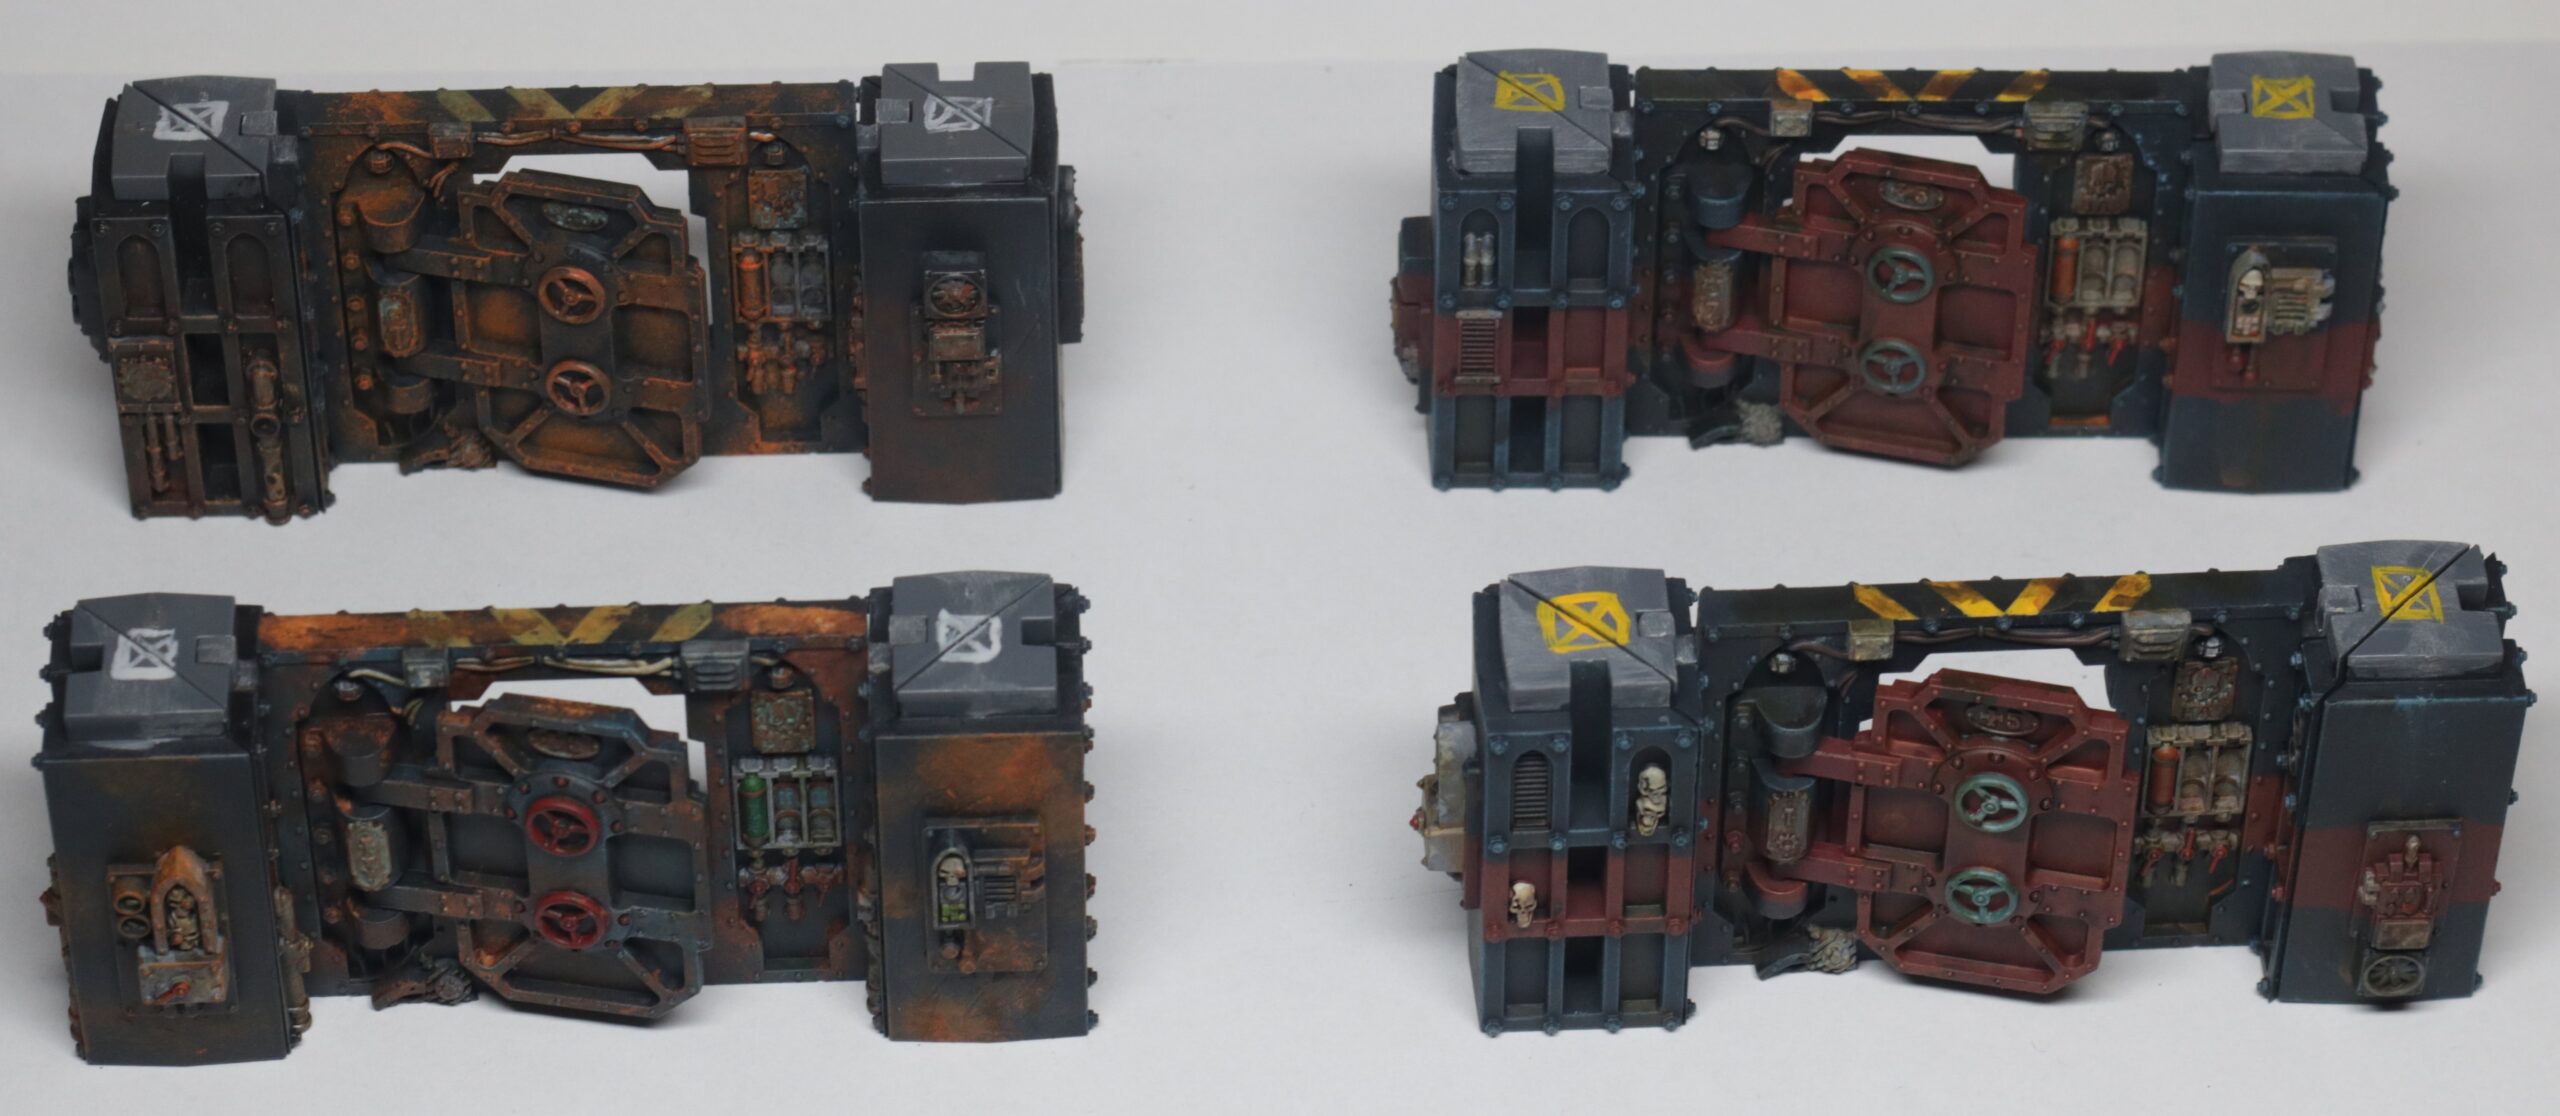
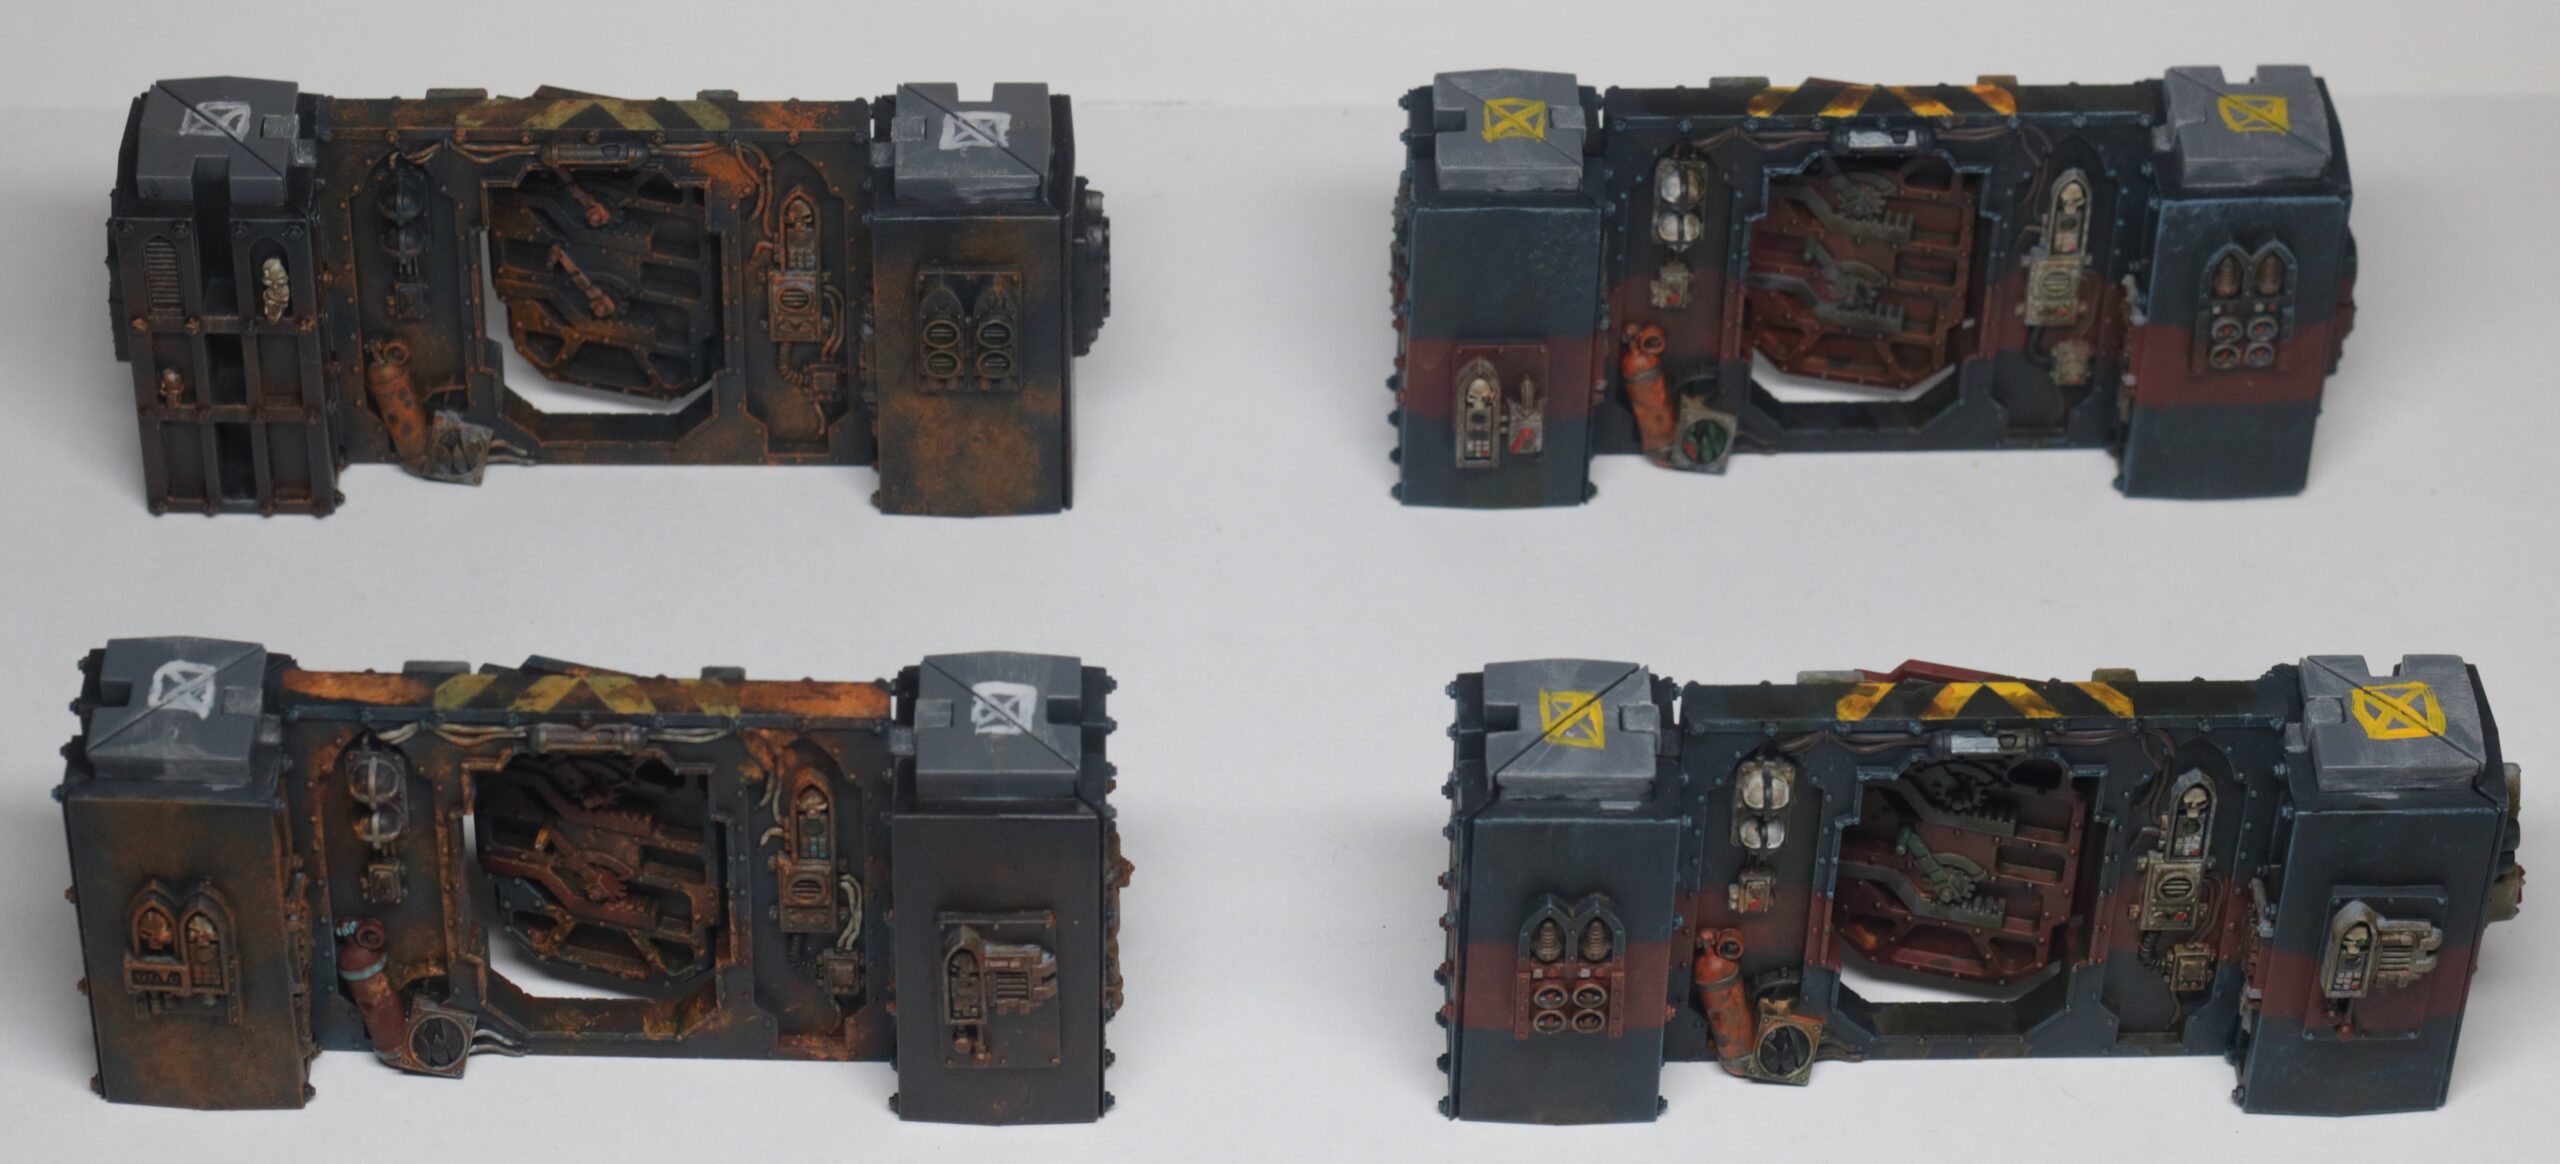
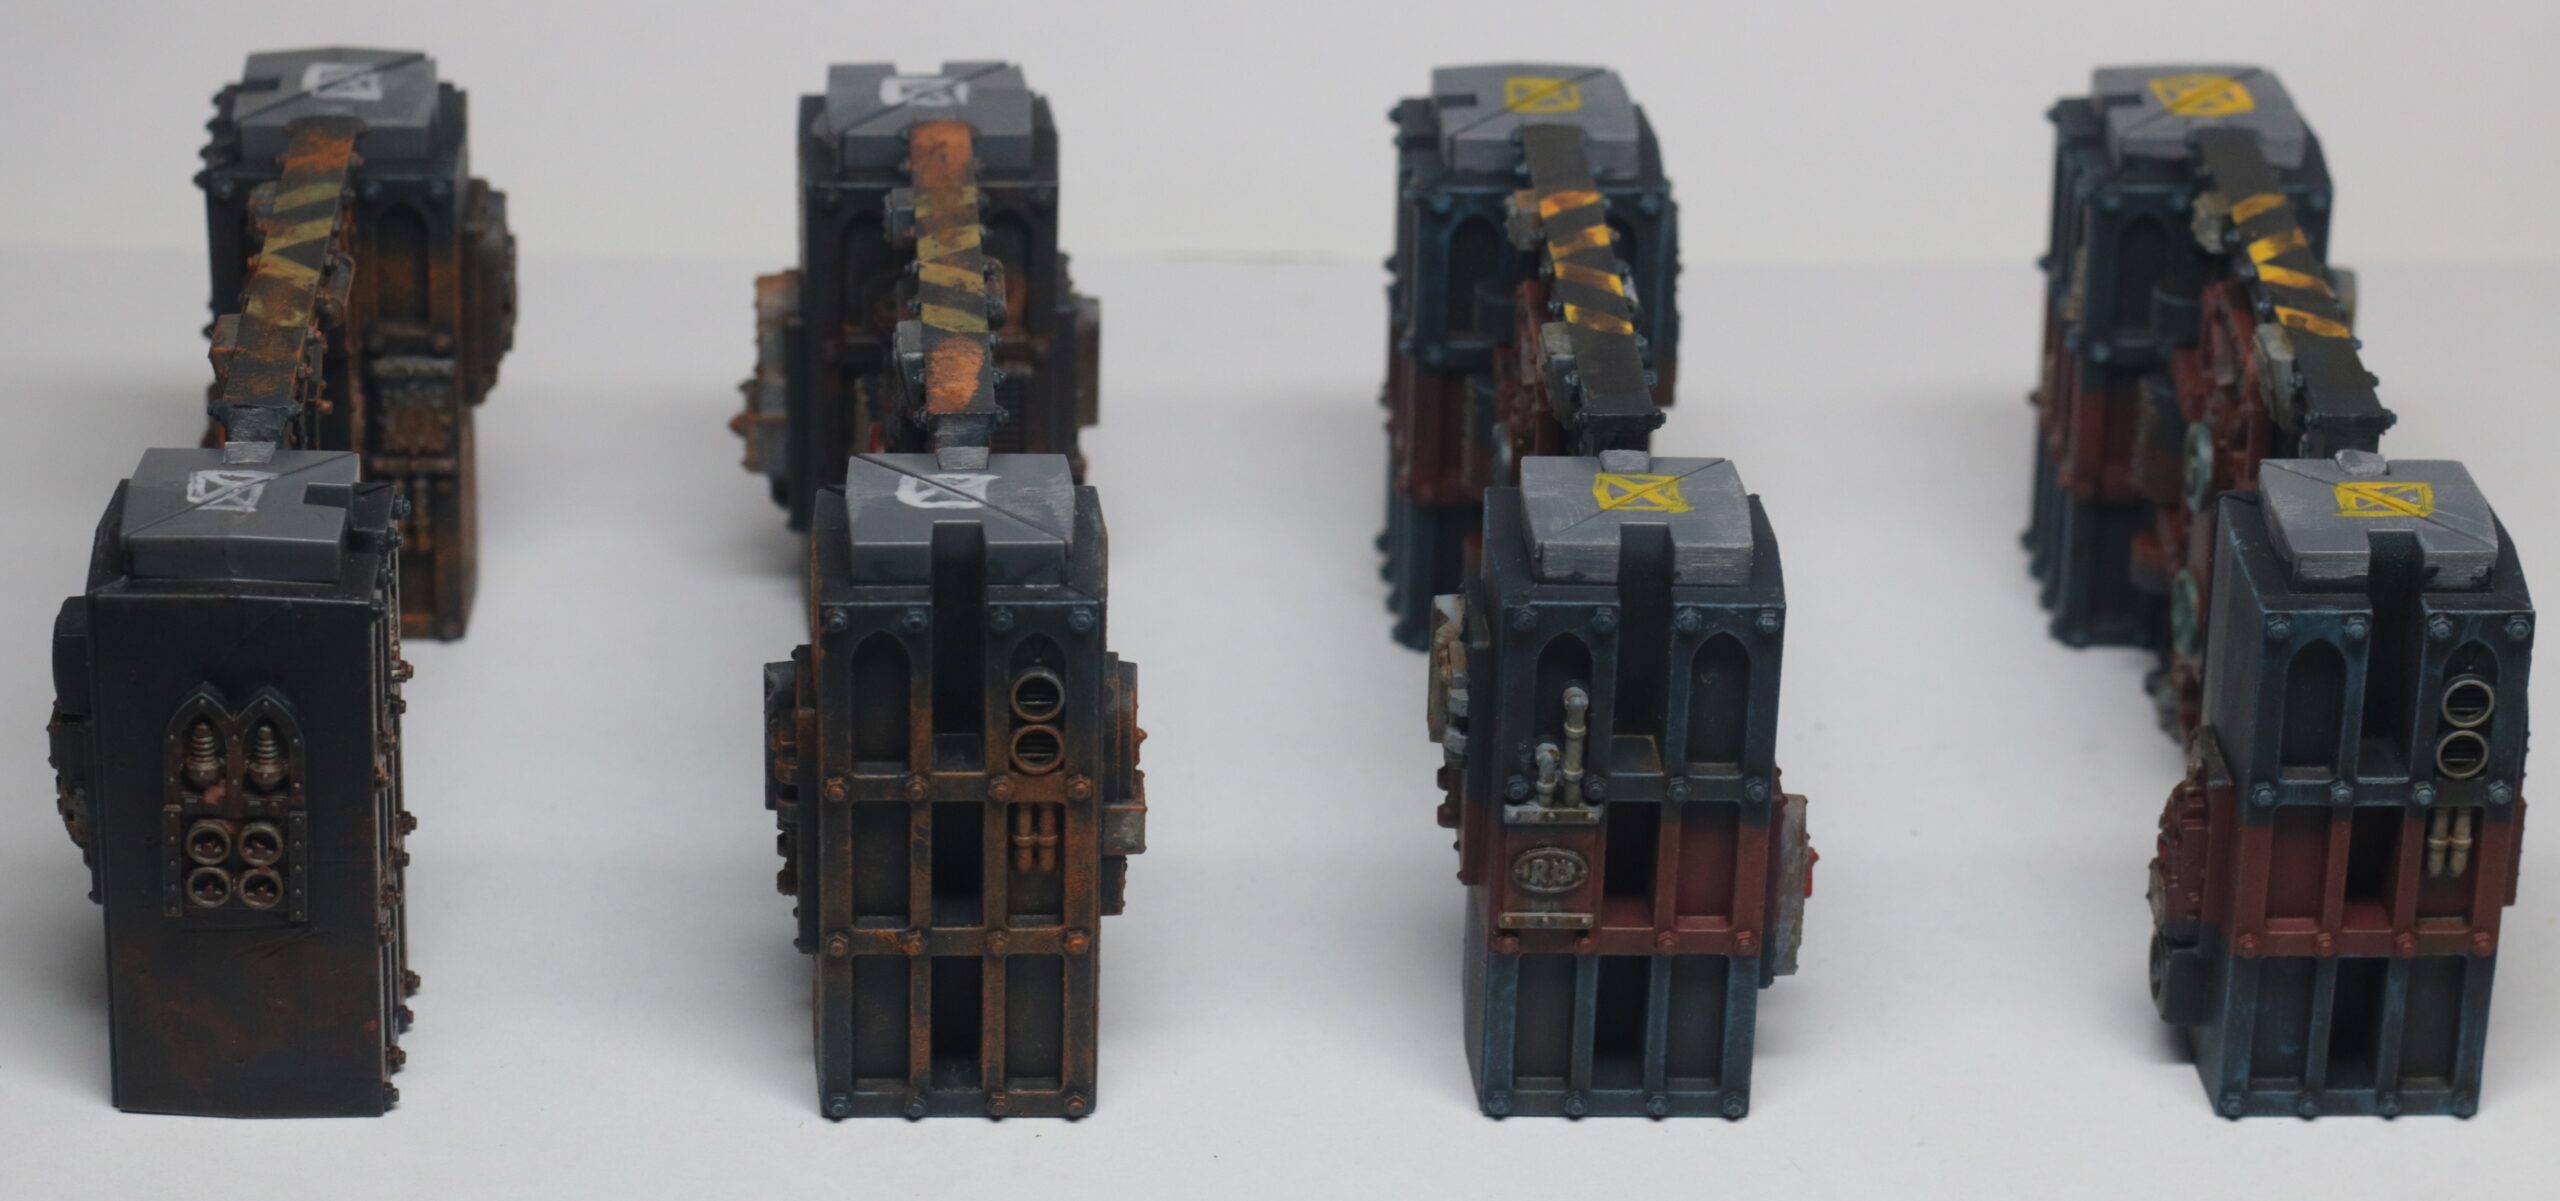
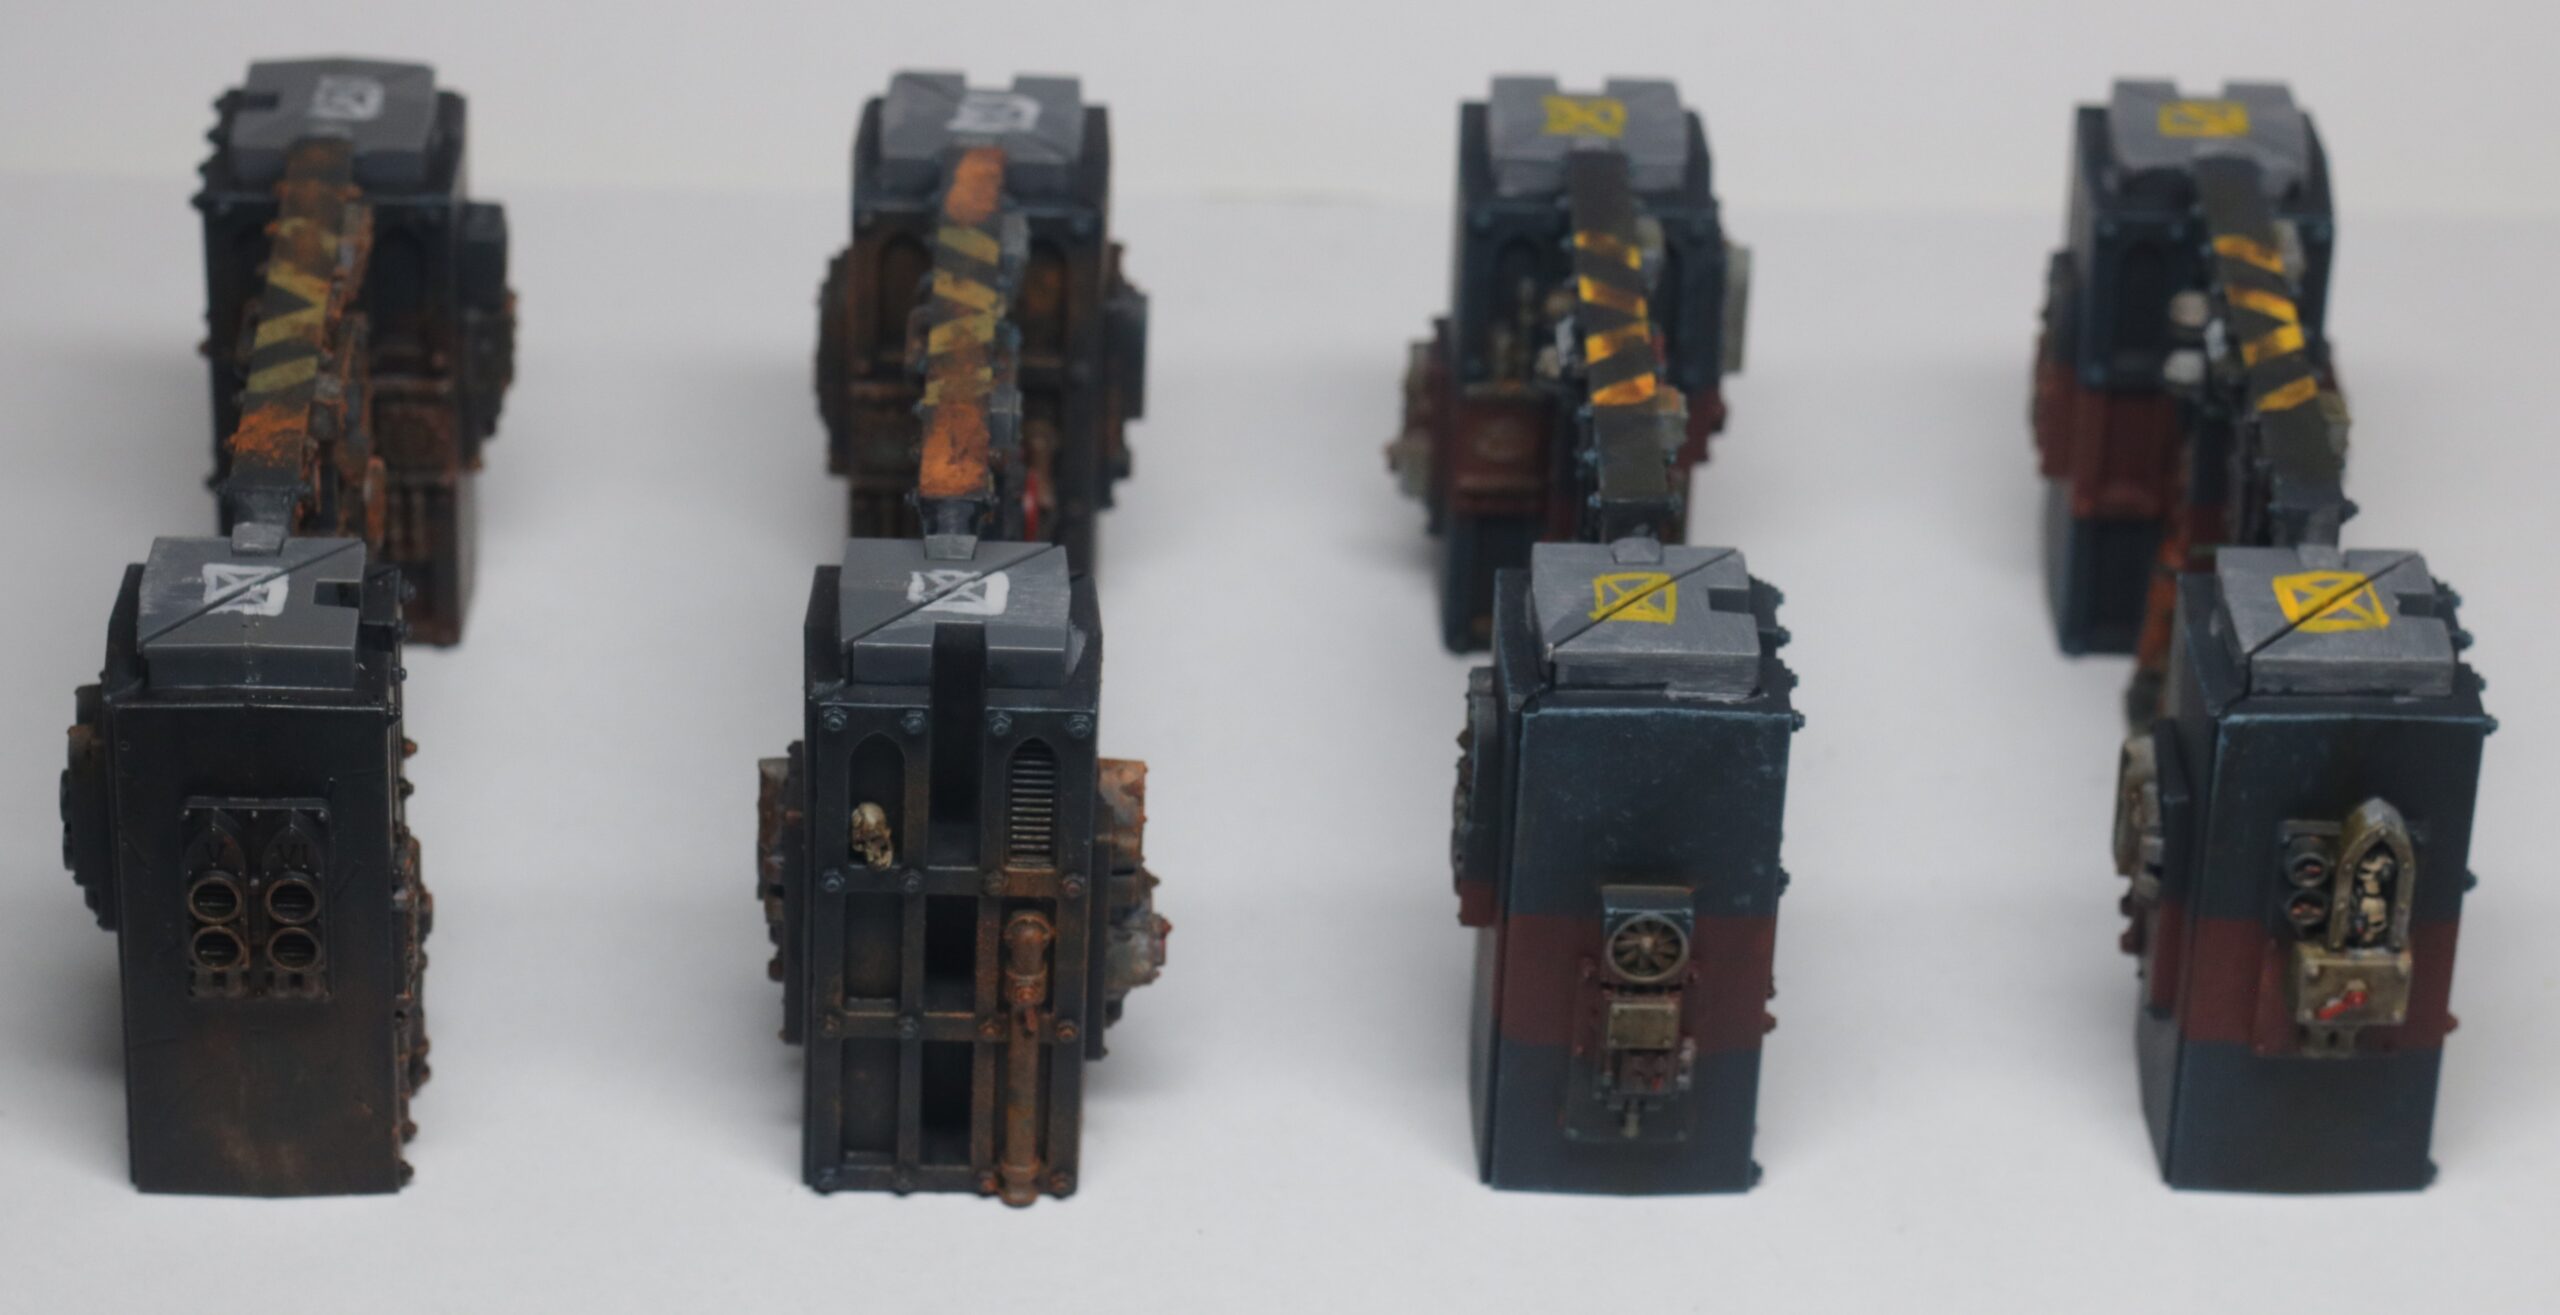
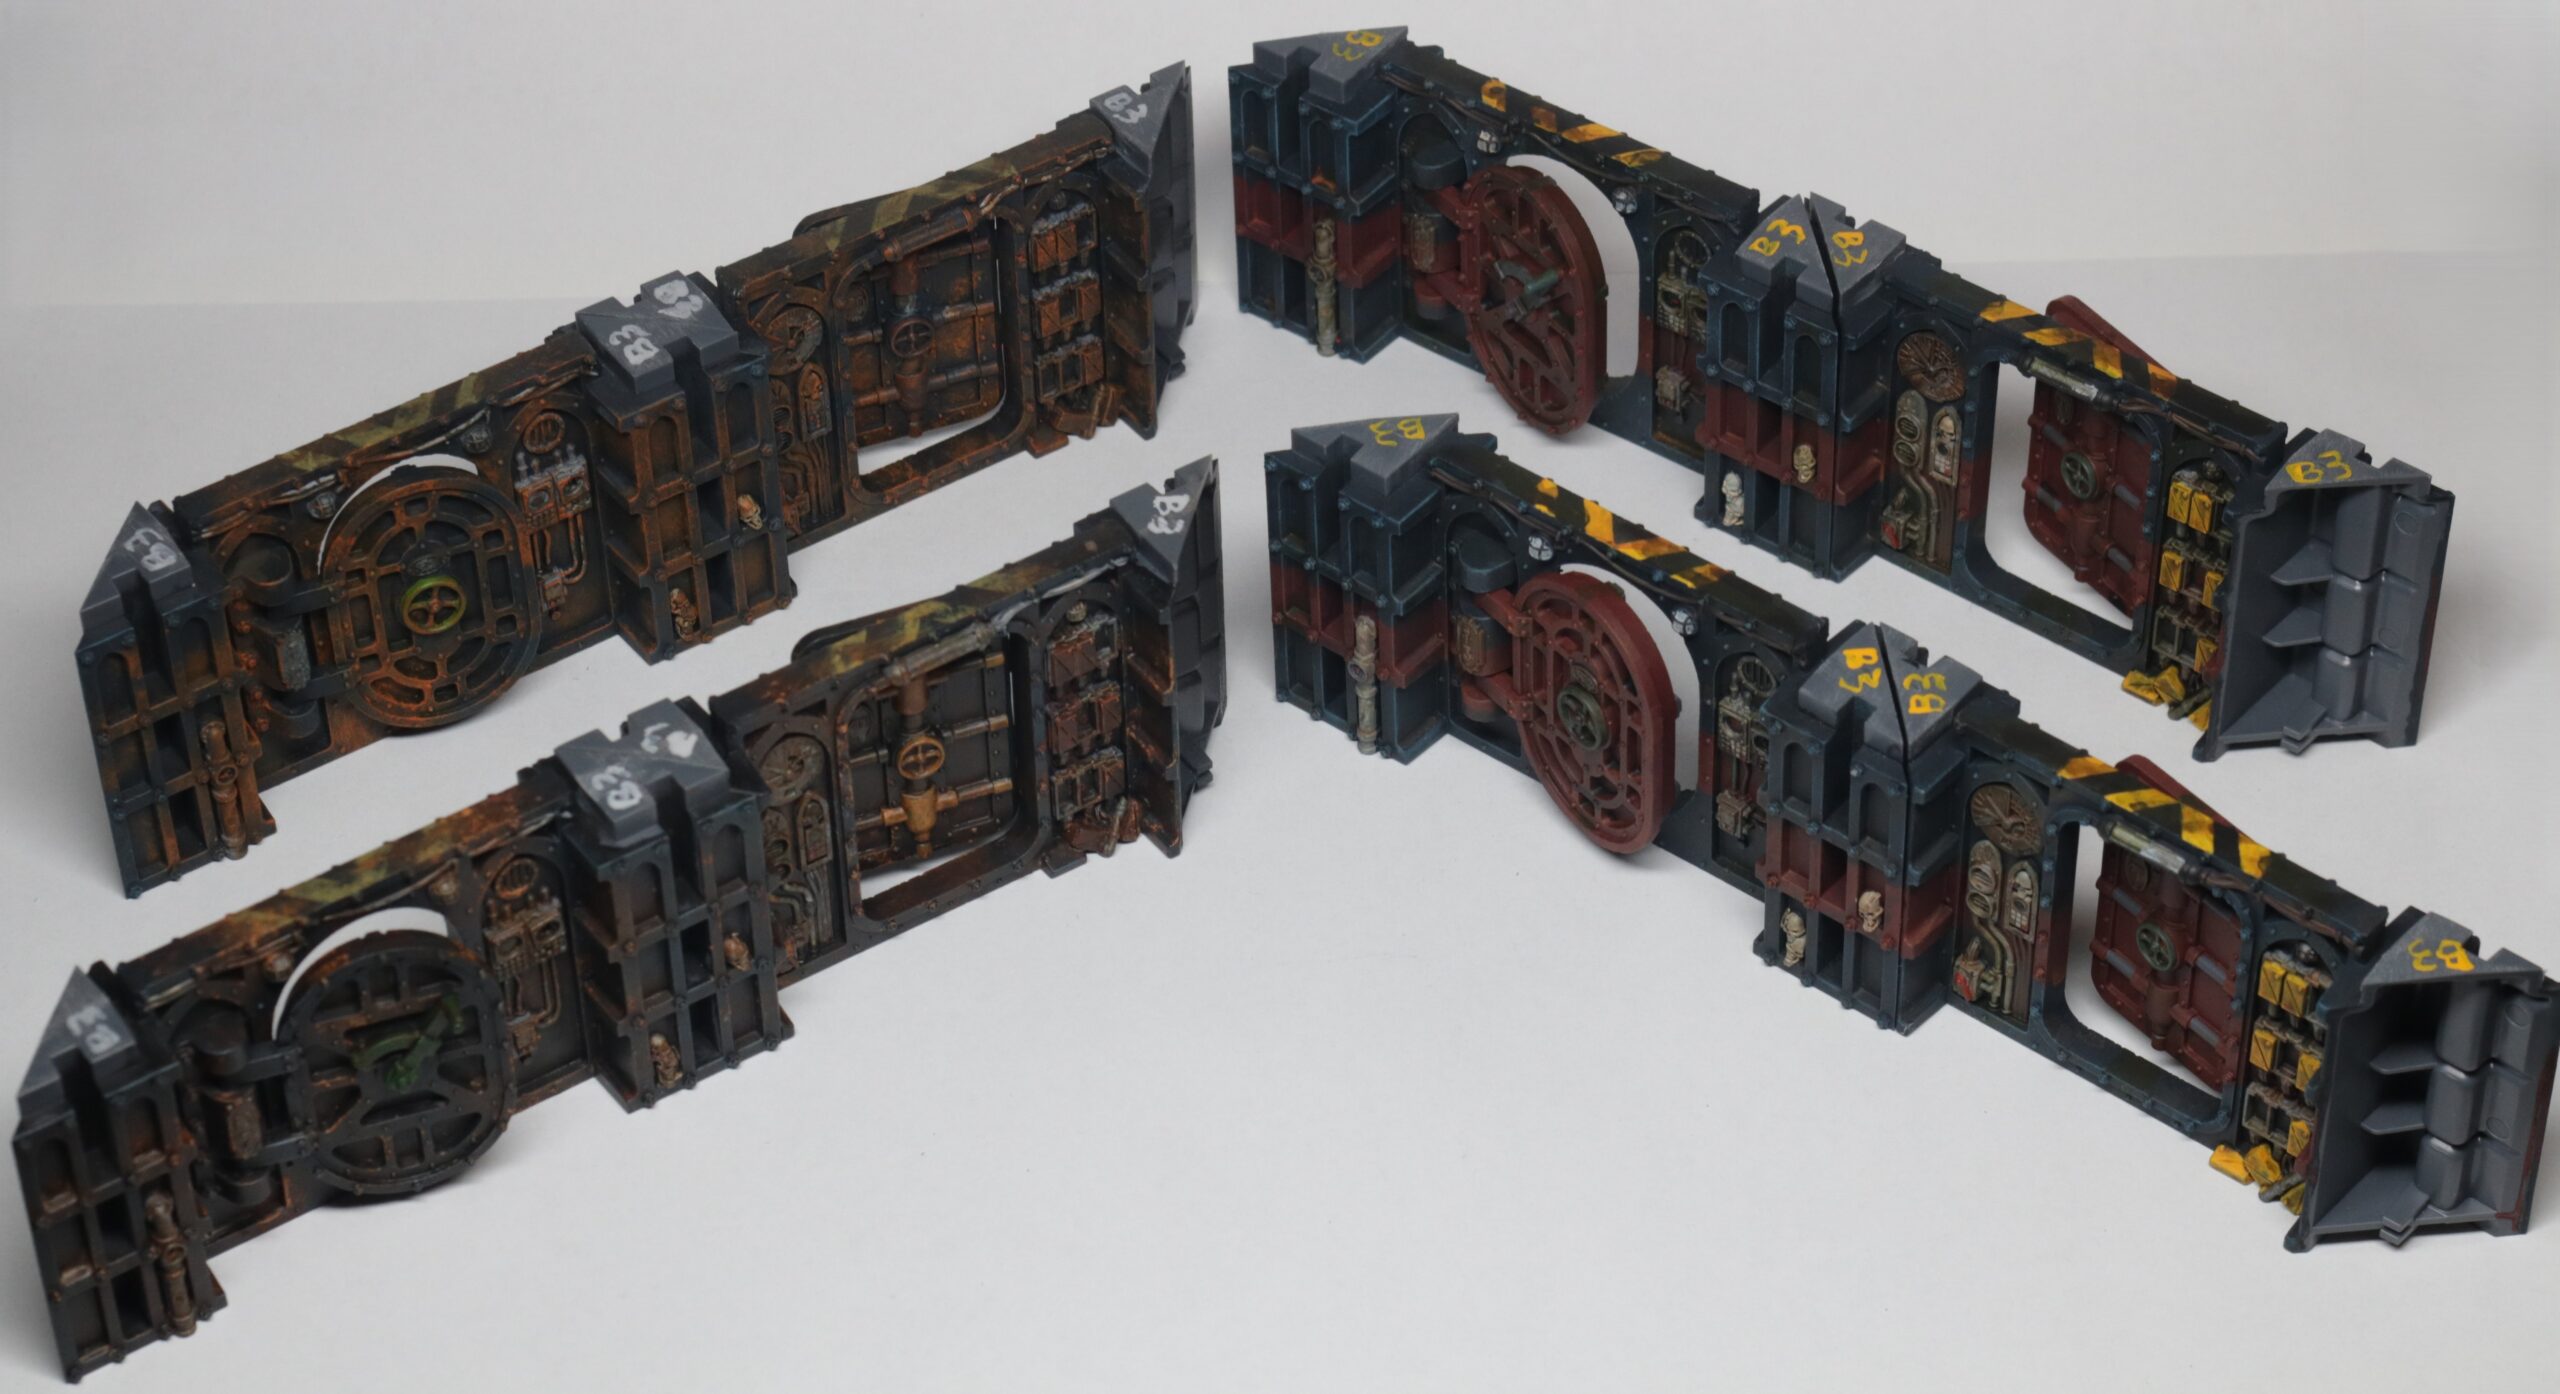
I kept this set in the office at my previous job to play the occasional game after work. This highlighted a few issues which needed to be addressed. The connection points had to be filed some more (which still wouldn’t completely fix the issue), and part numbers were added to help set up mission scenarios faster. I had seen people paint hazard stripes over doors to make them easier to identify, I painted these in a chevron pattern to additionally indicate the direction that the doors open.
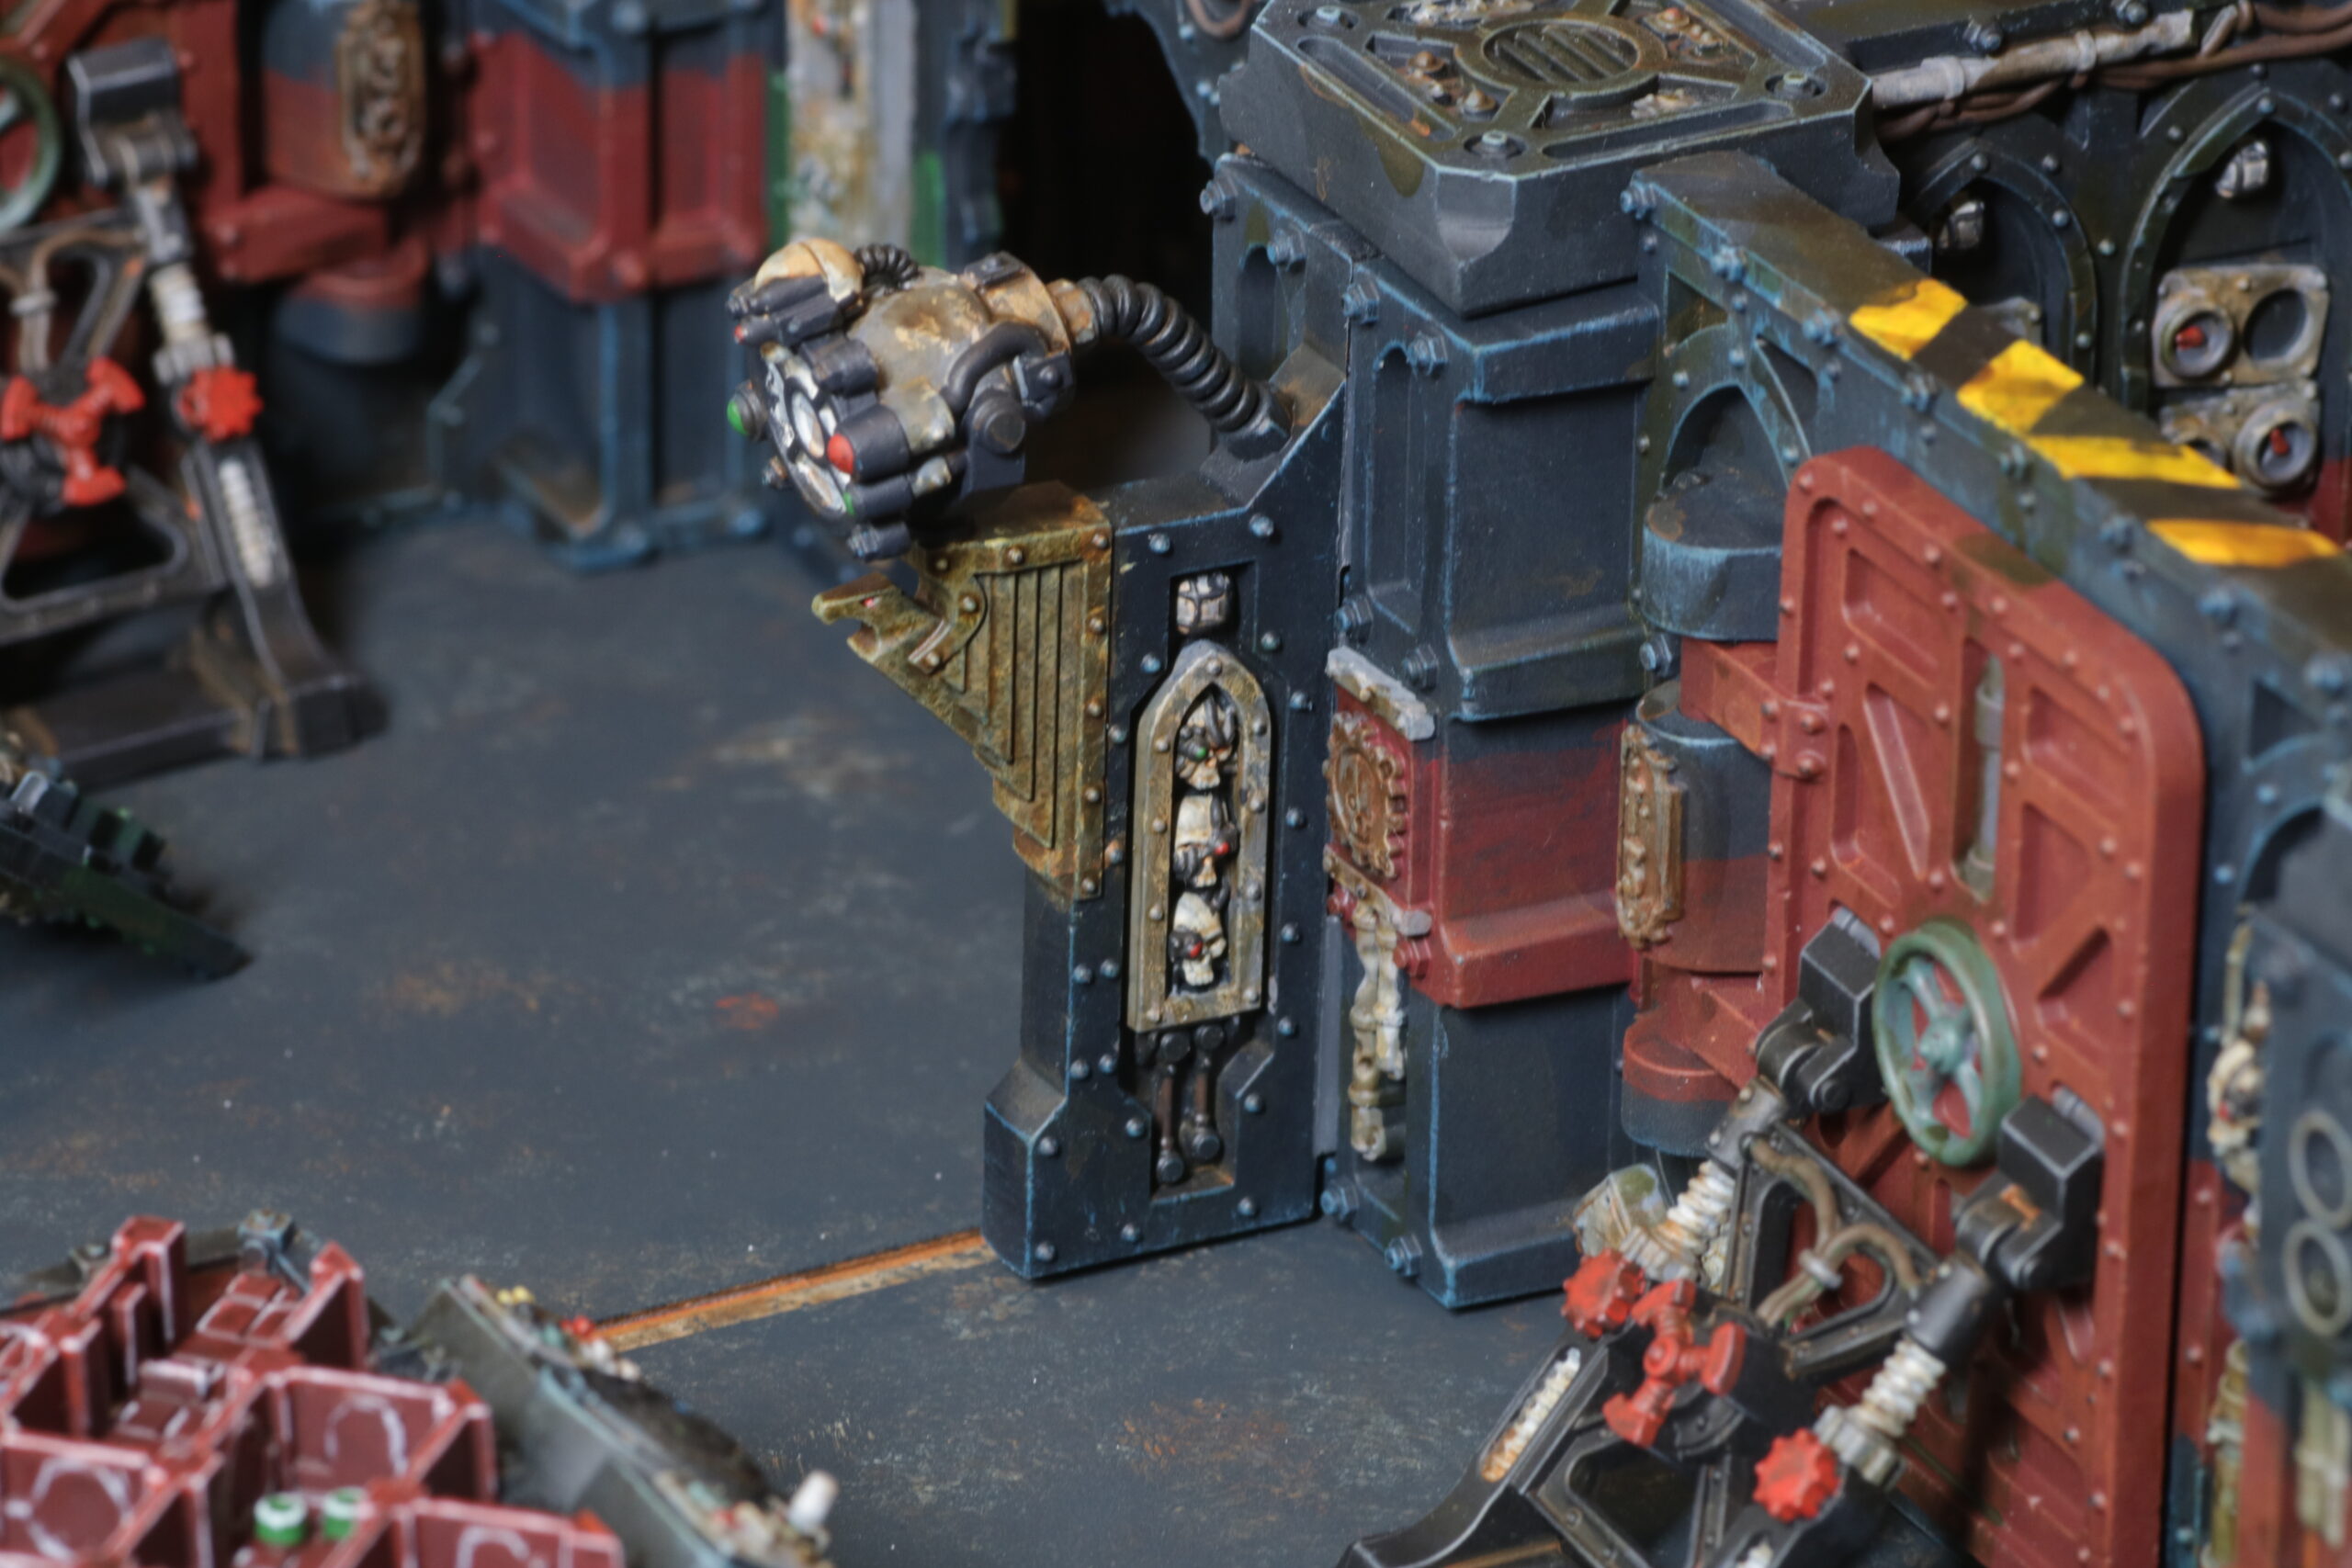
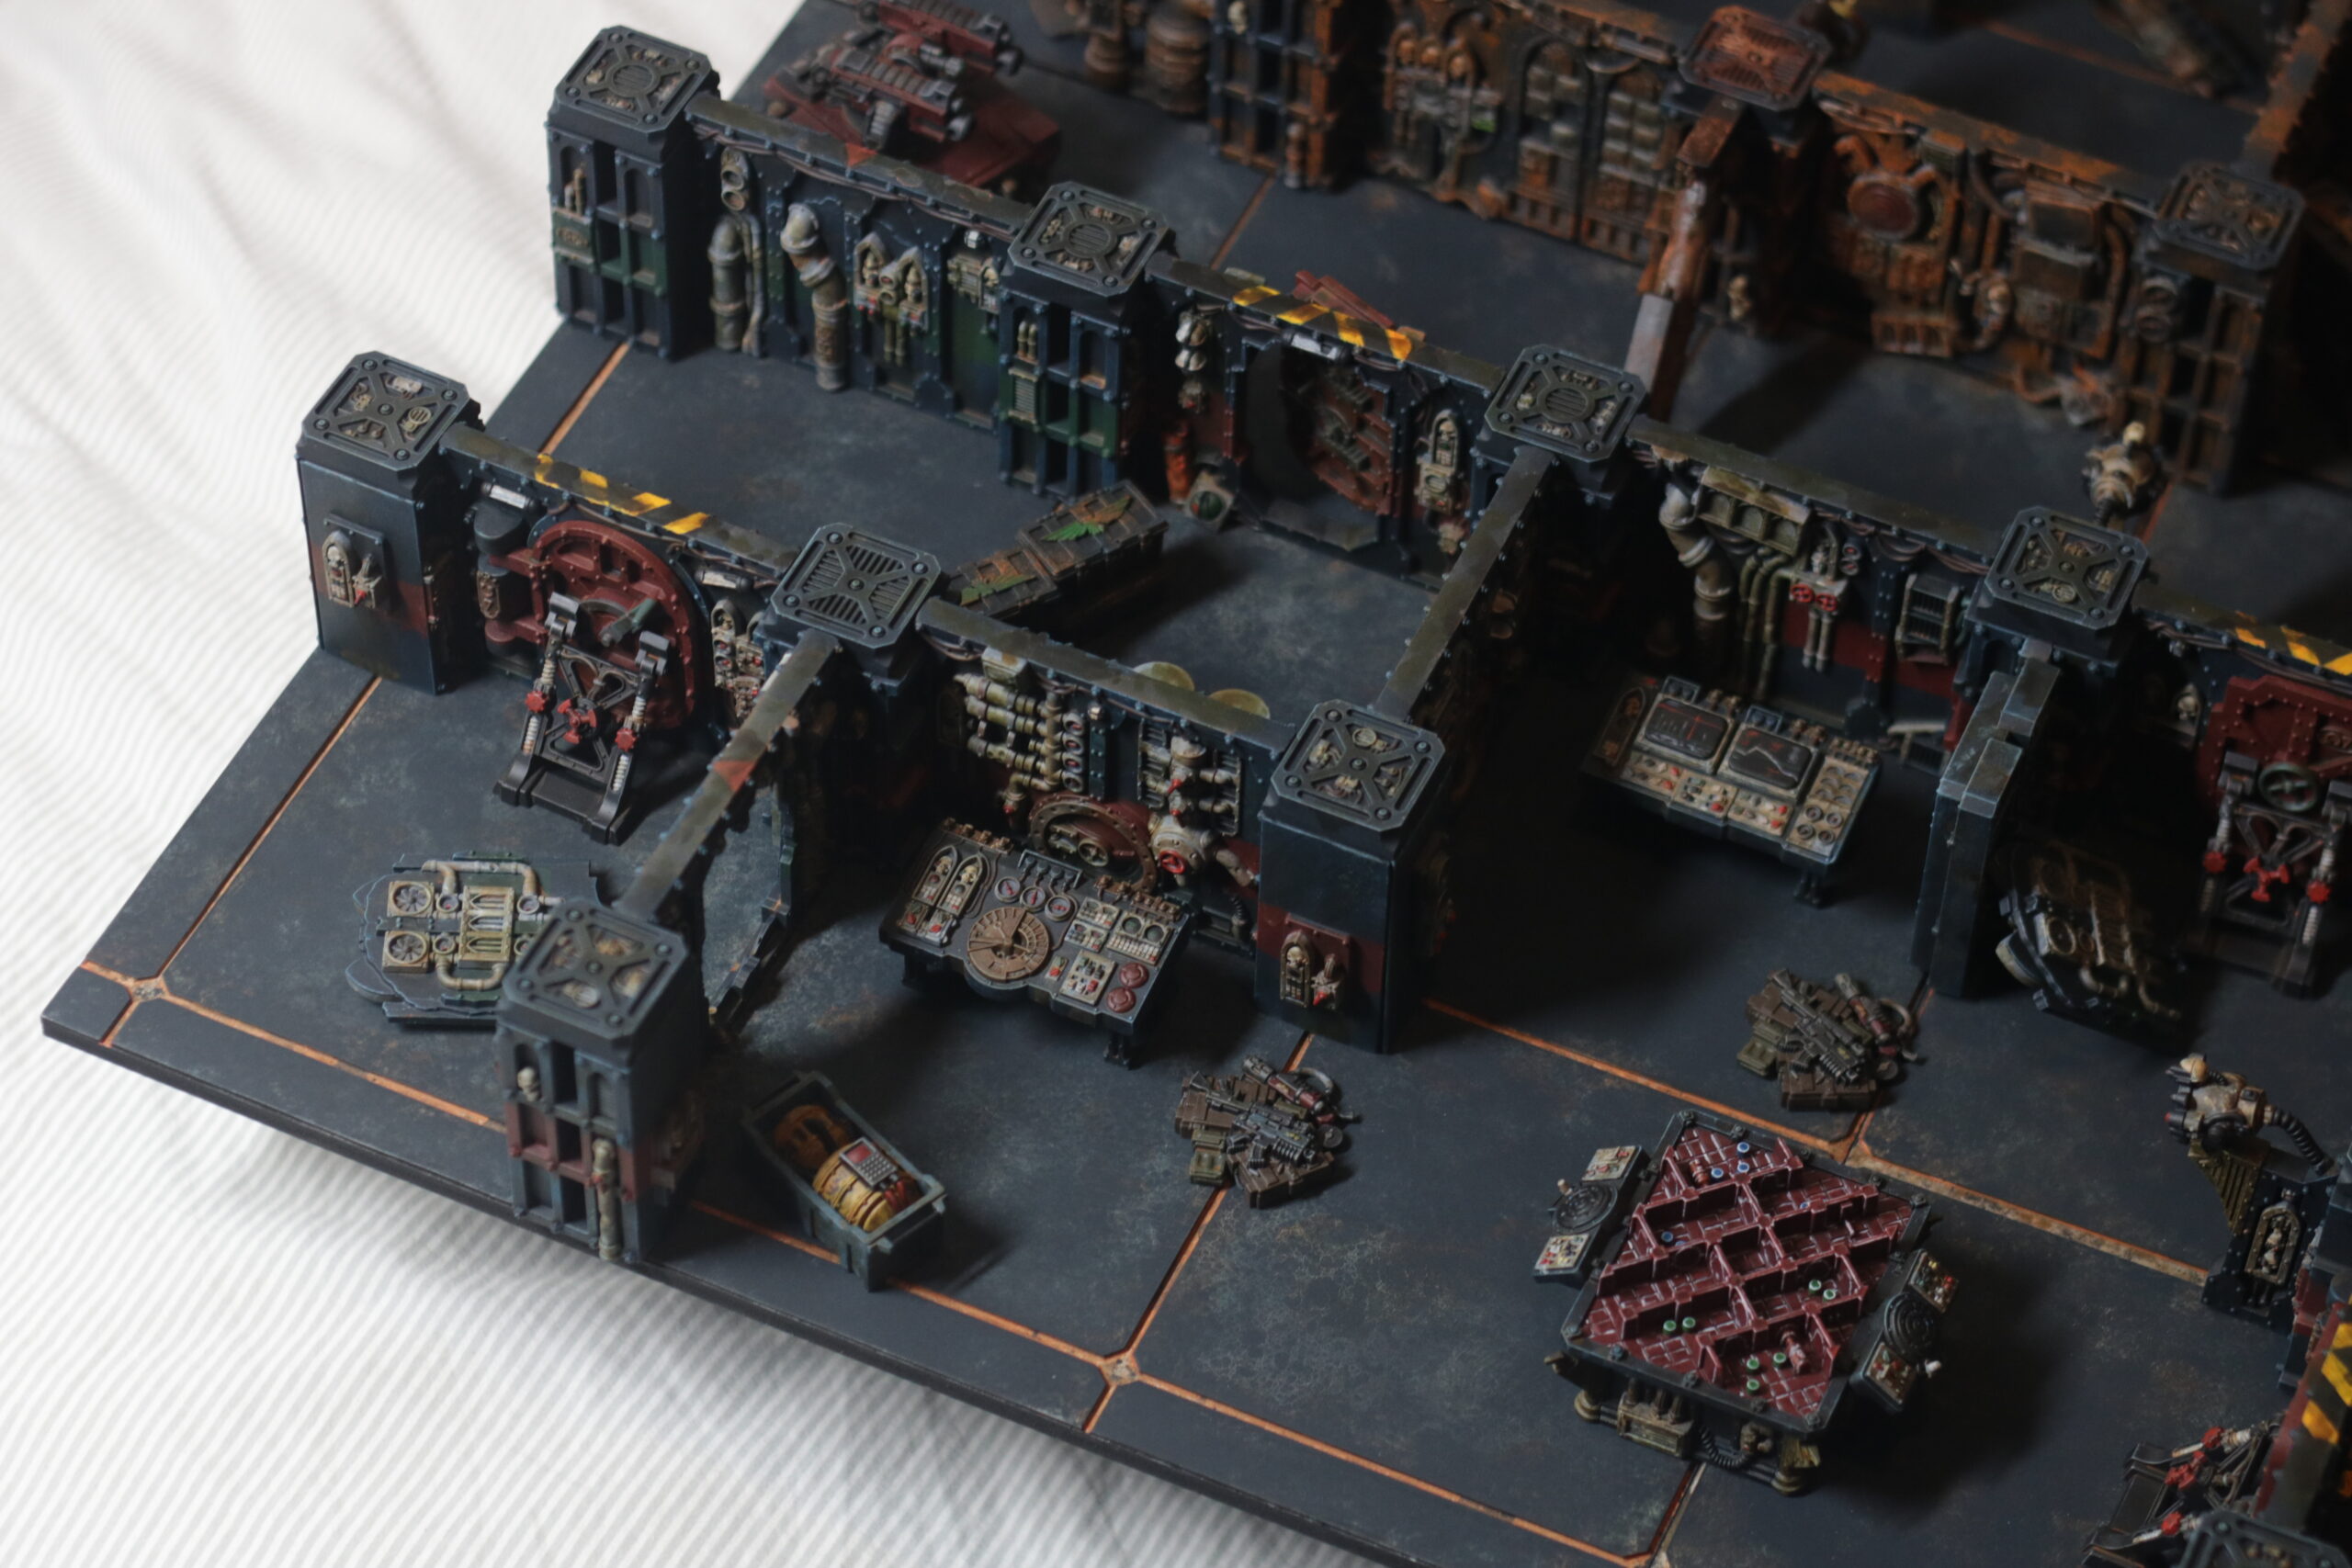
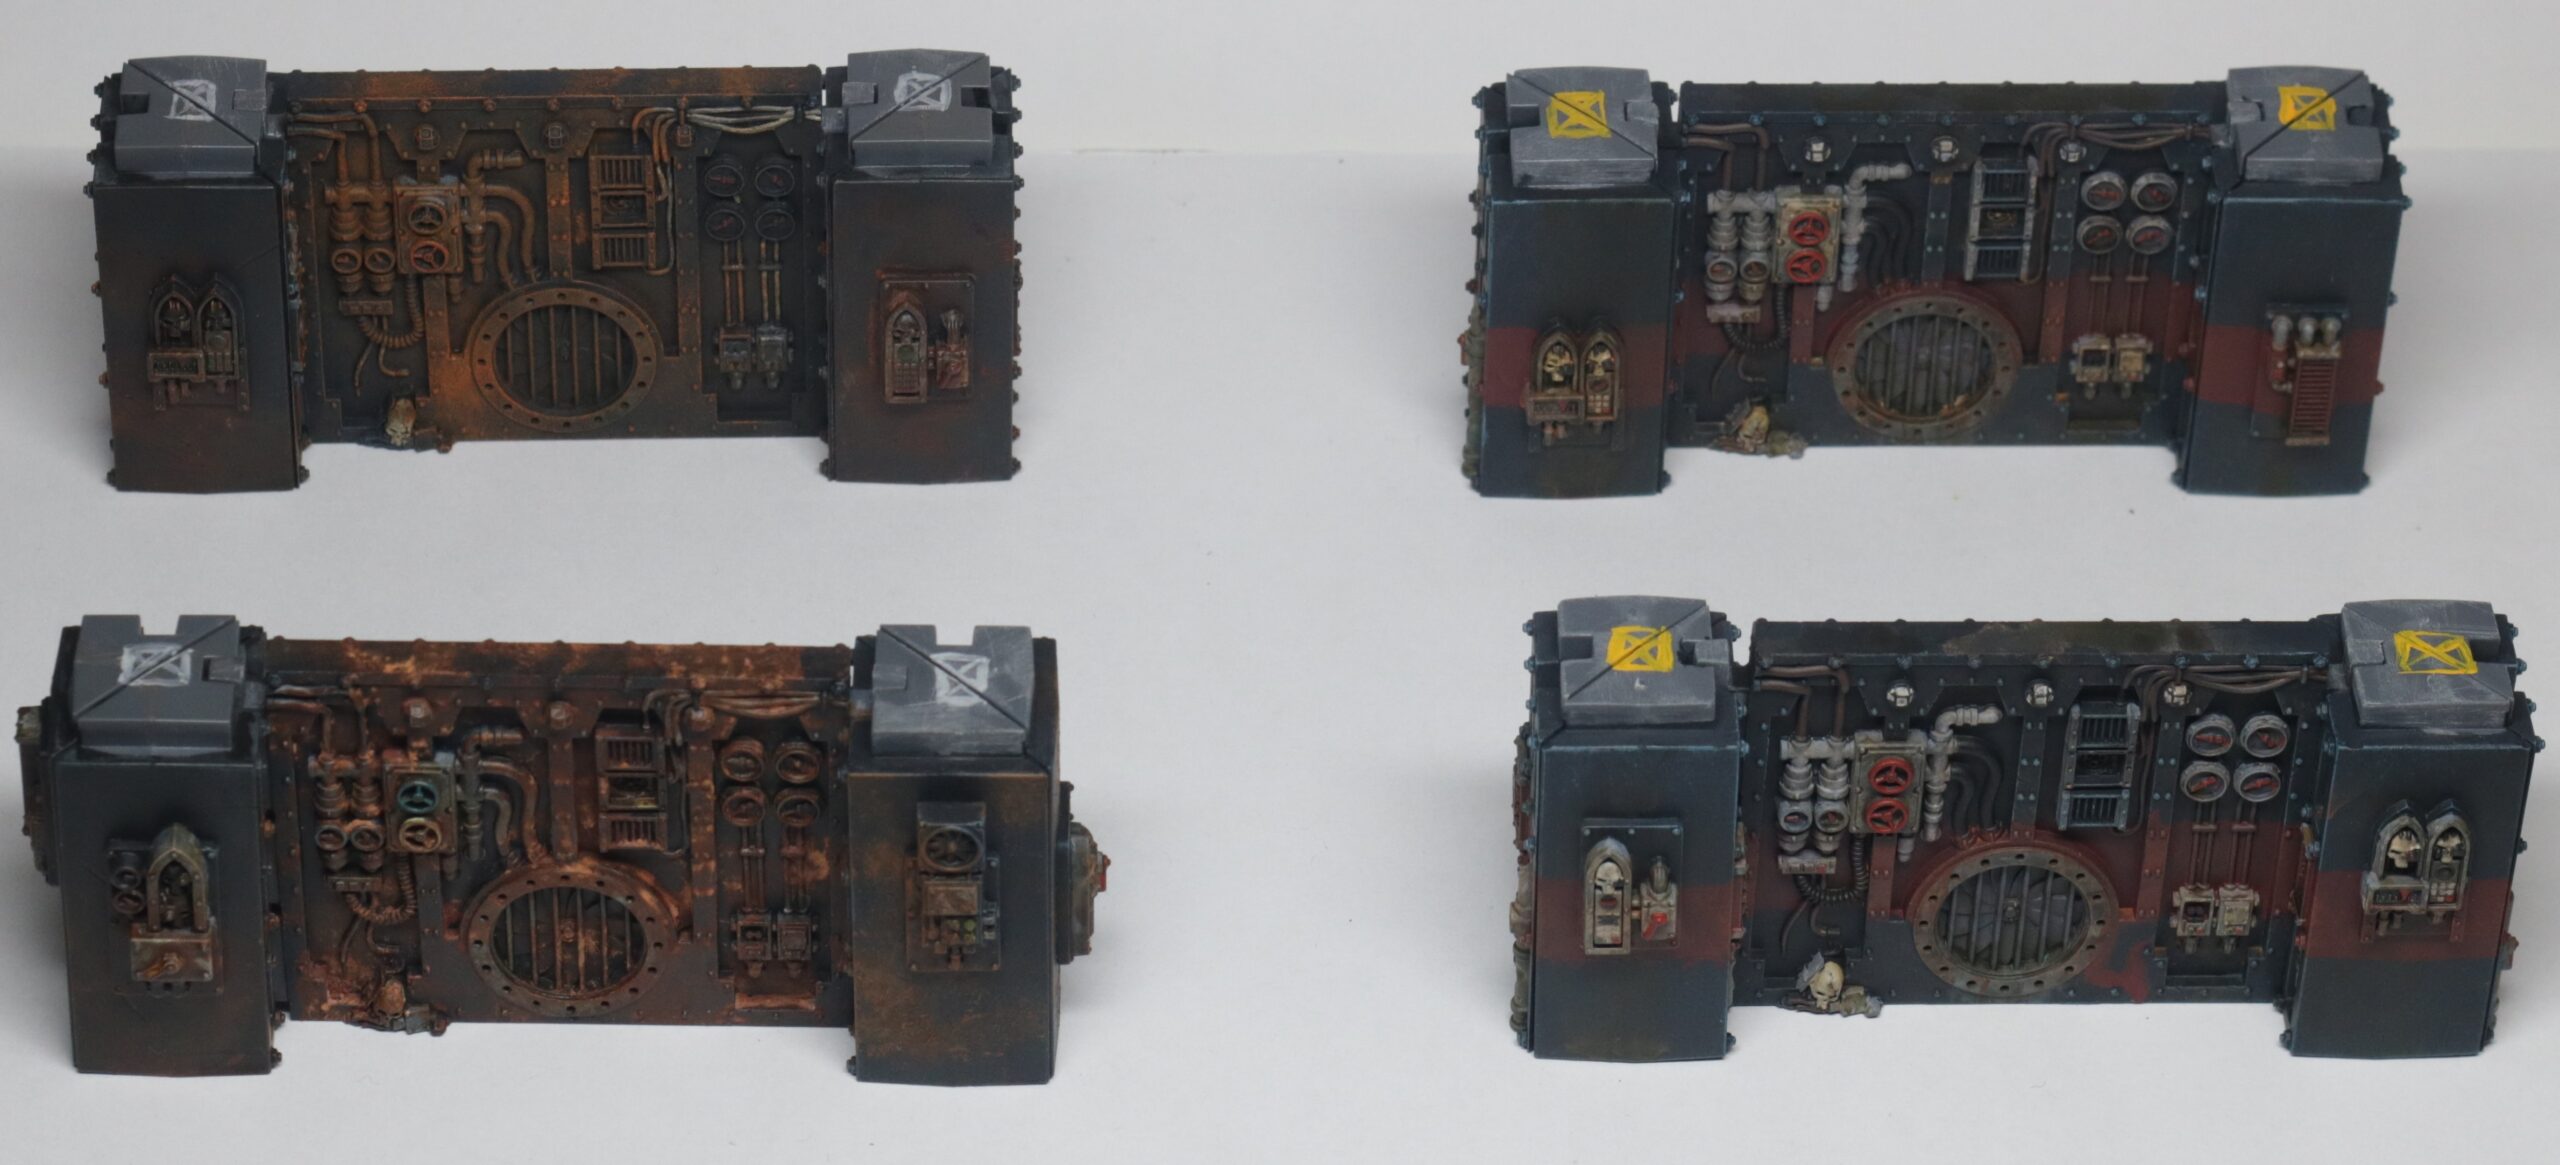
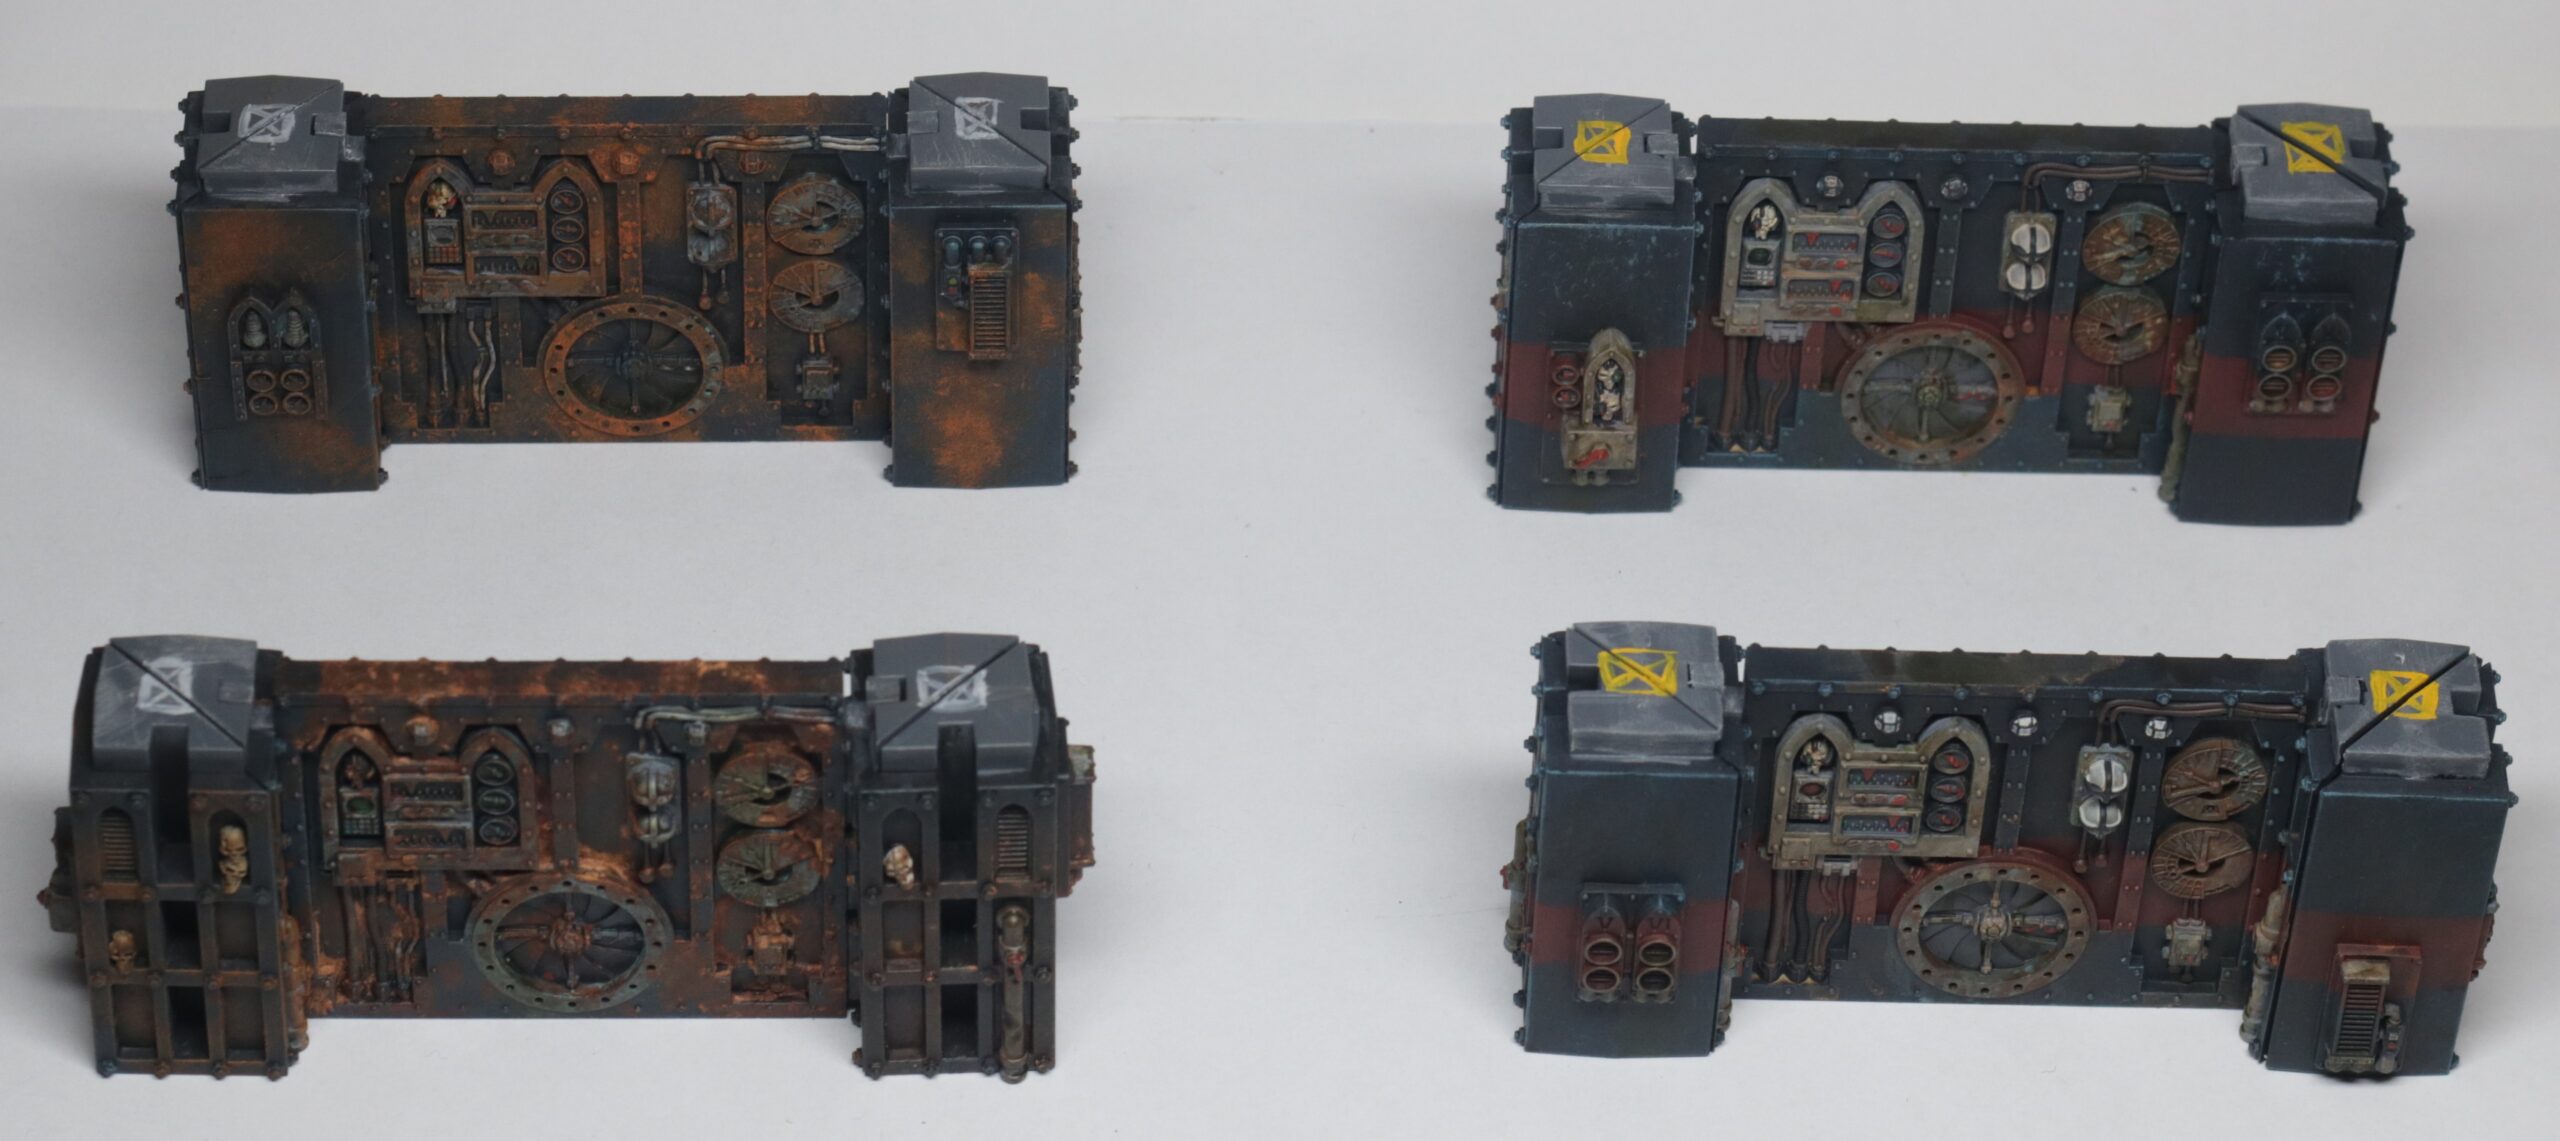
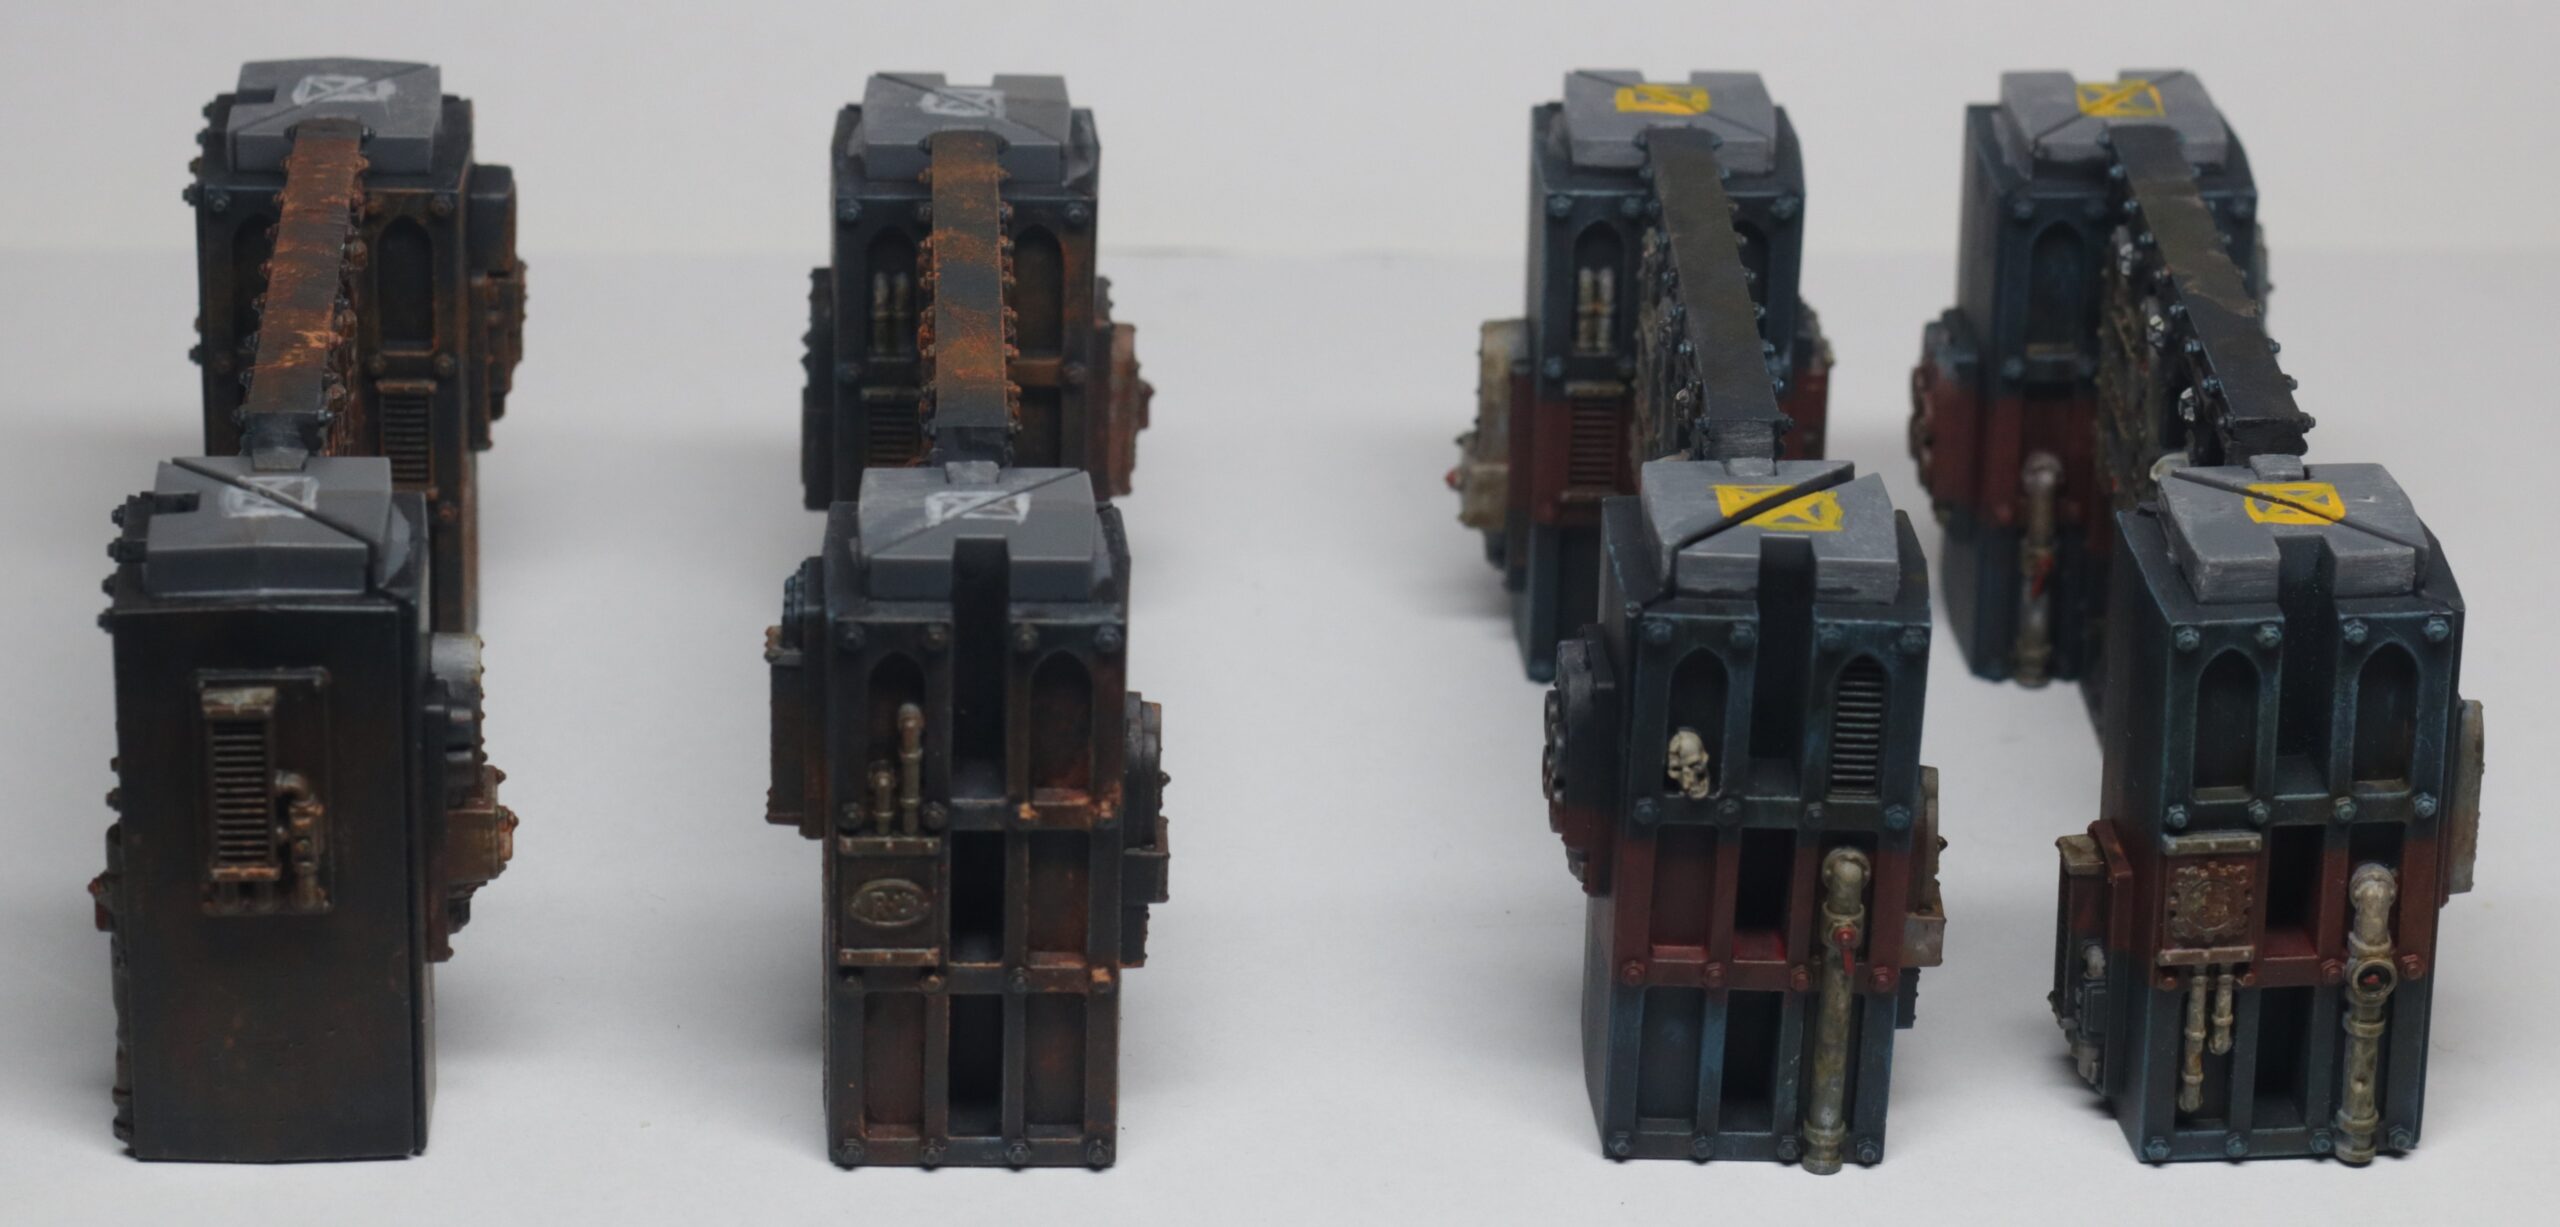
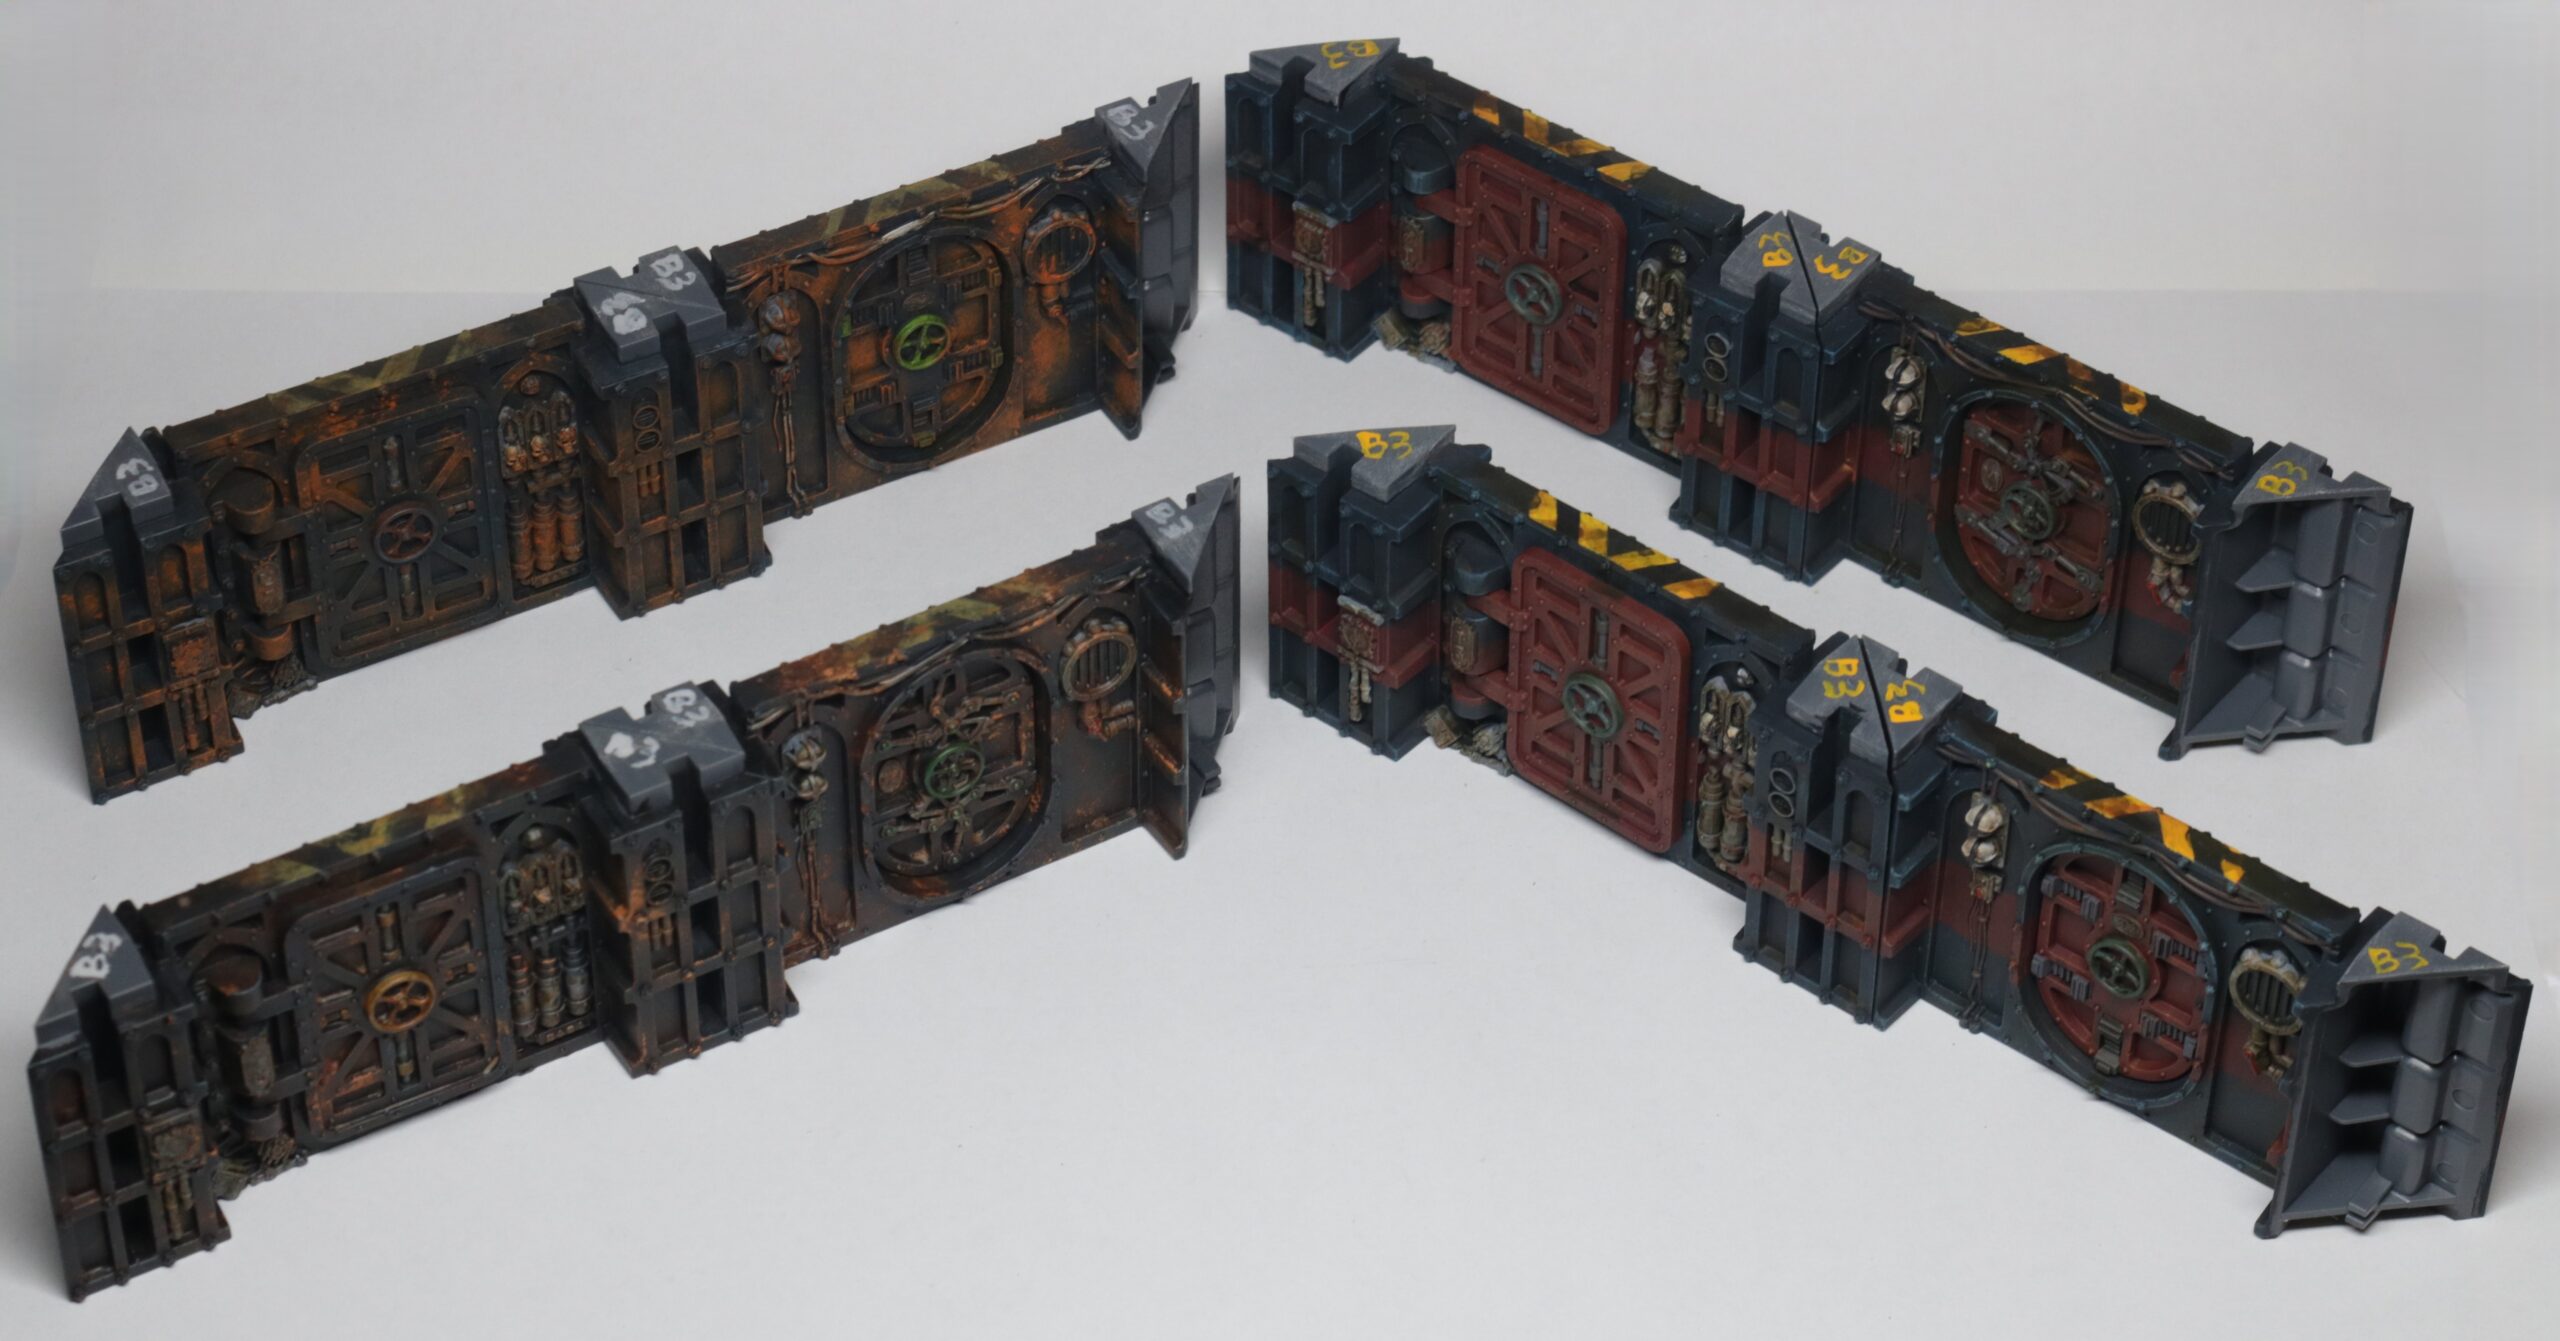
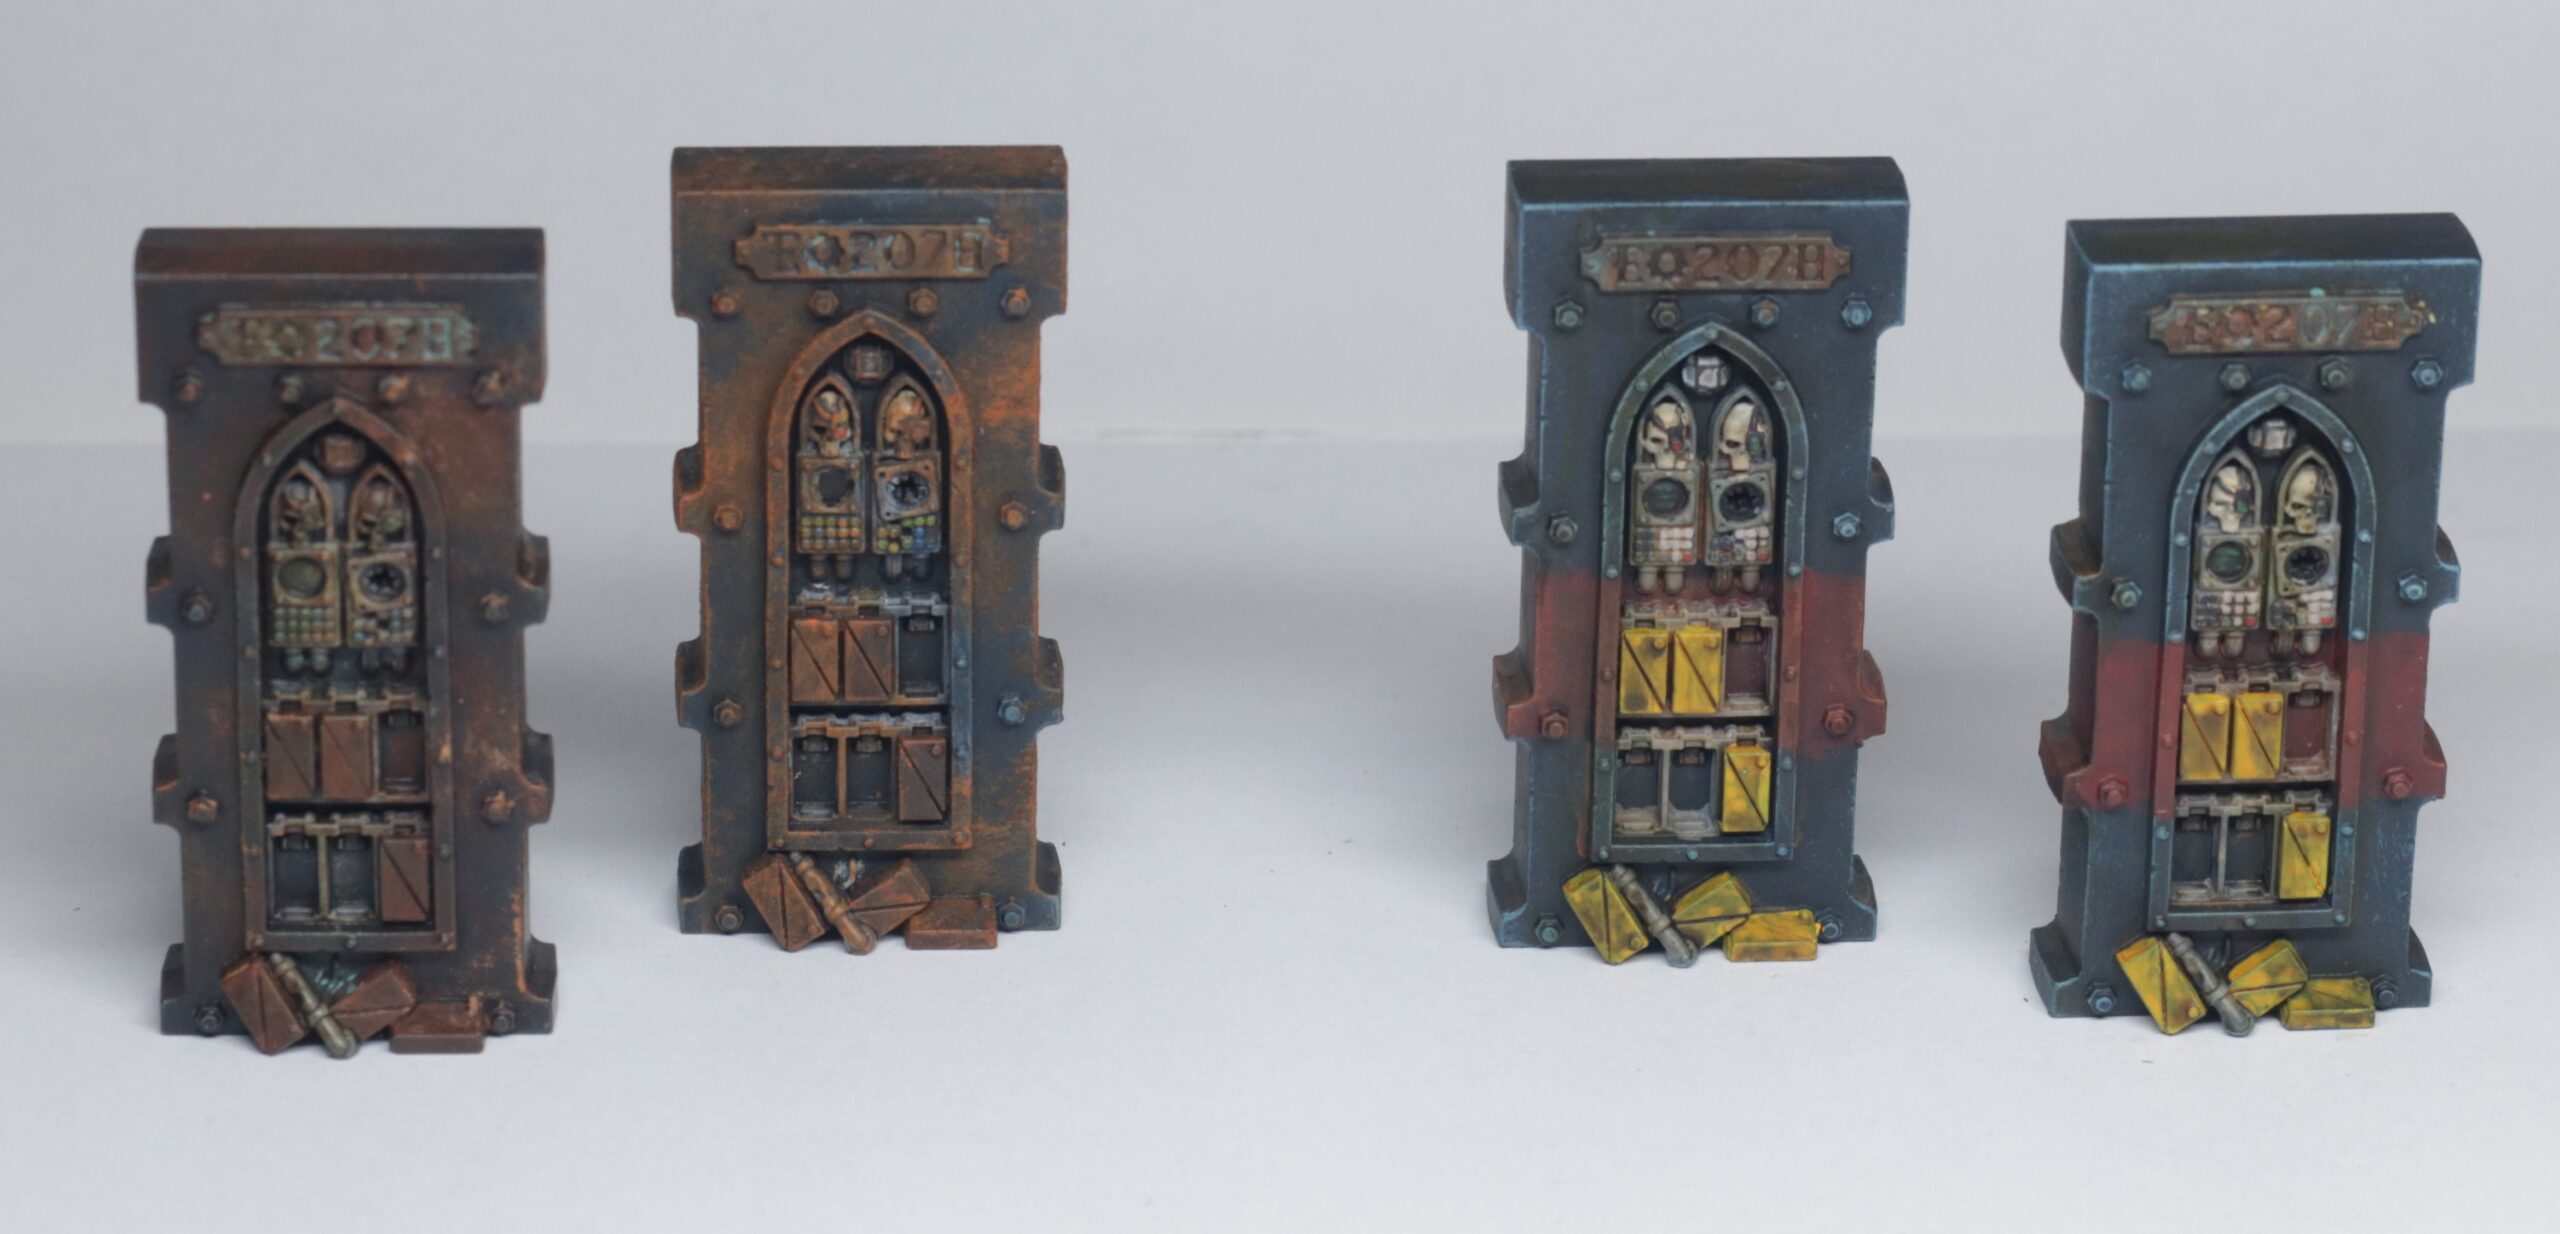
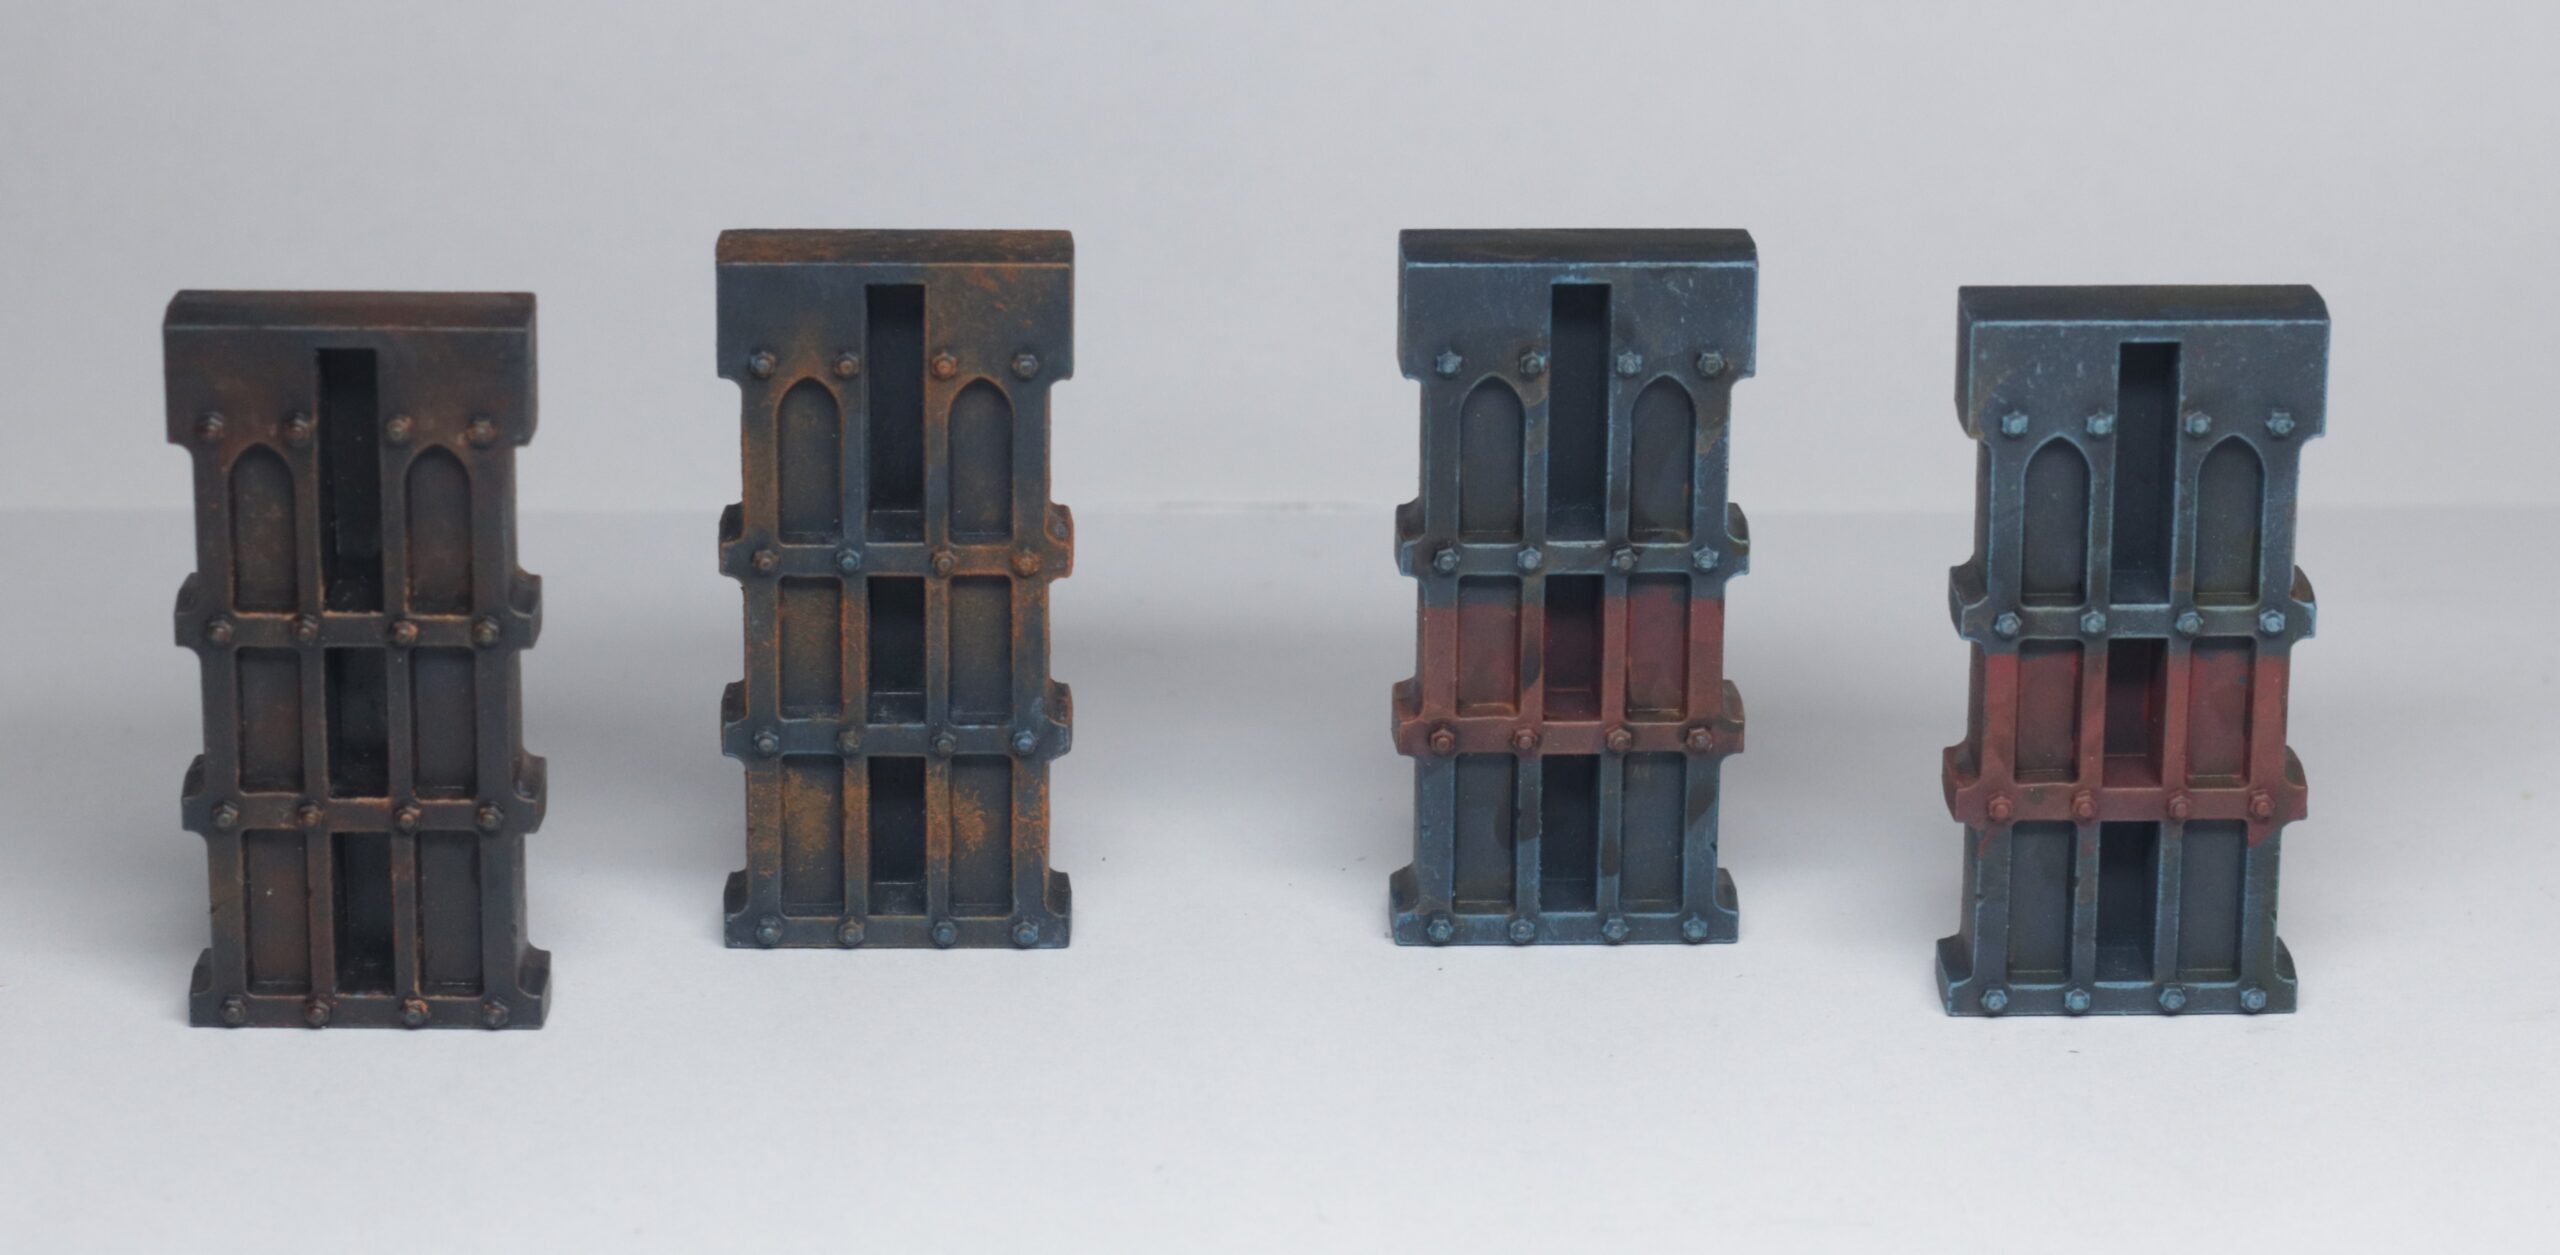
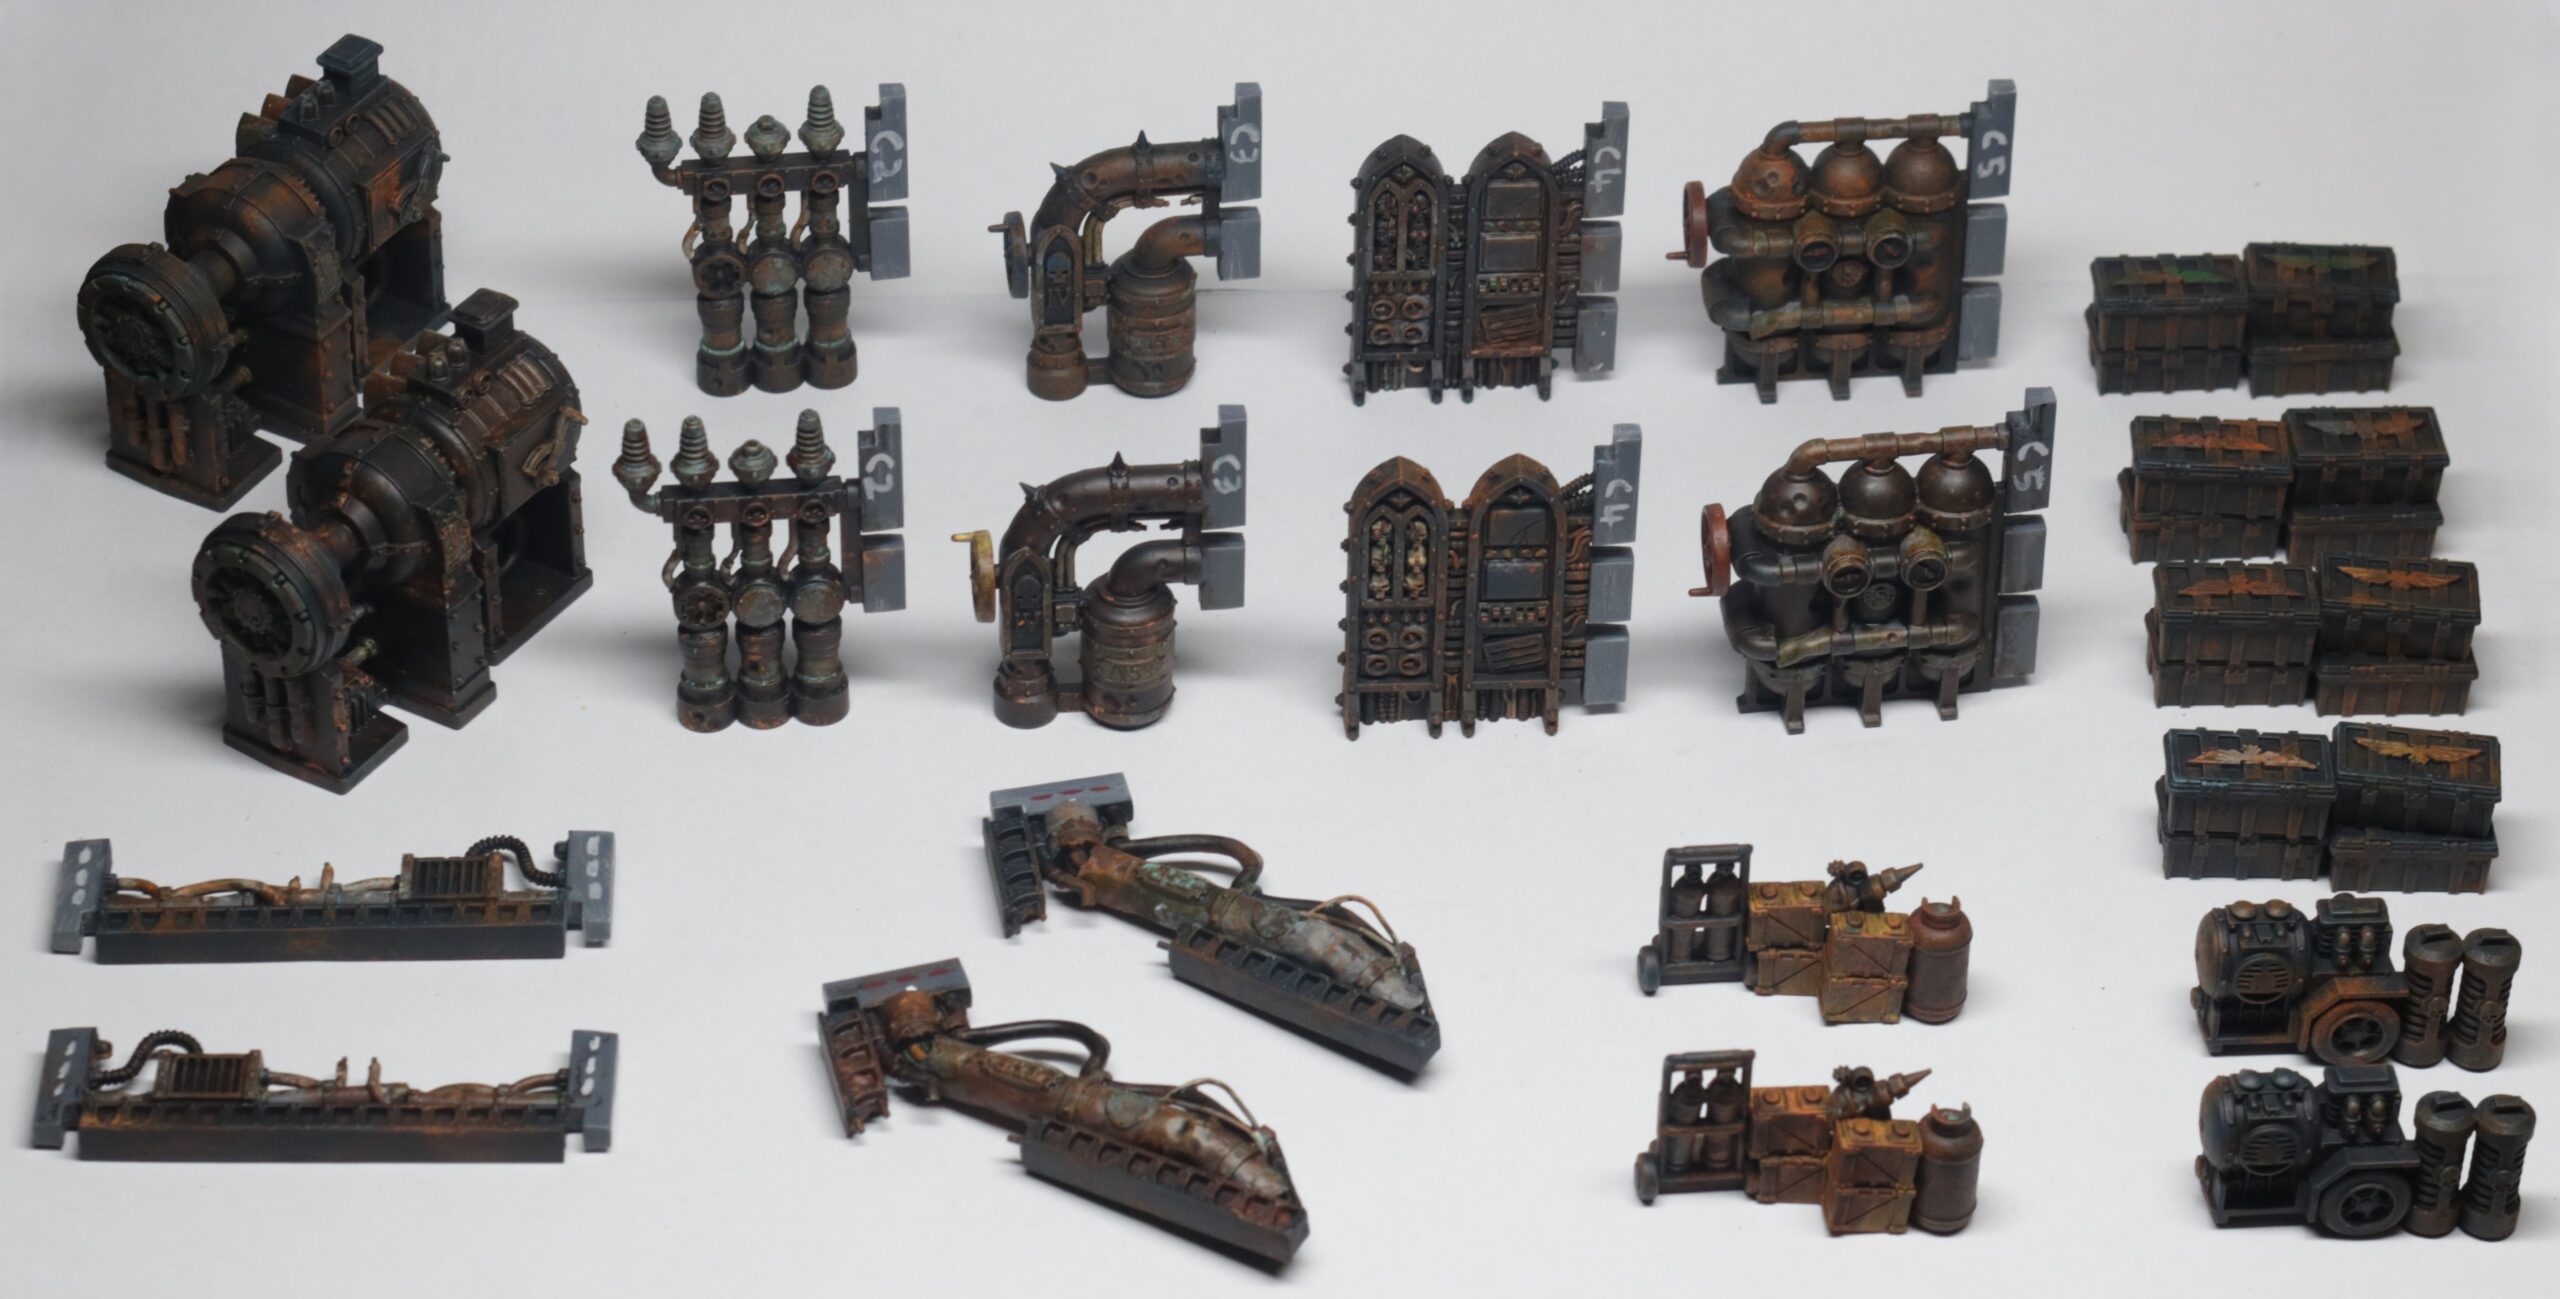
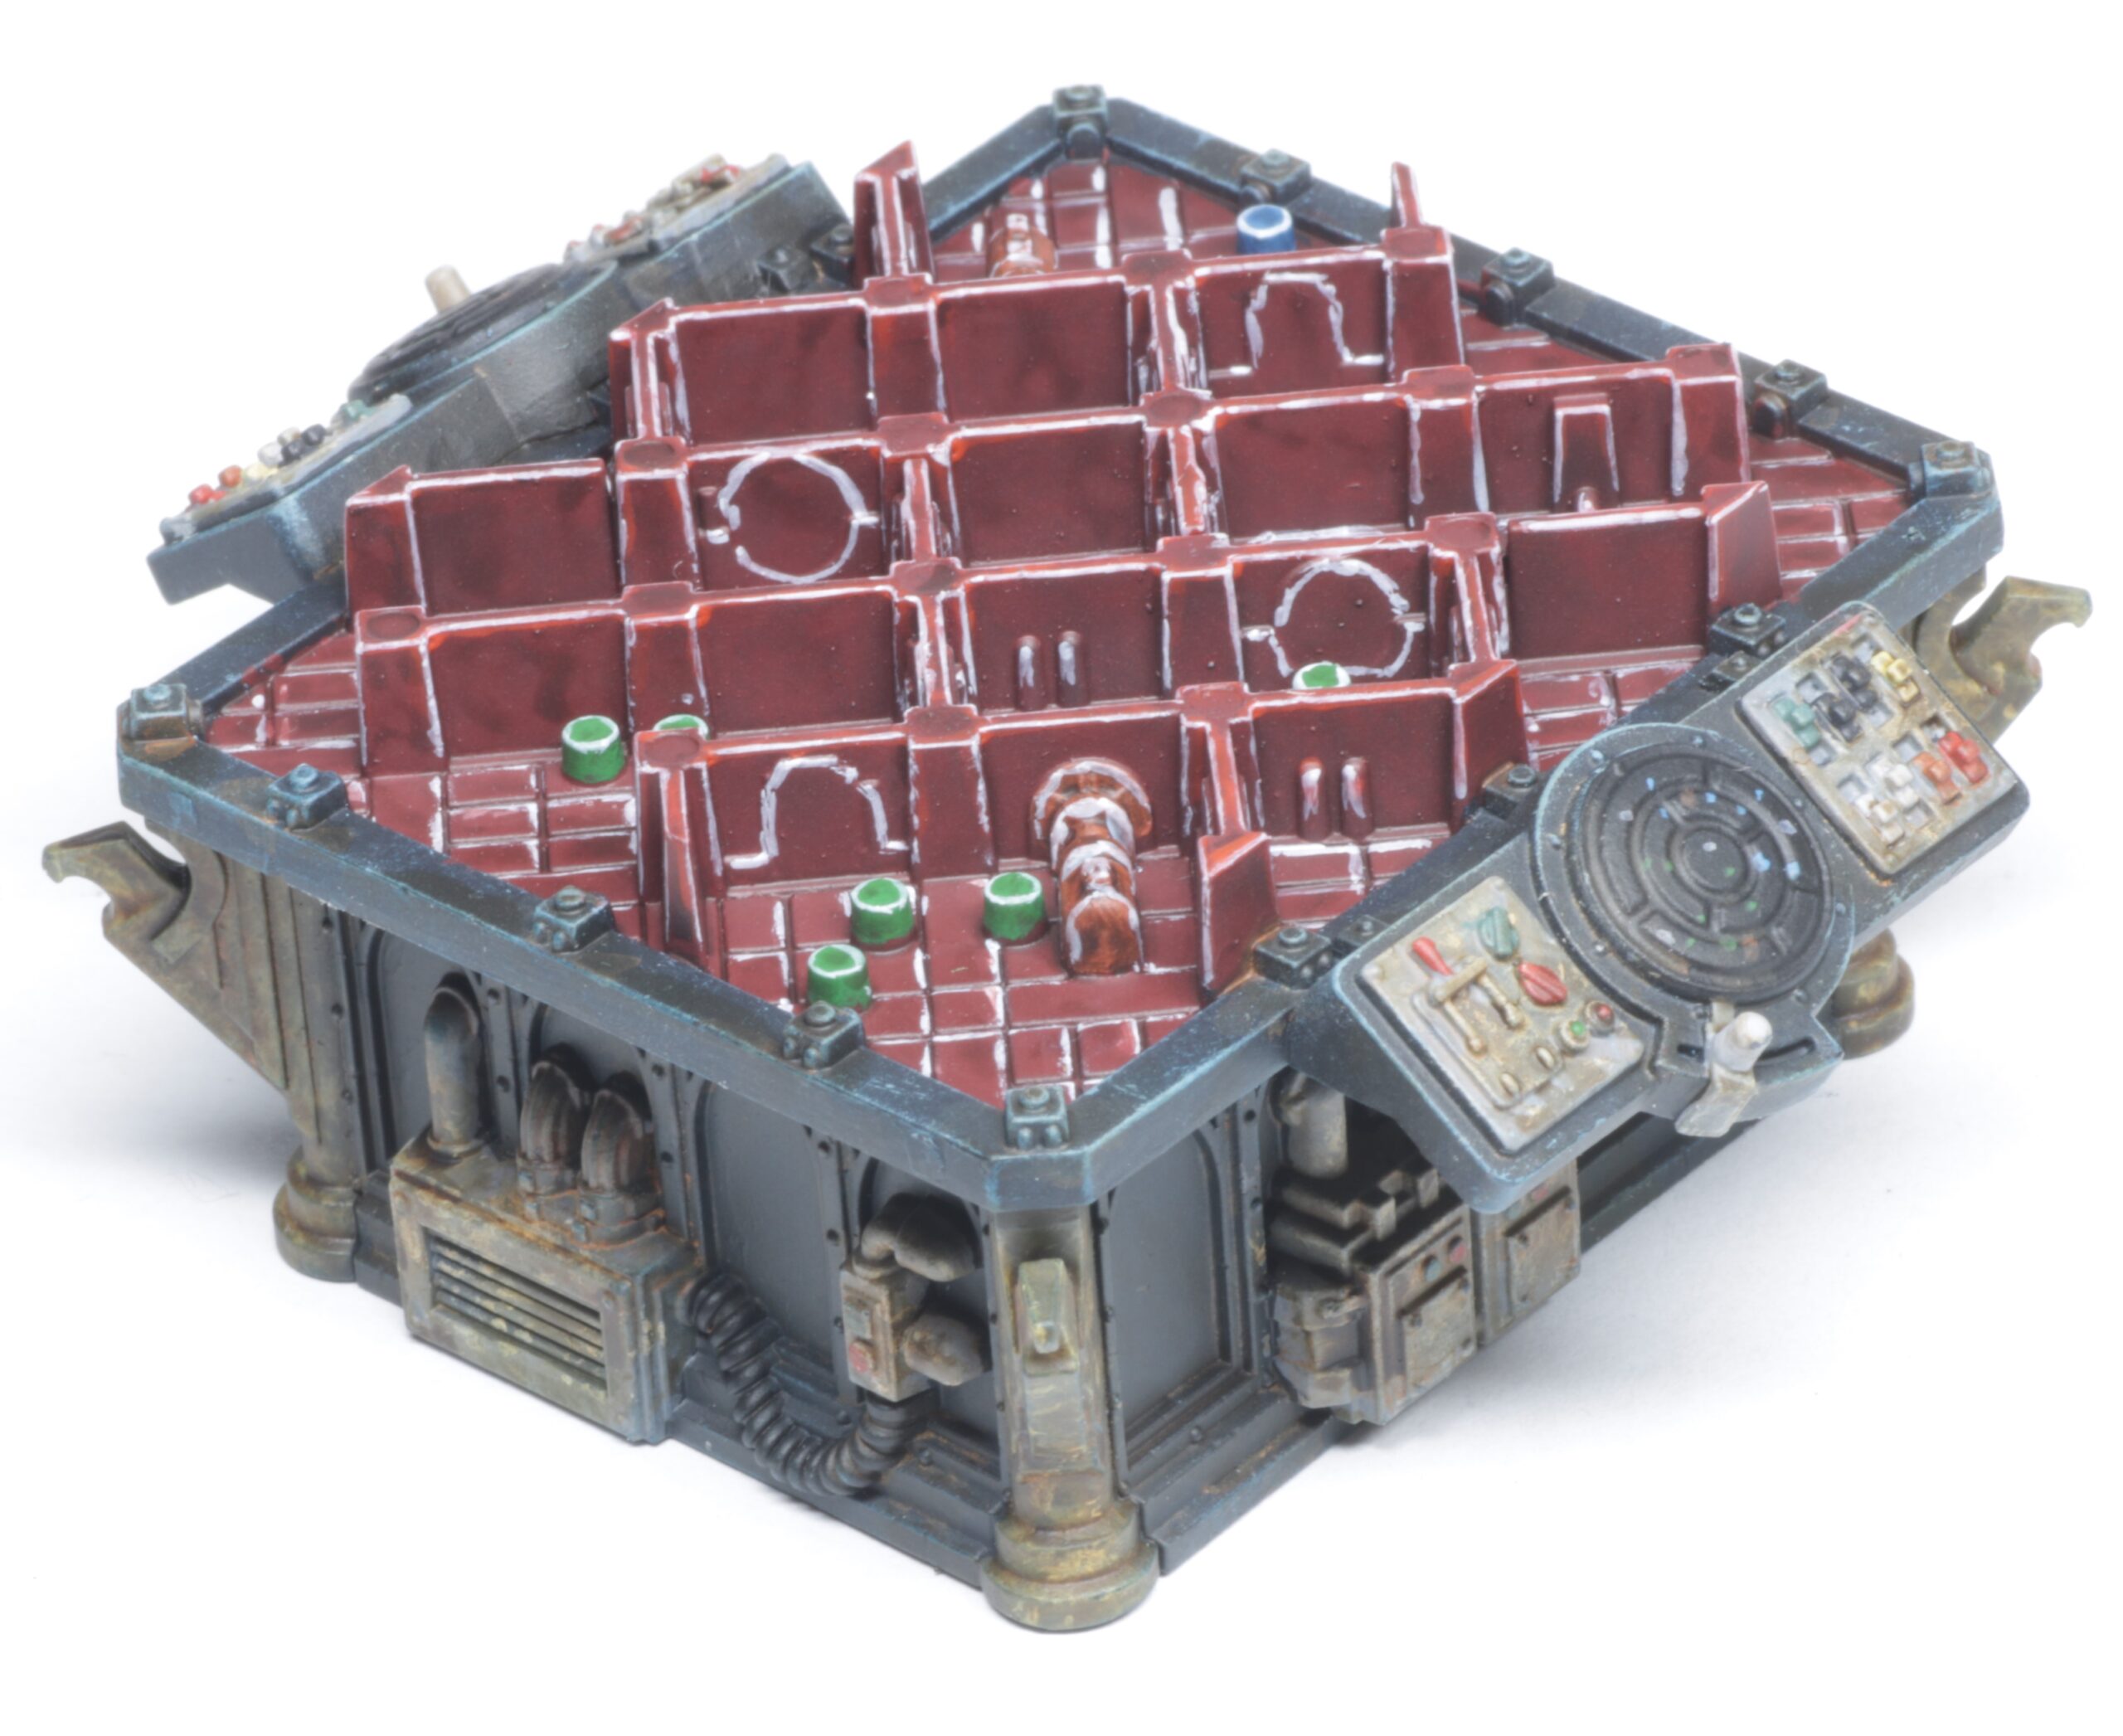
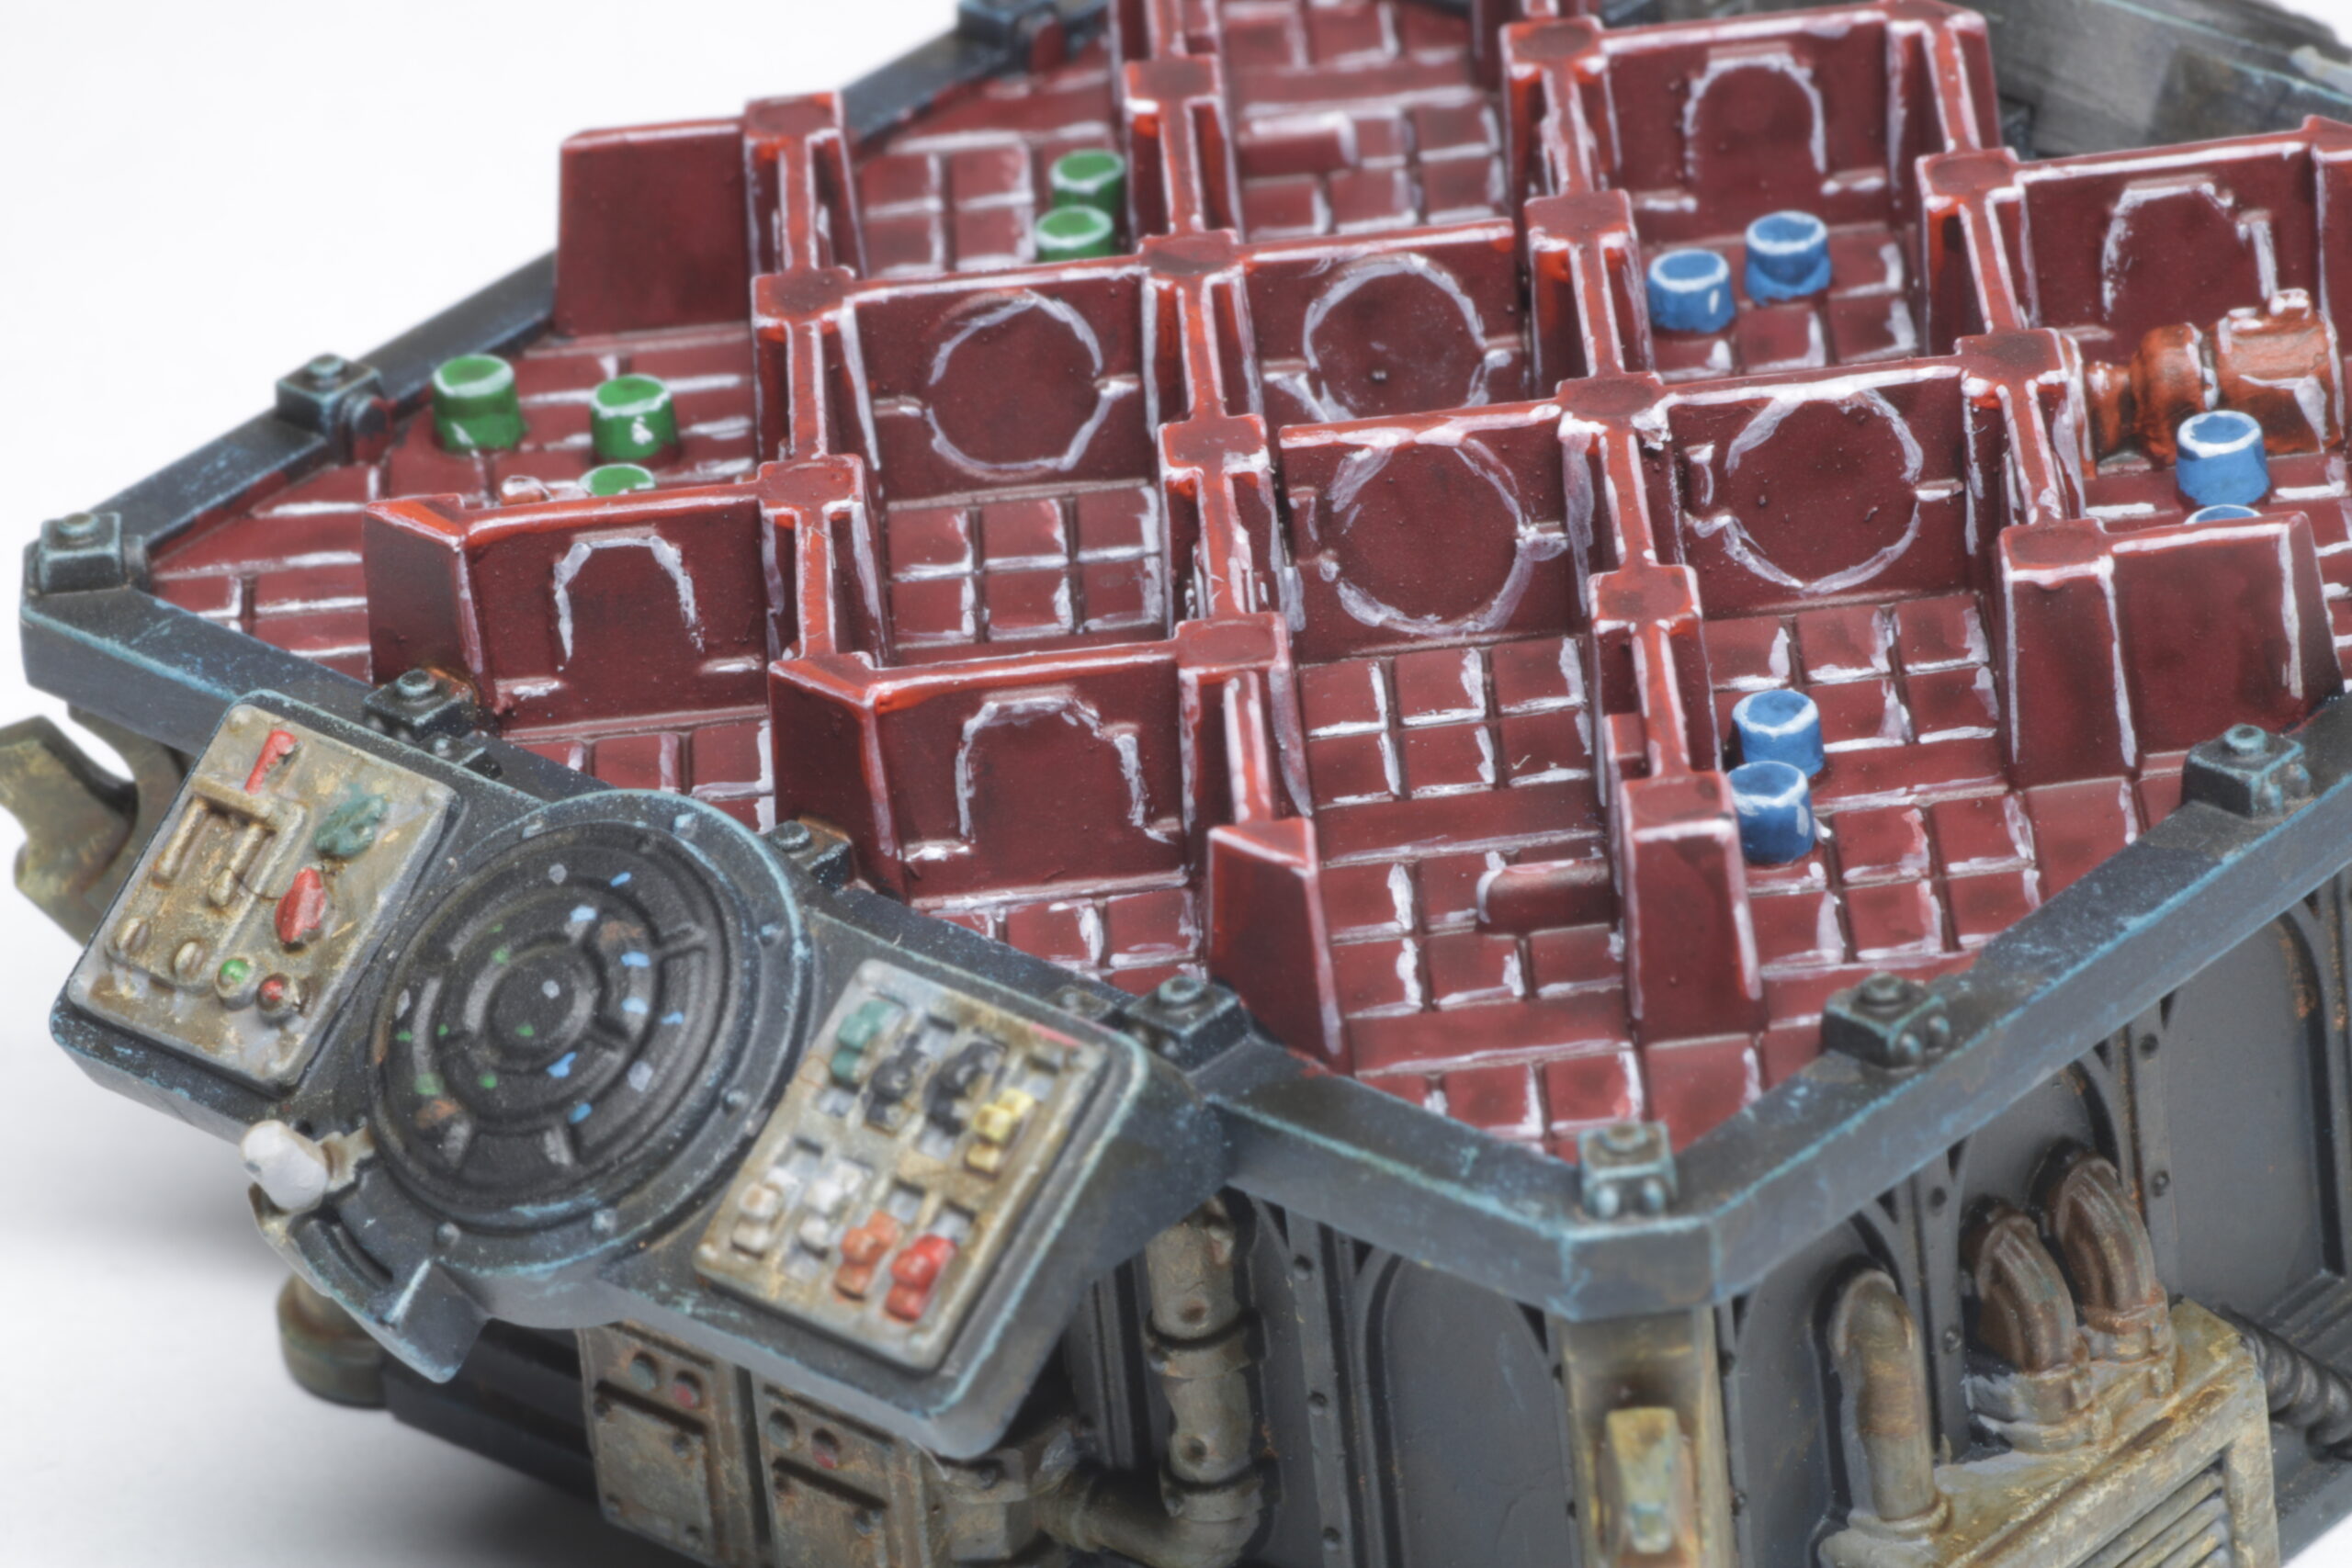
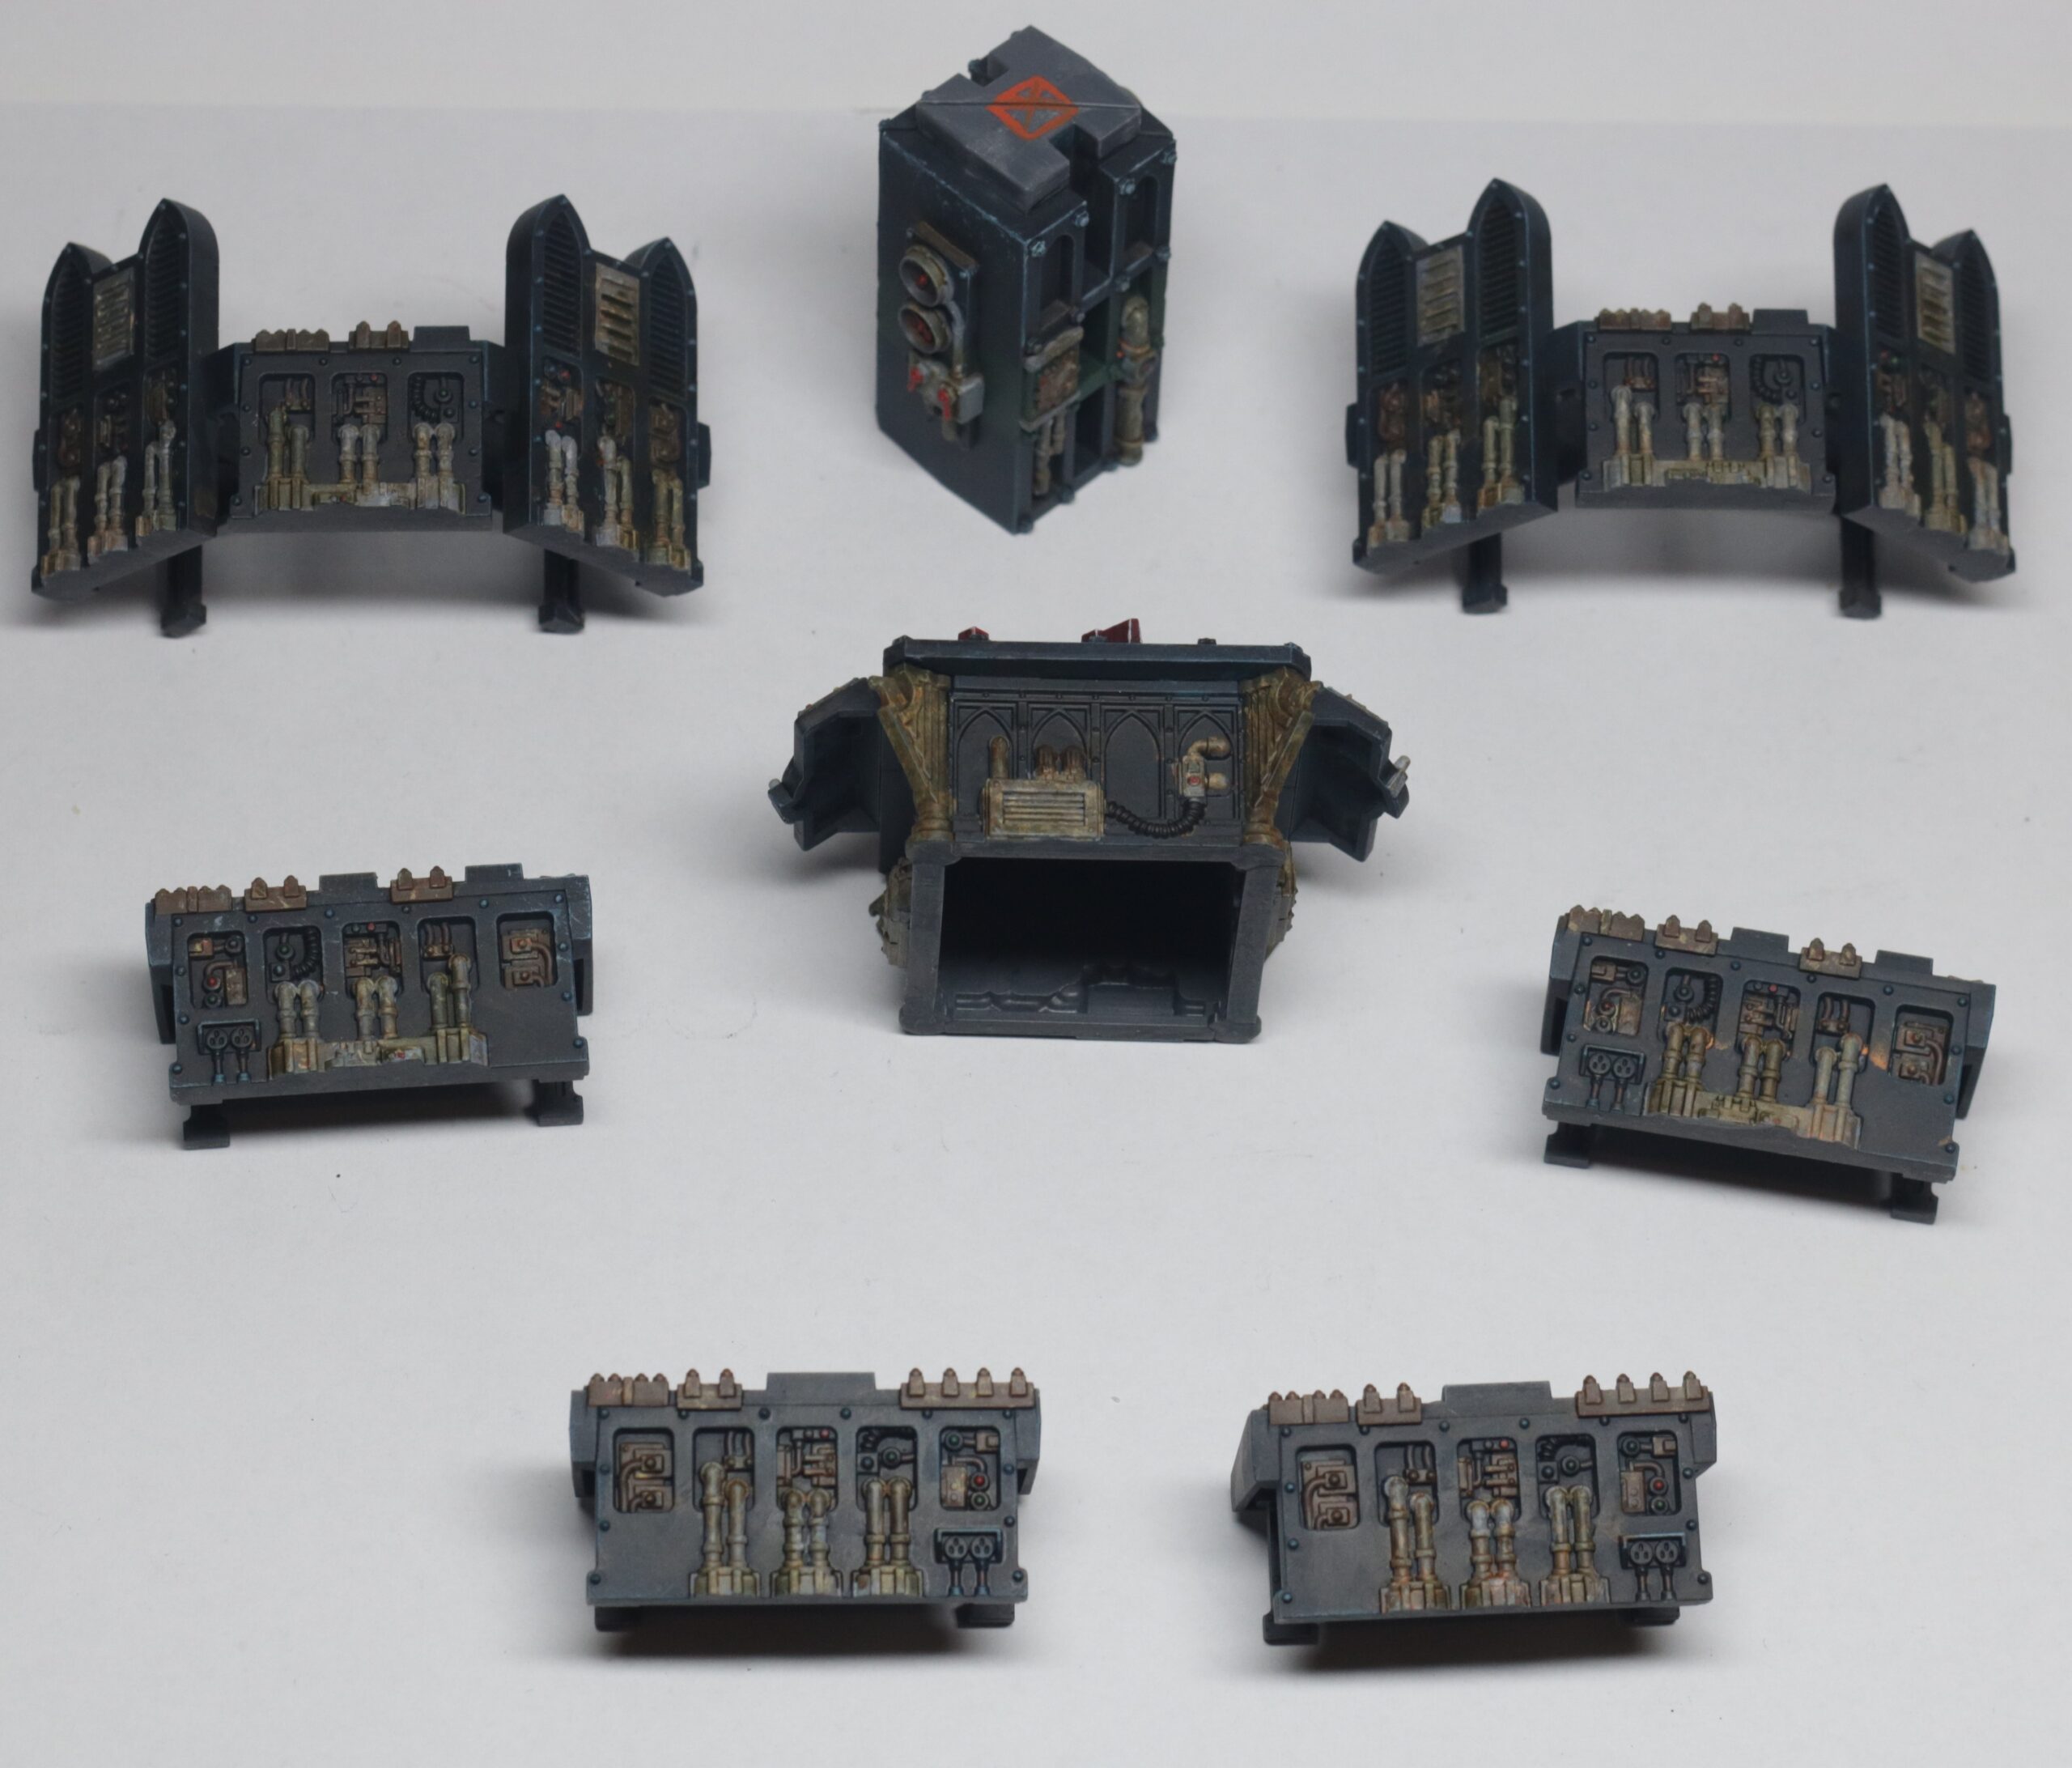
With several issues now known and addressed I was happy to move on to the remaining terrain. The process and paint recipes remained mostly the same for the sake of consistency between the two sets, so the second Killzone: Gallowdark set was painted as though it were a different deck on the same ship, greatly reducing the rust effect and painting the entirety of the walls and pillars with a horizontal red stripe, as well as the doors.
In each picture, the first terrain set is on the left, and the second set is on the right.
Killzone Upgrade: Into the Dark
This set was painted in parallel with the first Killzone: Gallowdark set and is the only one to share the rusty look. Each half uses one of the two different versions of the rust effect recipe.
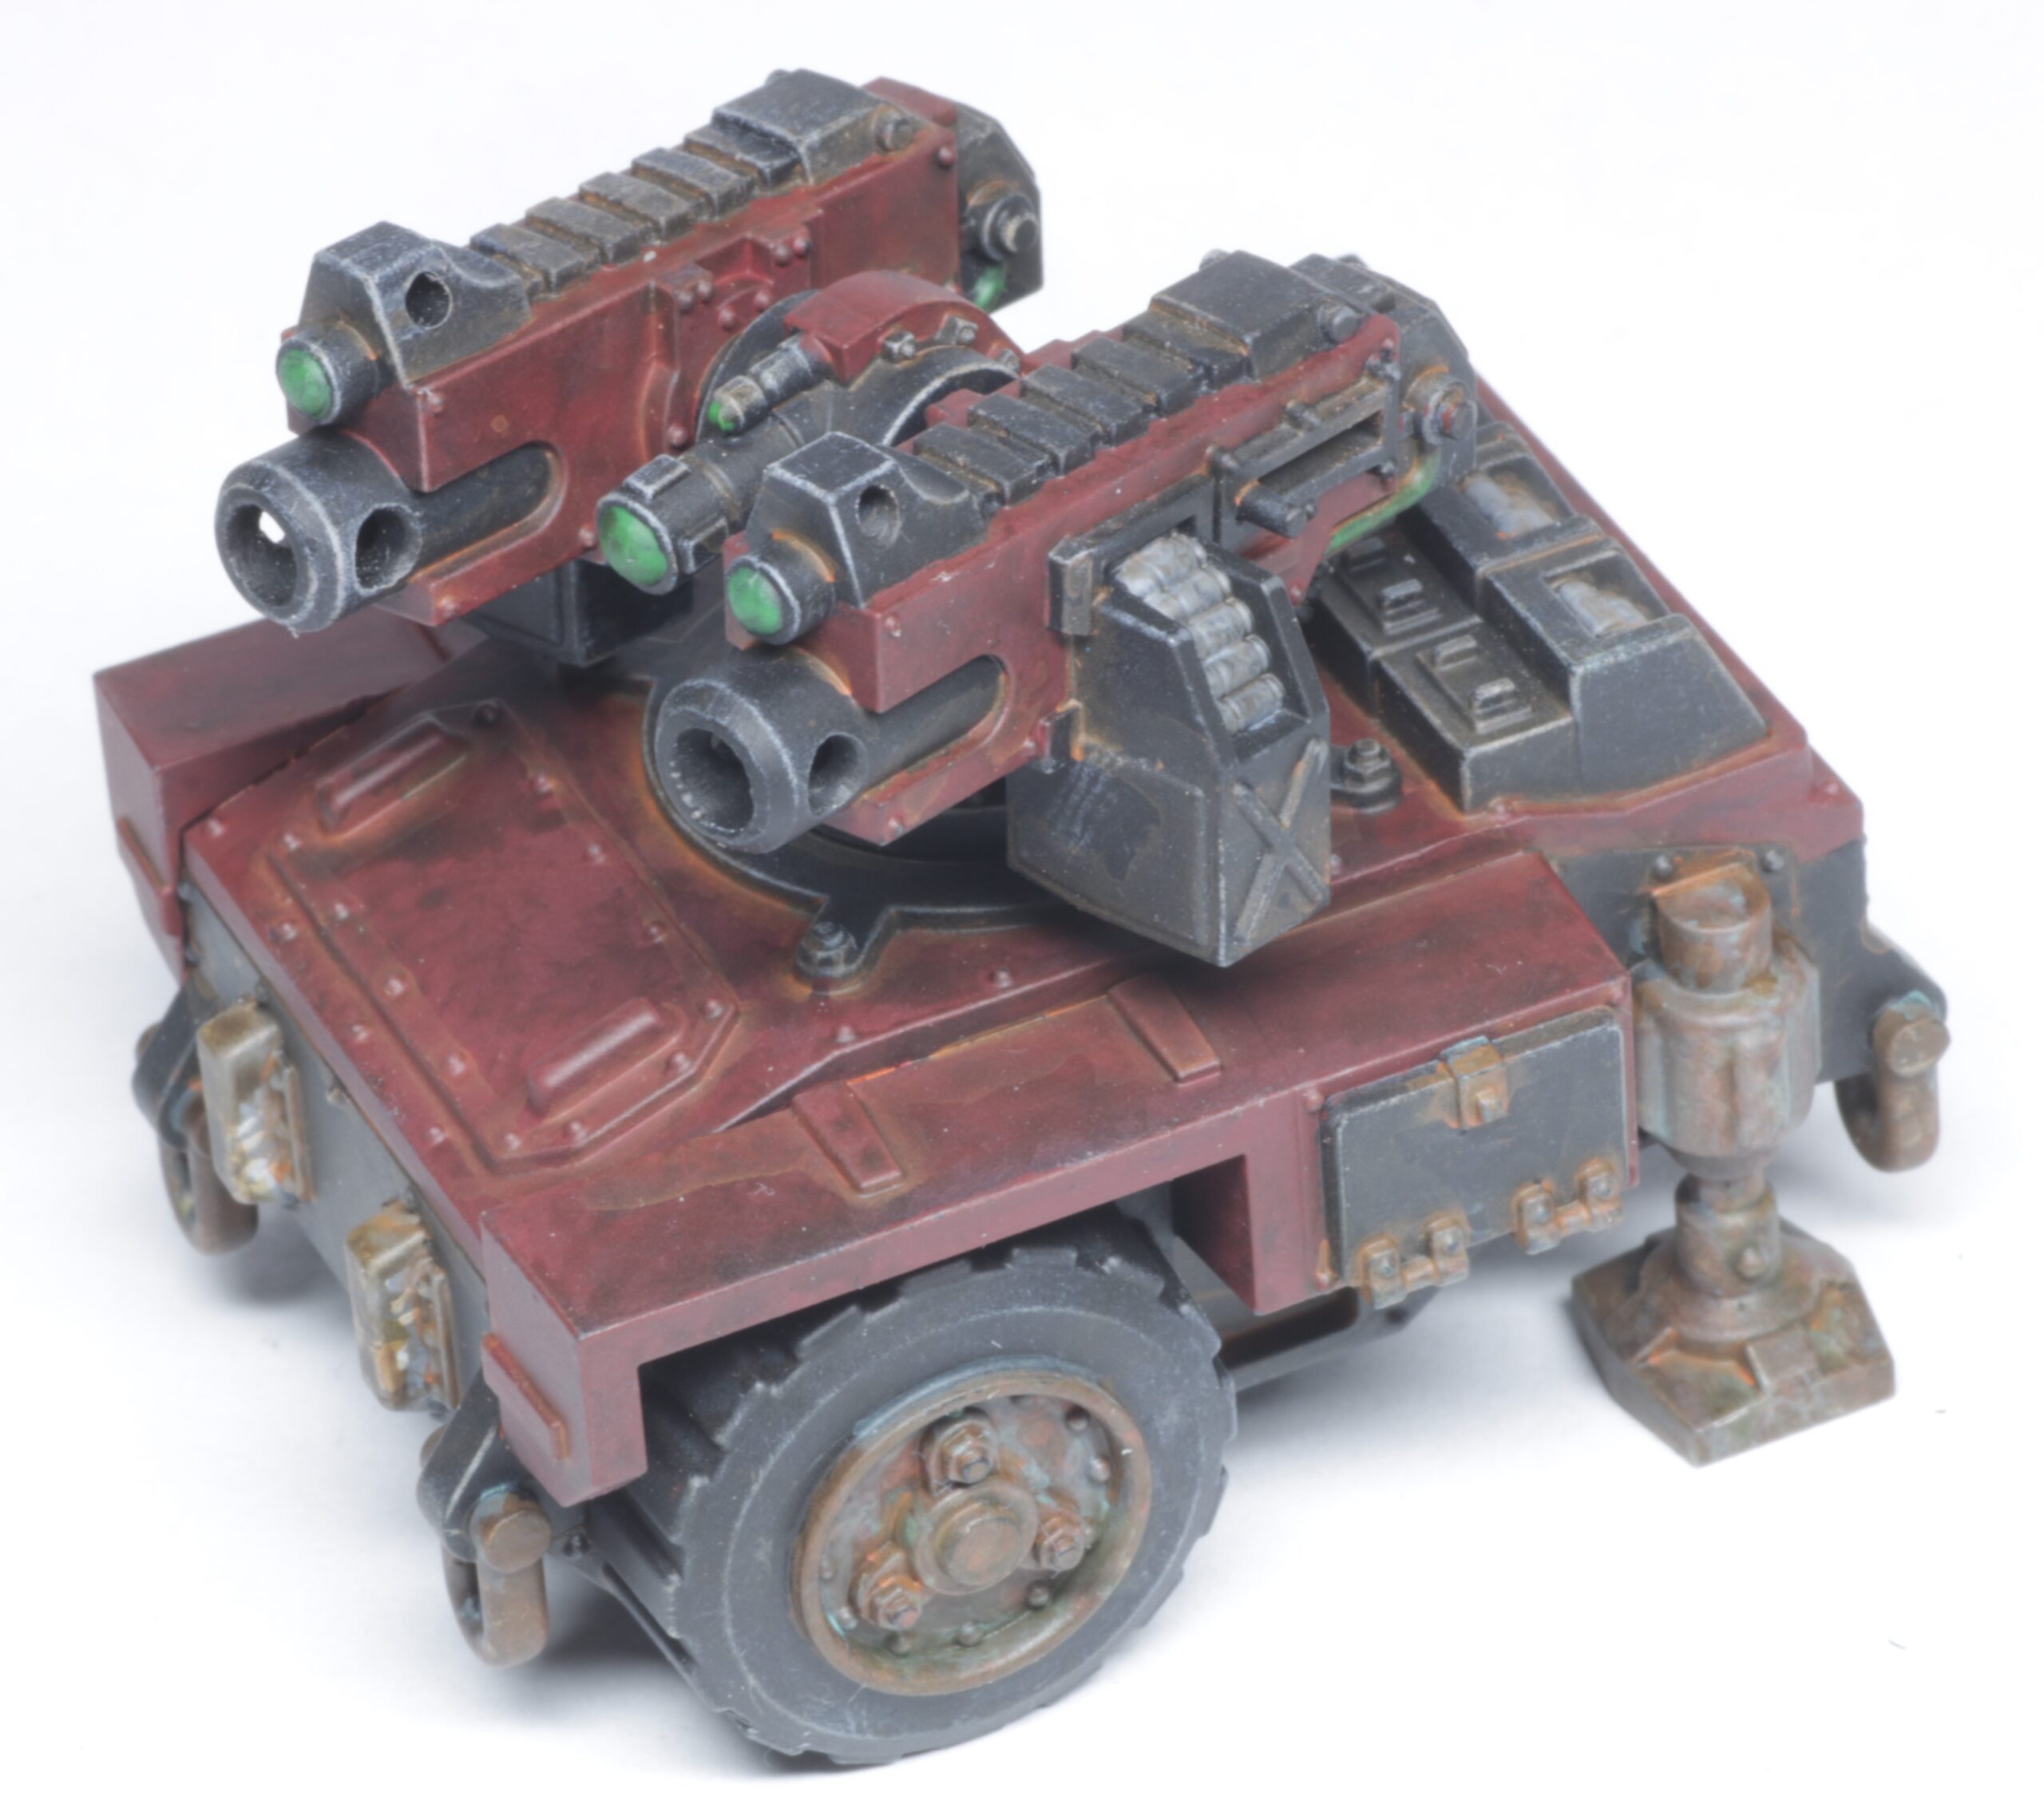
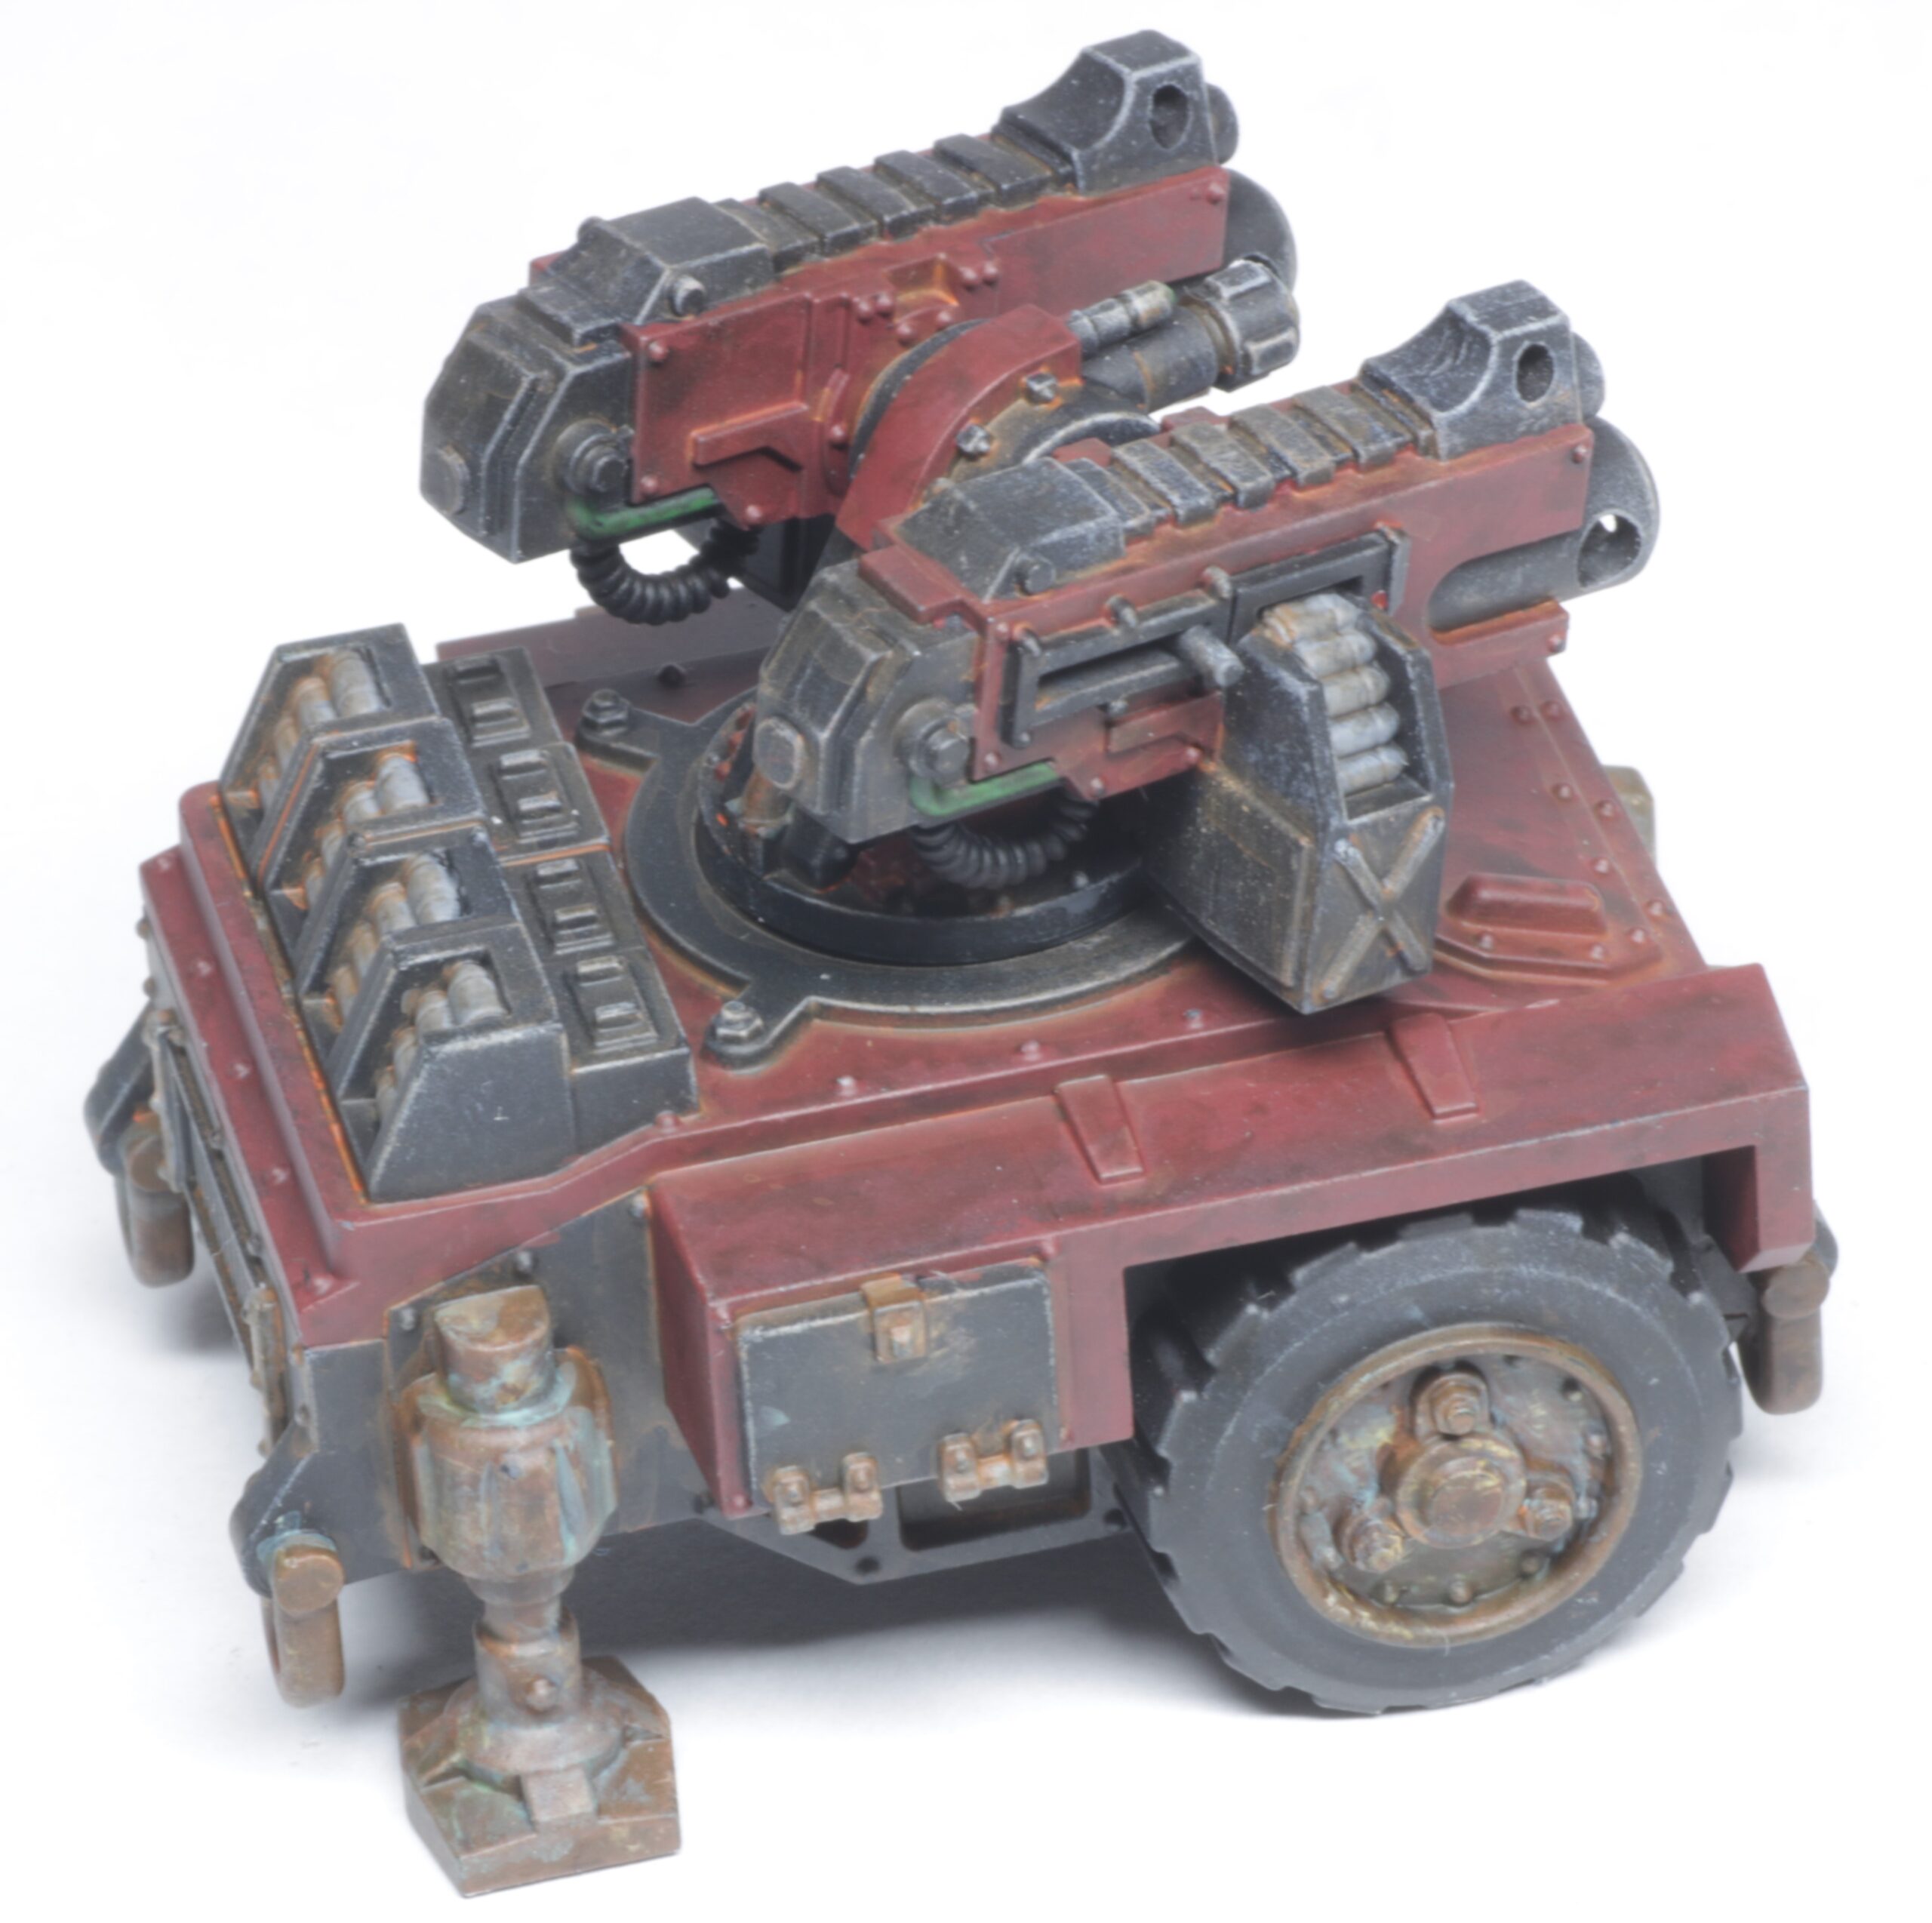
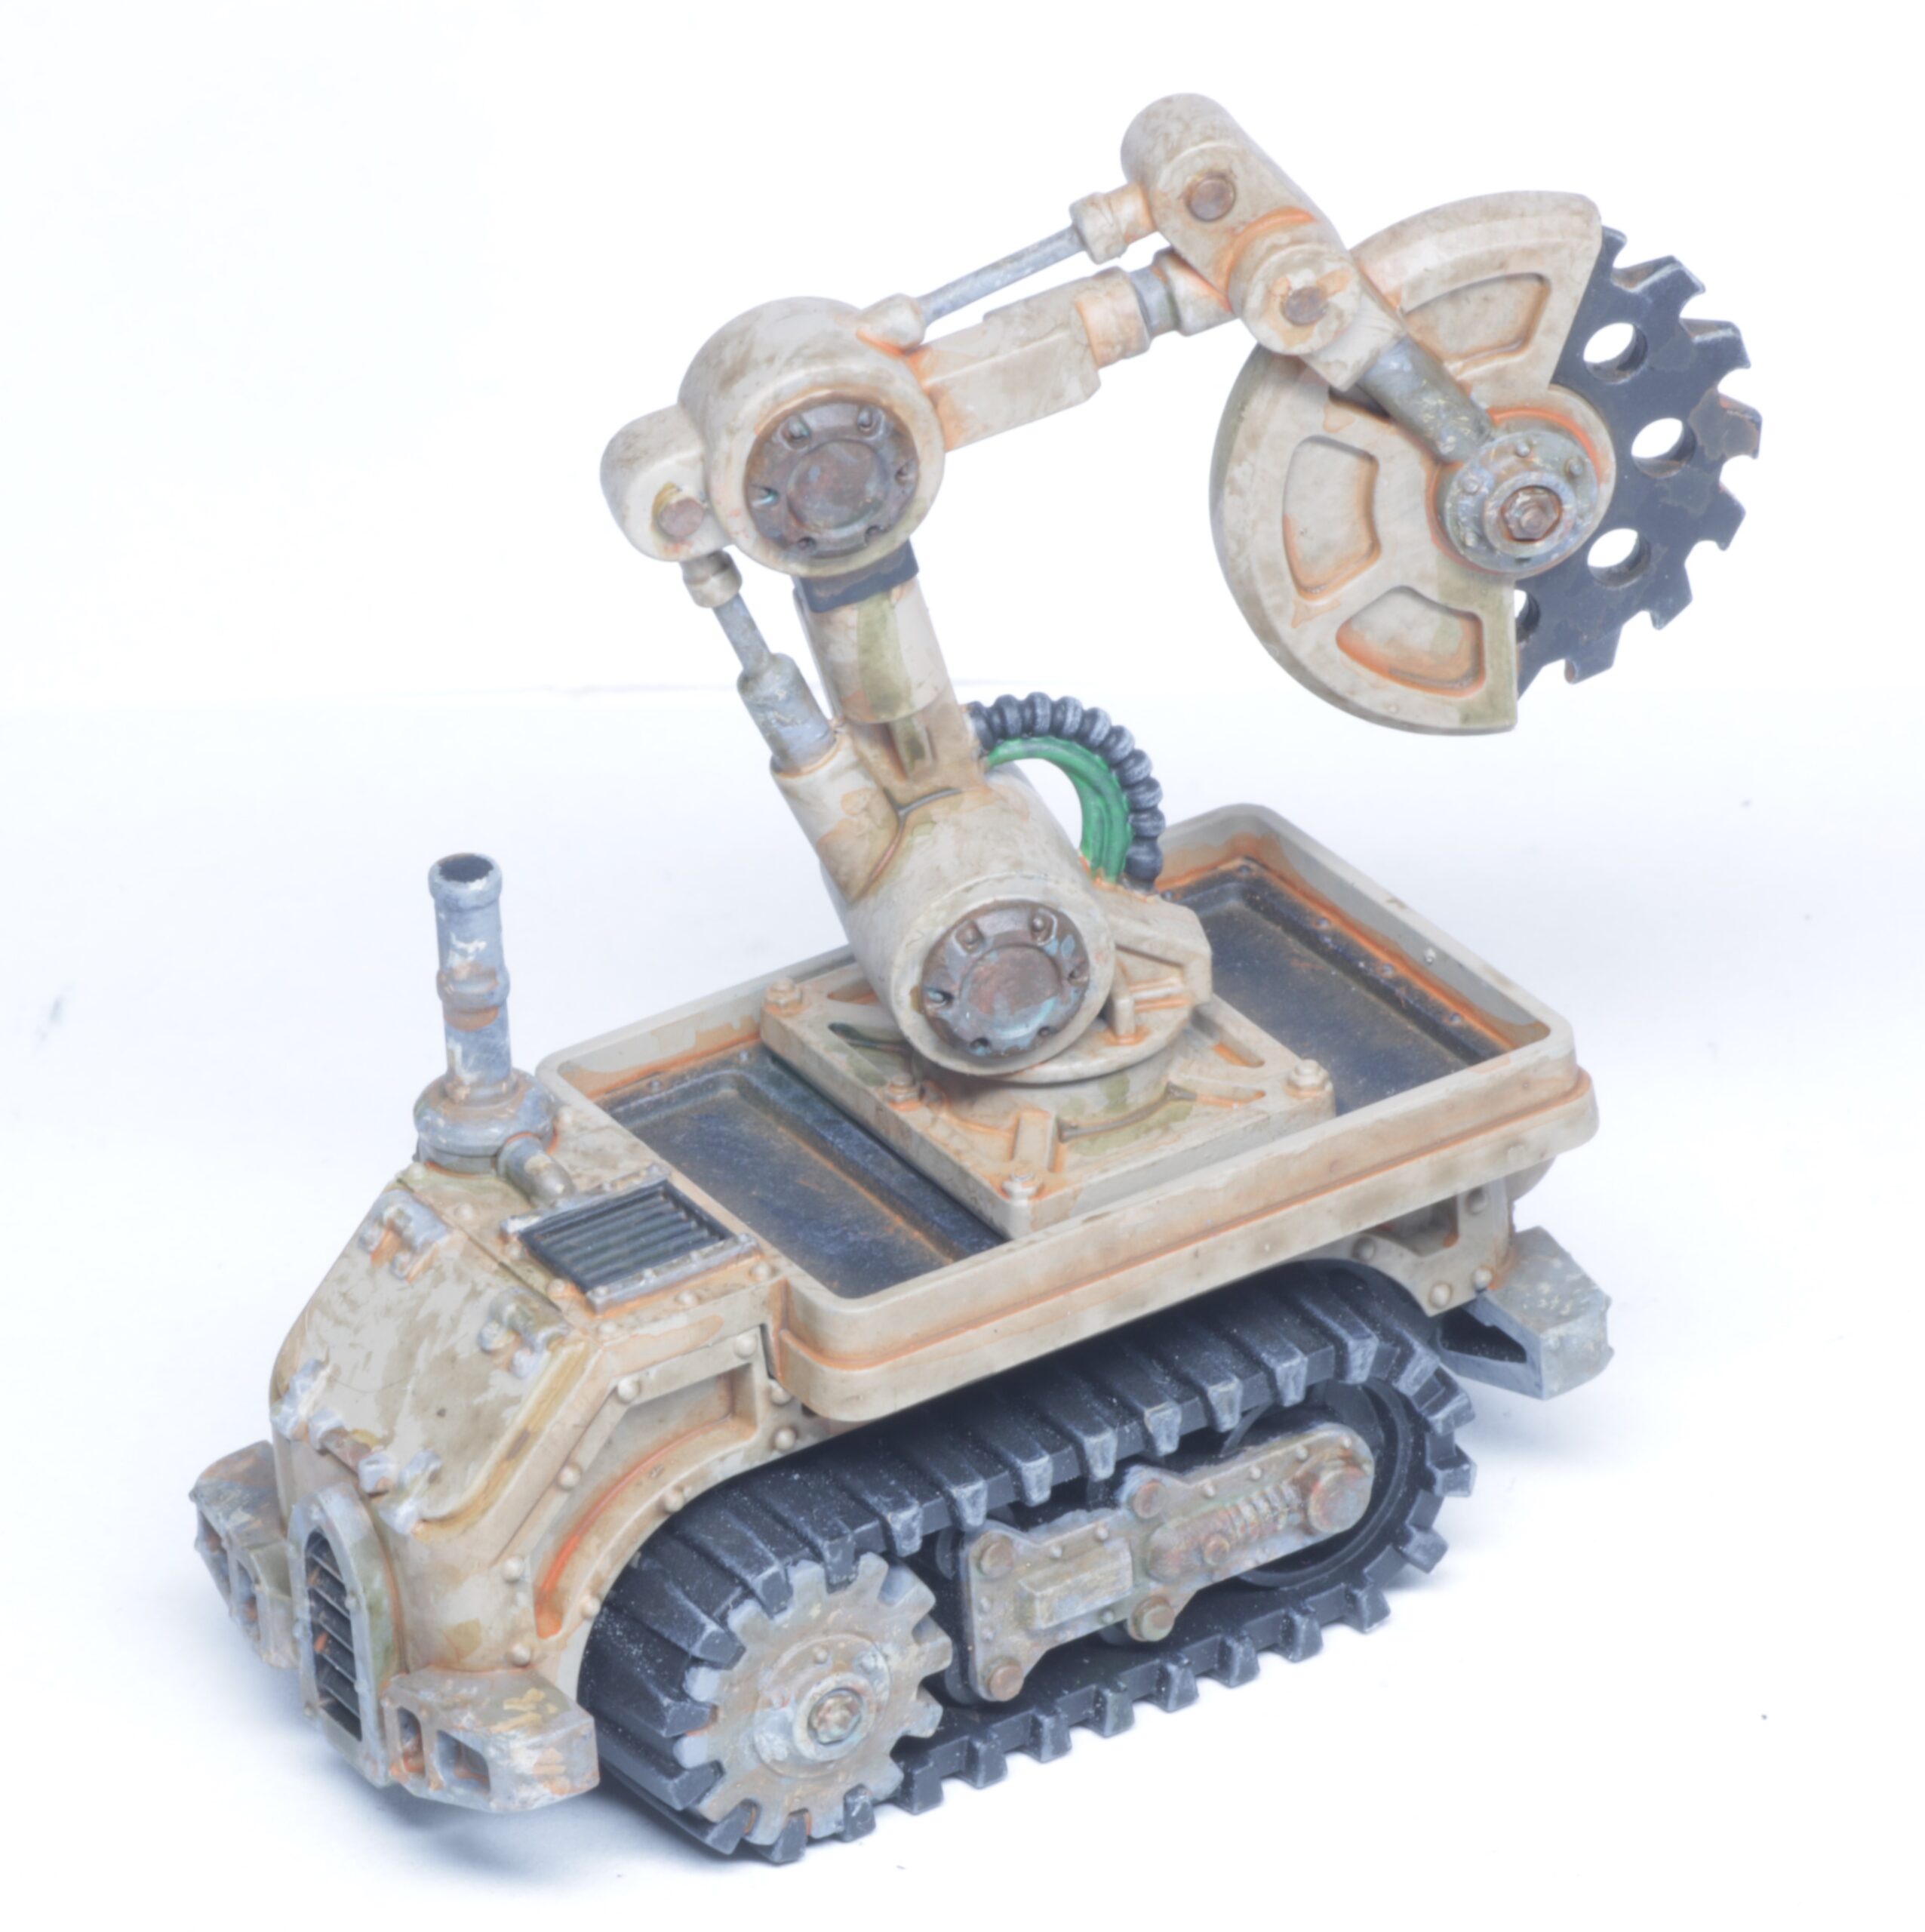
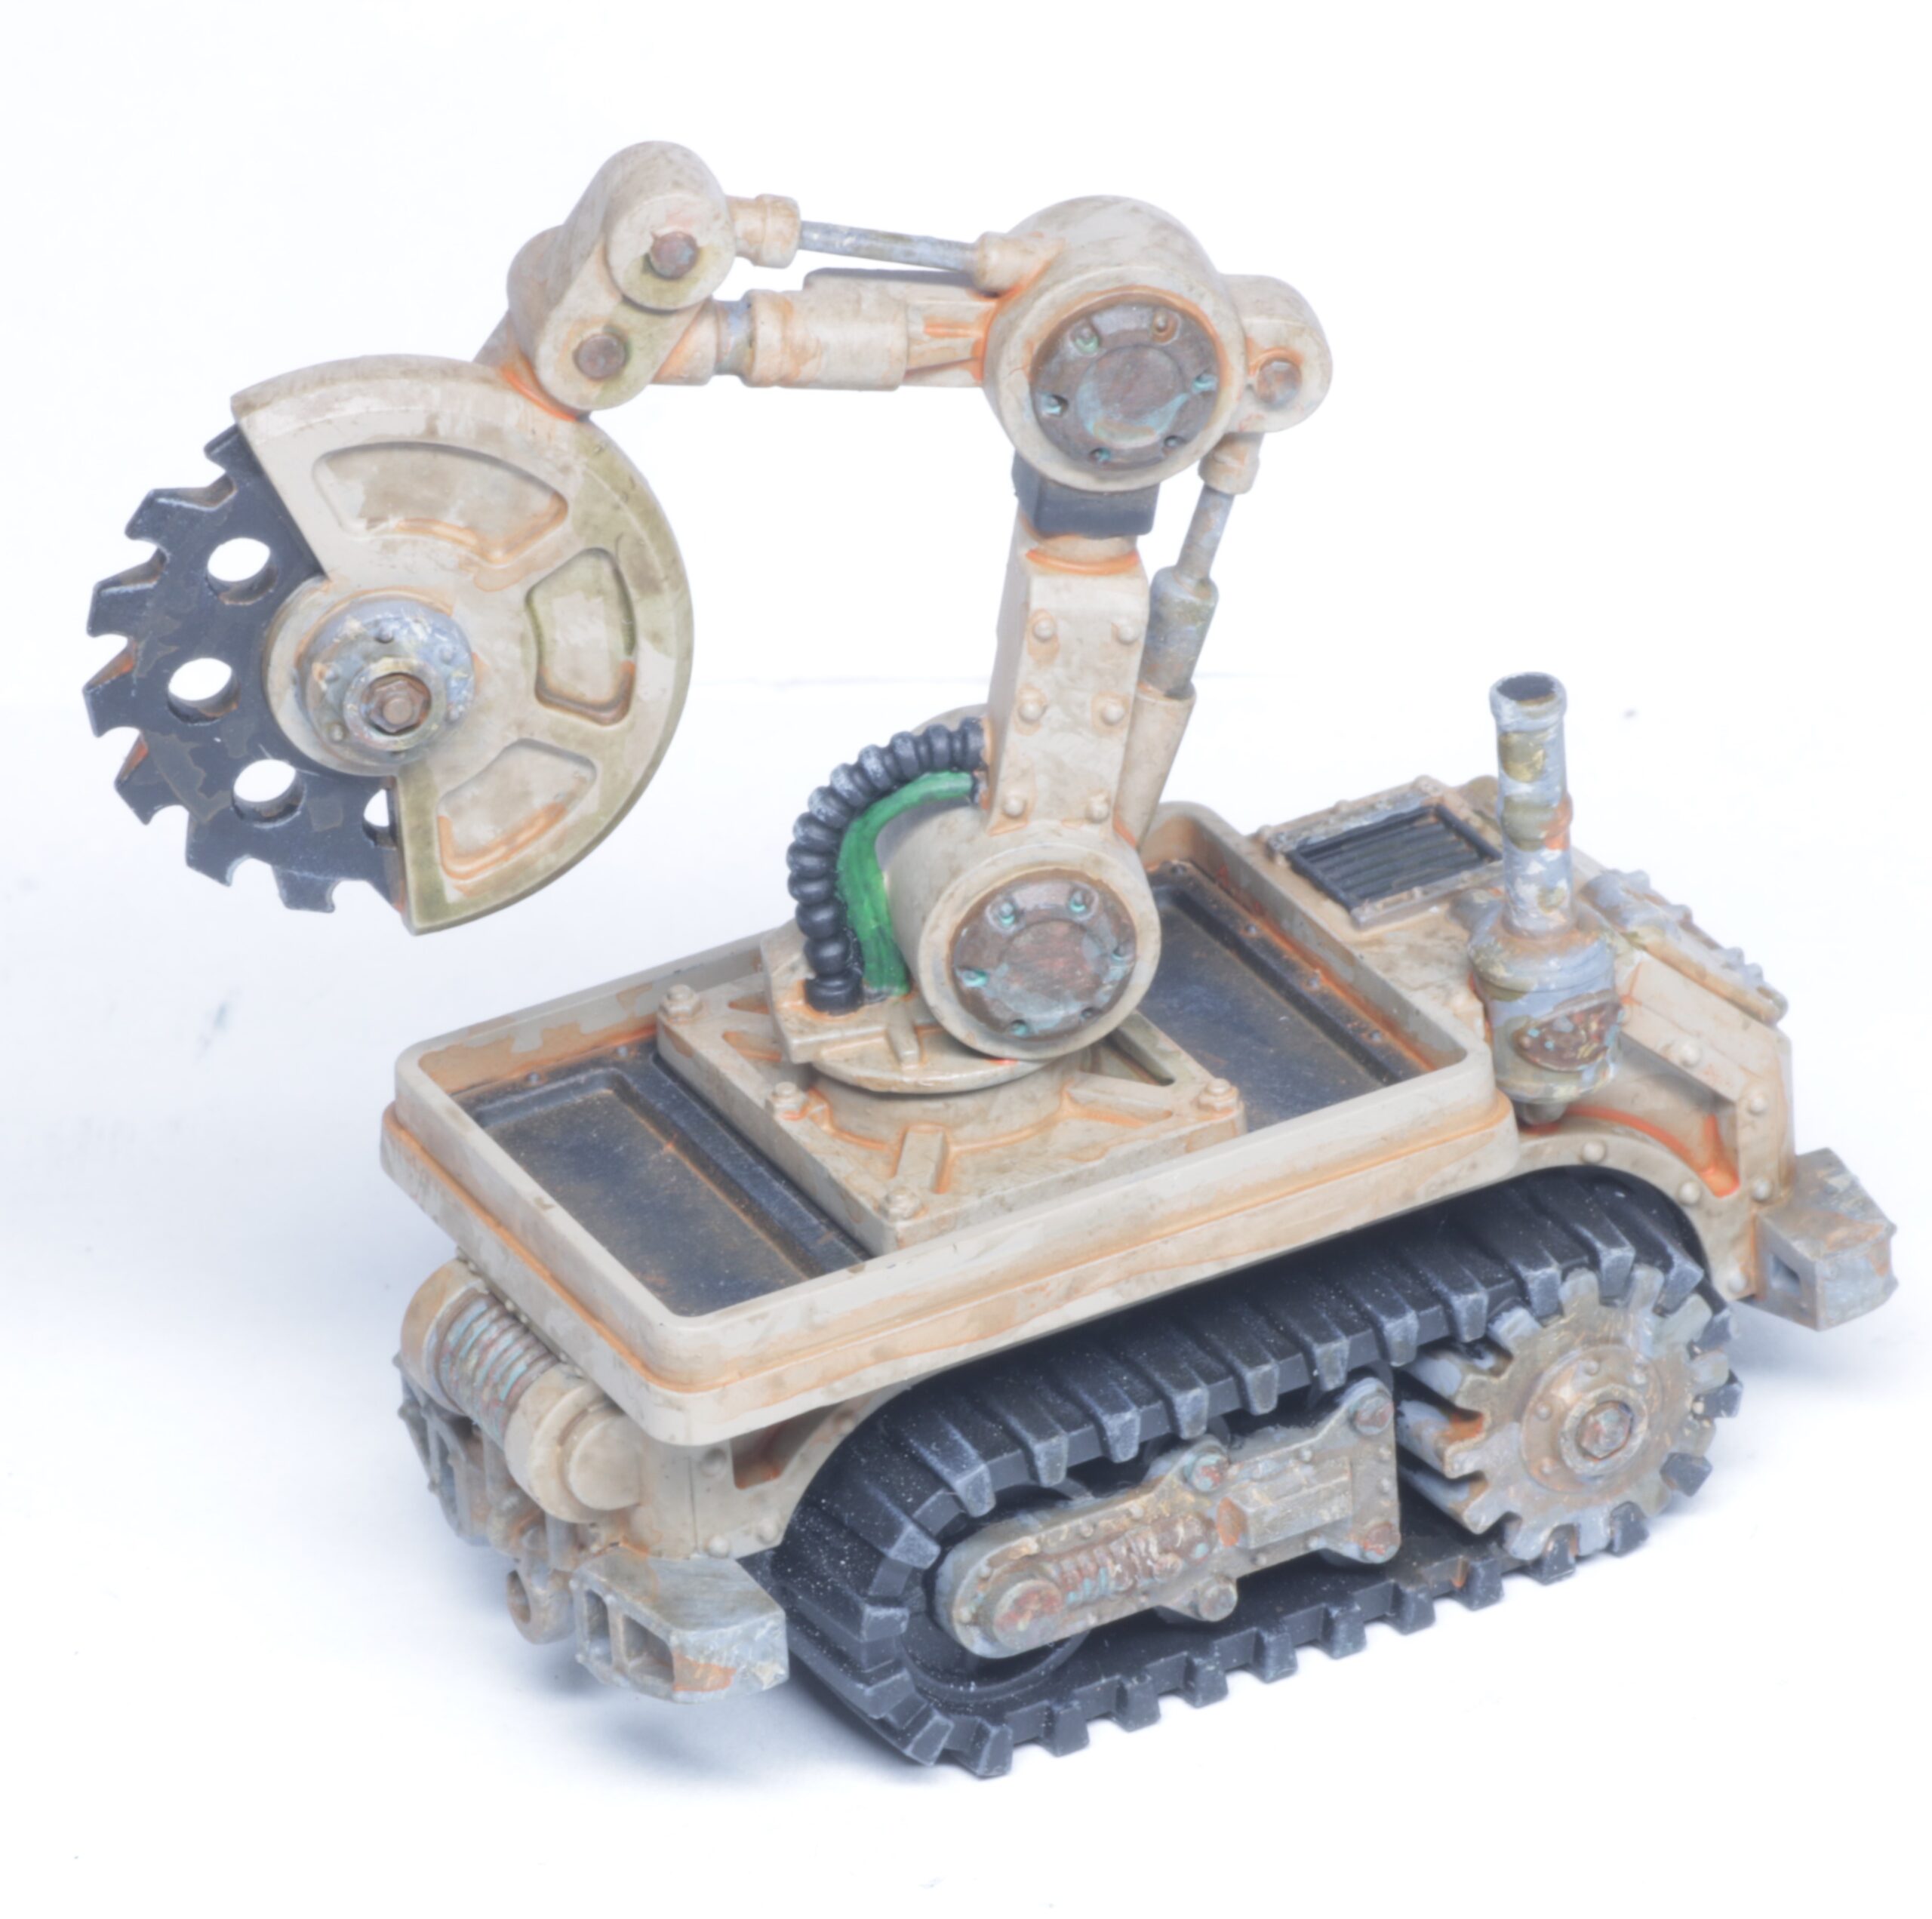
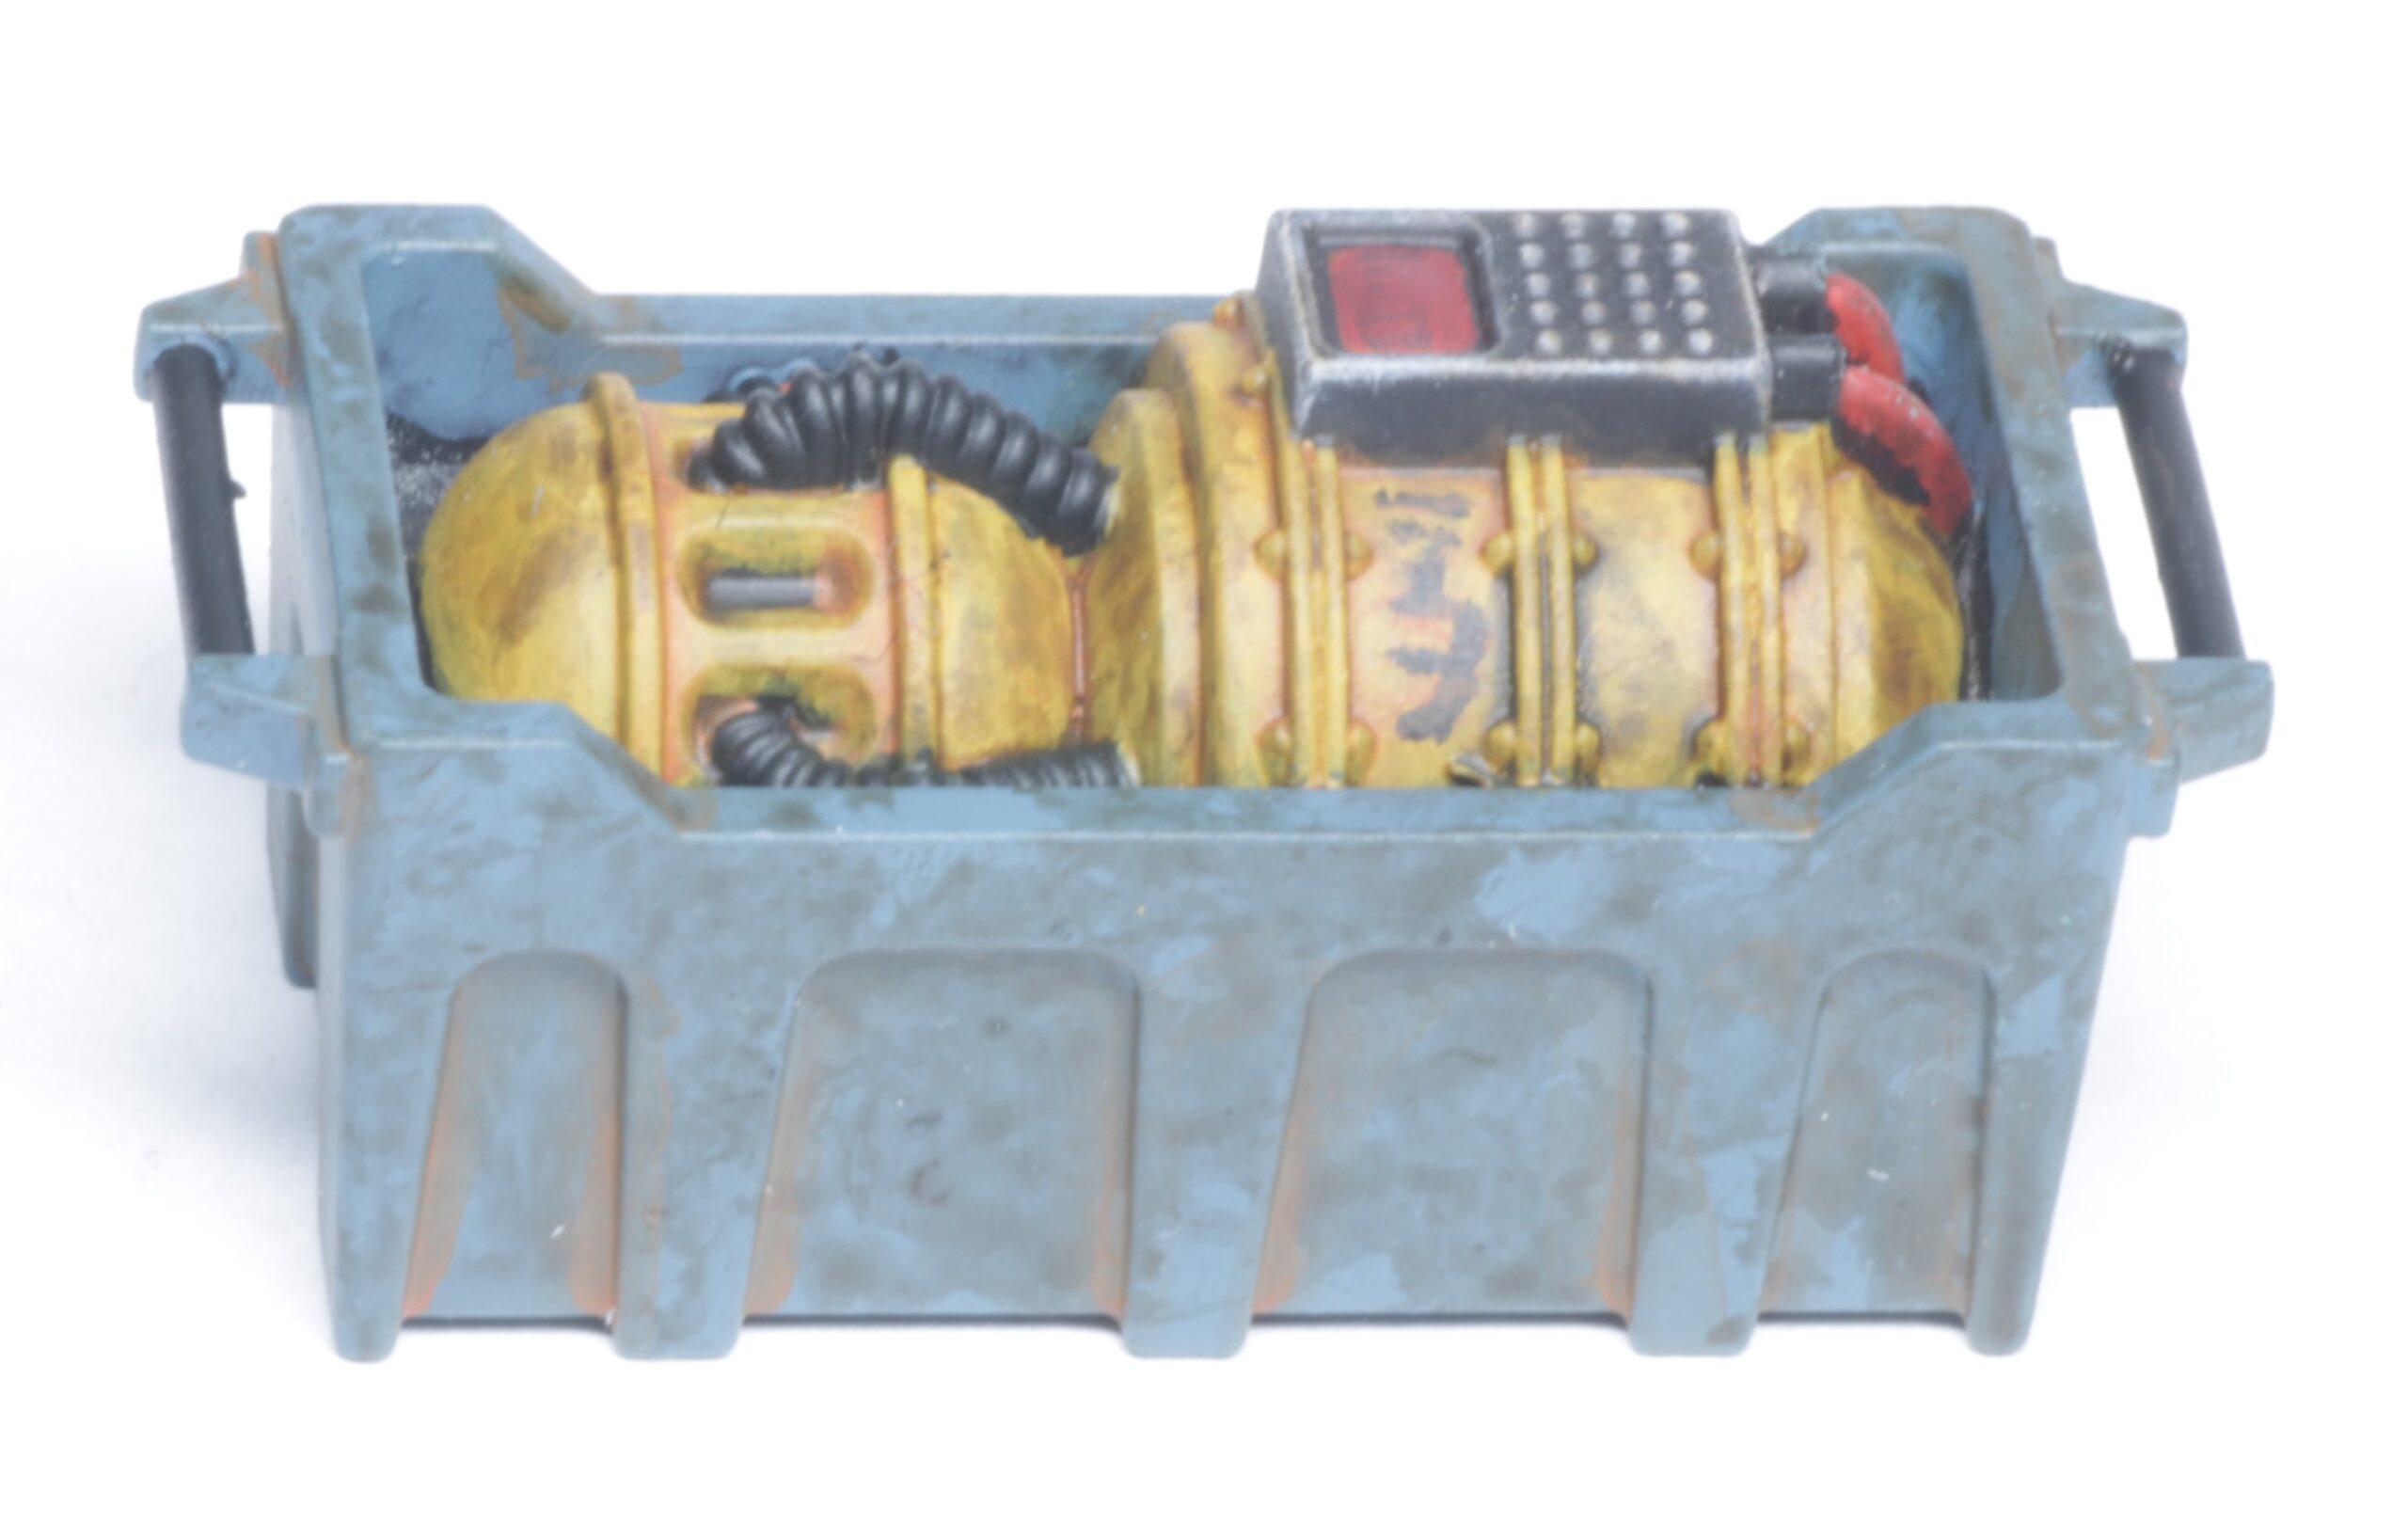
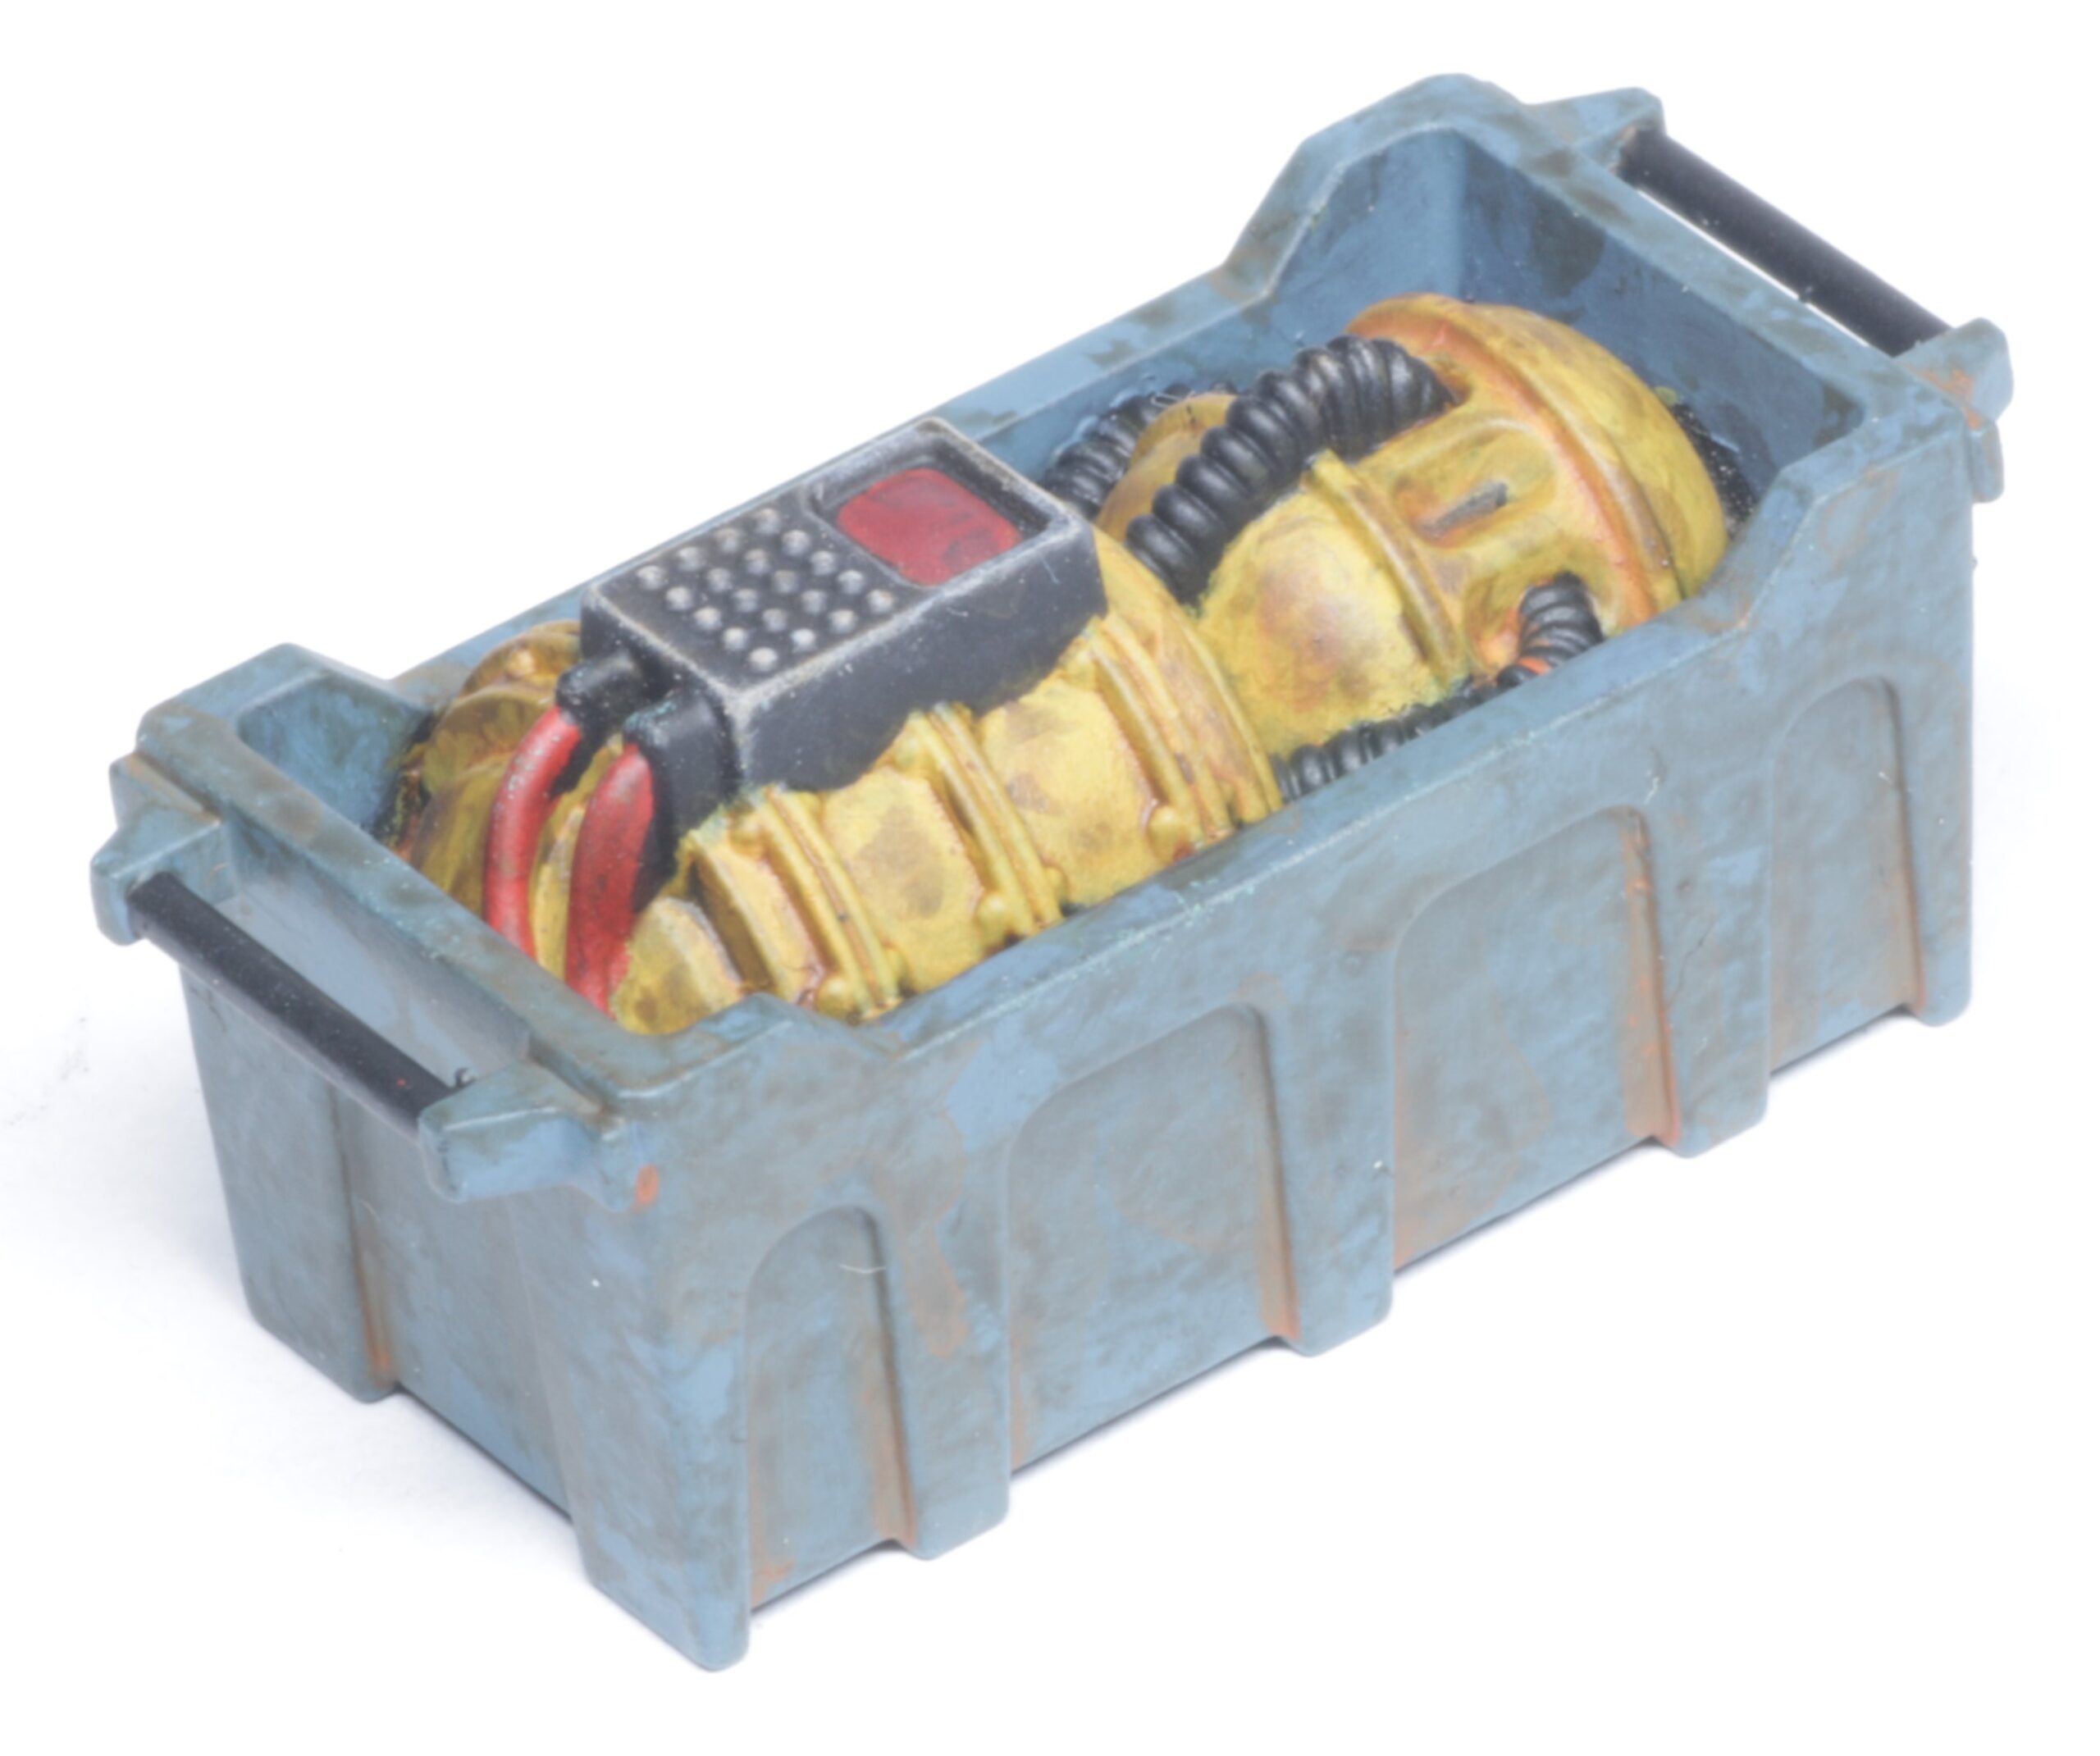
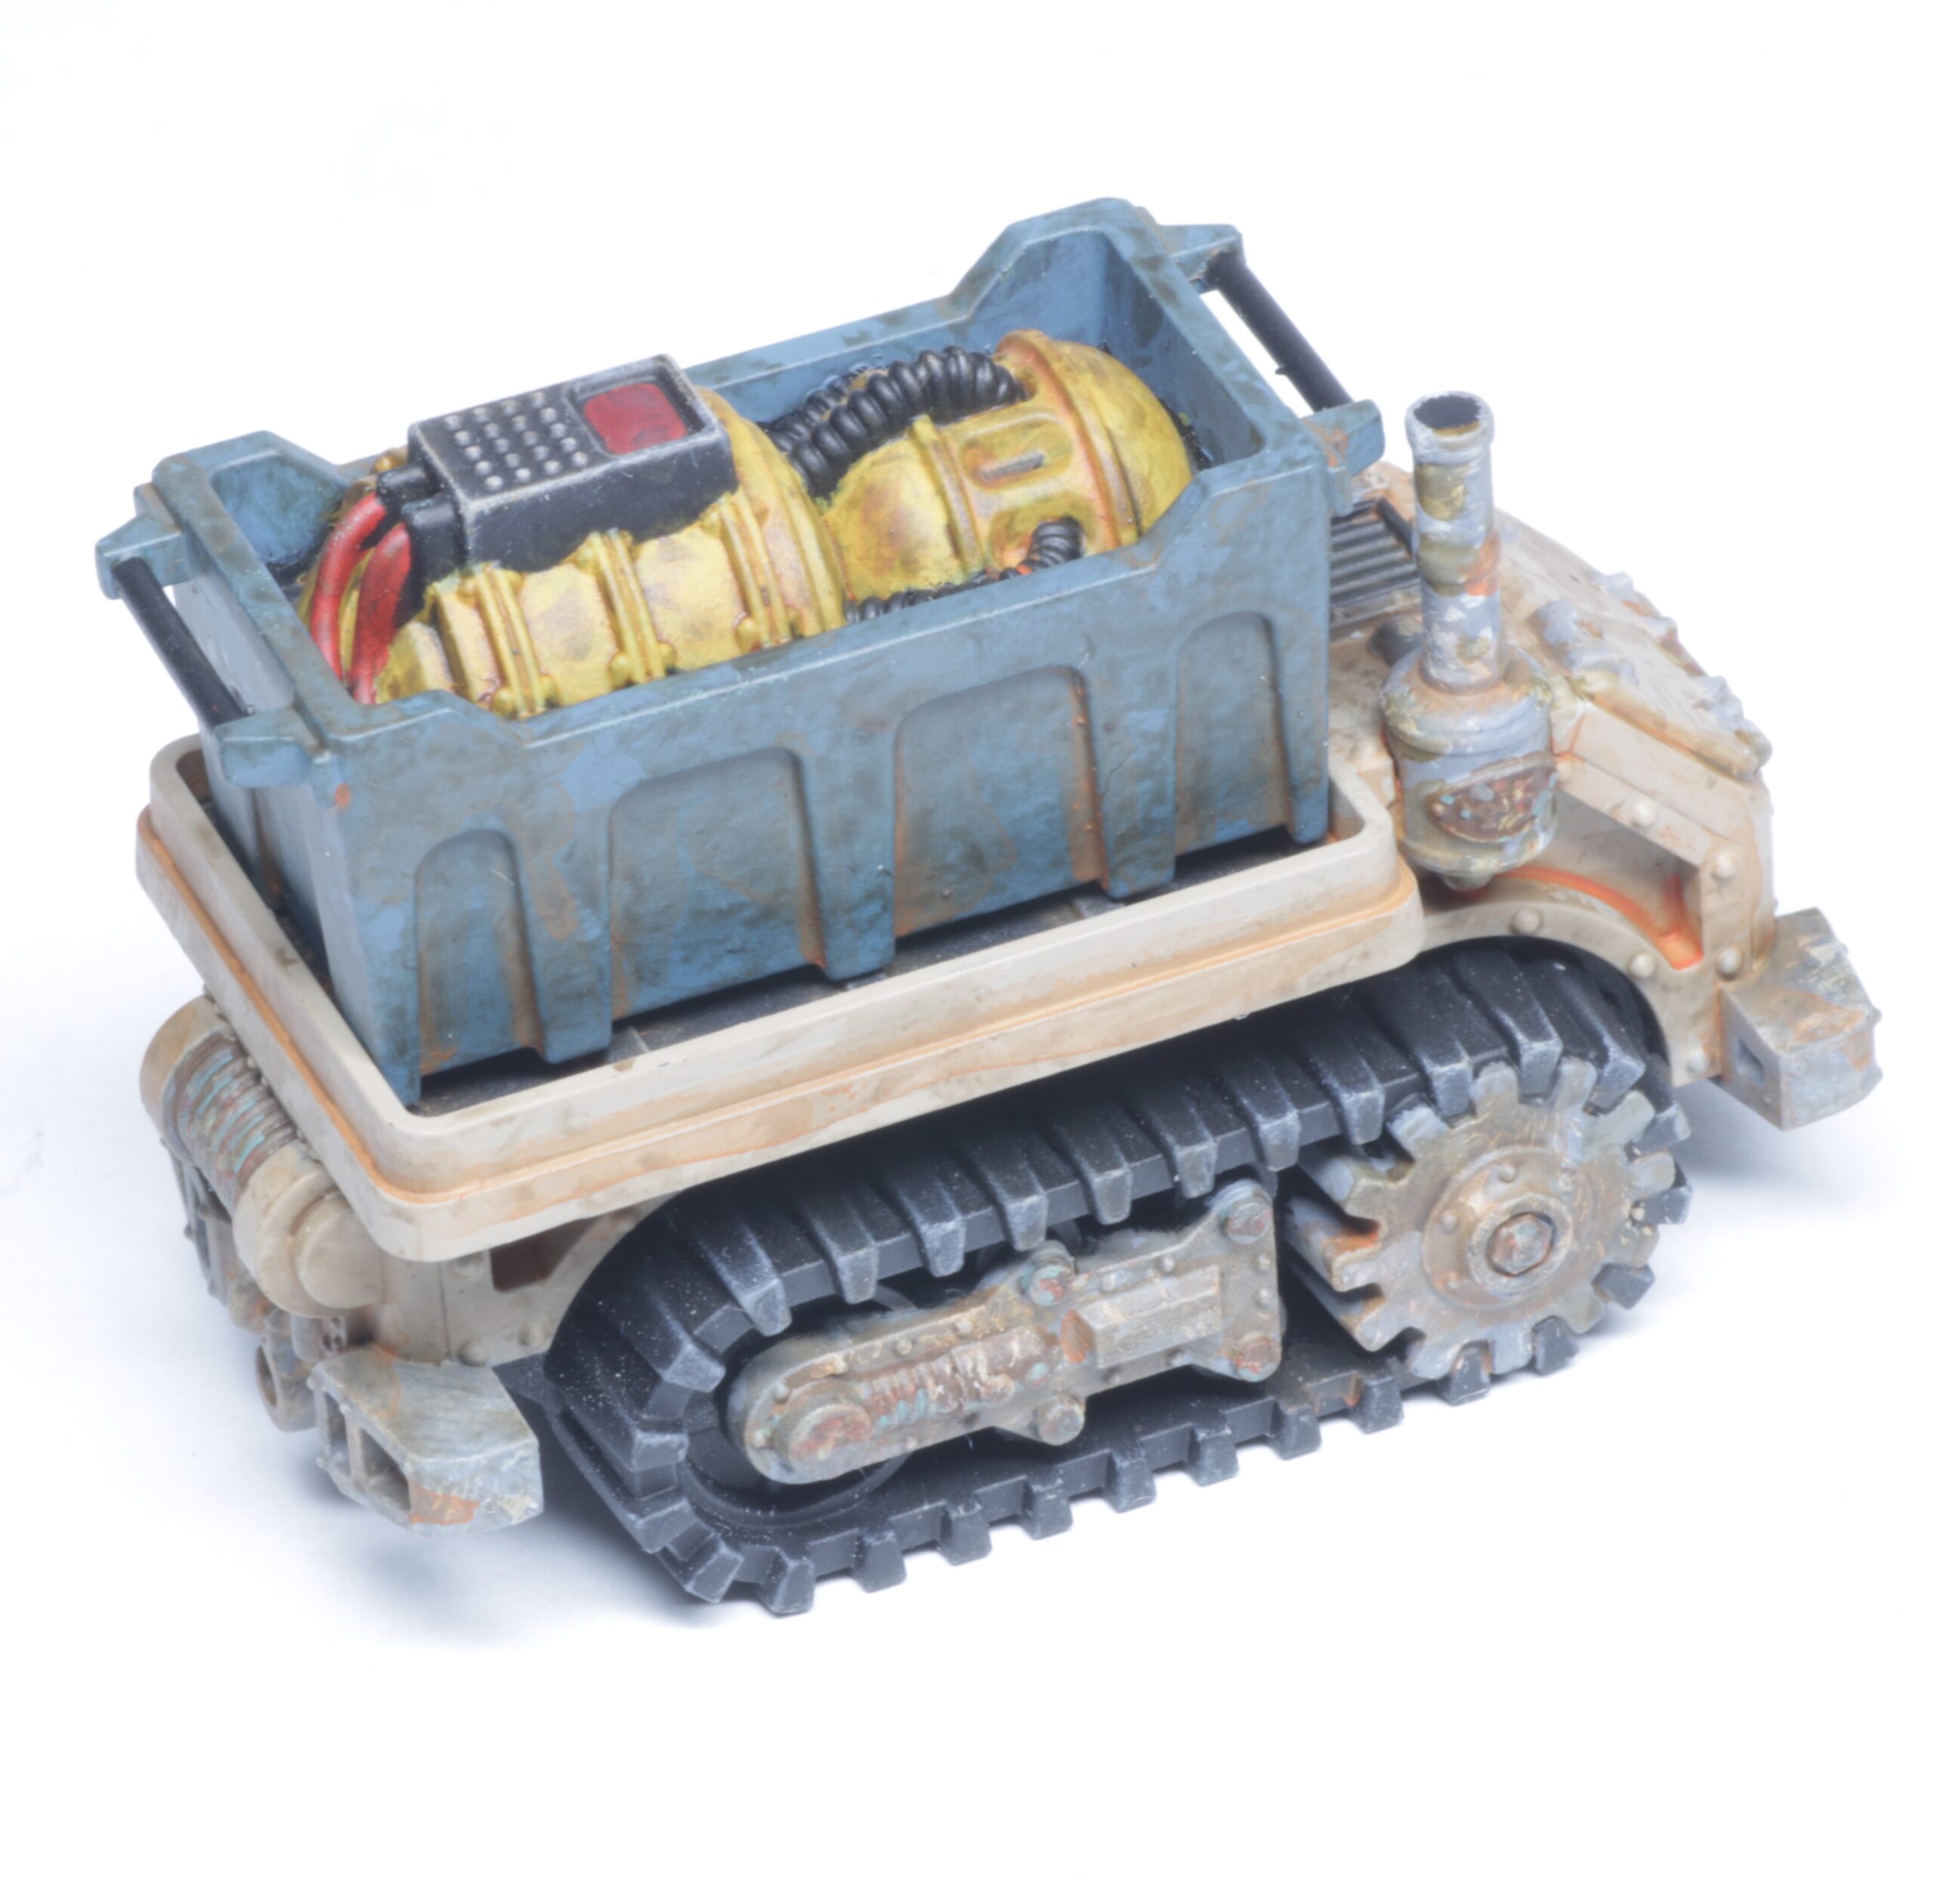
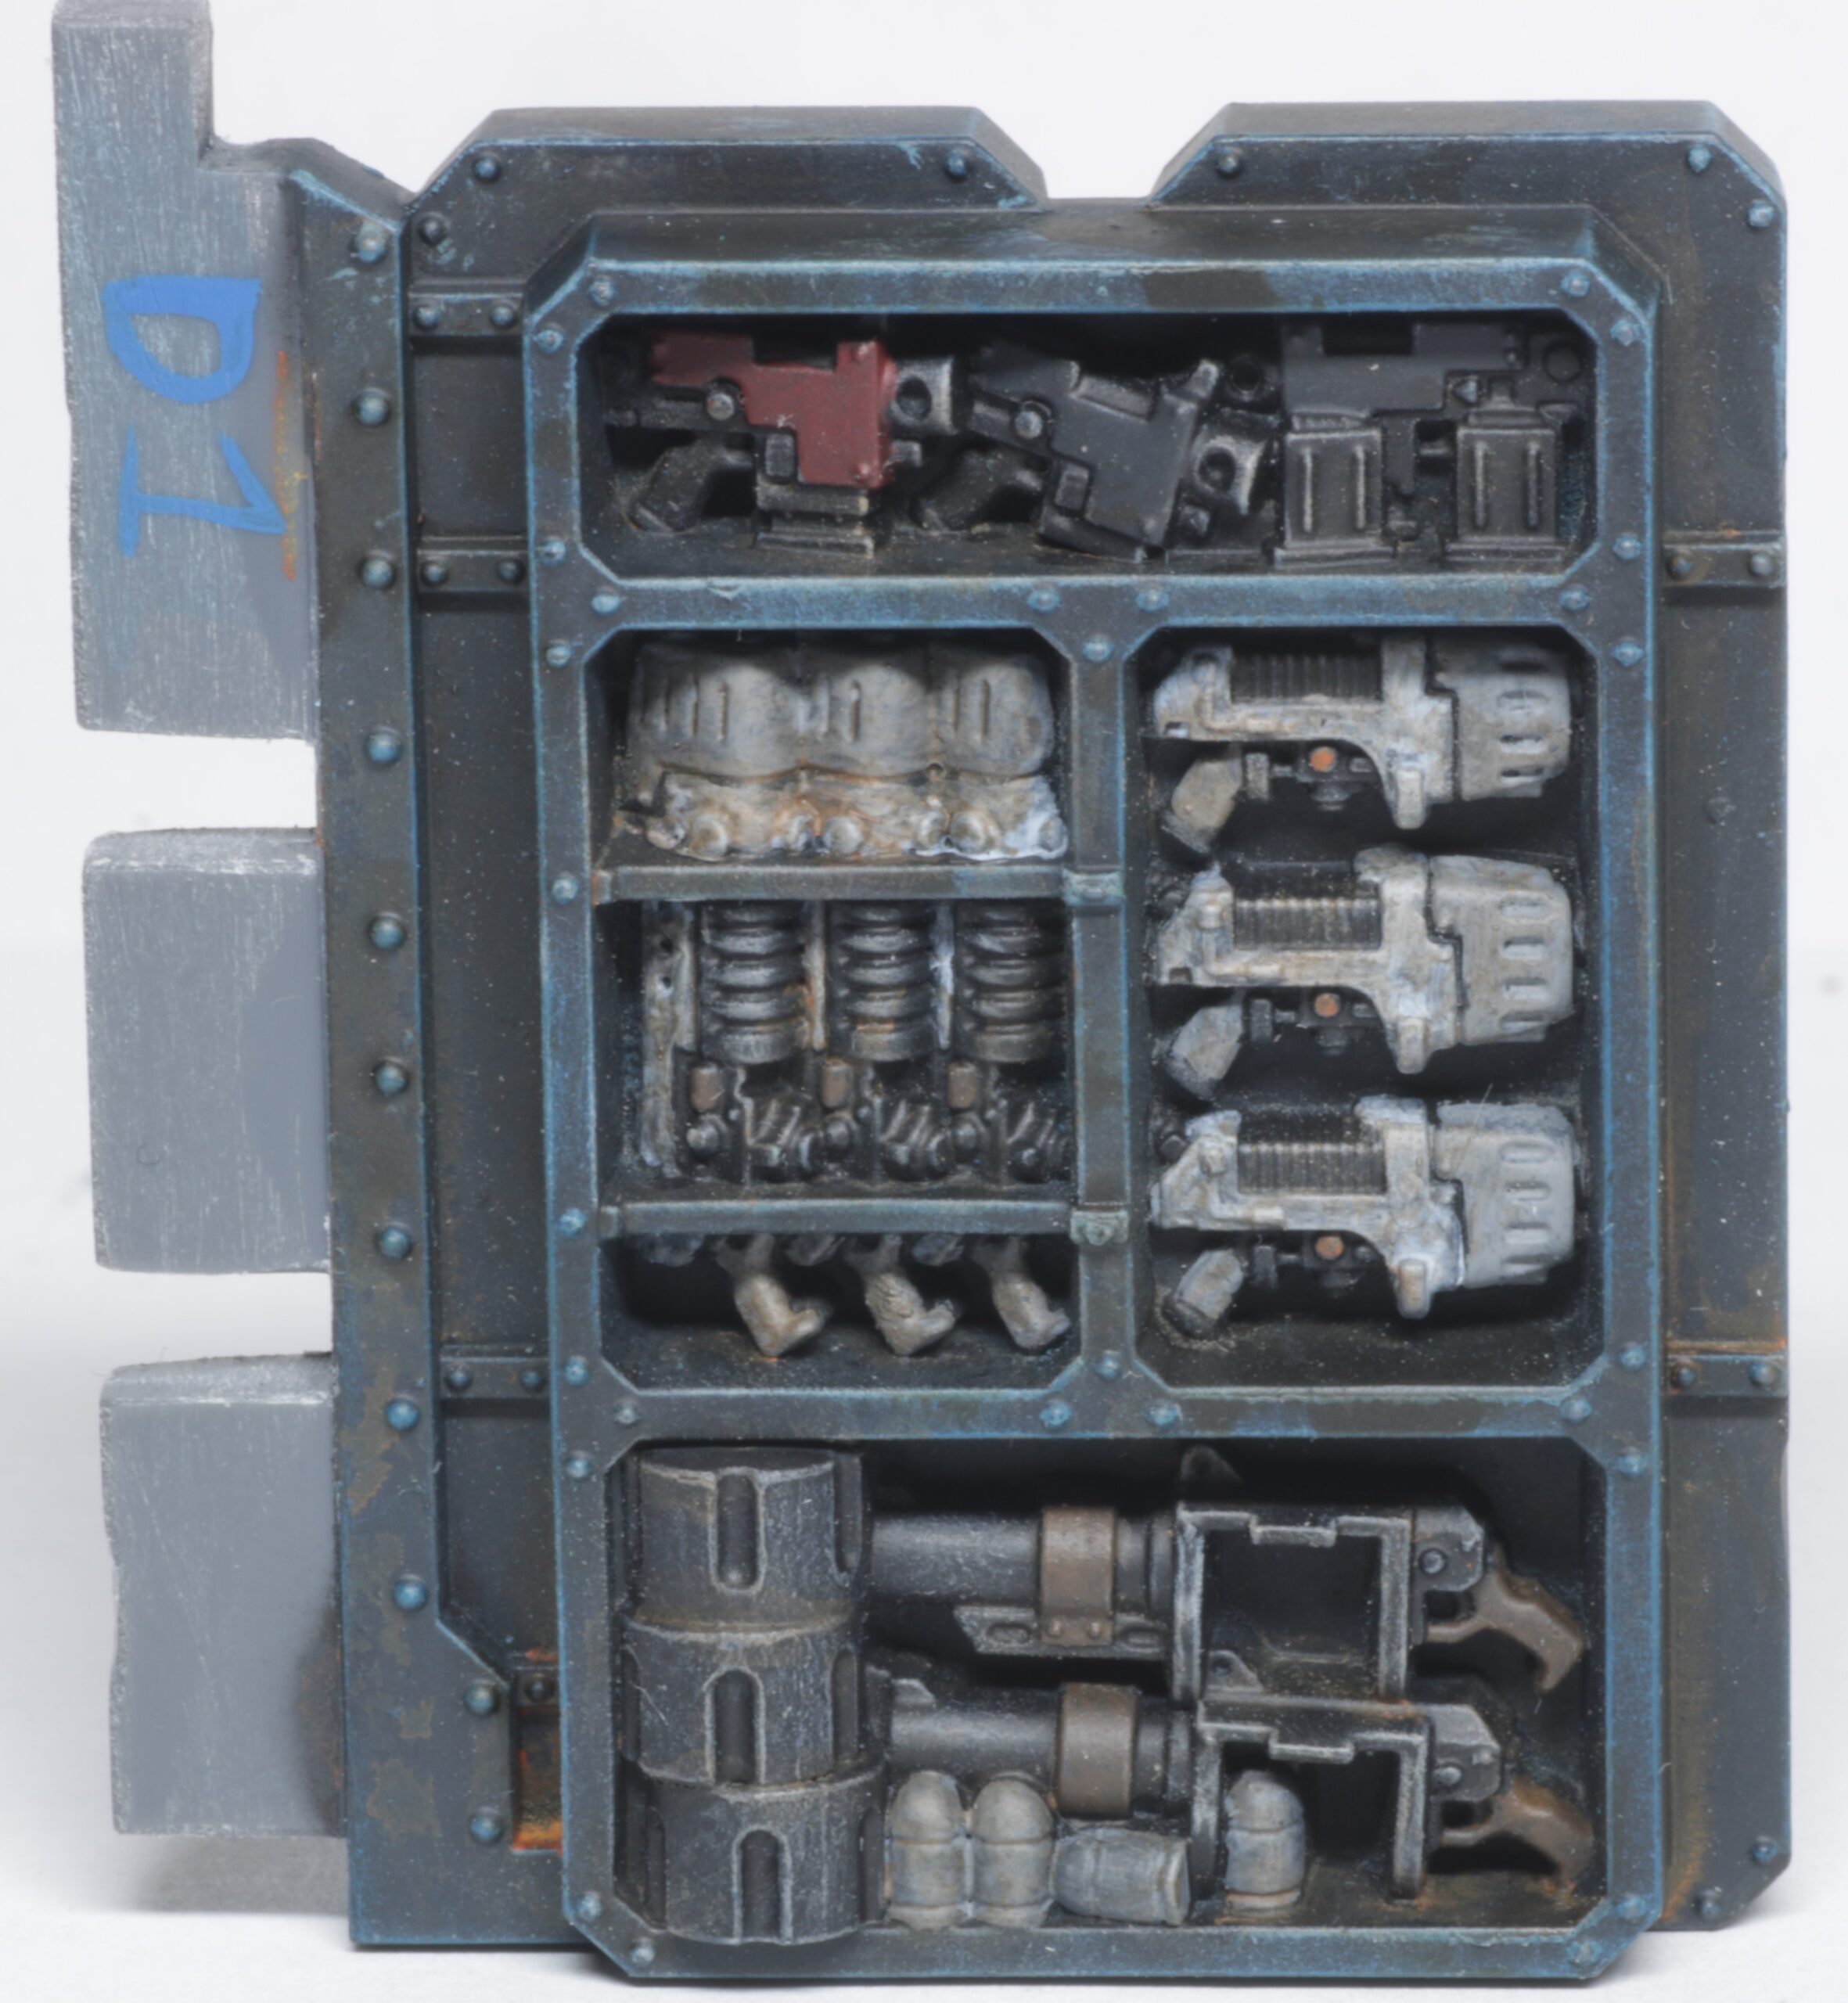
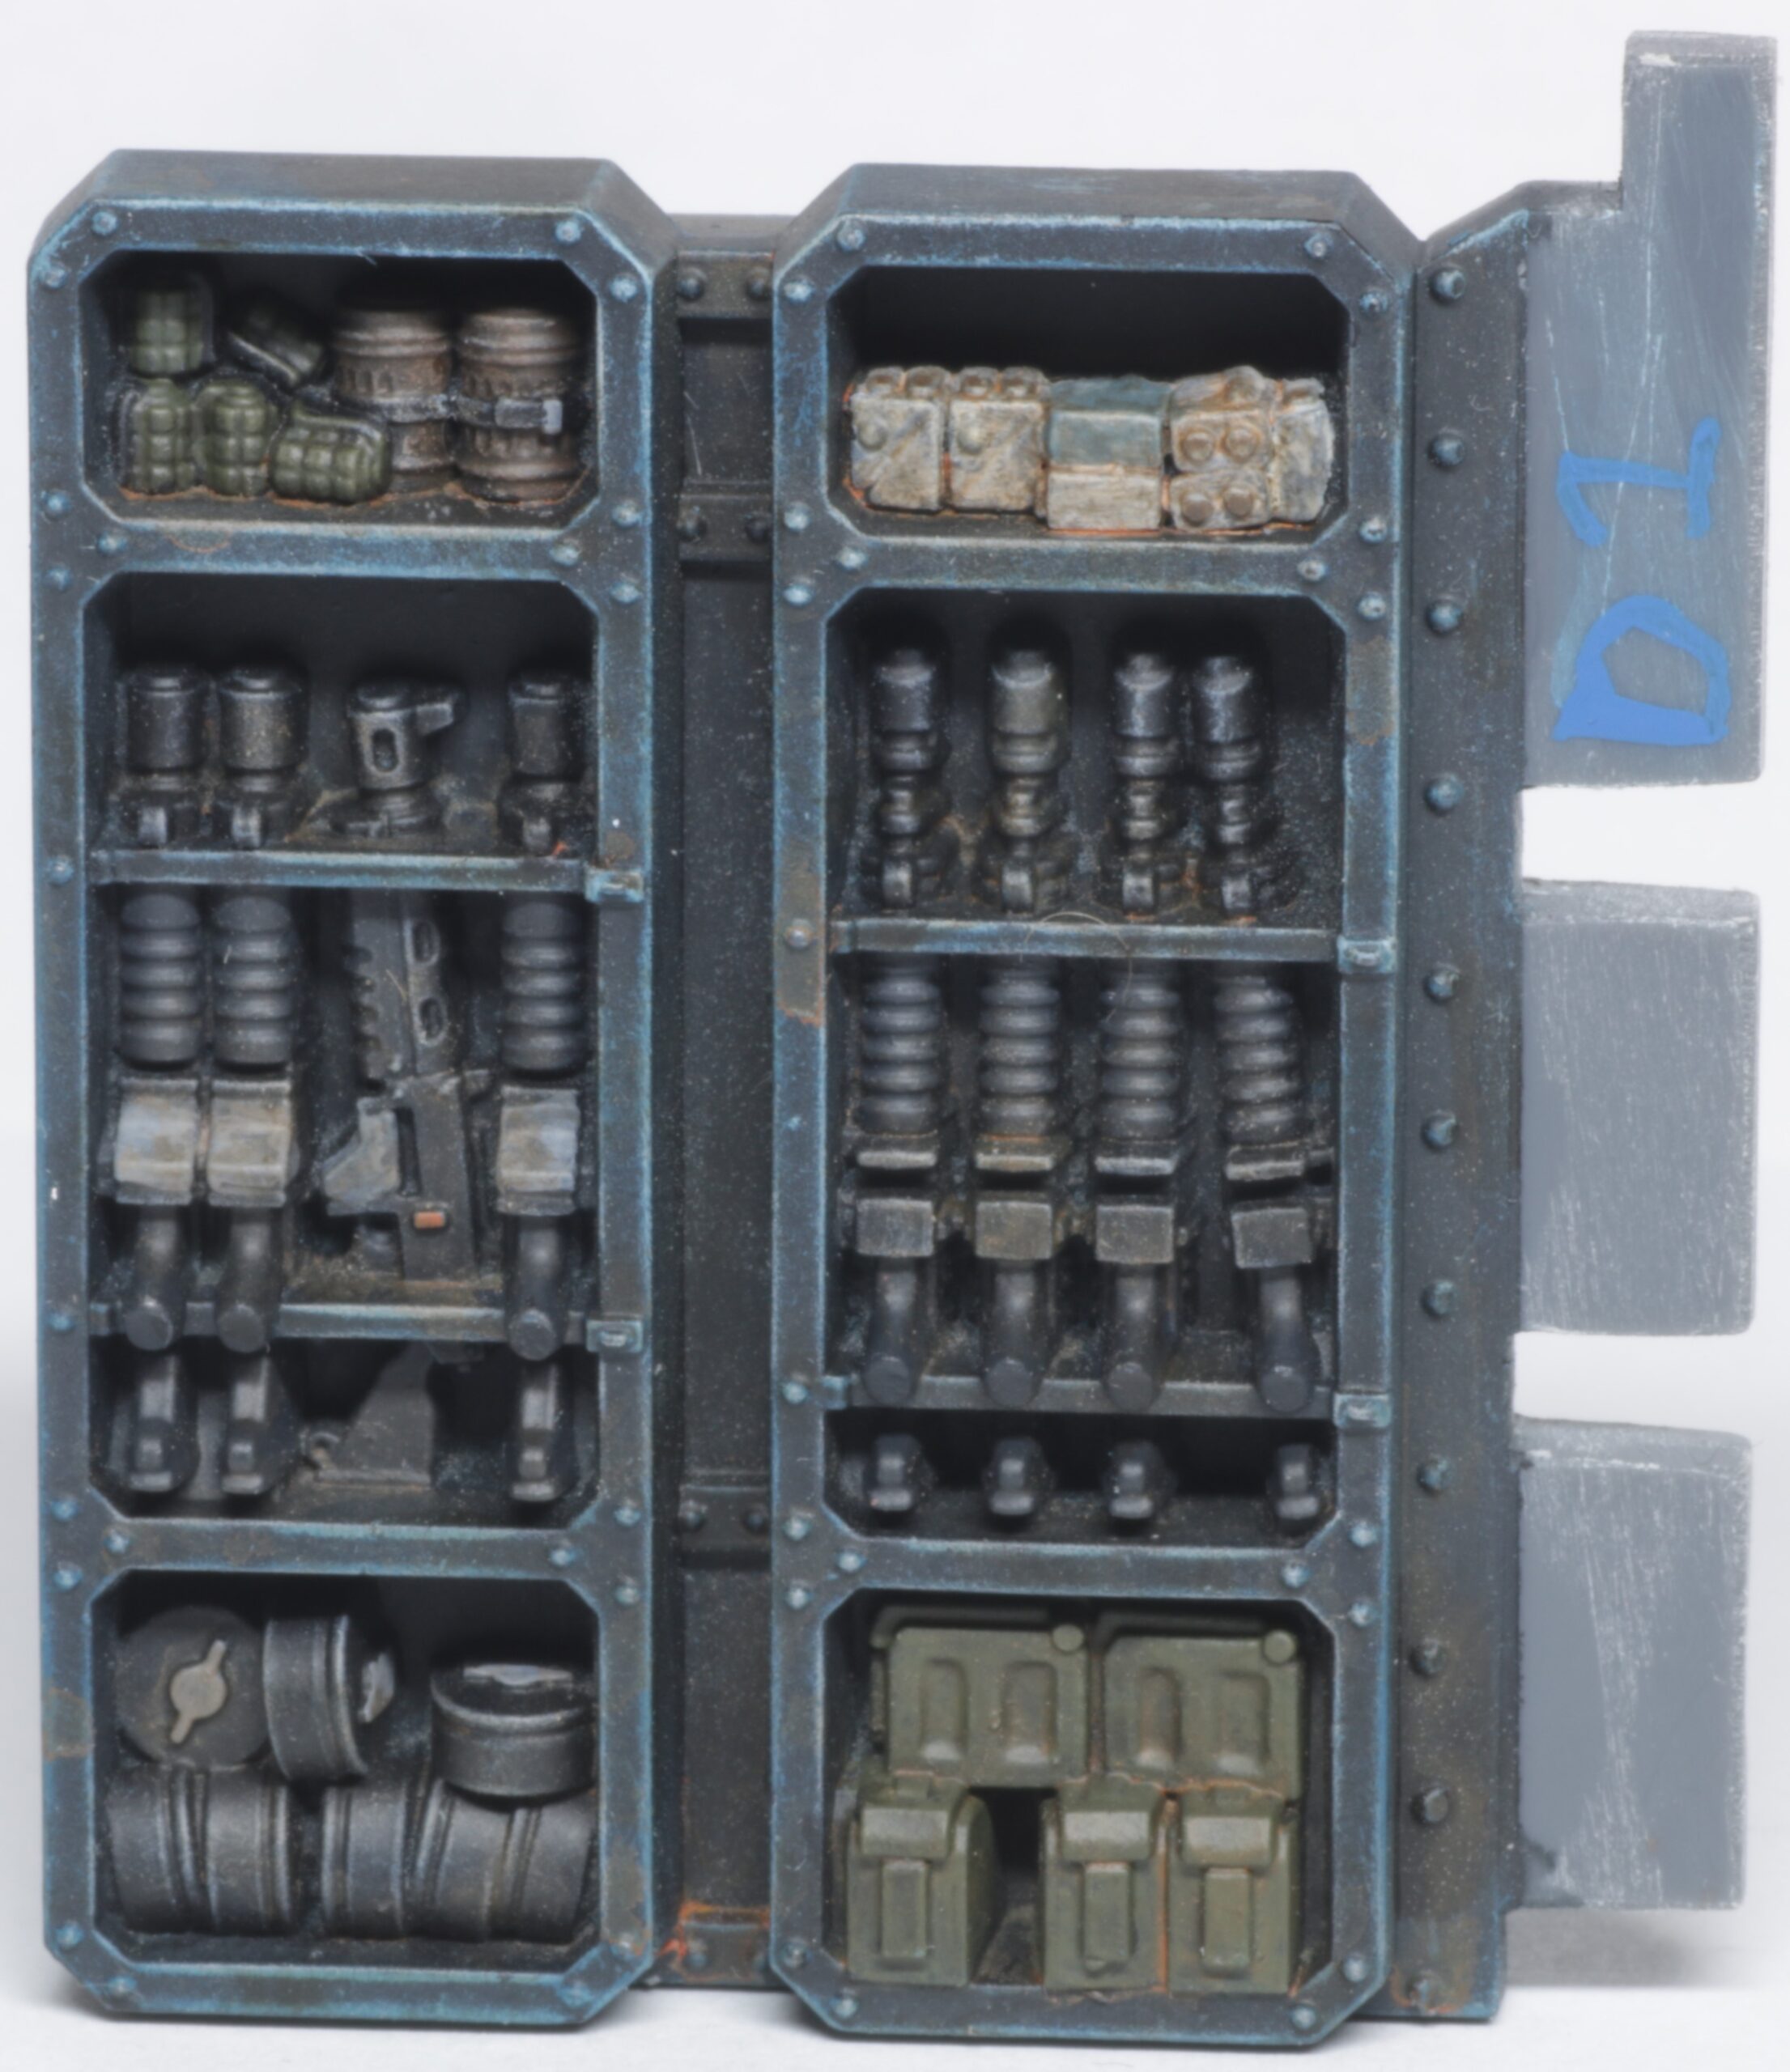
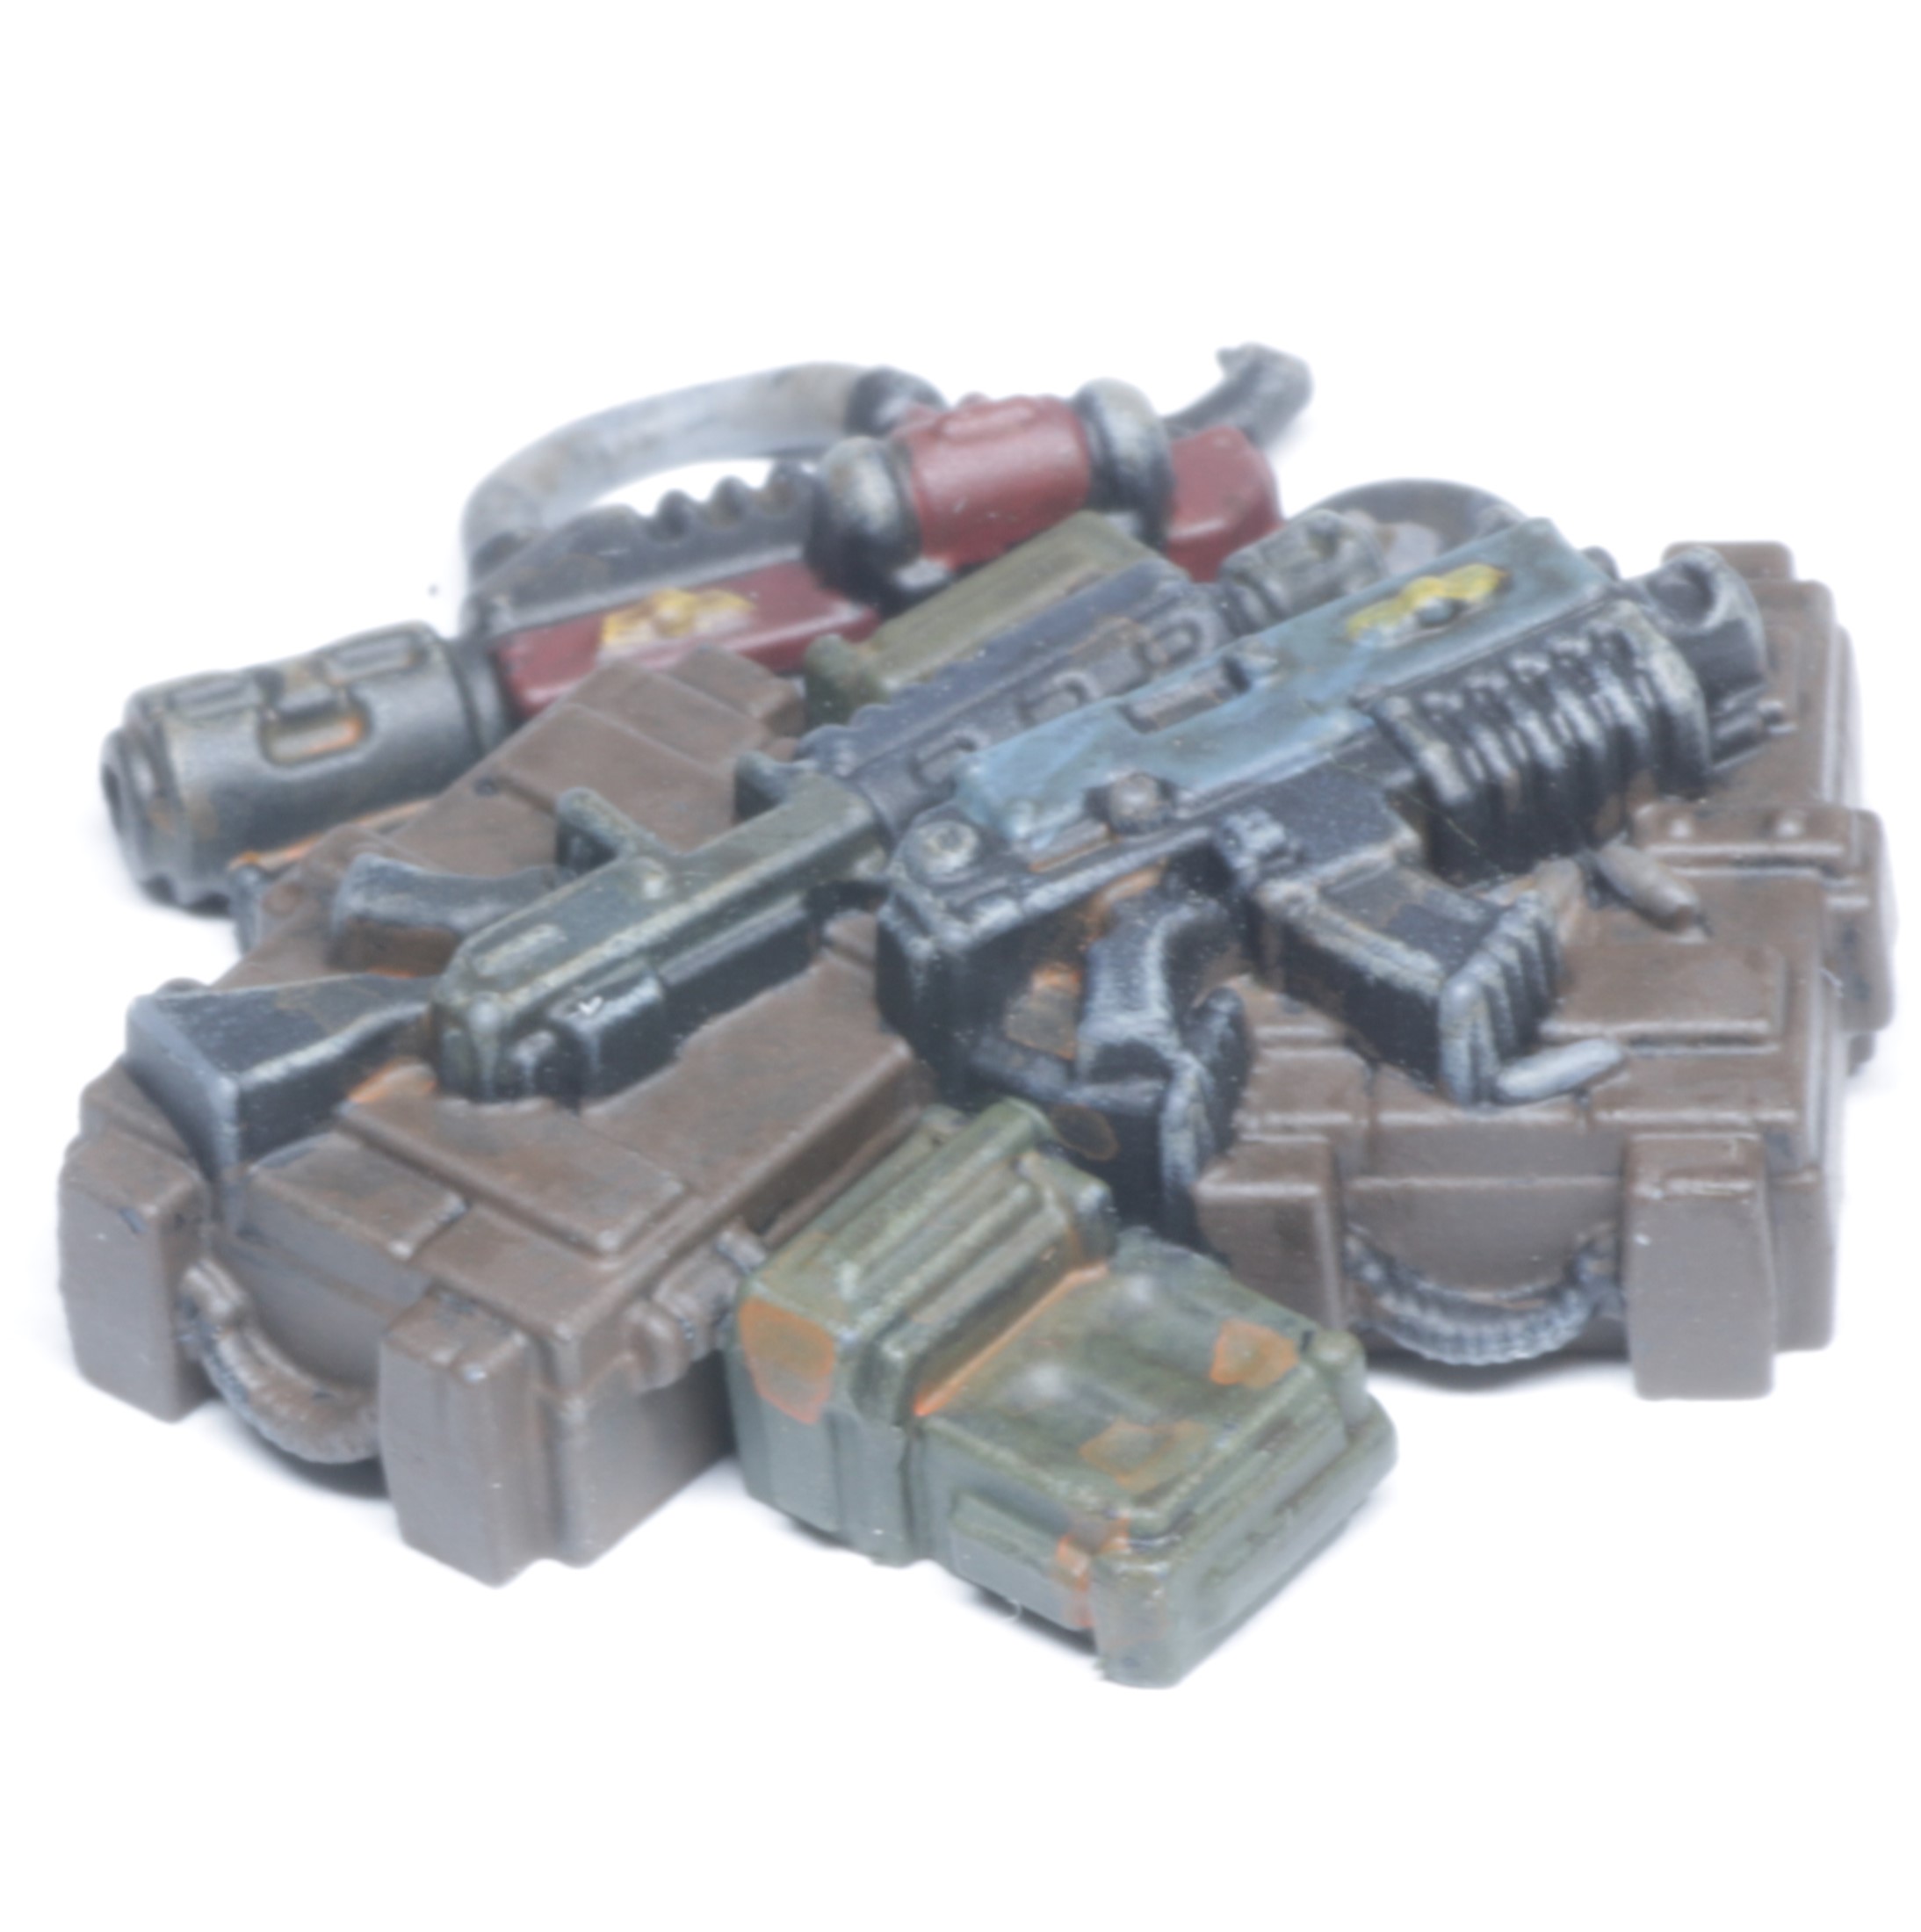
Killzone Upgrade: Shadowvaults
I thought this was a really fun set to paint, although smaller it features a few vehicles as well as plenty of weapons including a big bomb. It also has some security cameras and computer equipment which would make for a great stealth sequence in an RPG.
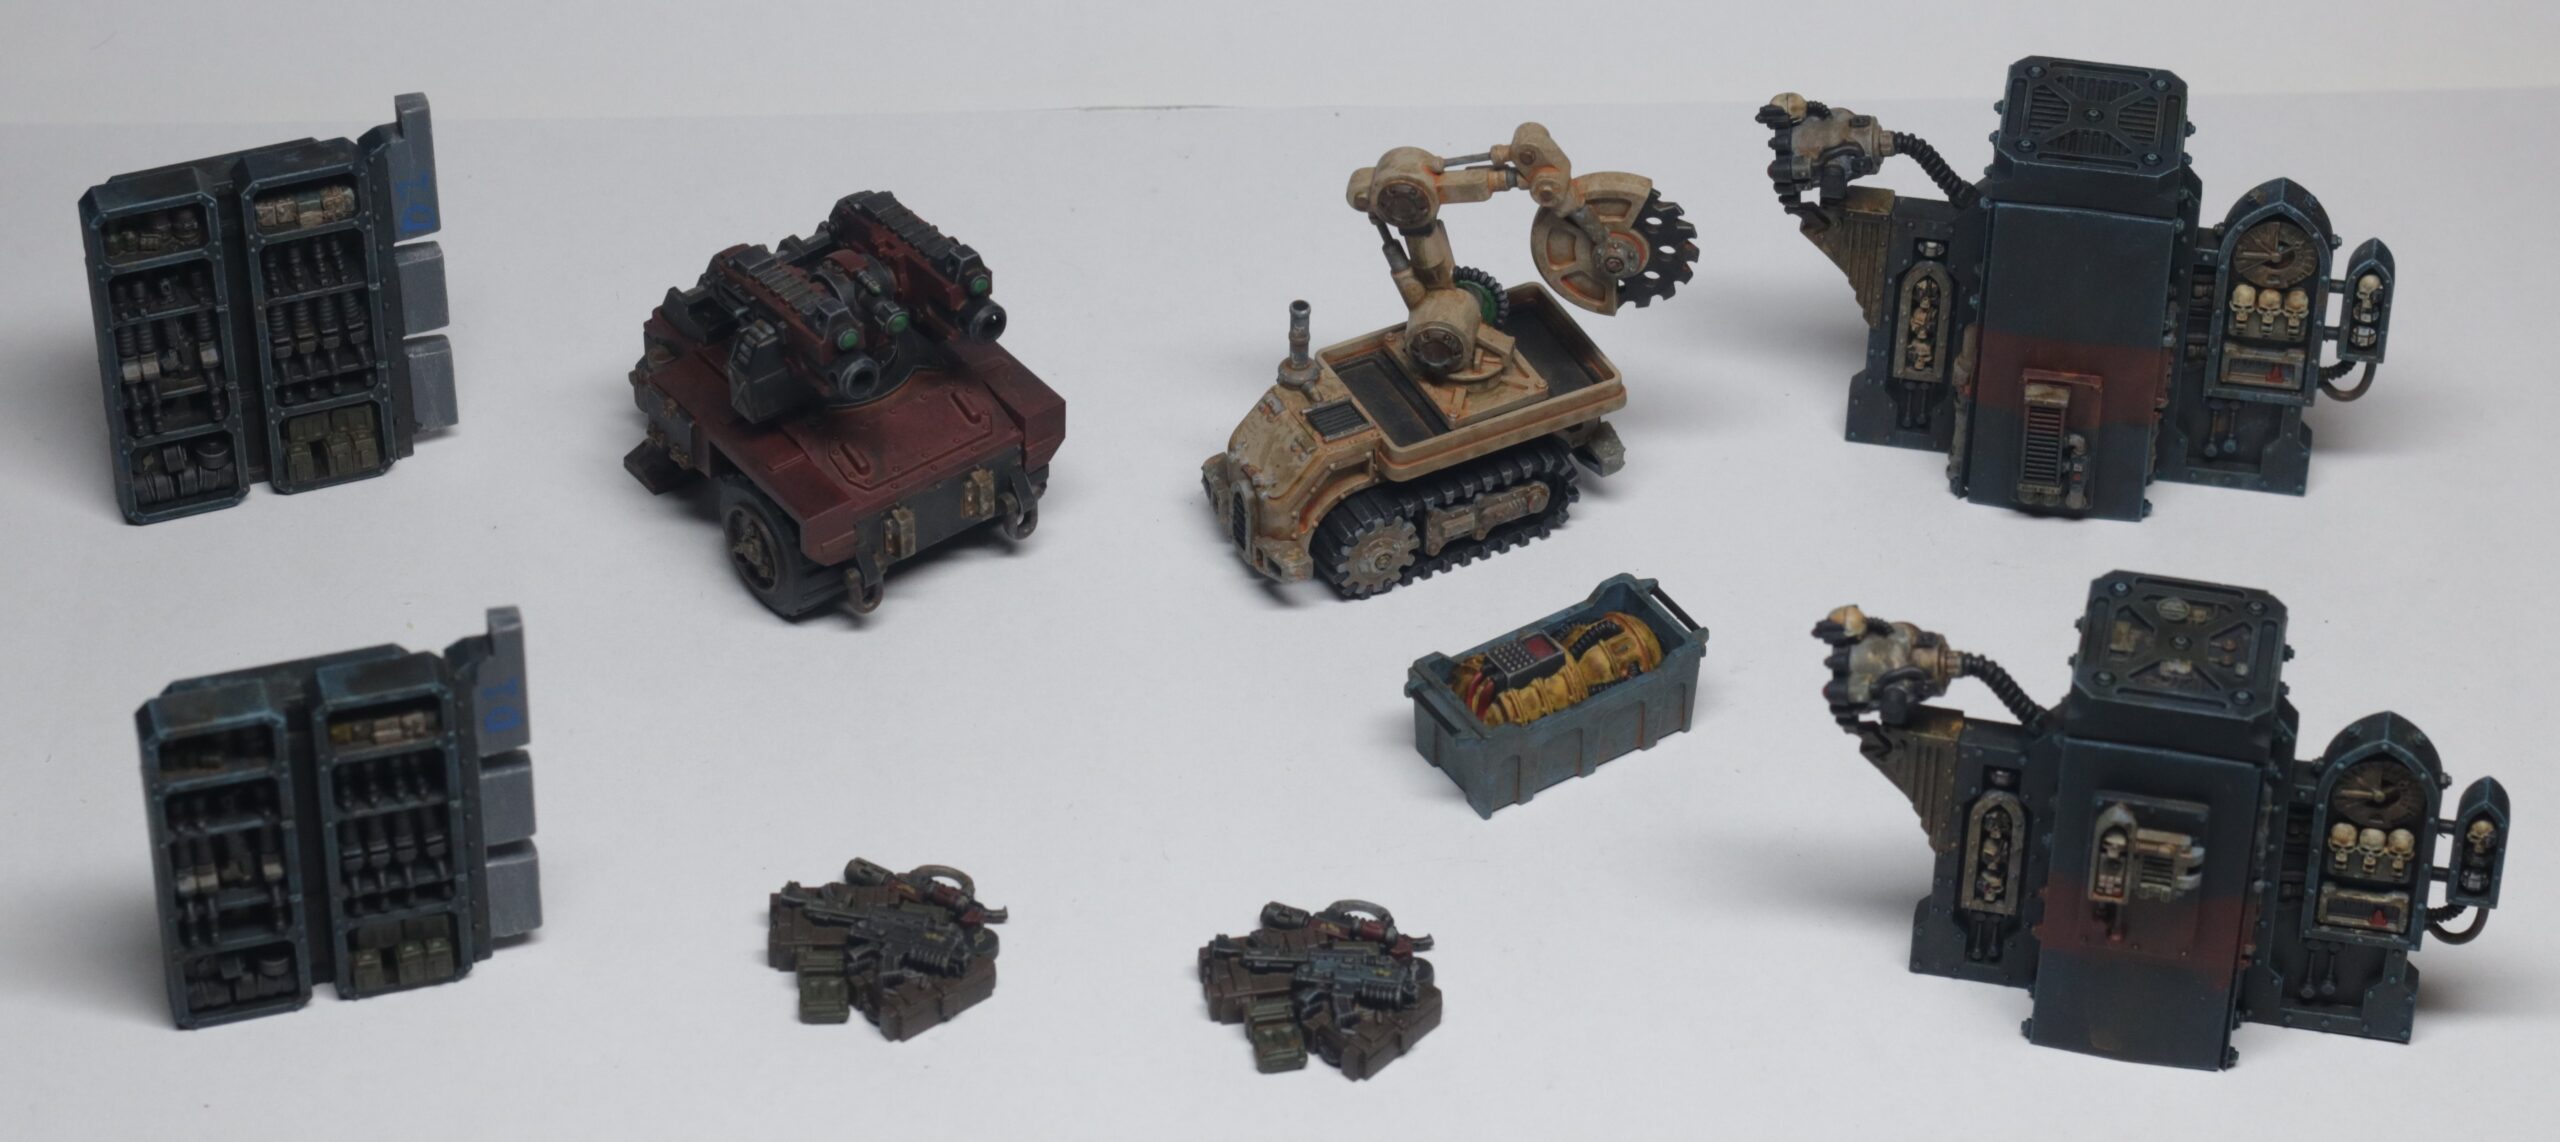
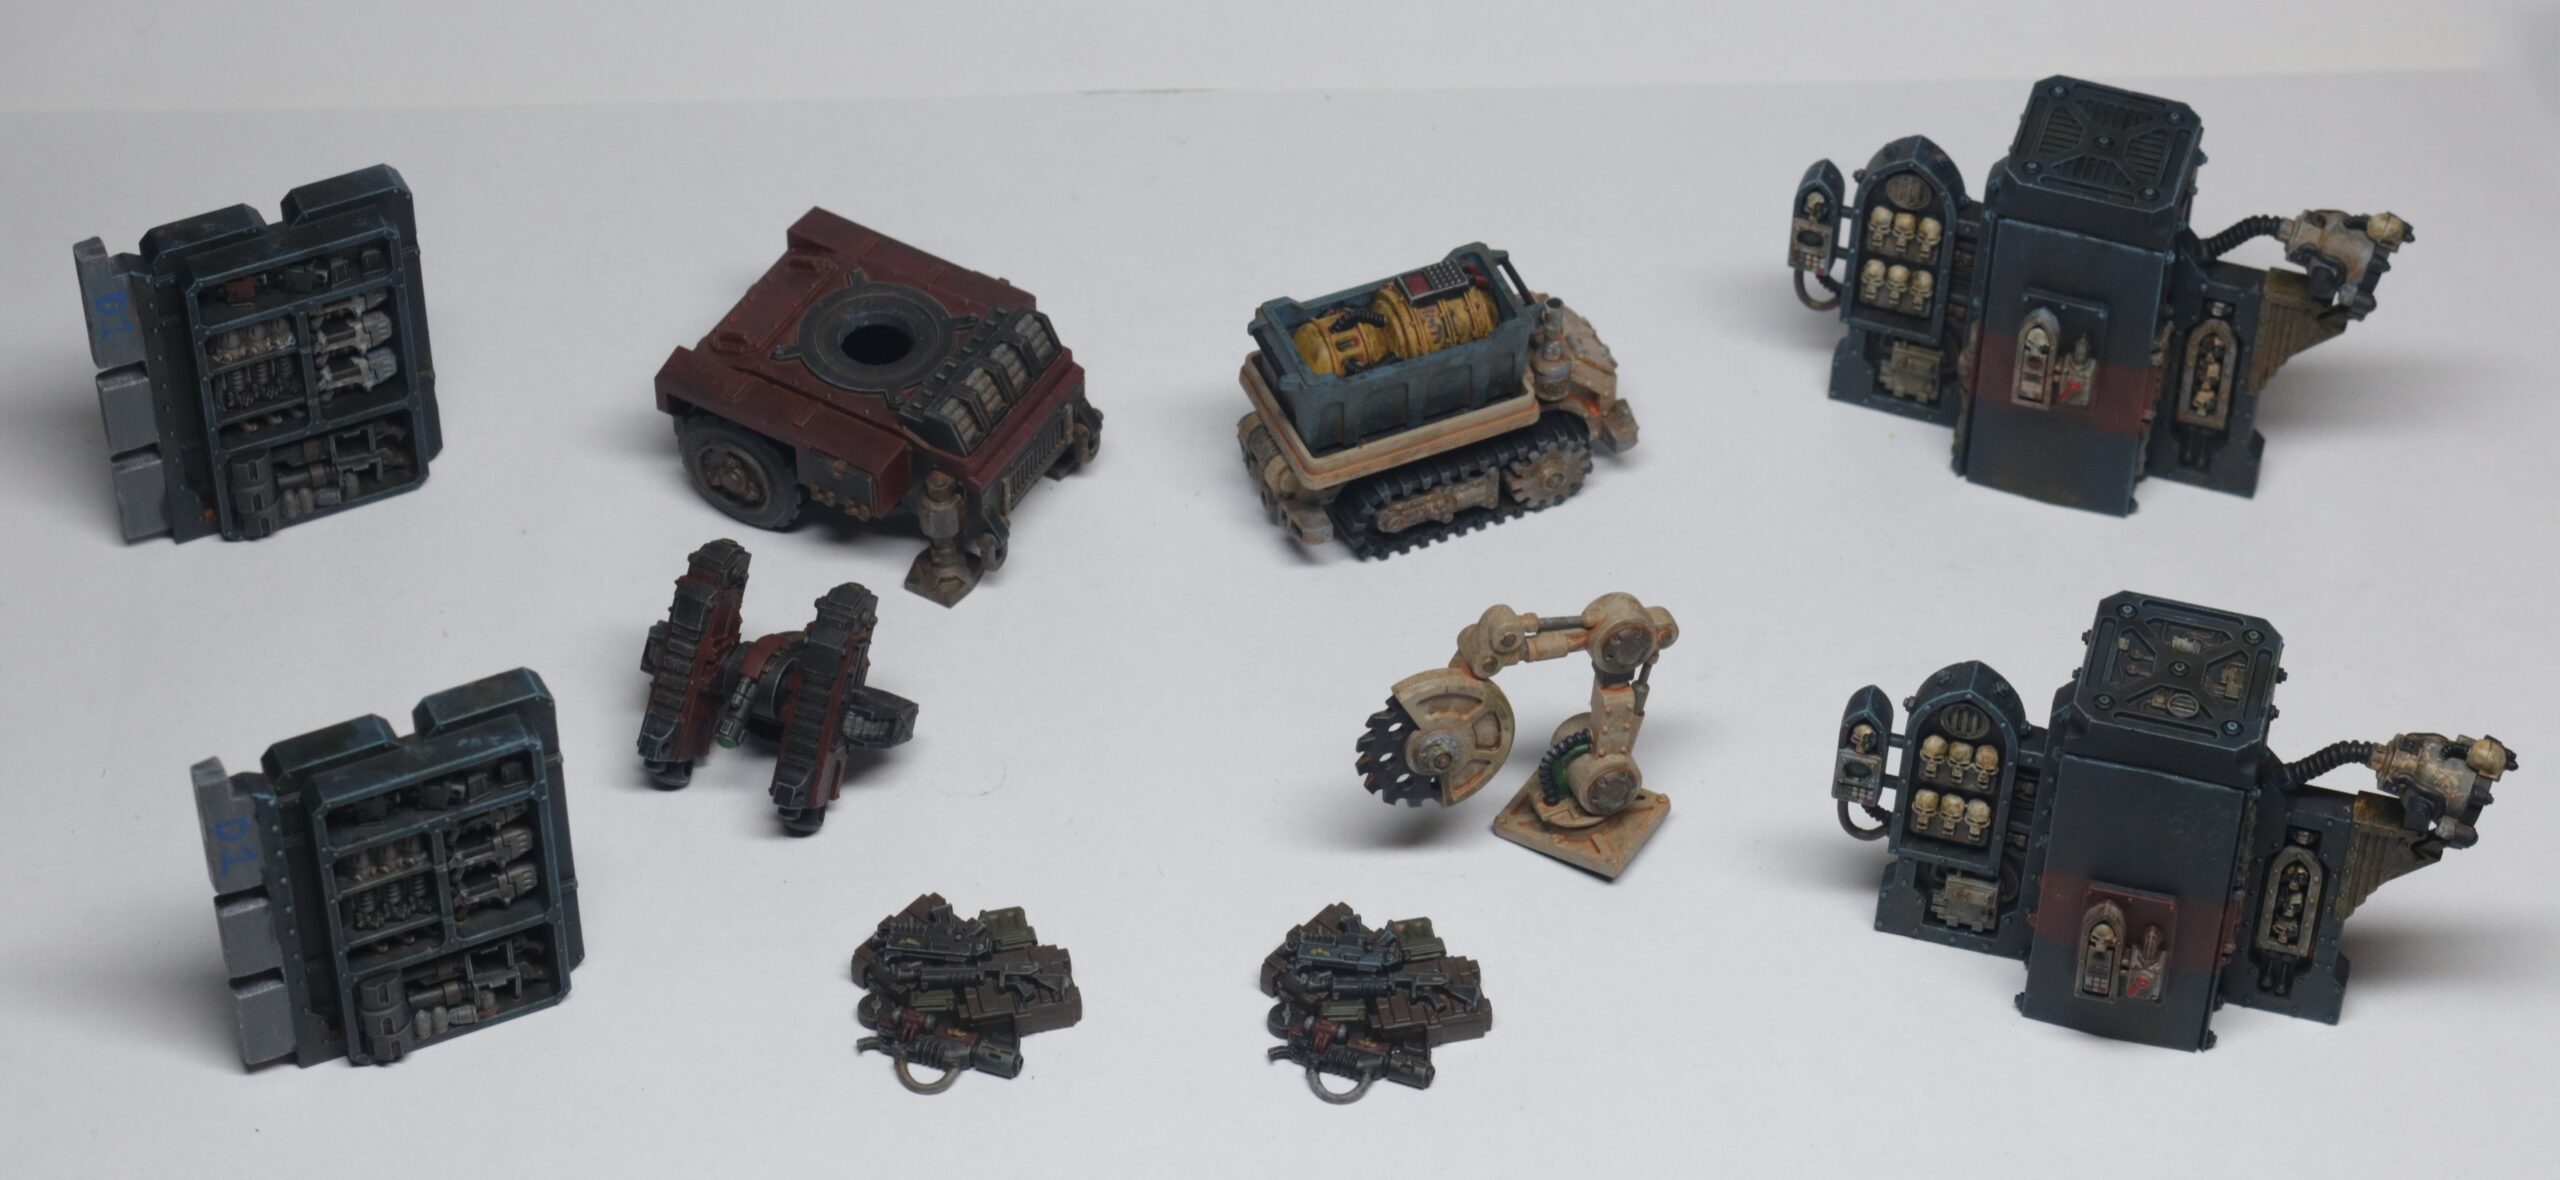
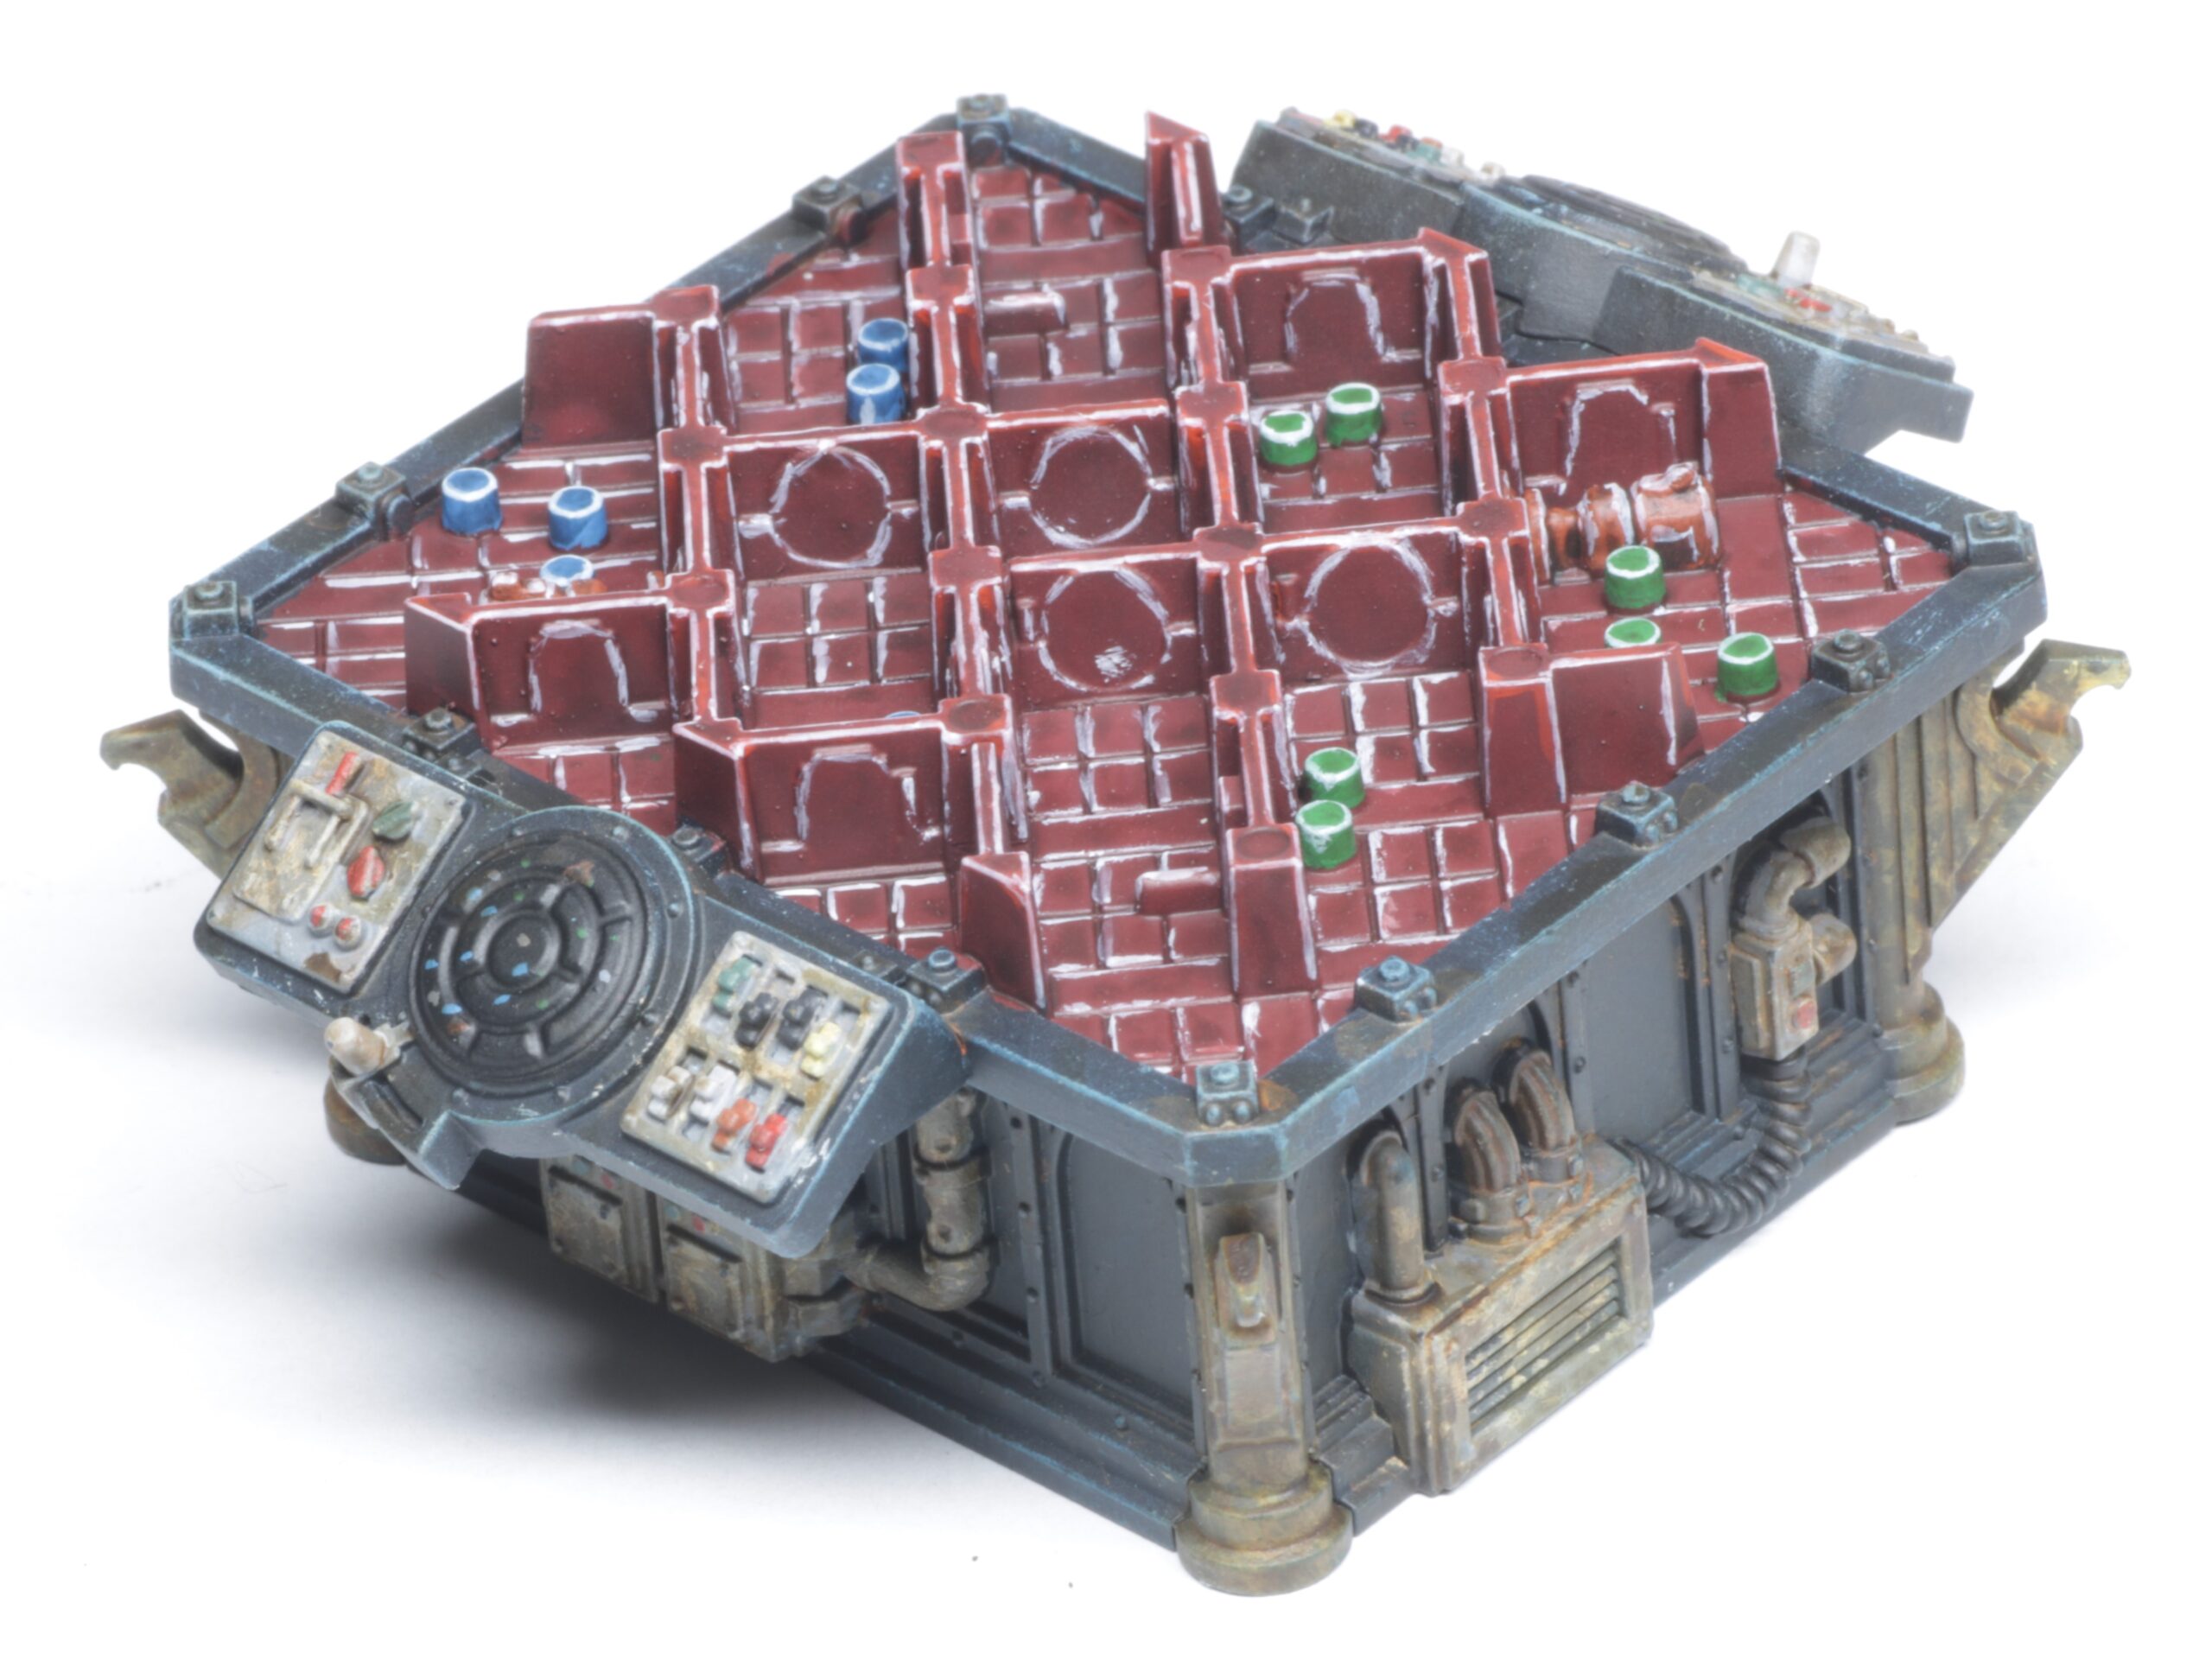
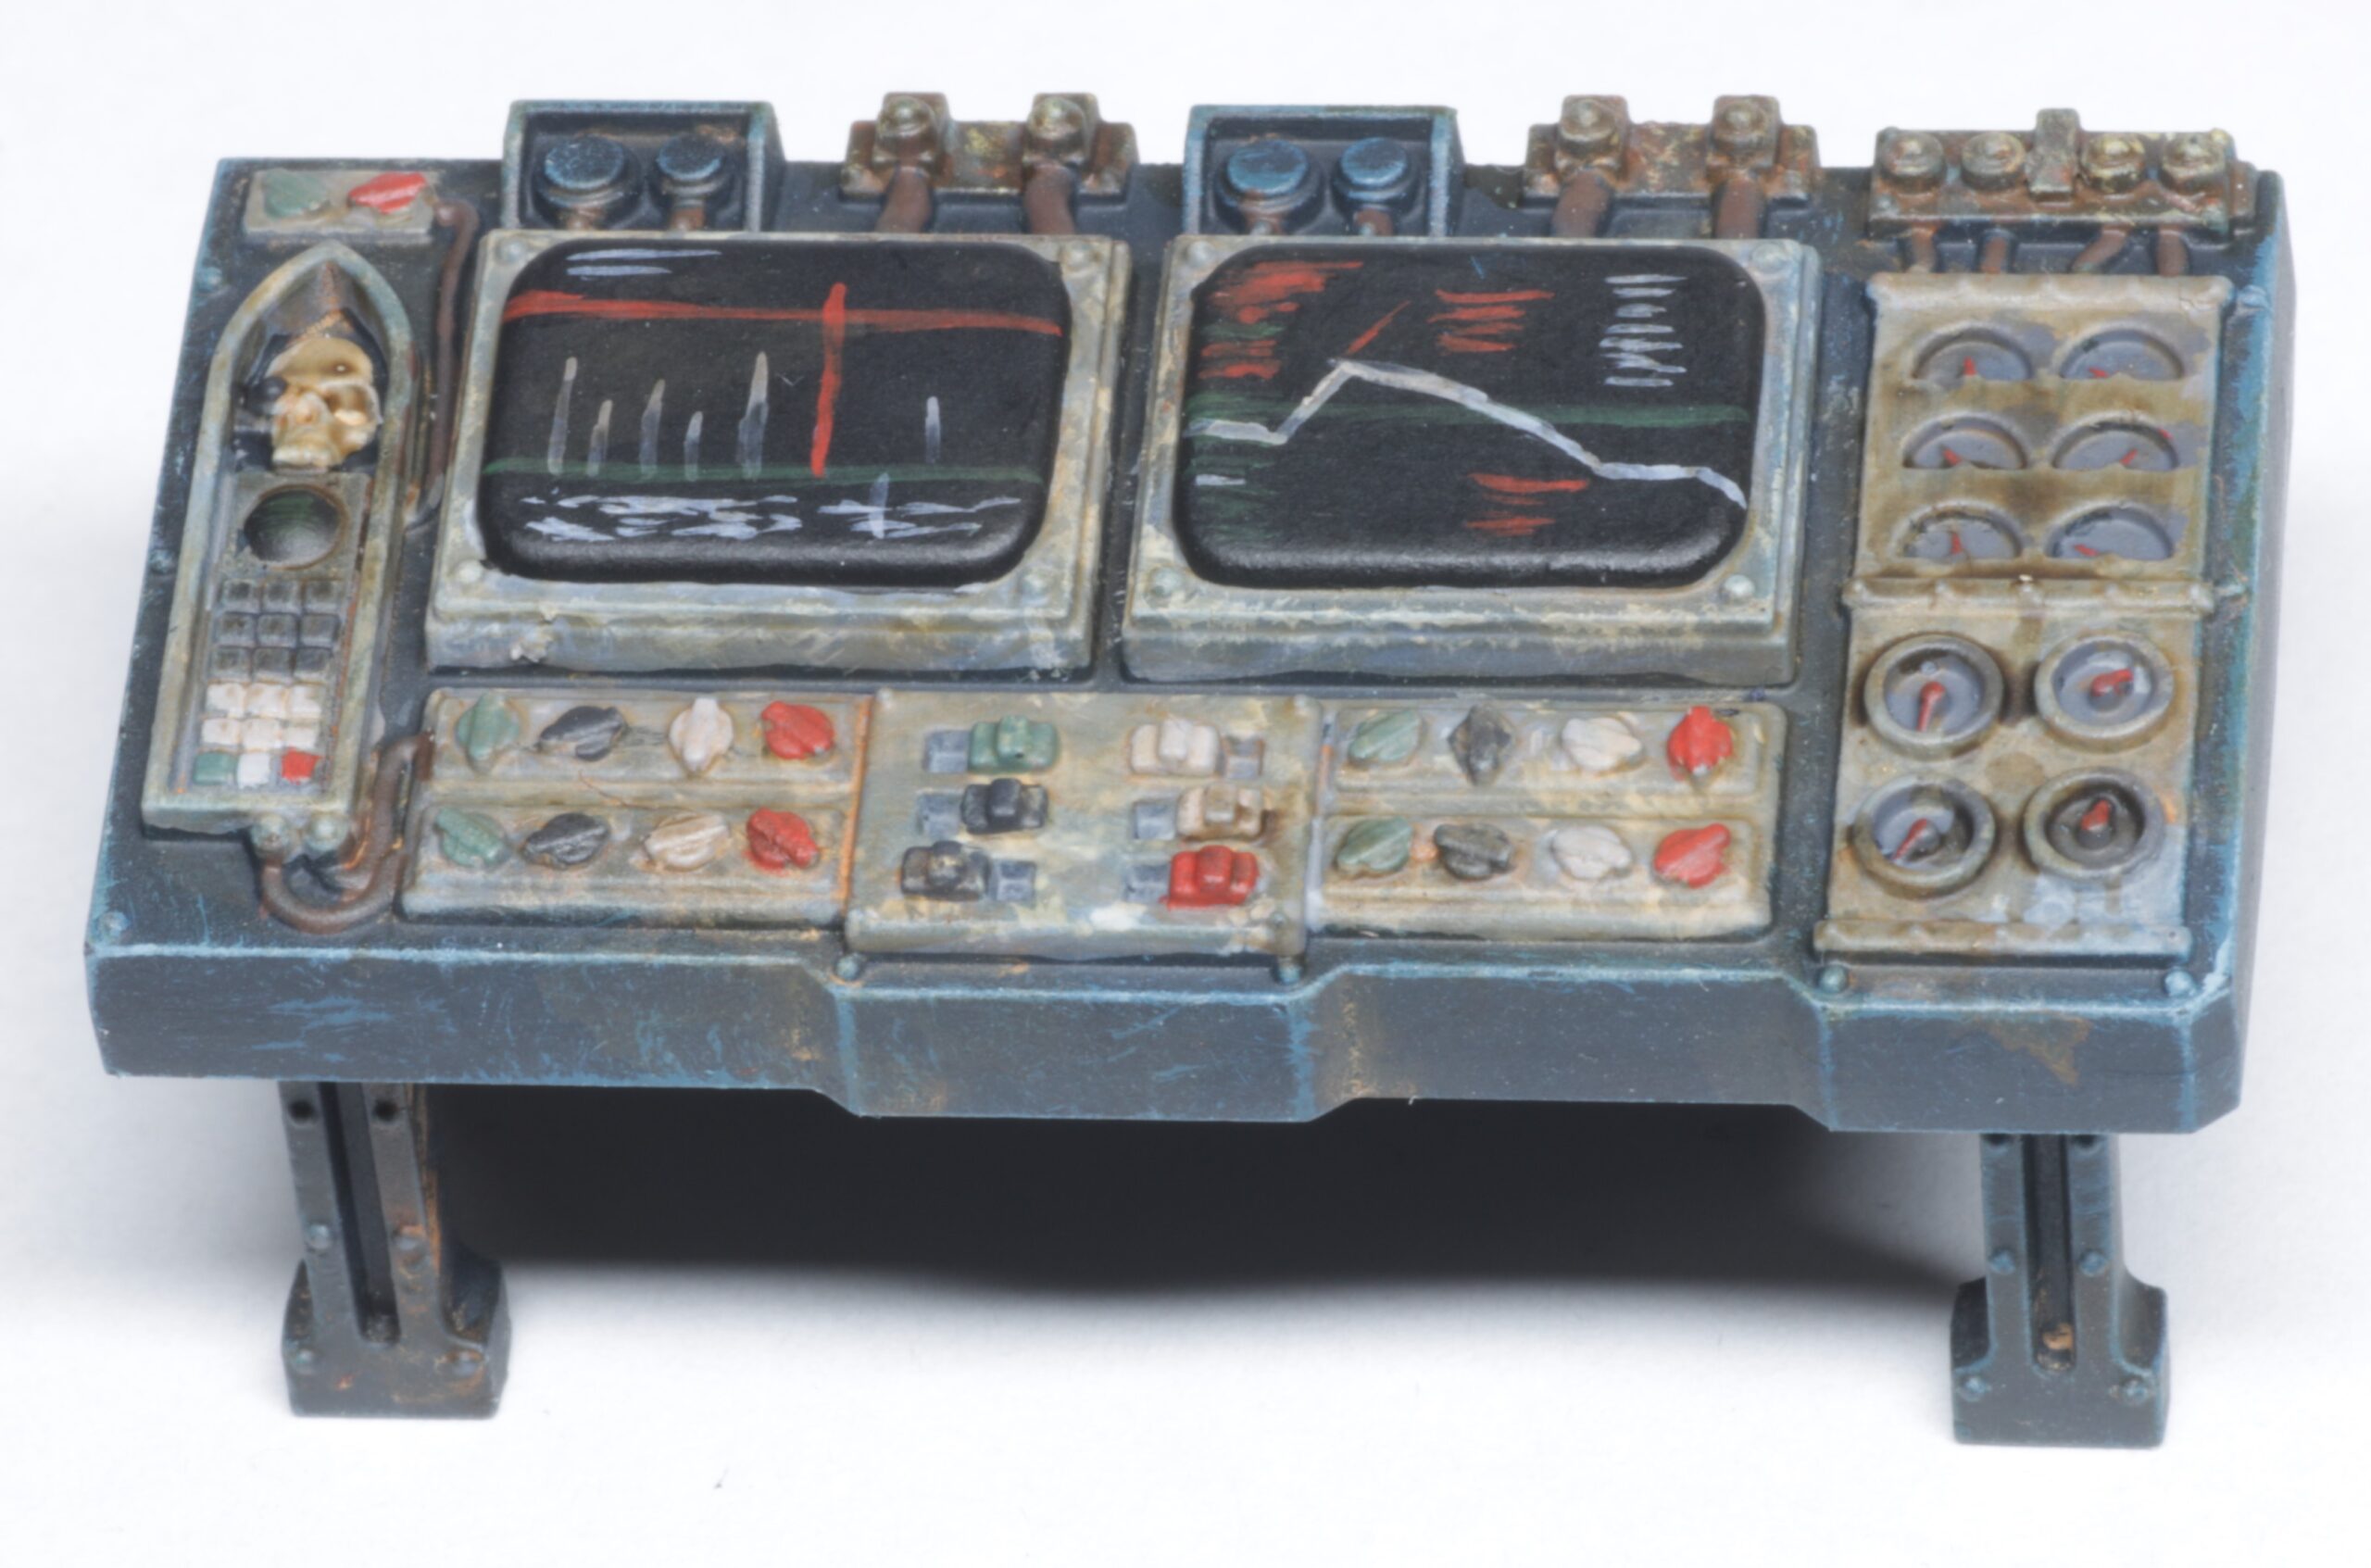
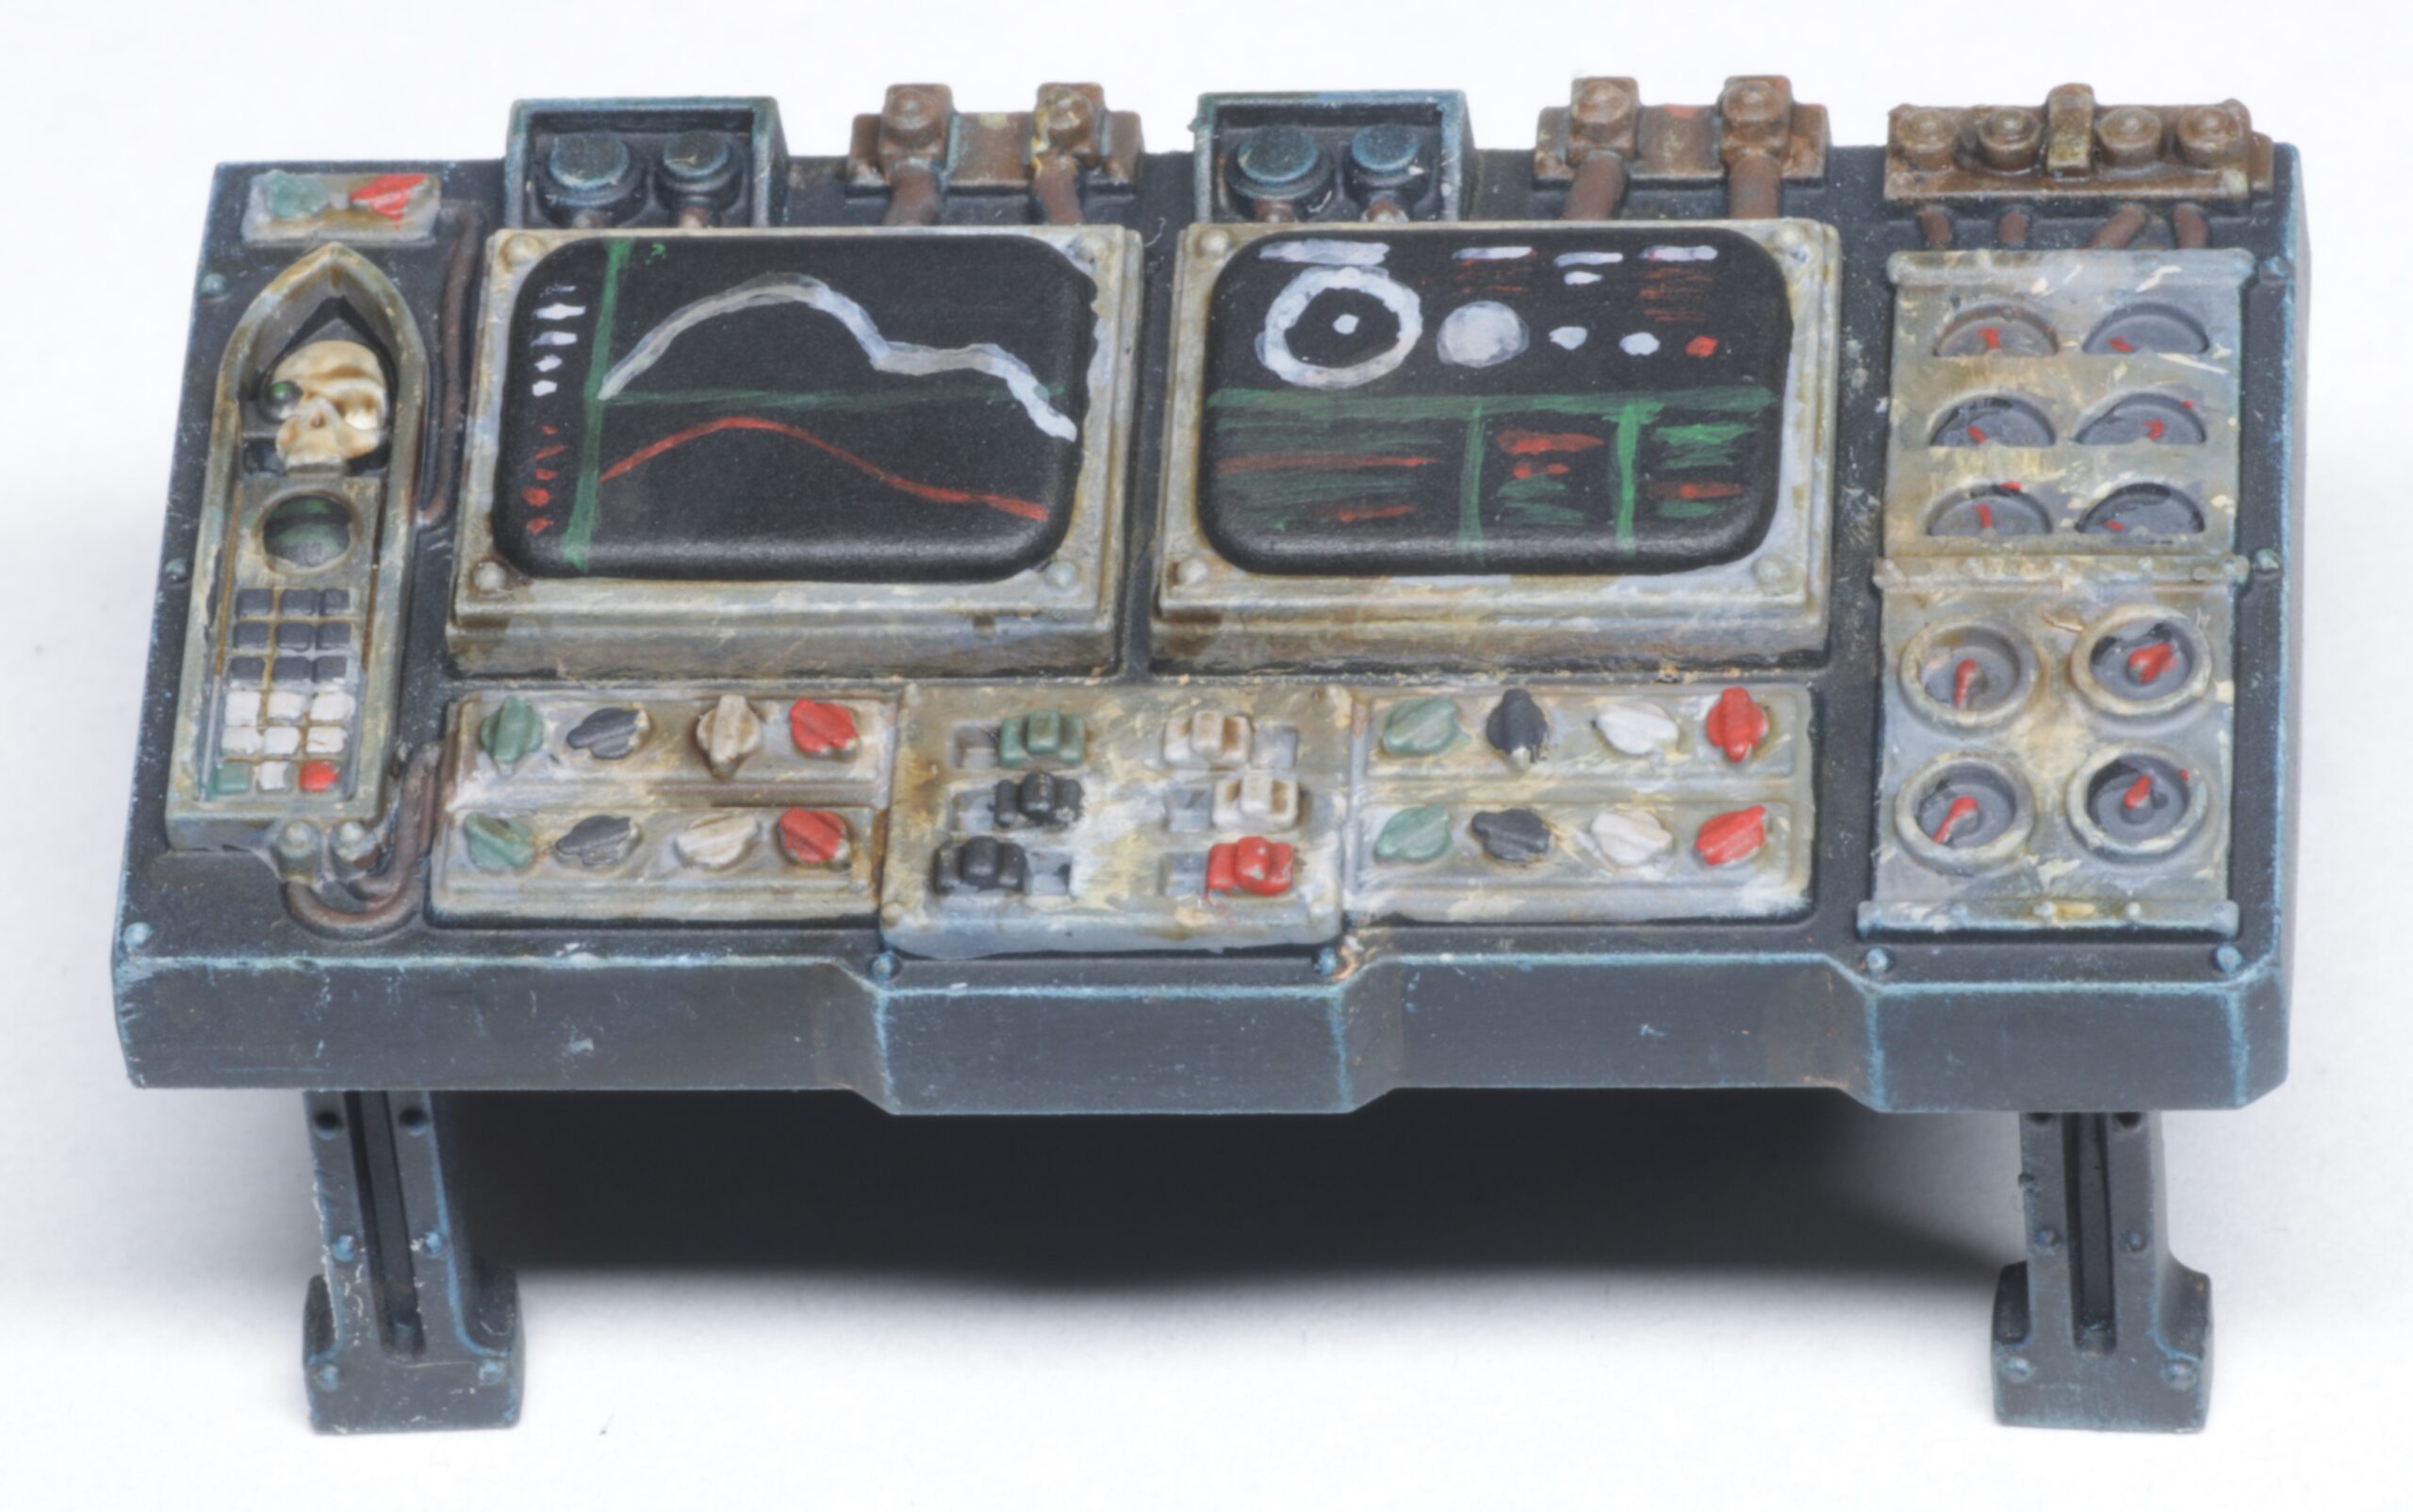
Killzone Upgrade: Soulshackle
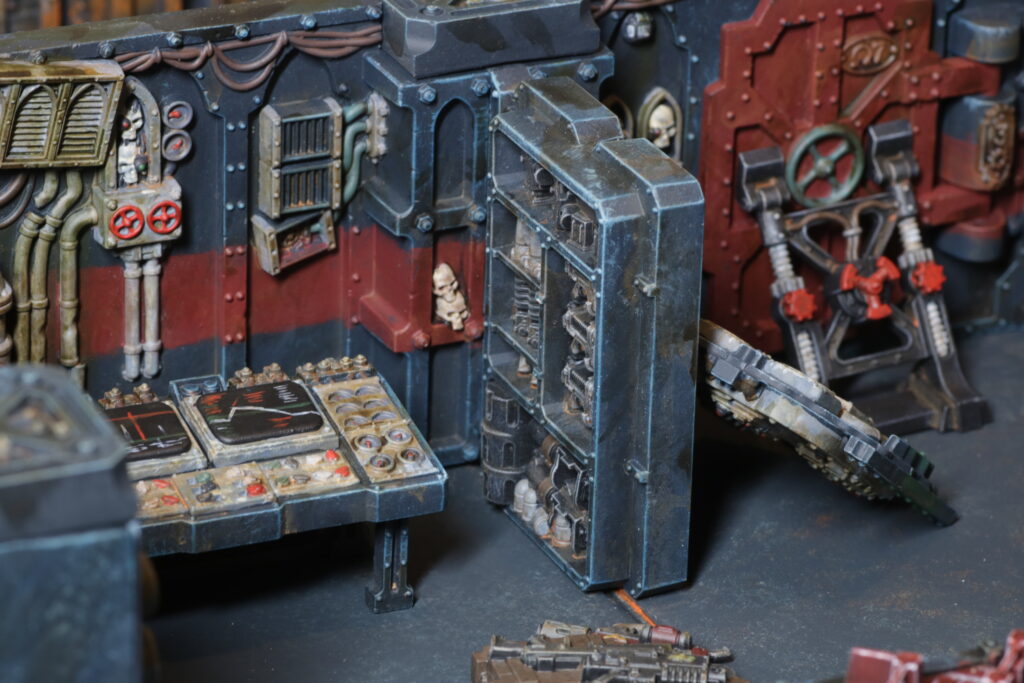
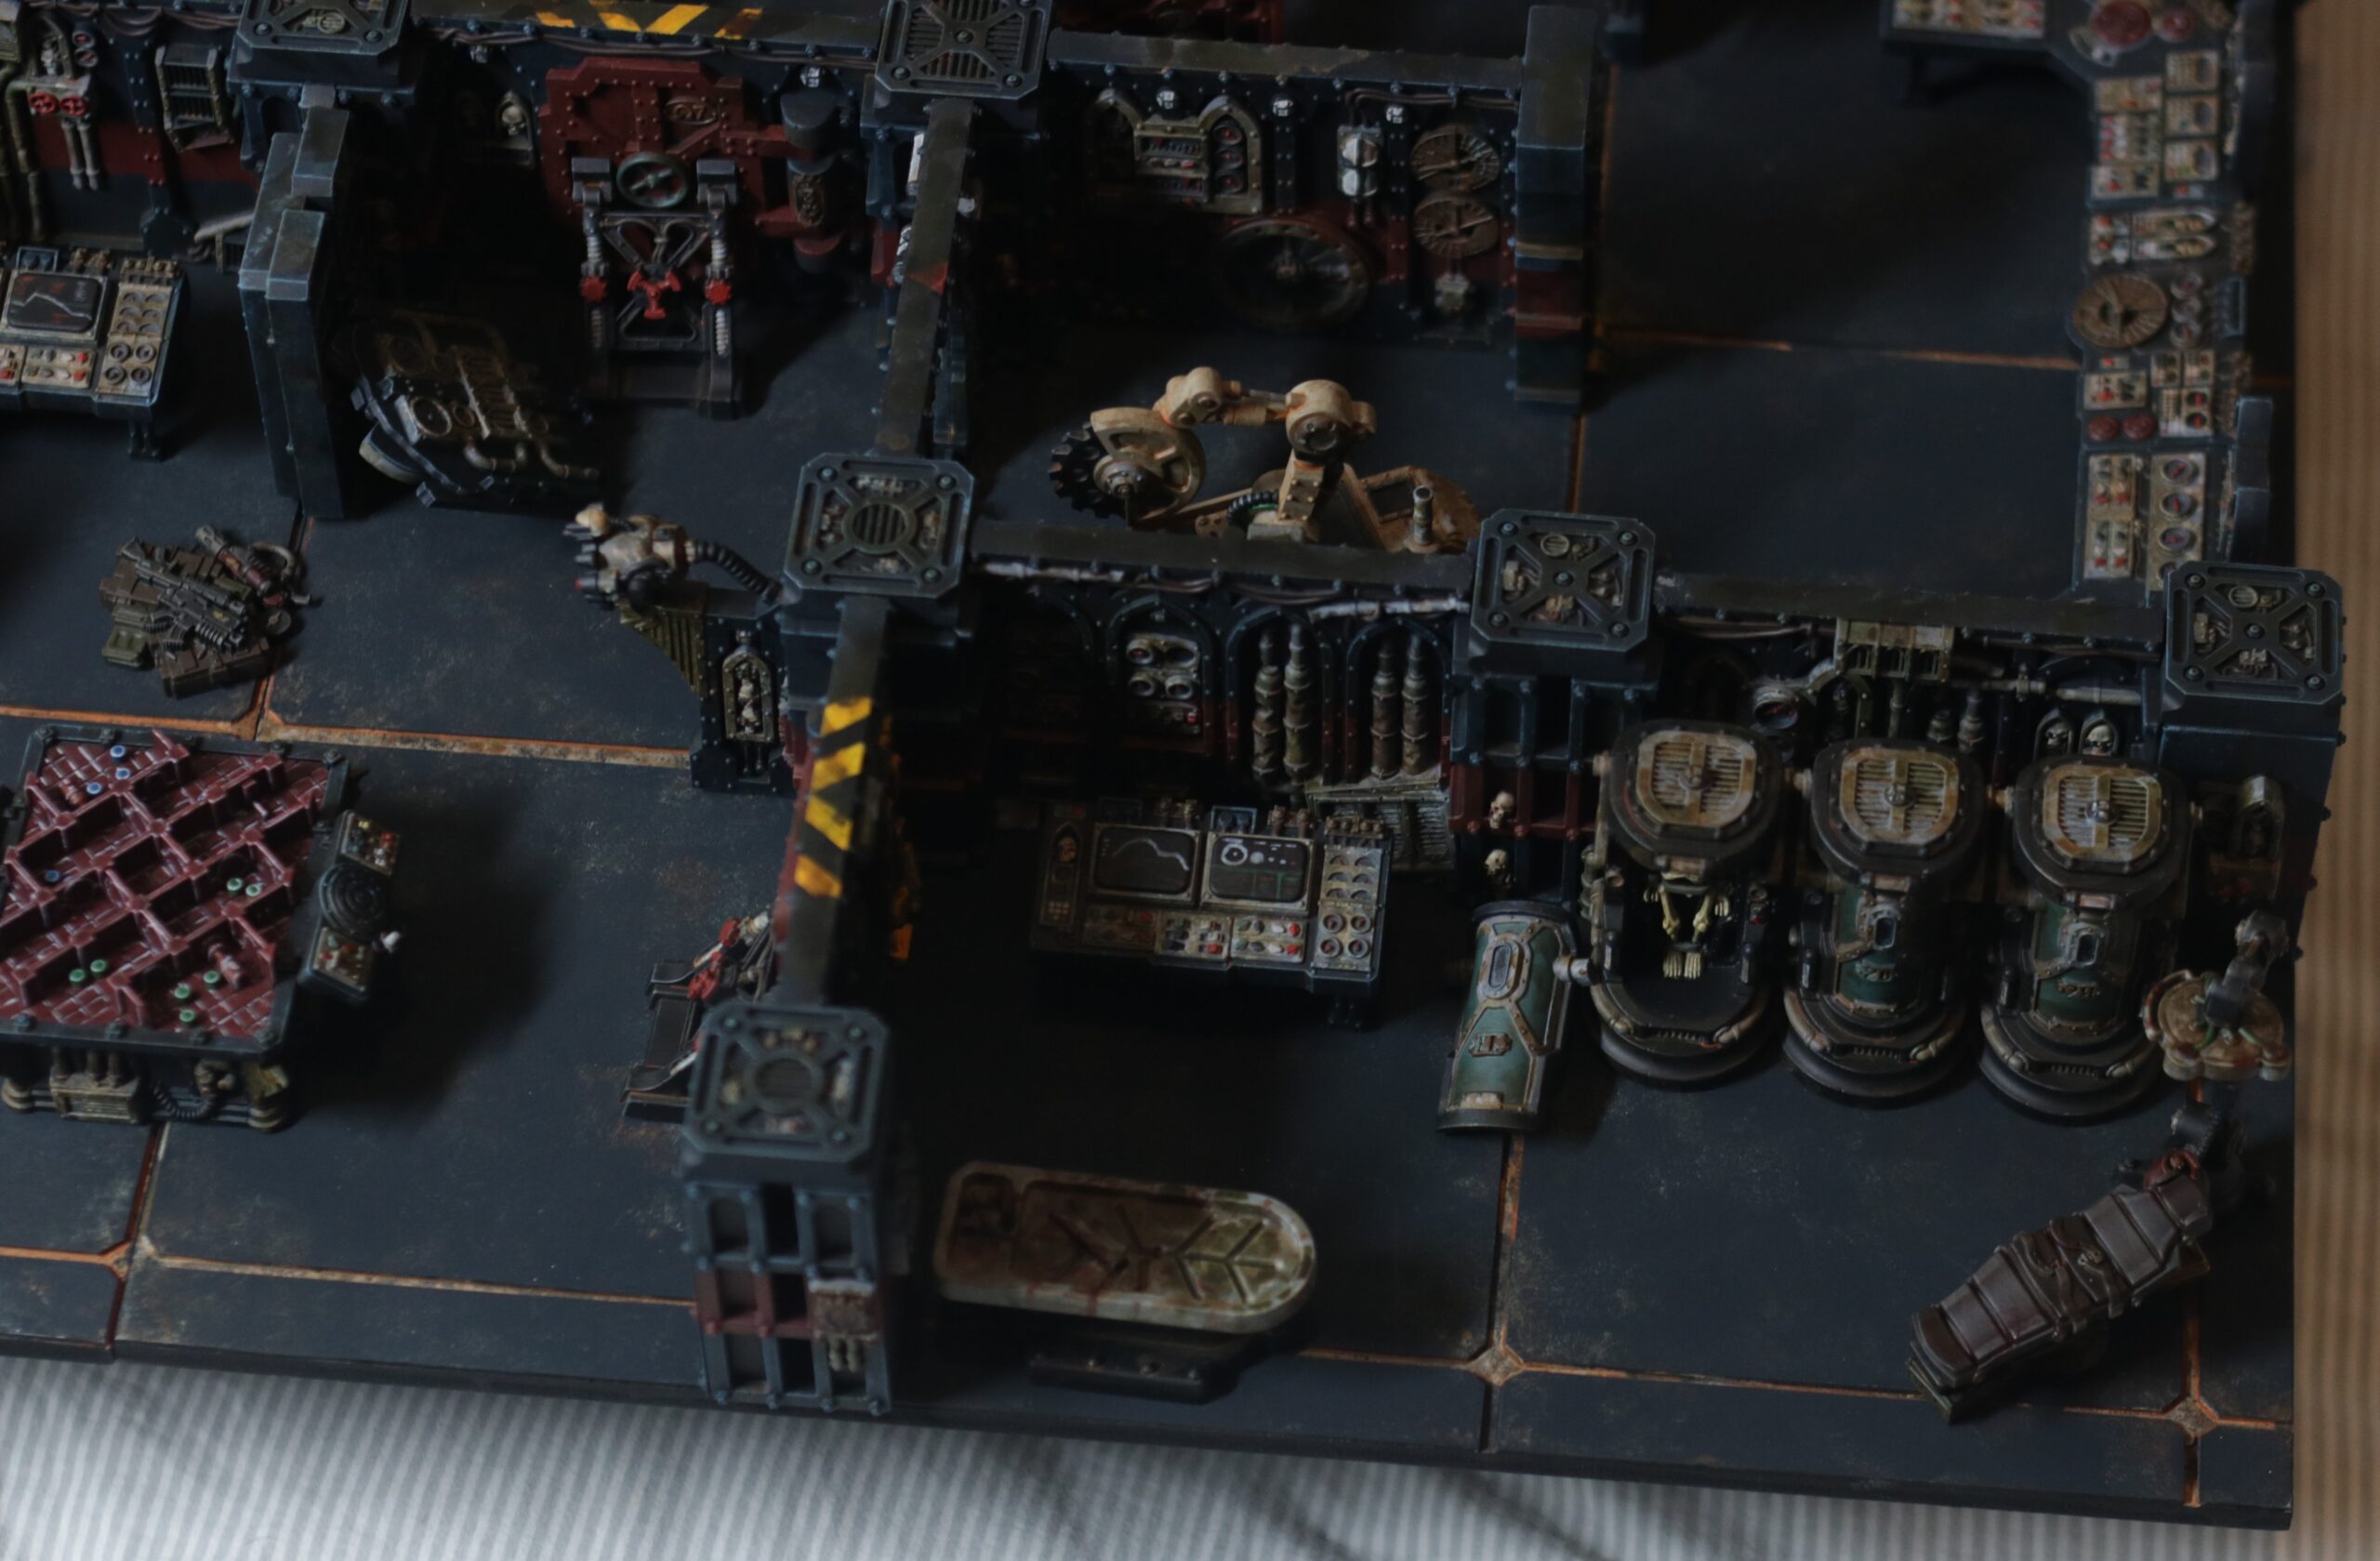
Another fun set which comes with my favourite pieces, a selection of control consoles as well as a fancy hologram table for commanders to plan out their strategies. I enjoyed painting all the little charts and diagrams on each of the screens.
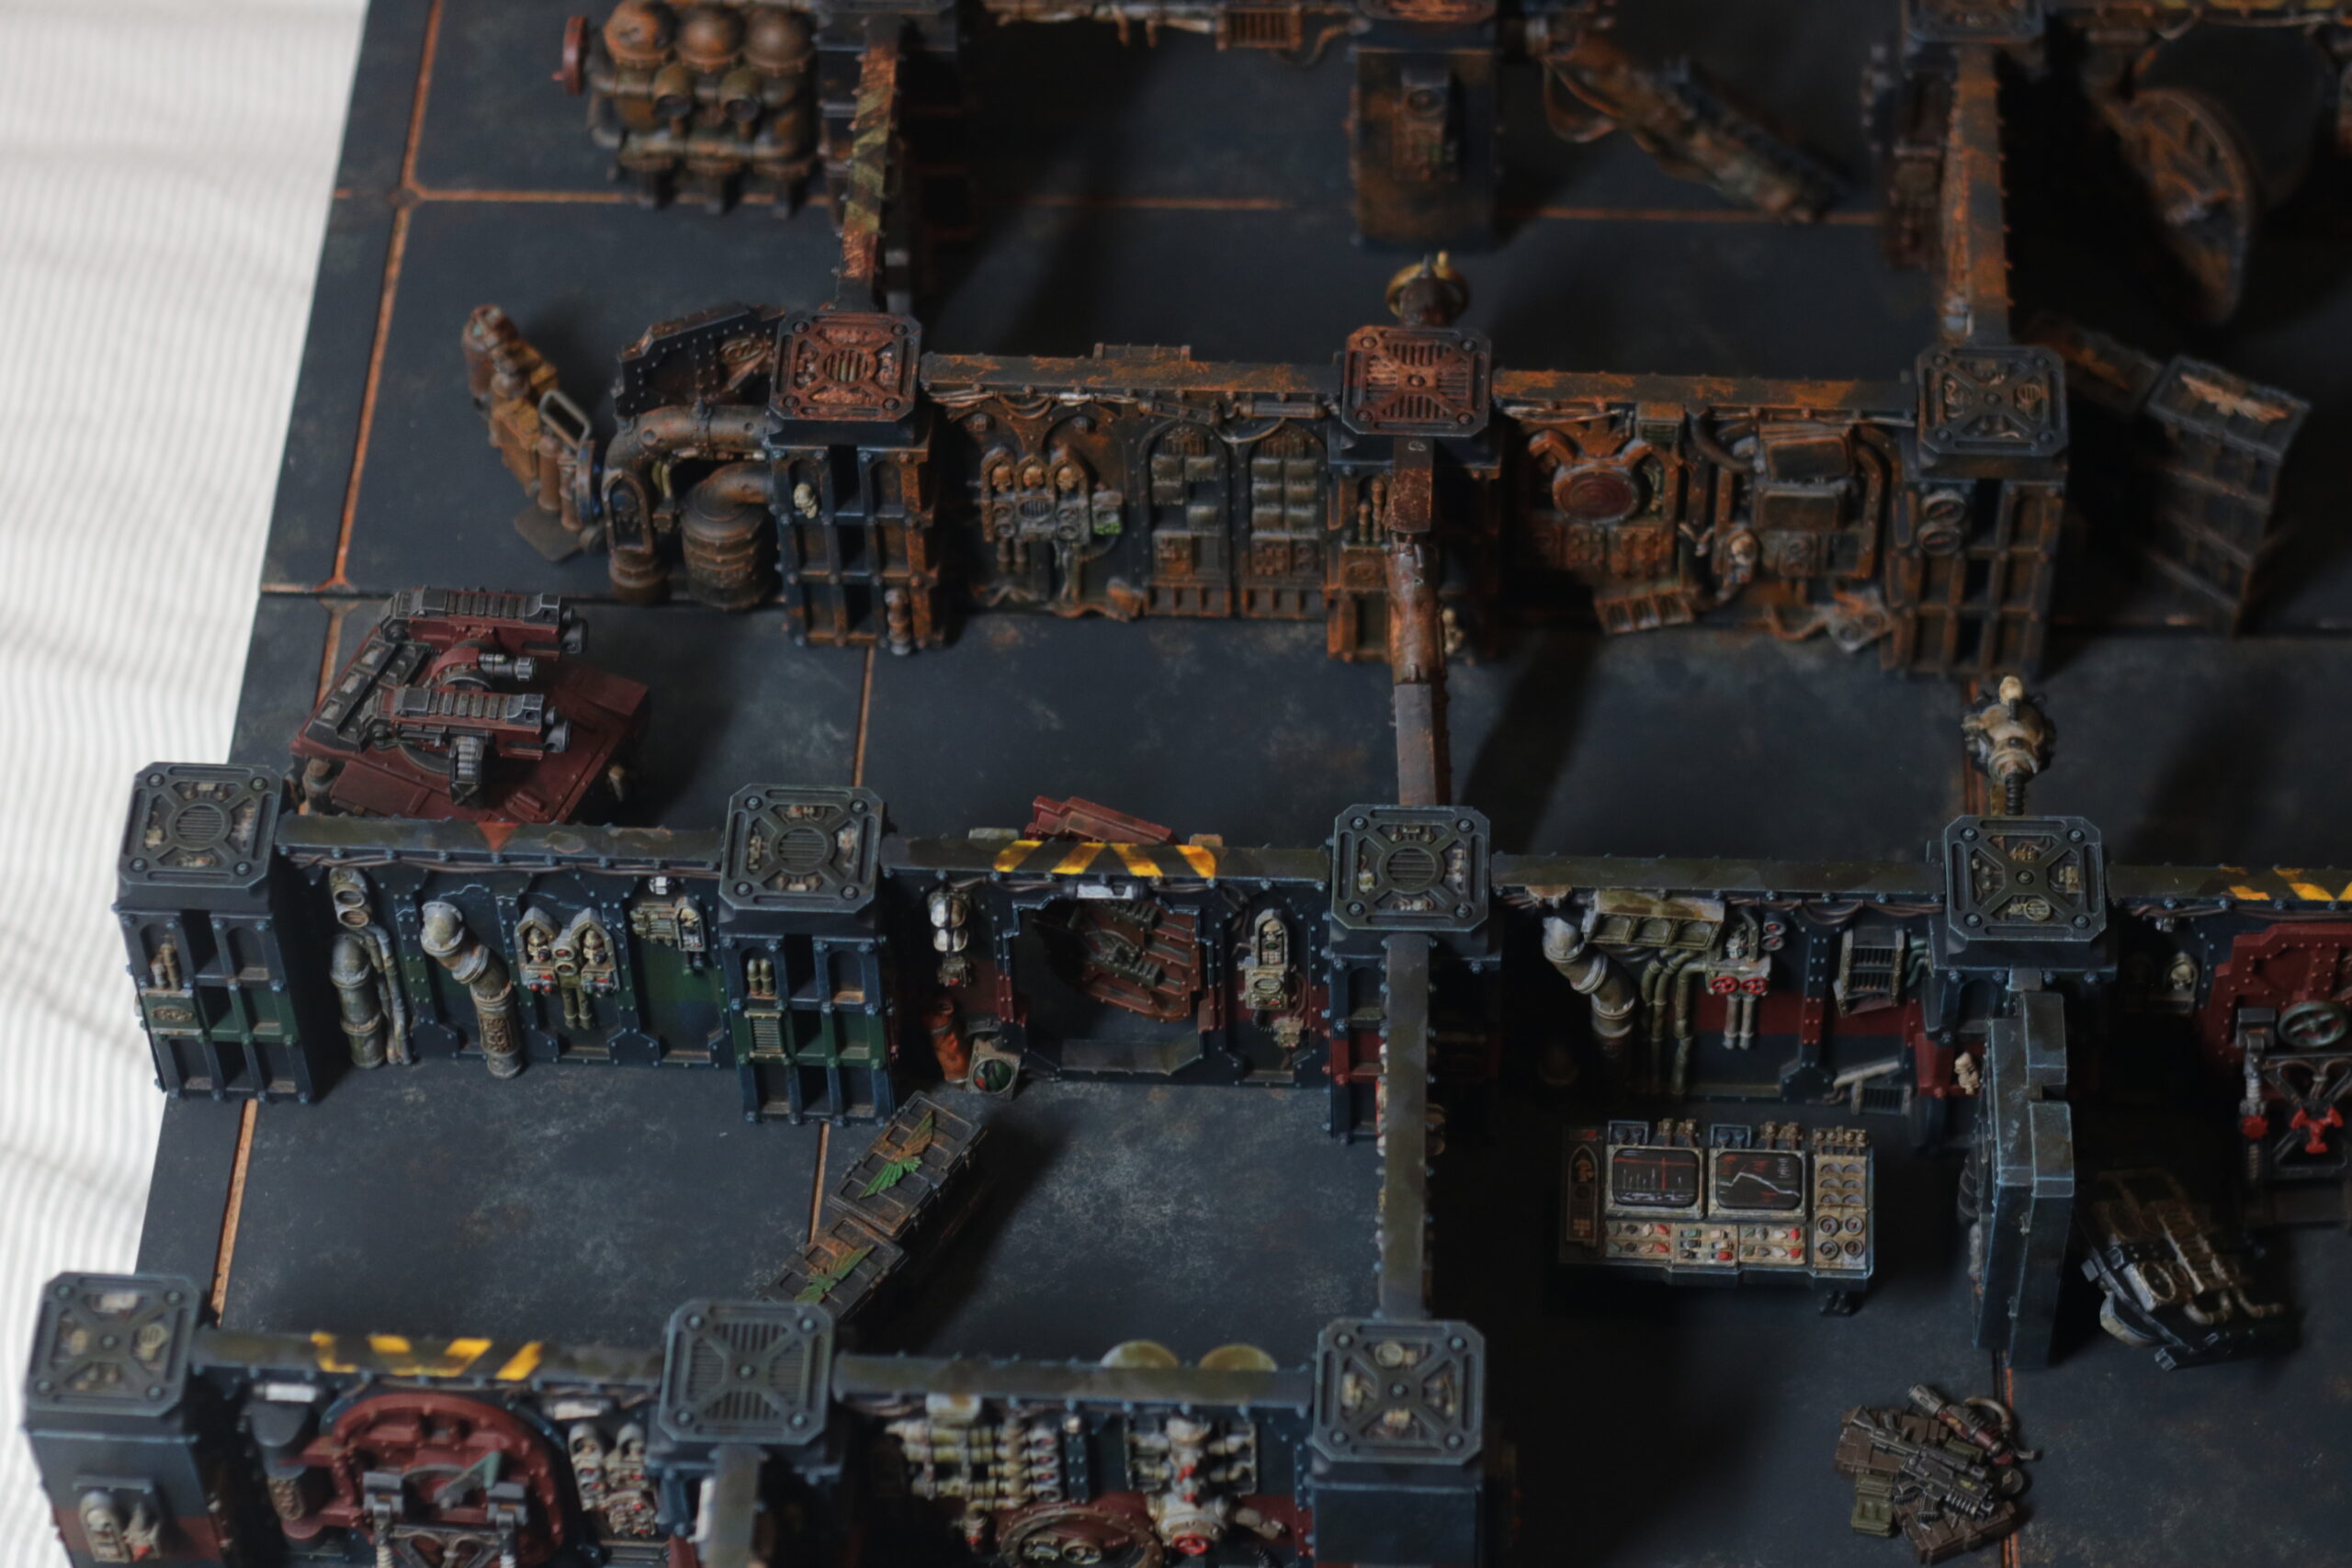
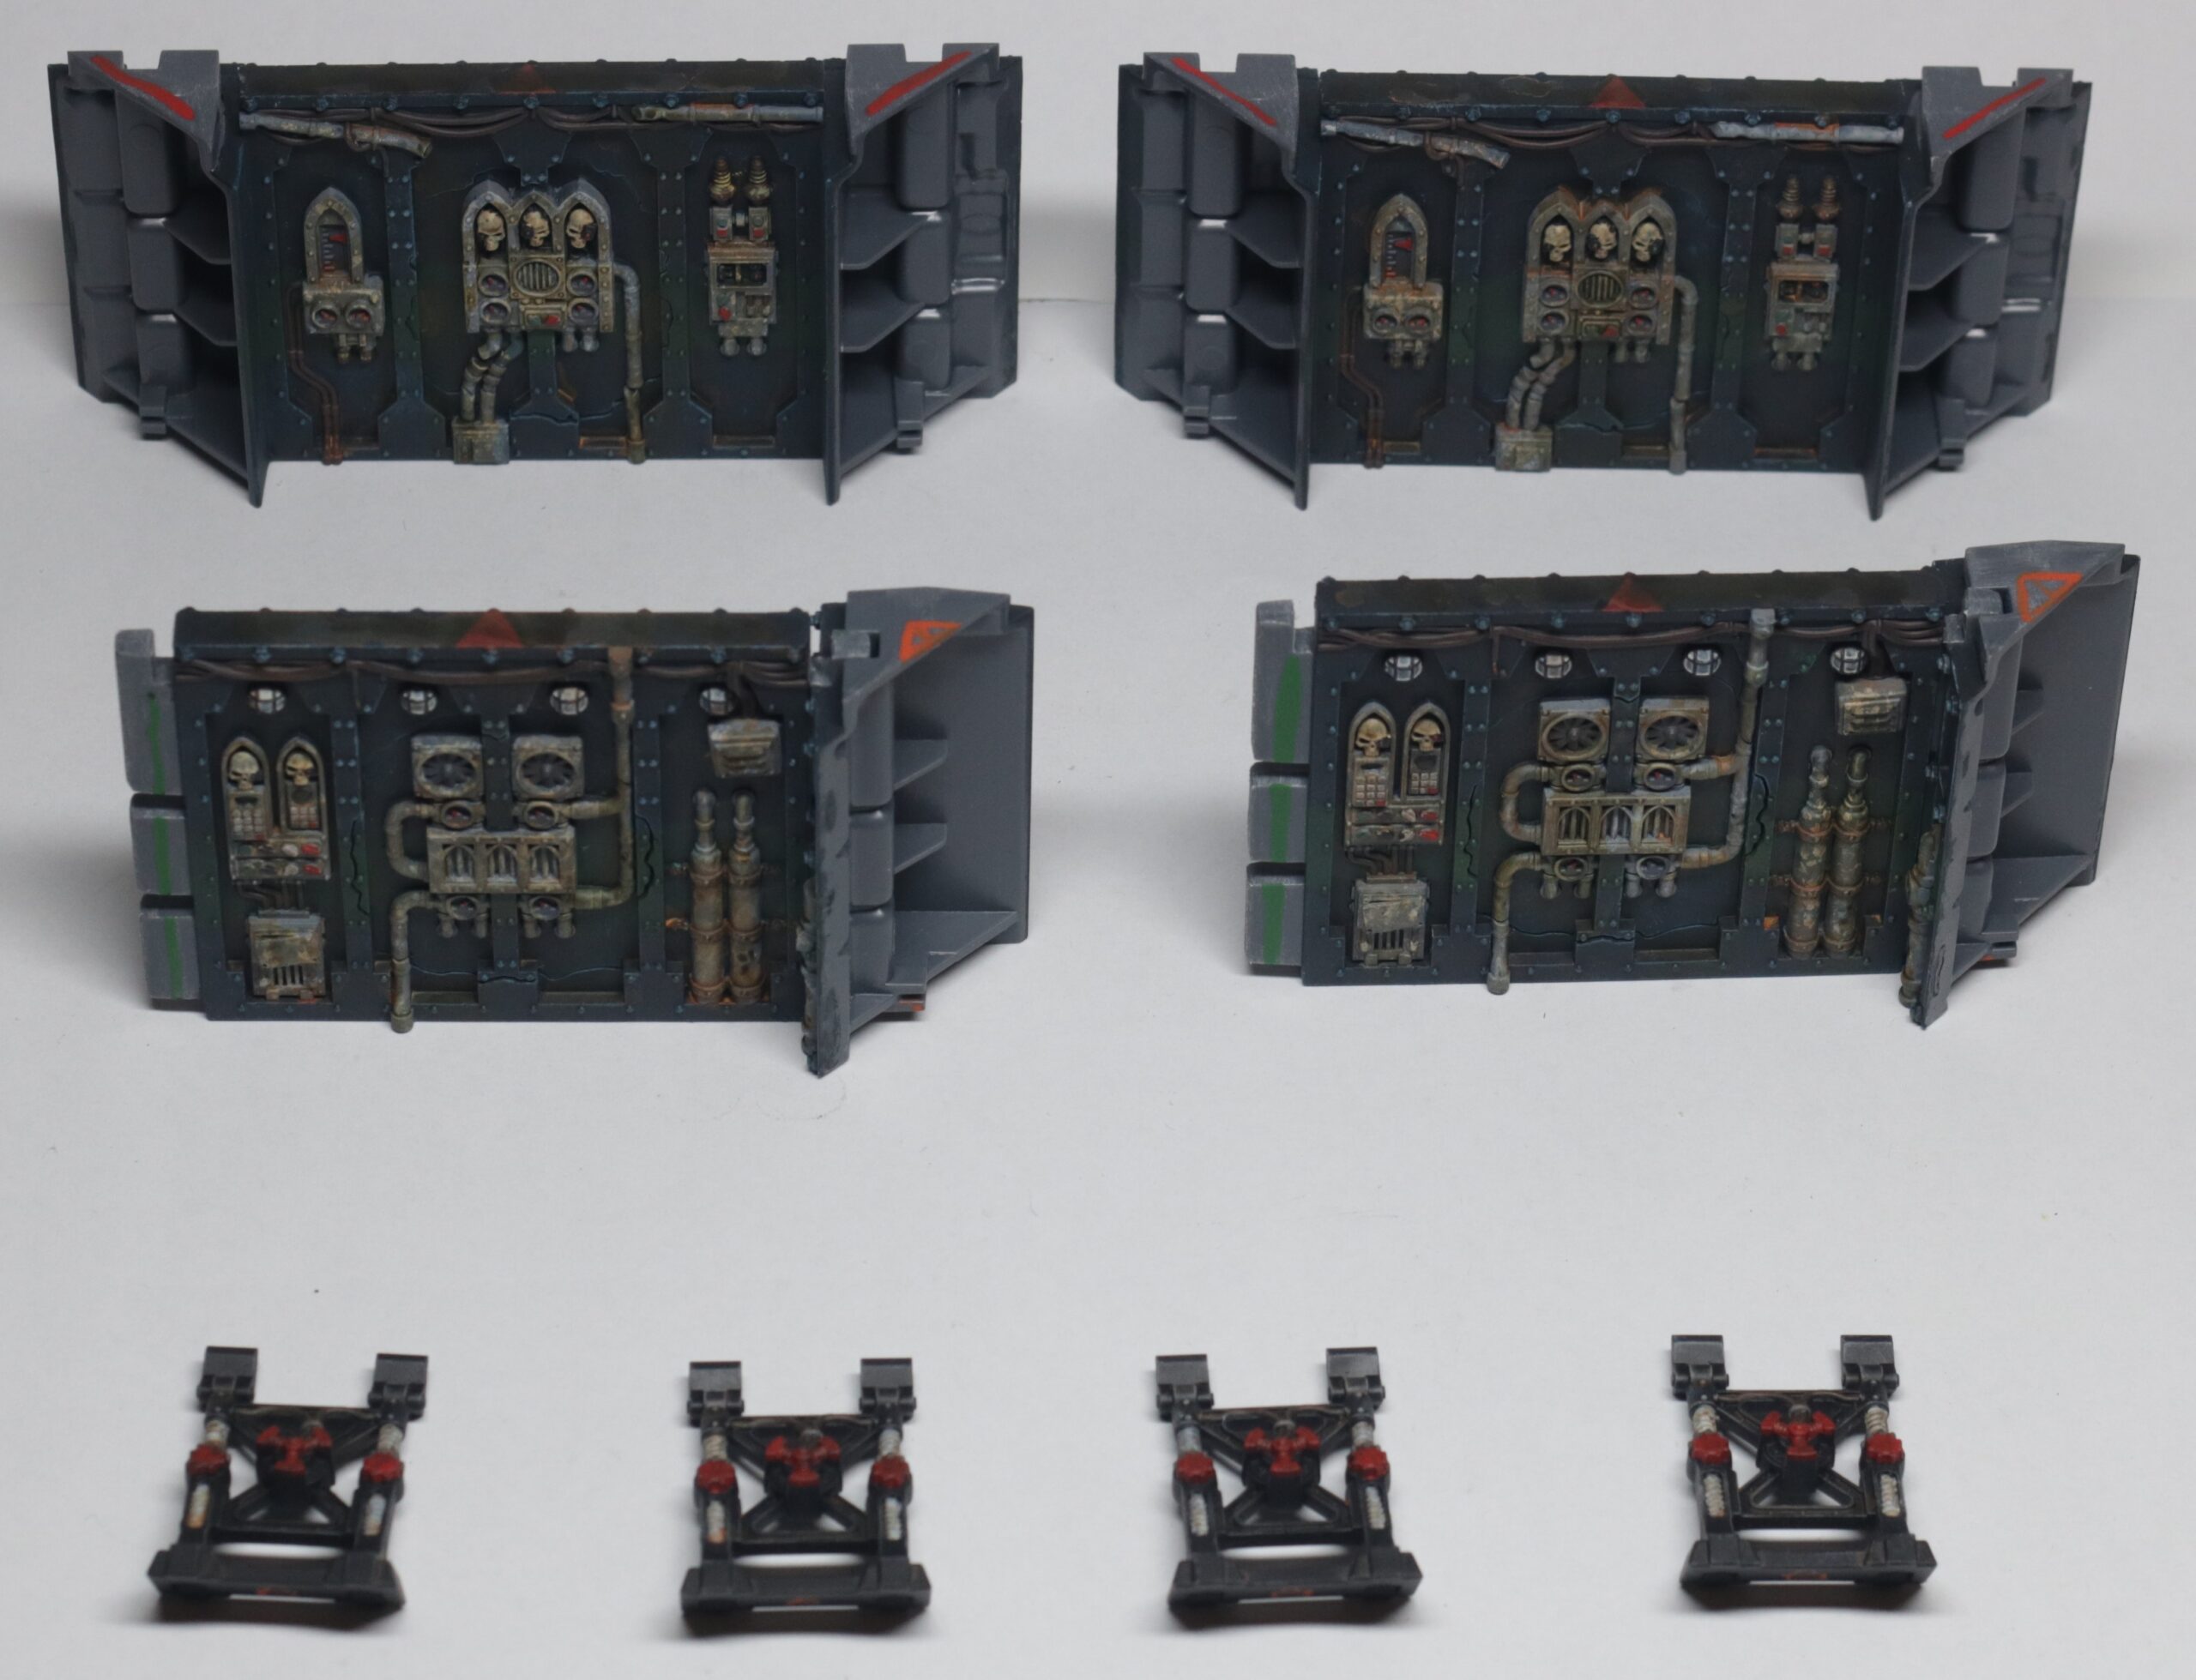
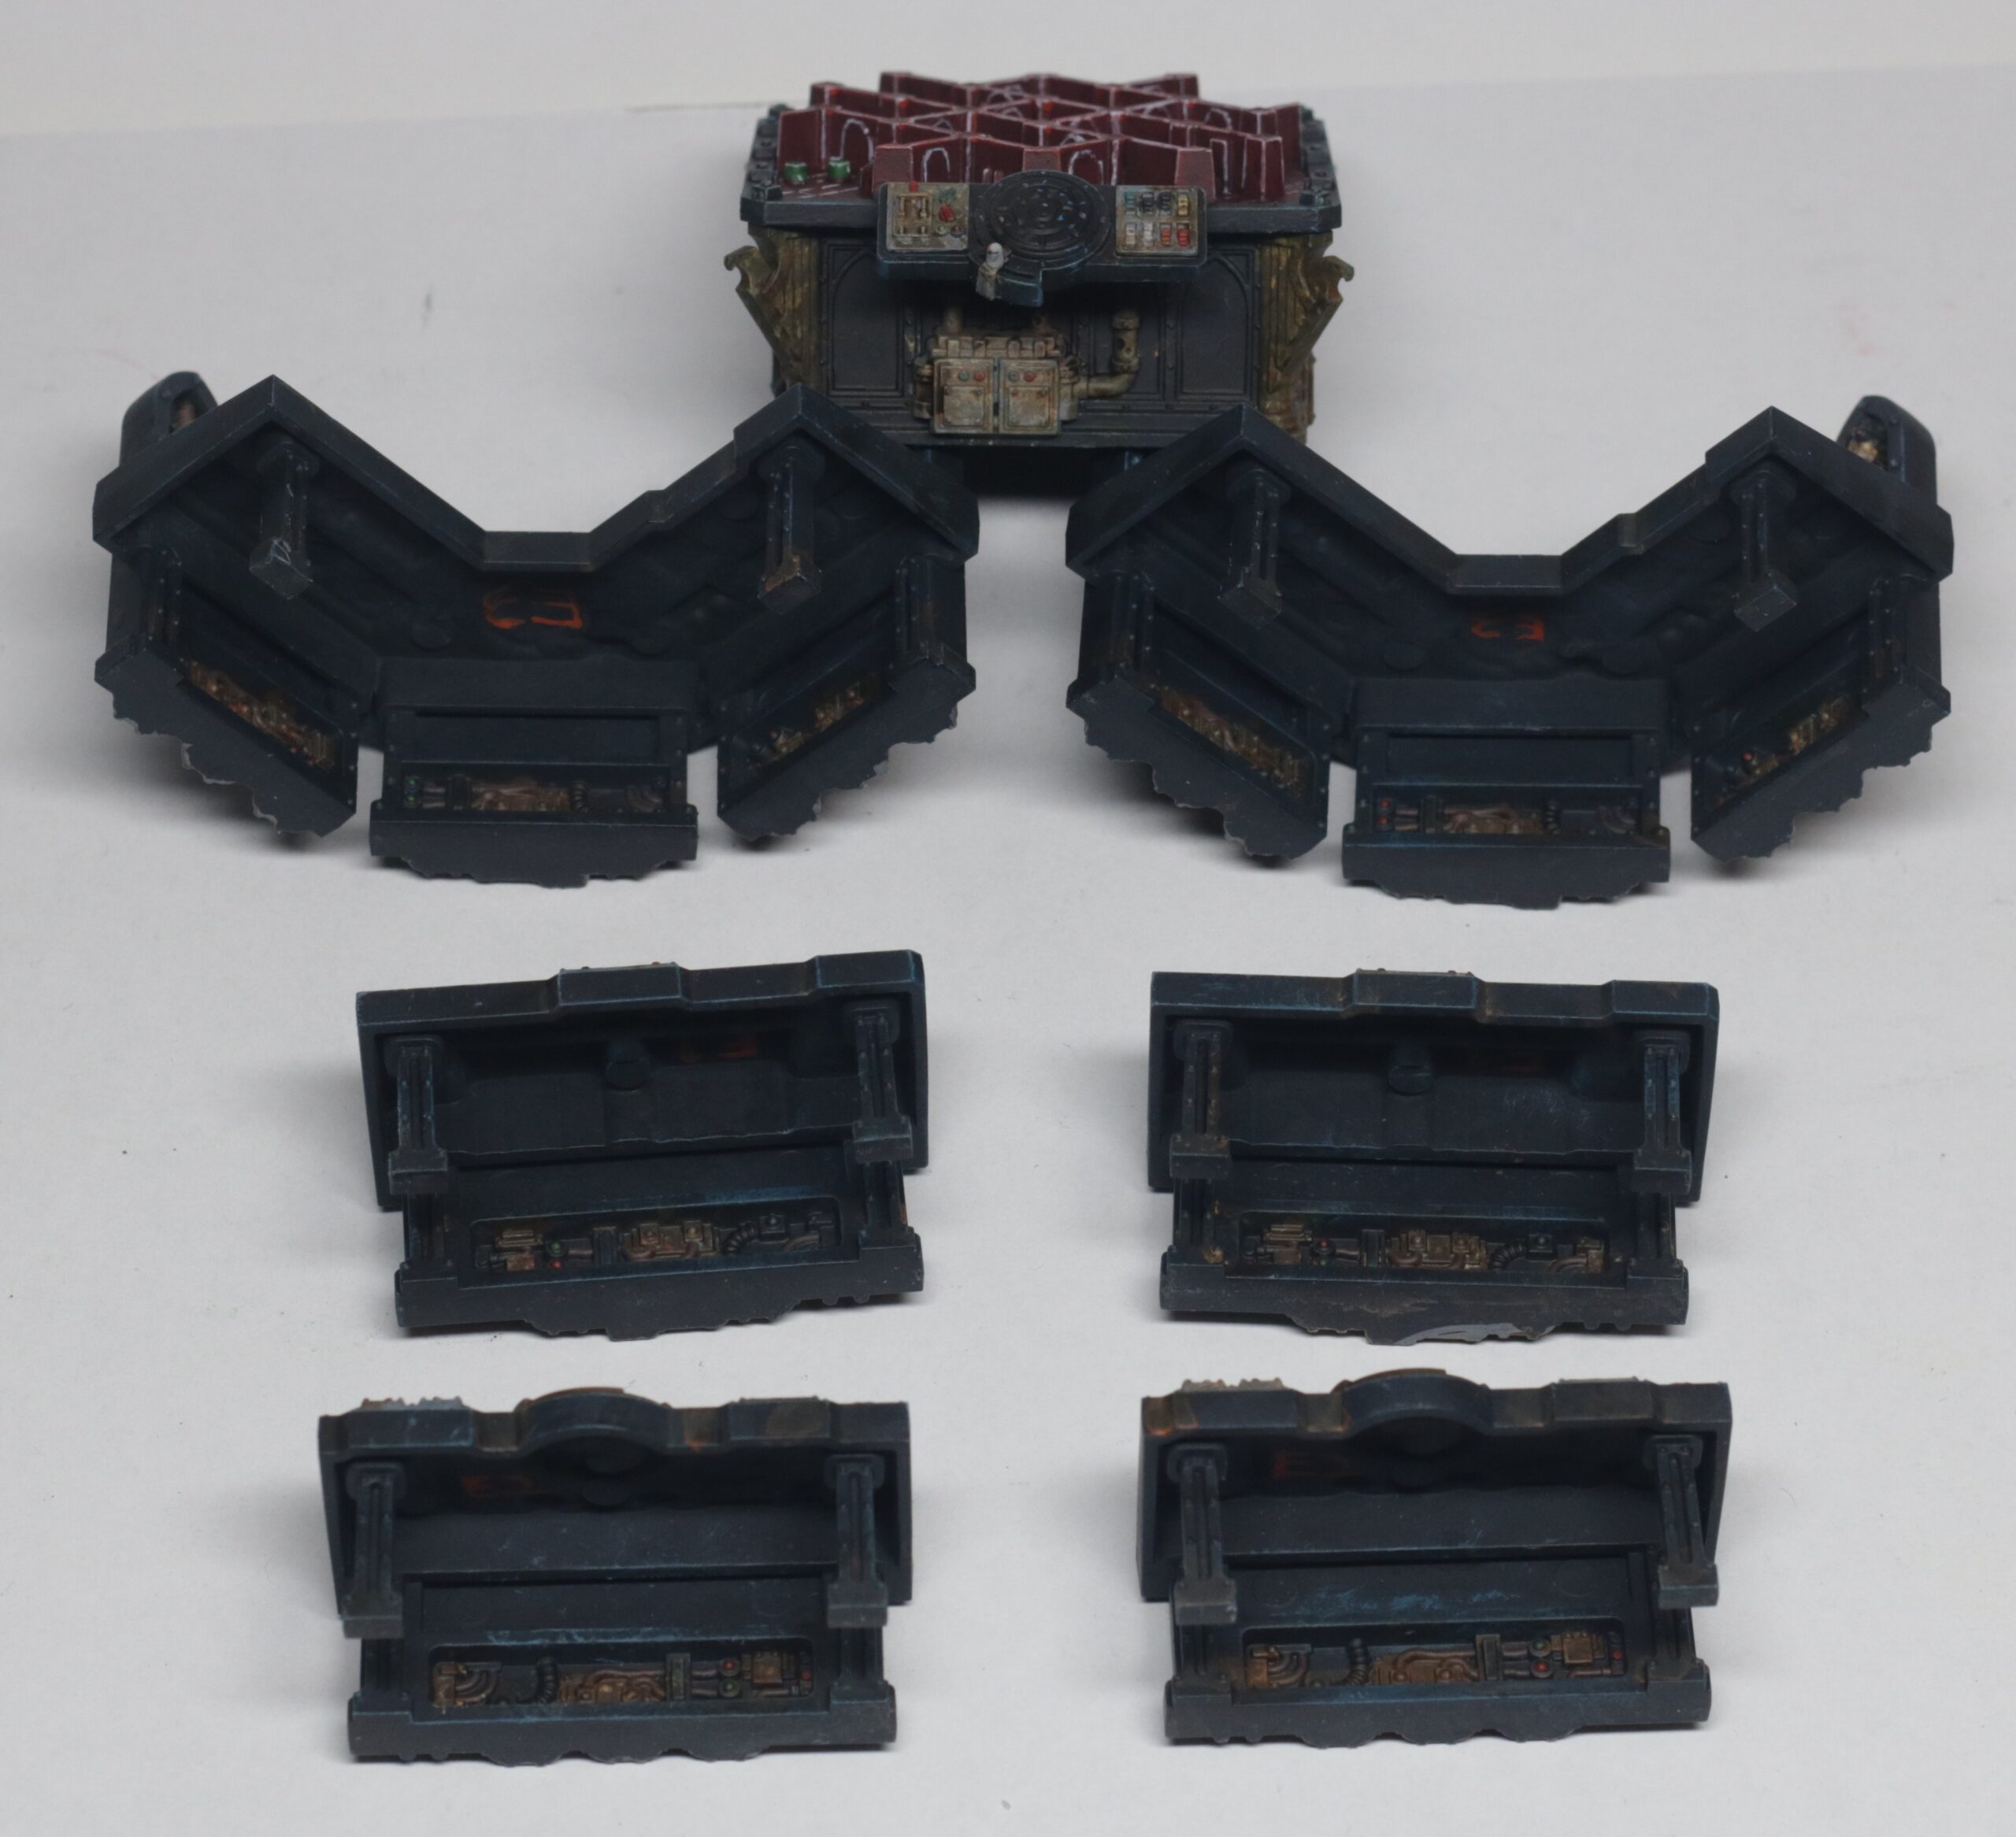
Also included are some breachable walls, these were painted in the same way as the second Killzone: Gallowdark set but with a green stripe instead of a red one. A small red triangle was painted on top as a subtle indicator of which direction the wall separates from the frame. I think it would be fun to have an RPG encounter where a monster unexpectedly bursts through.


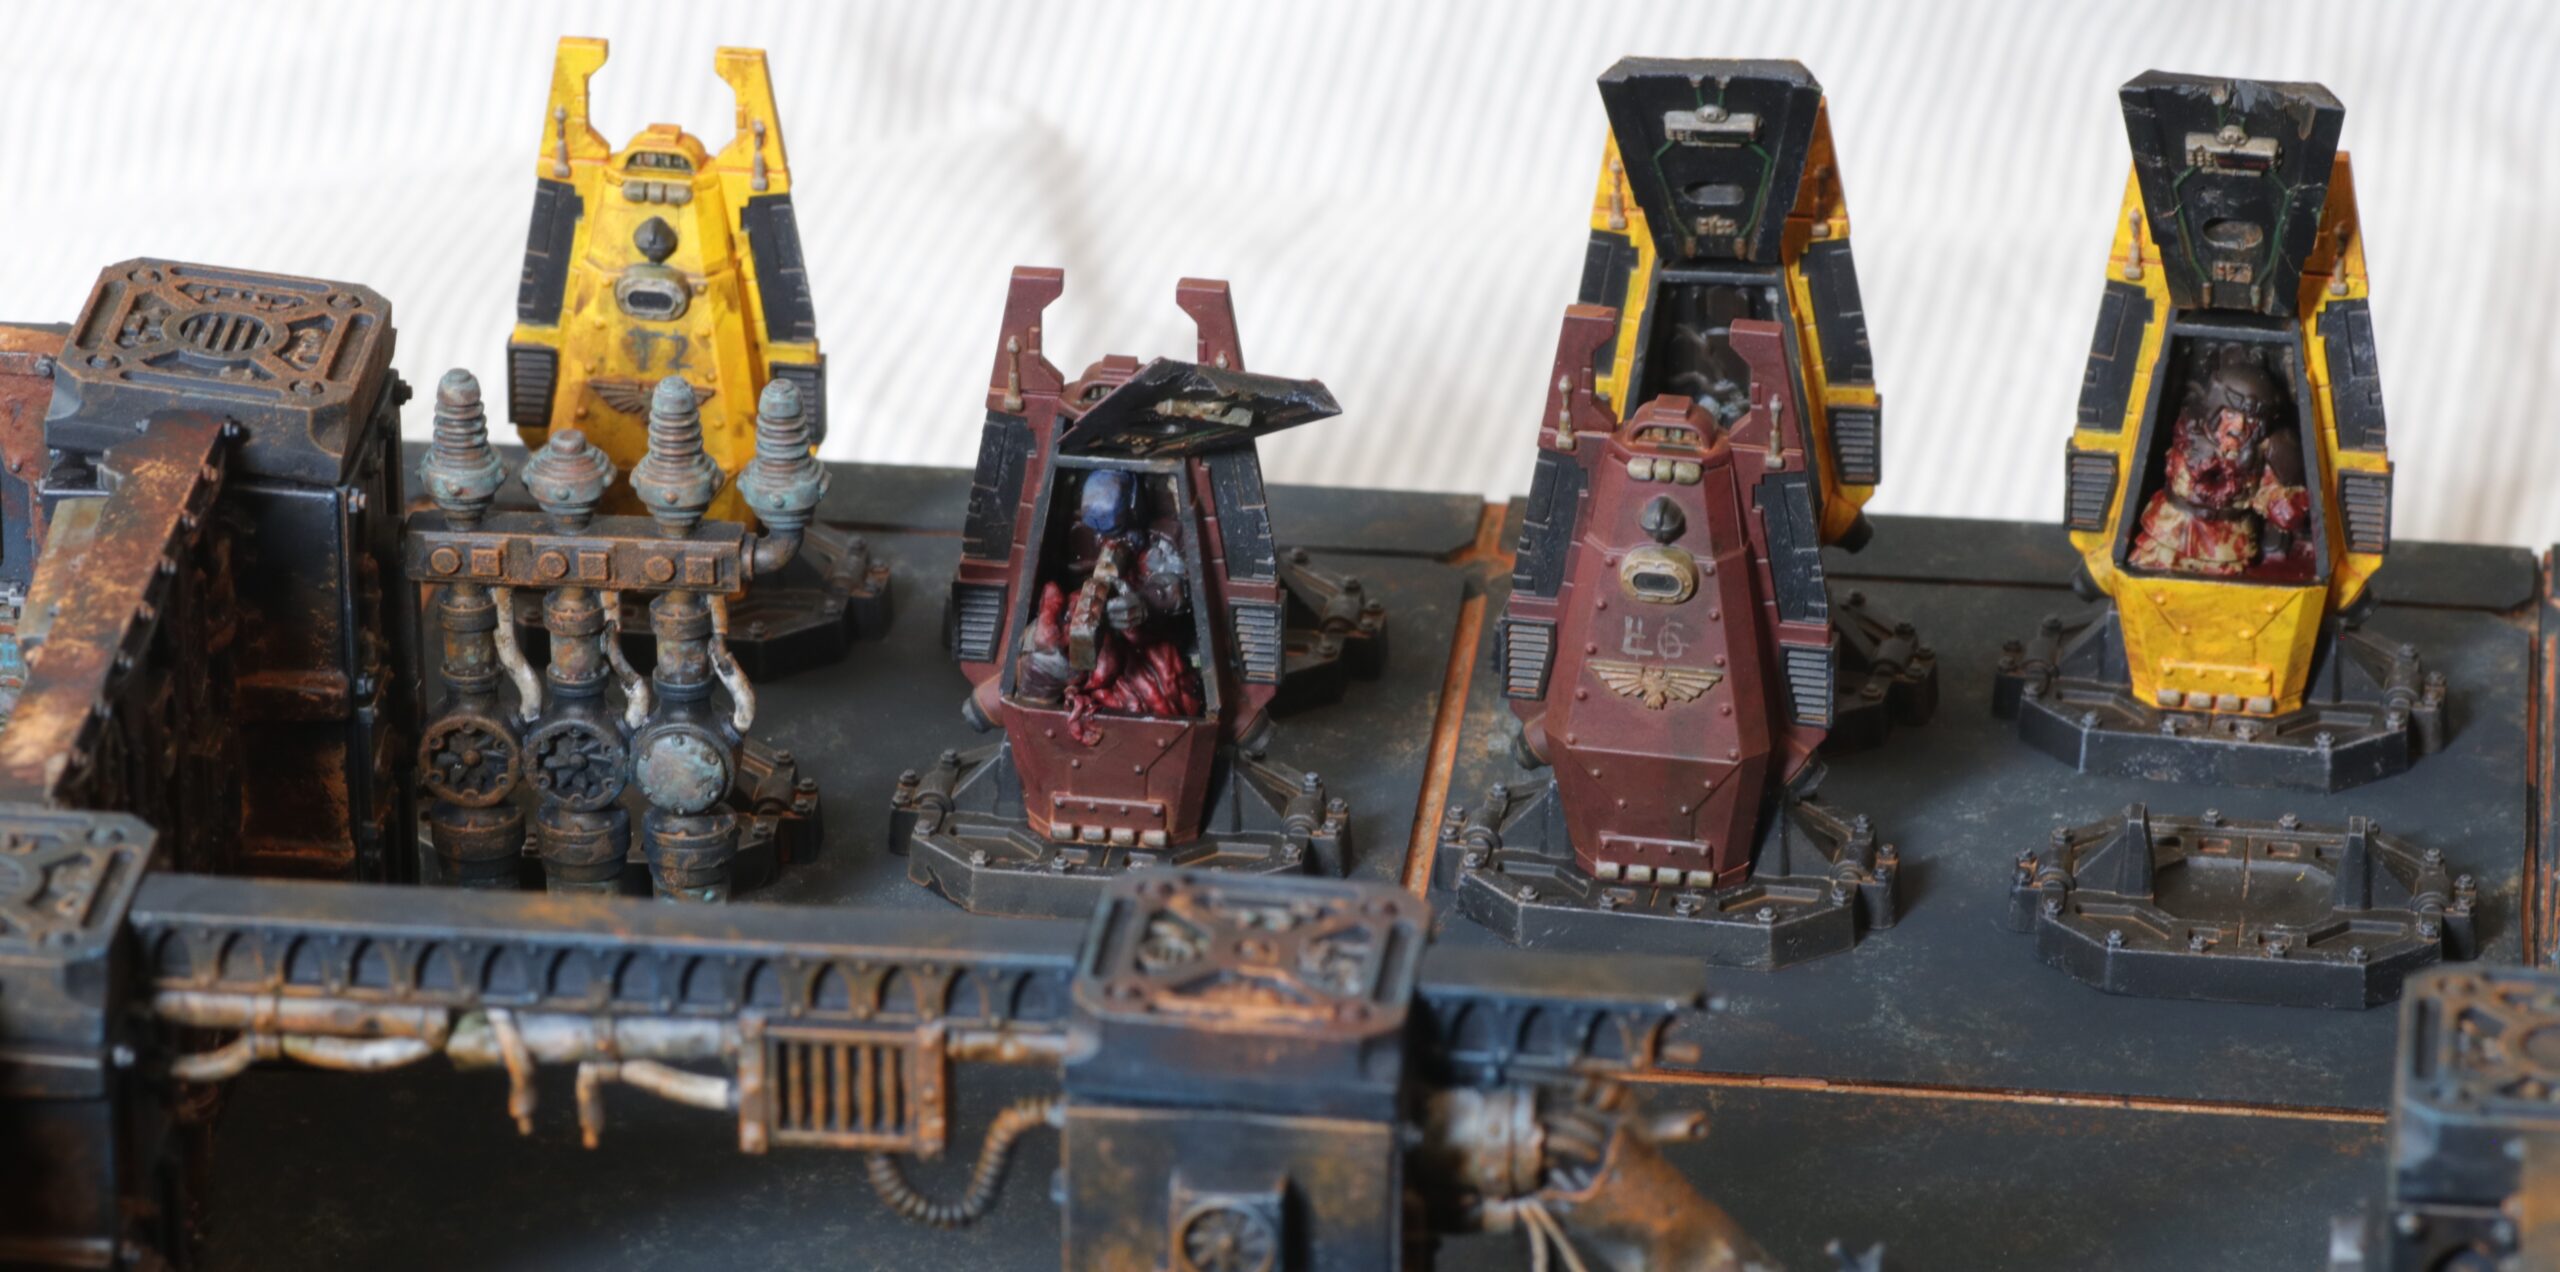
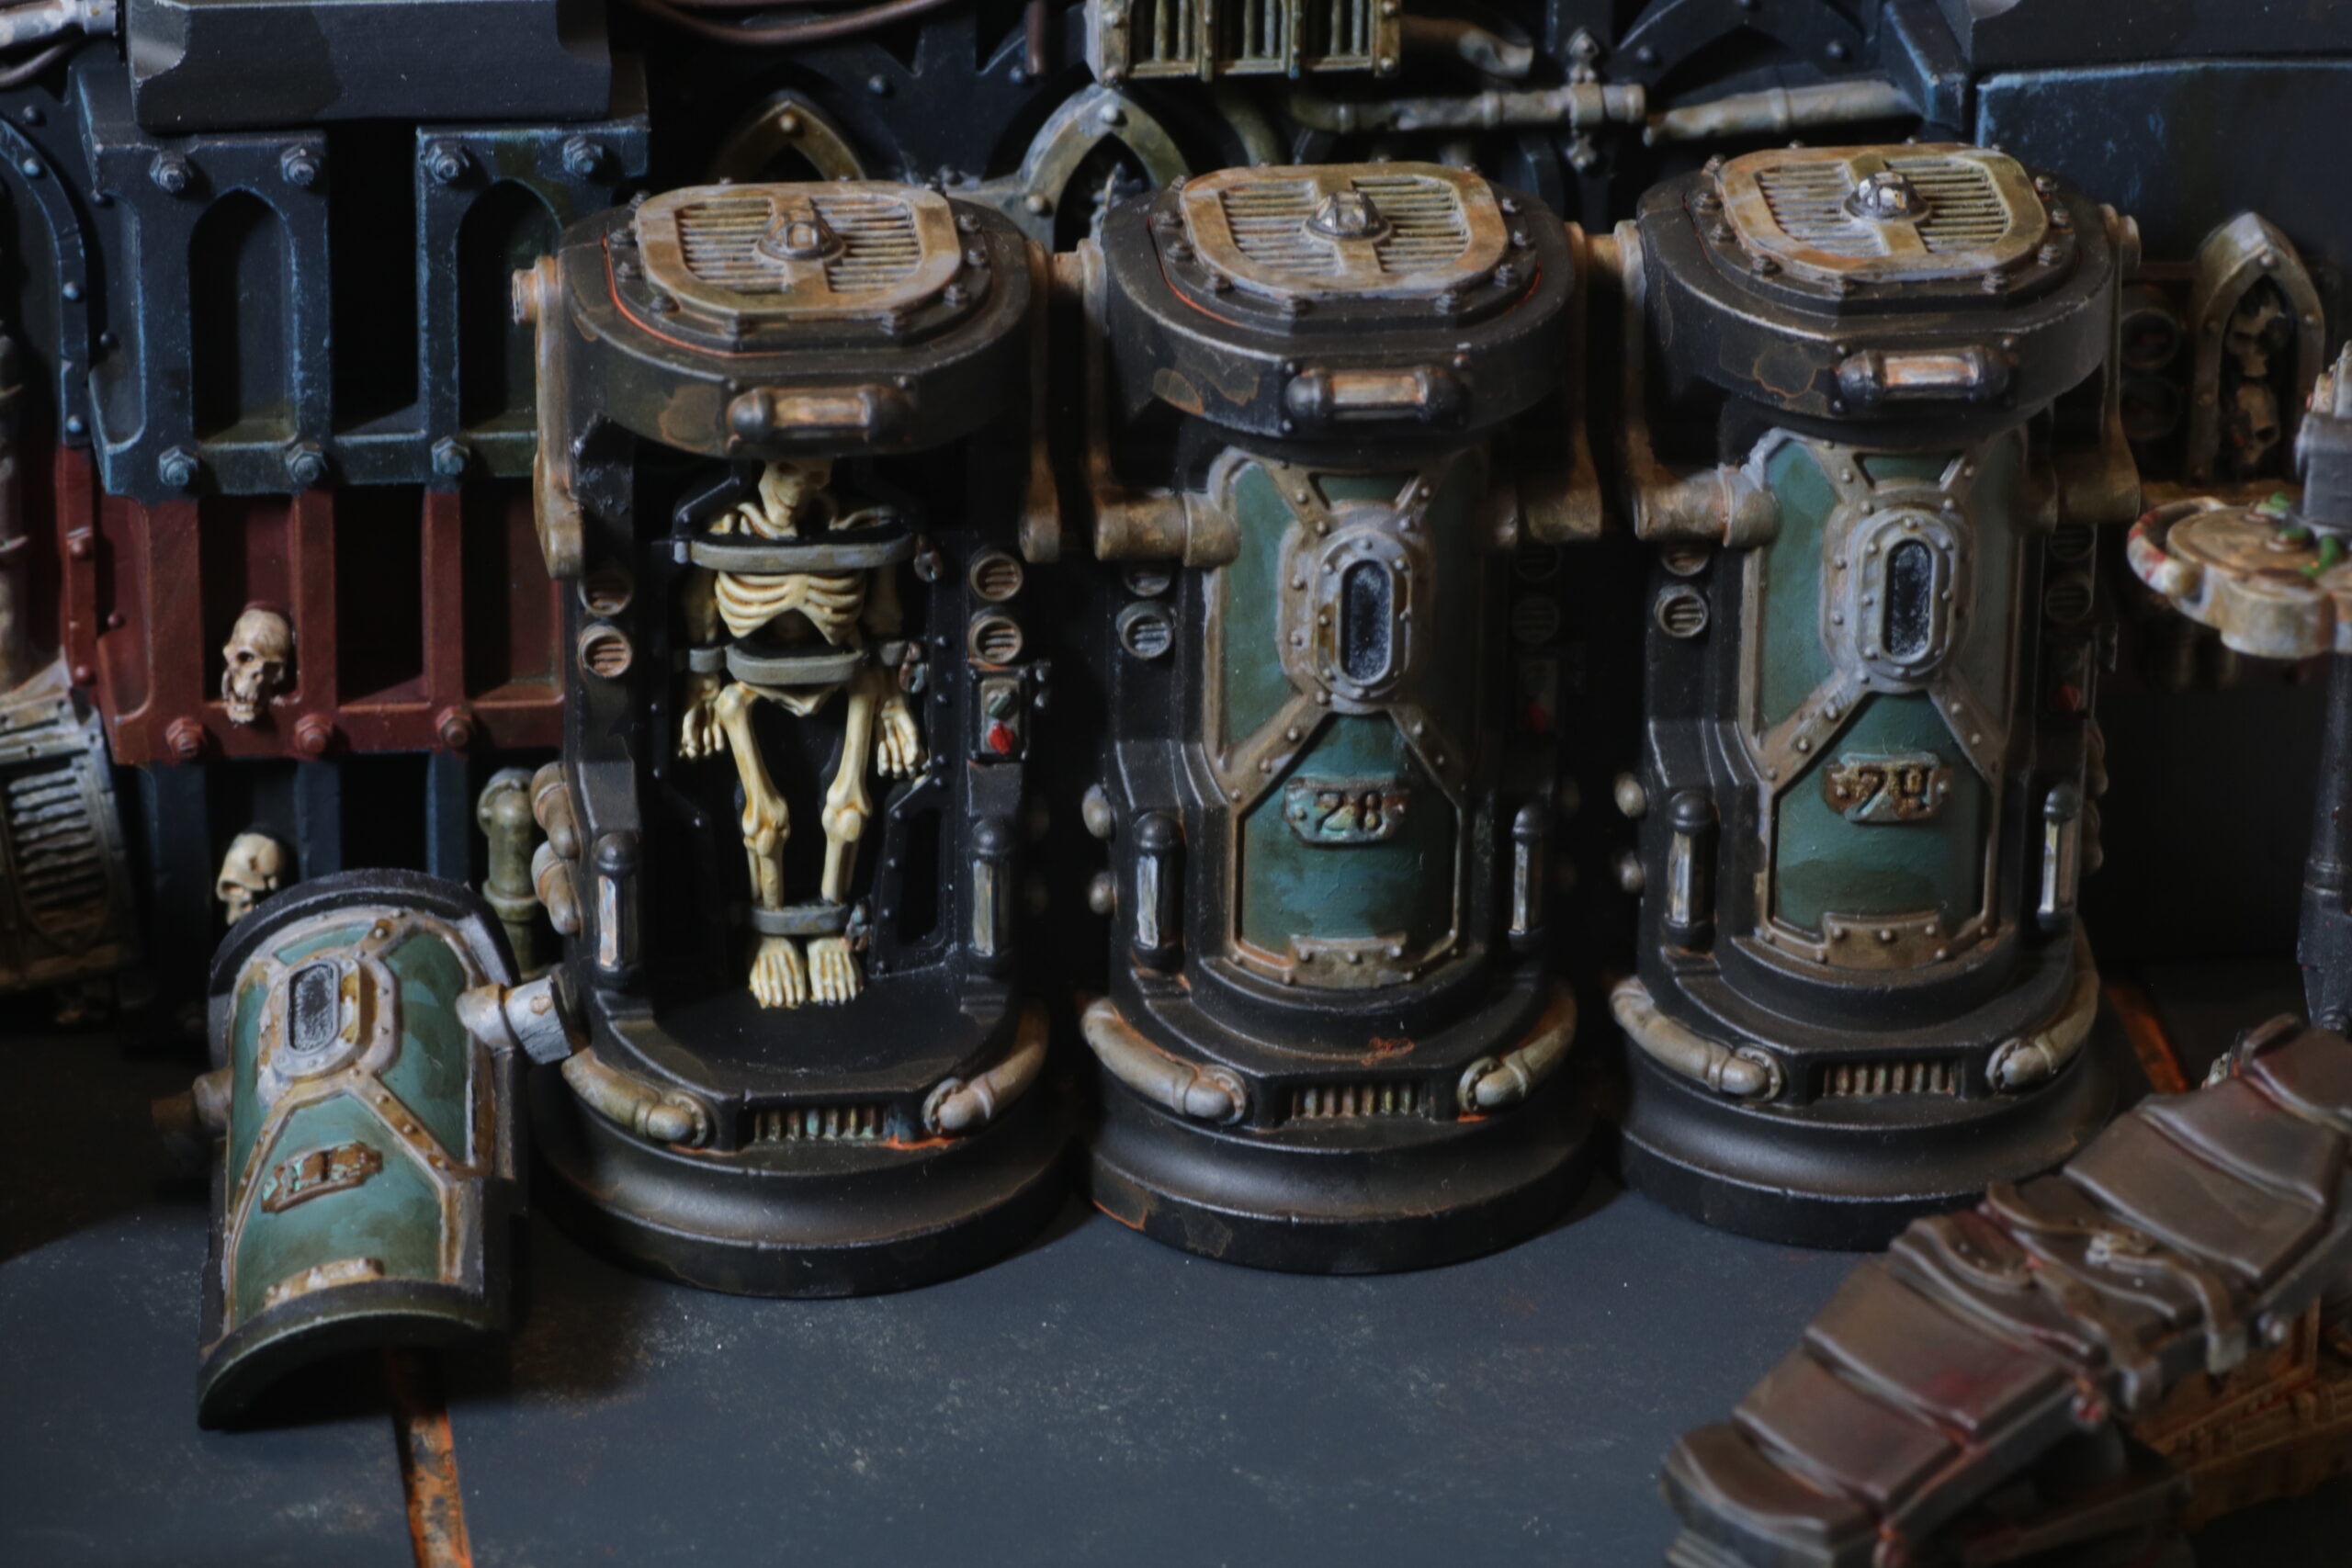
Killzone Upgrade: Gallowfall
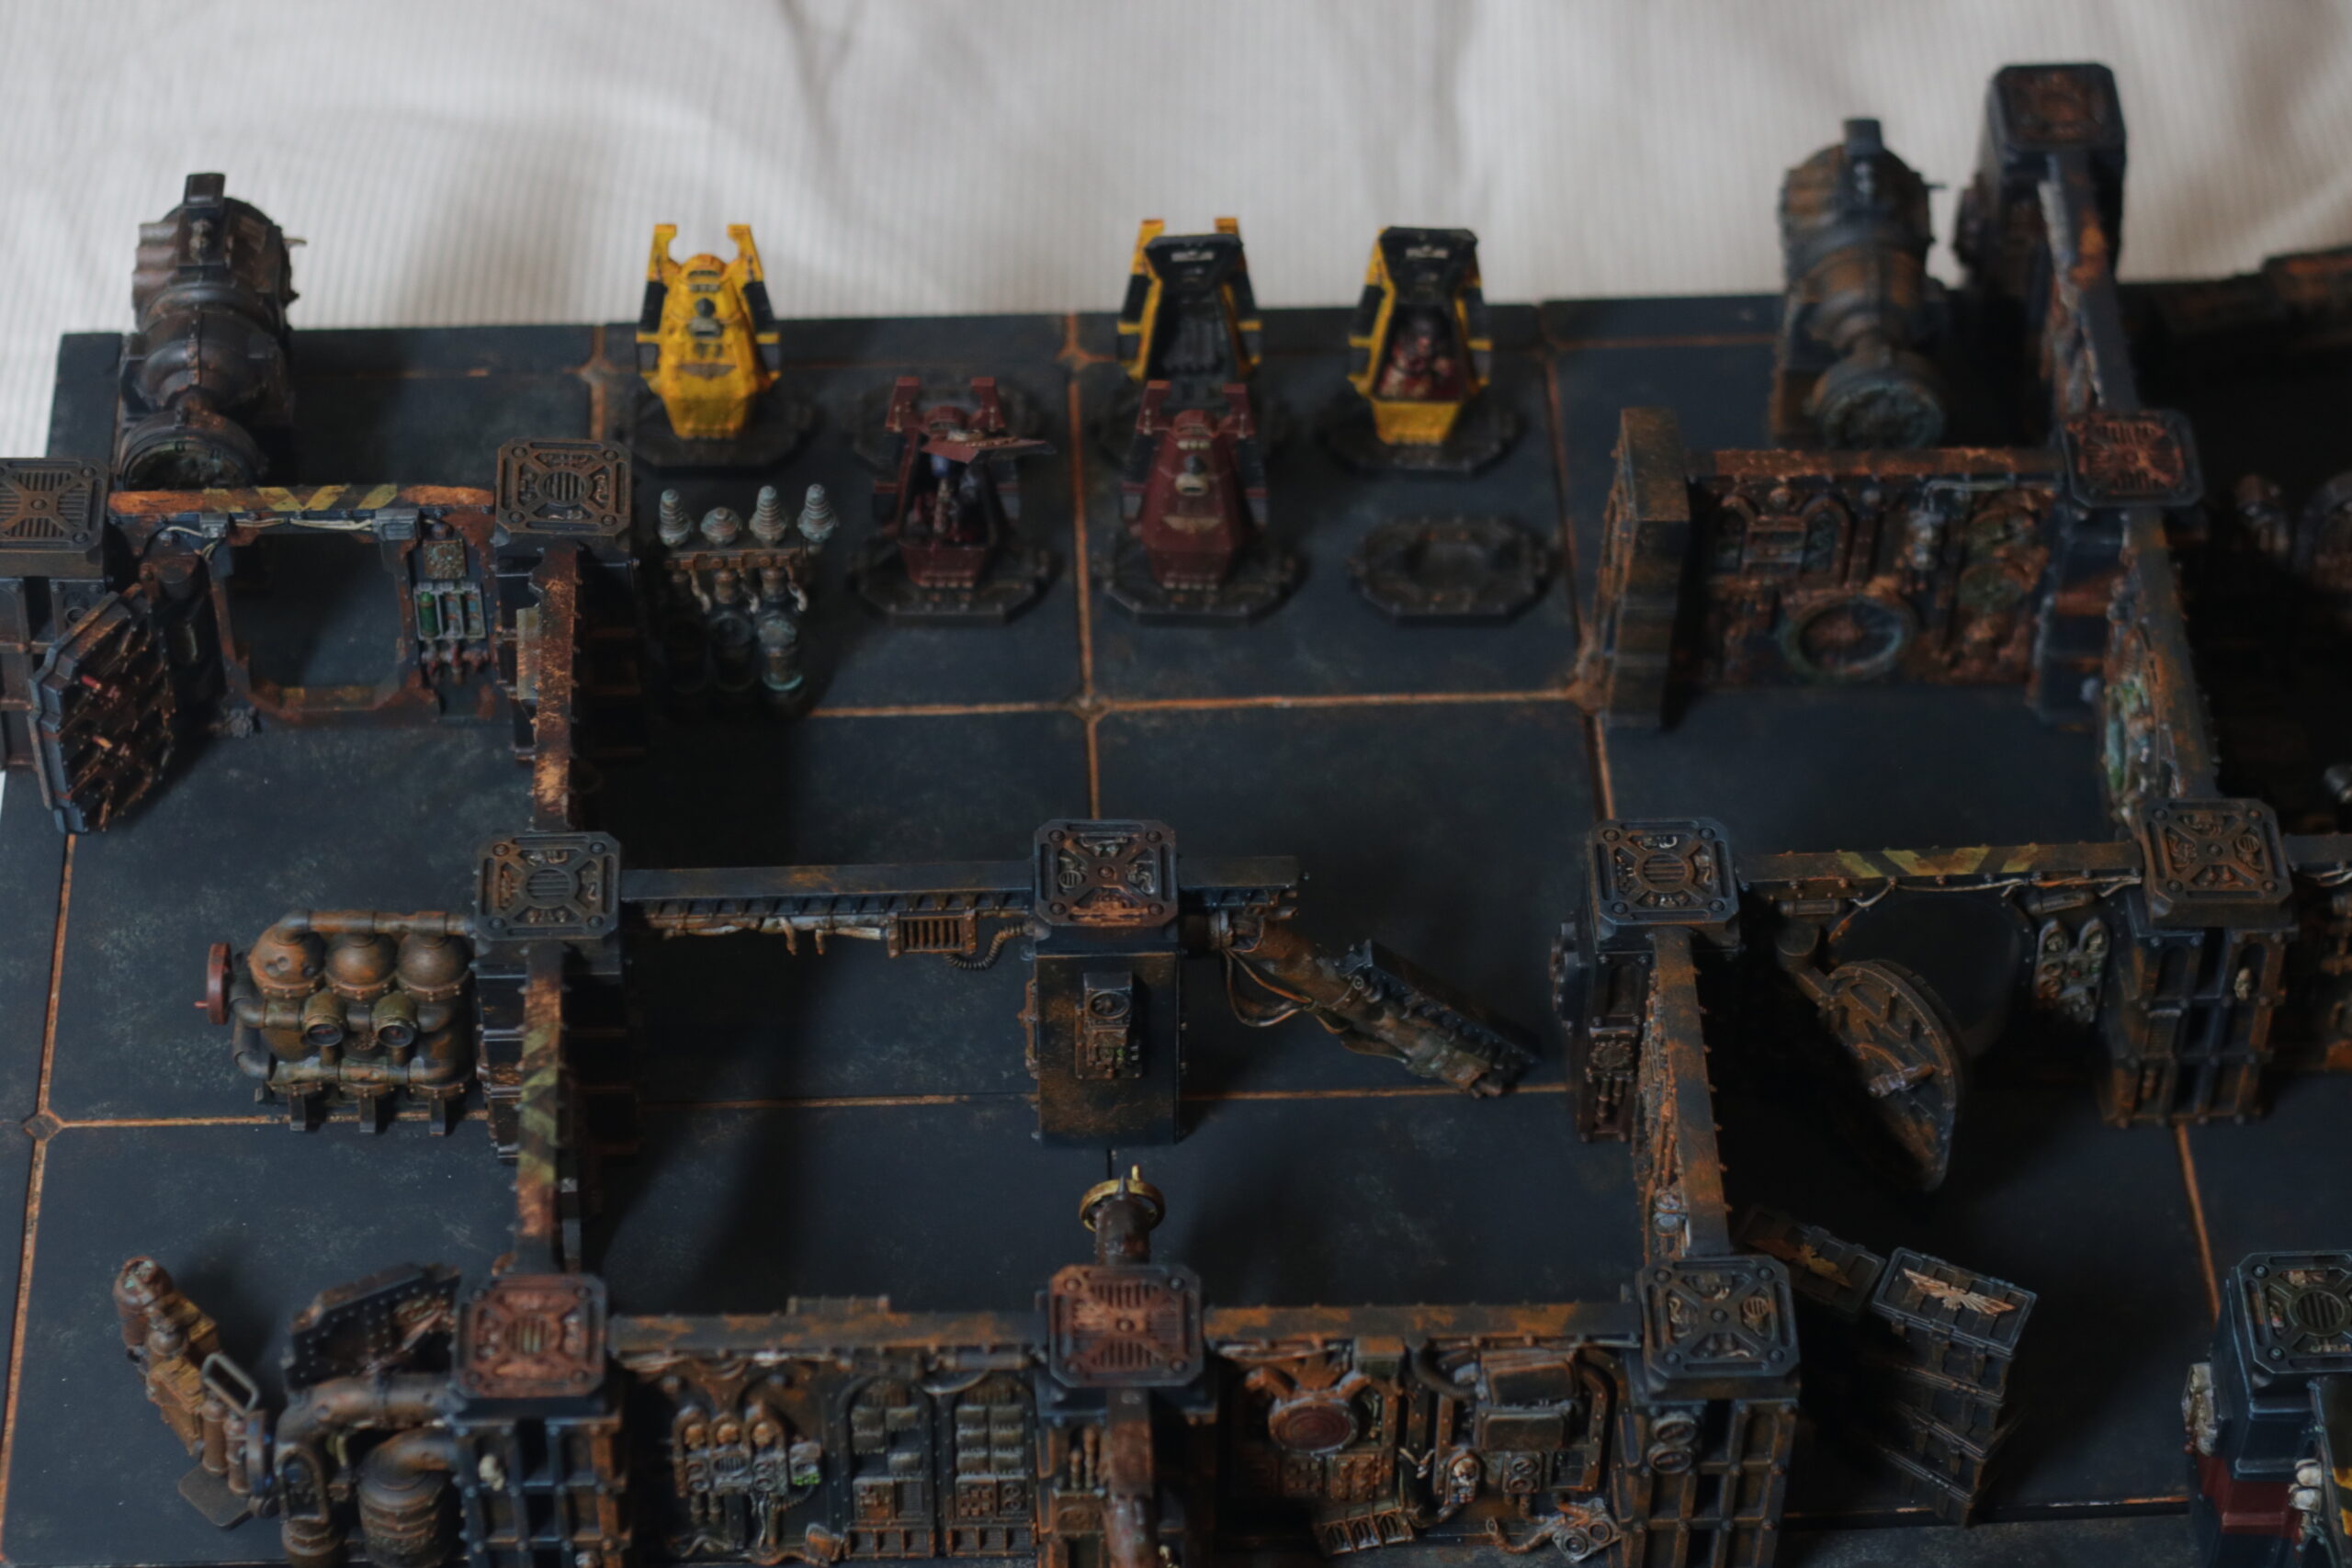
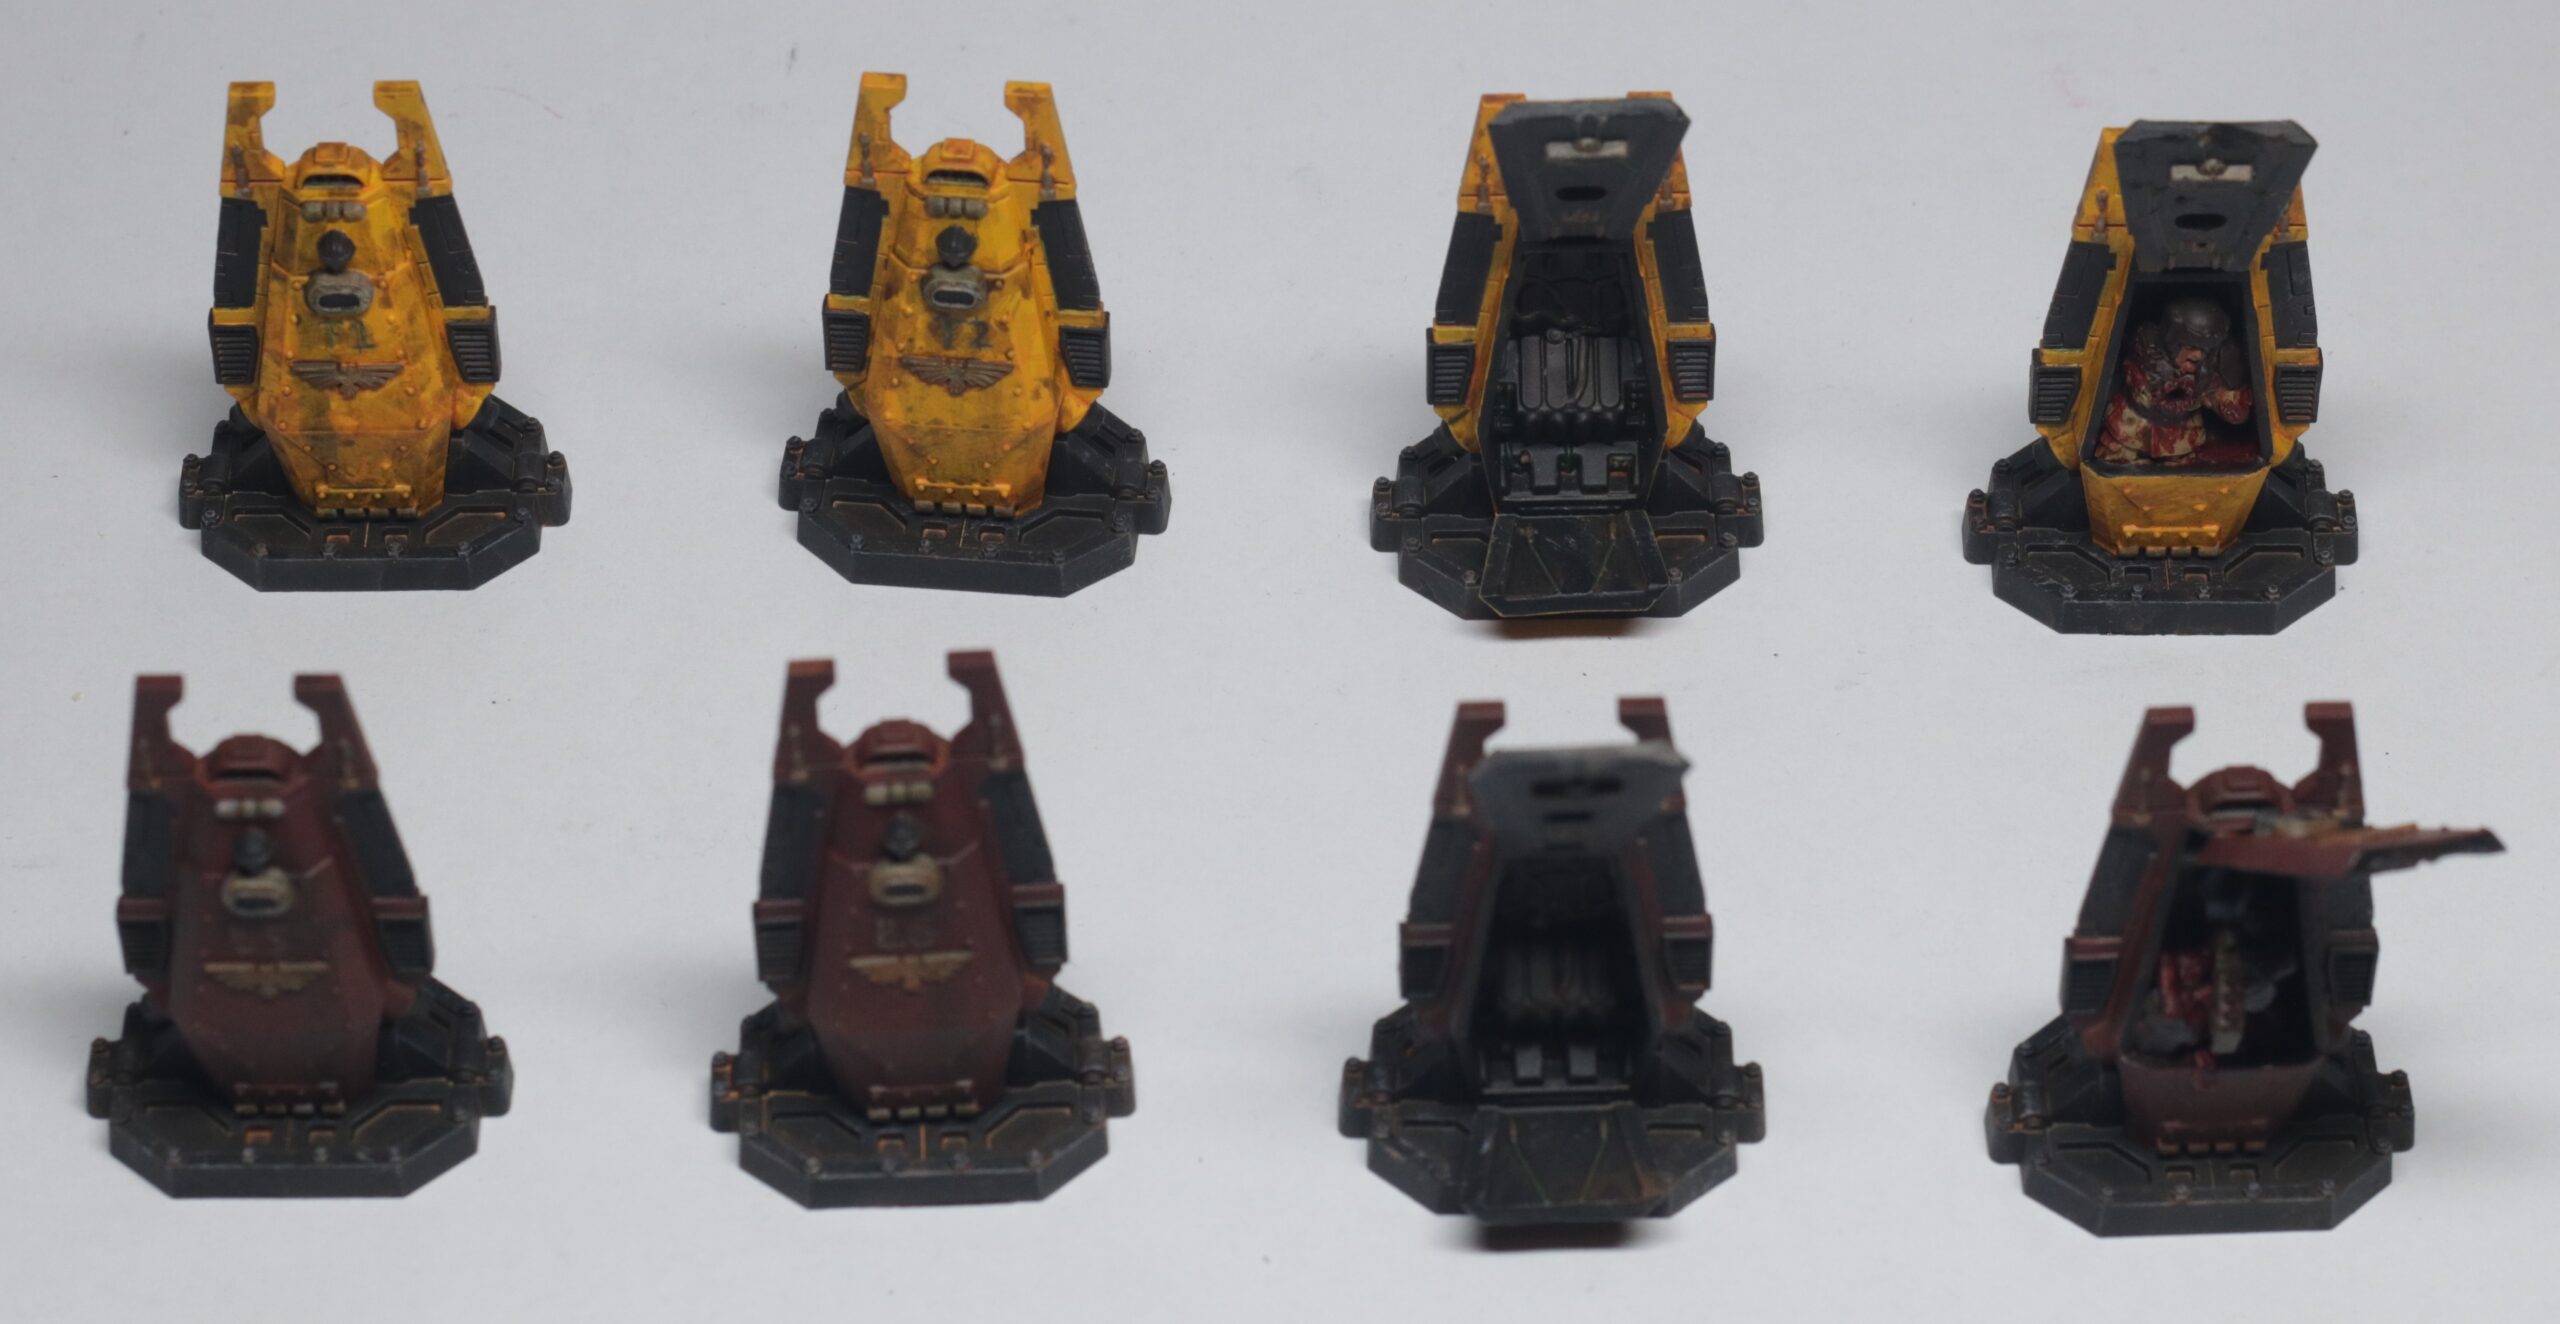
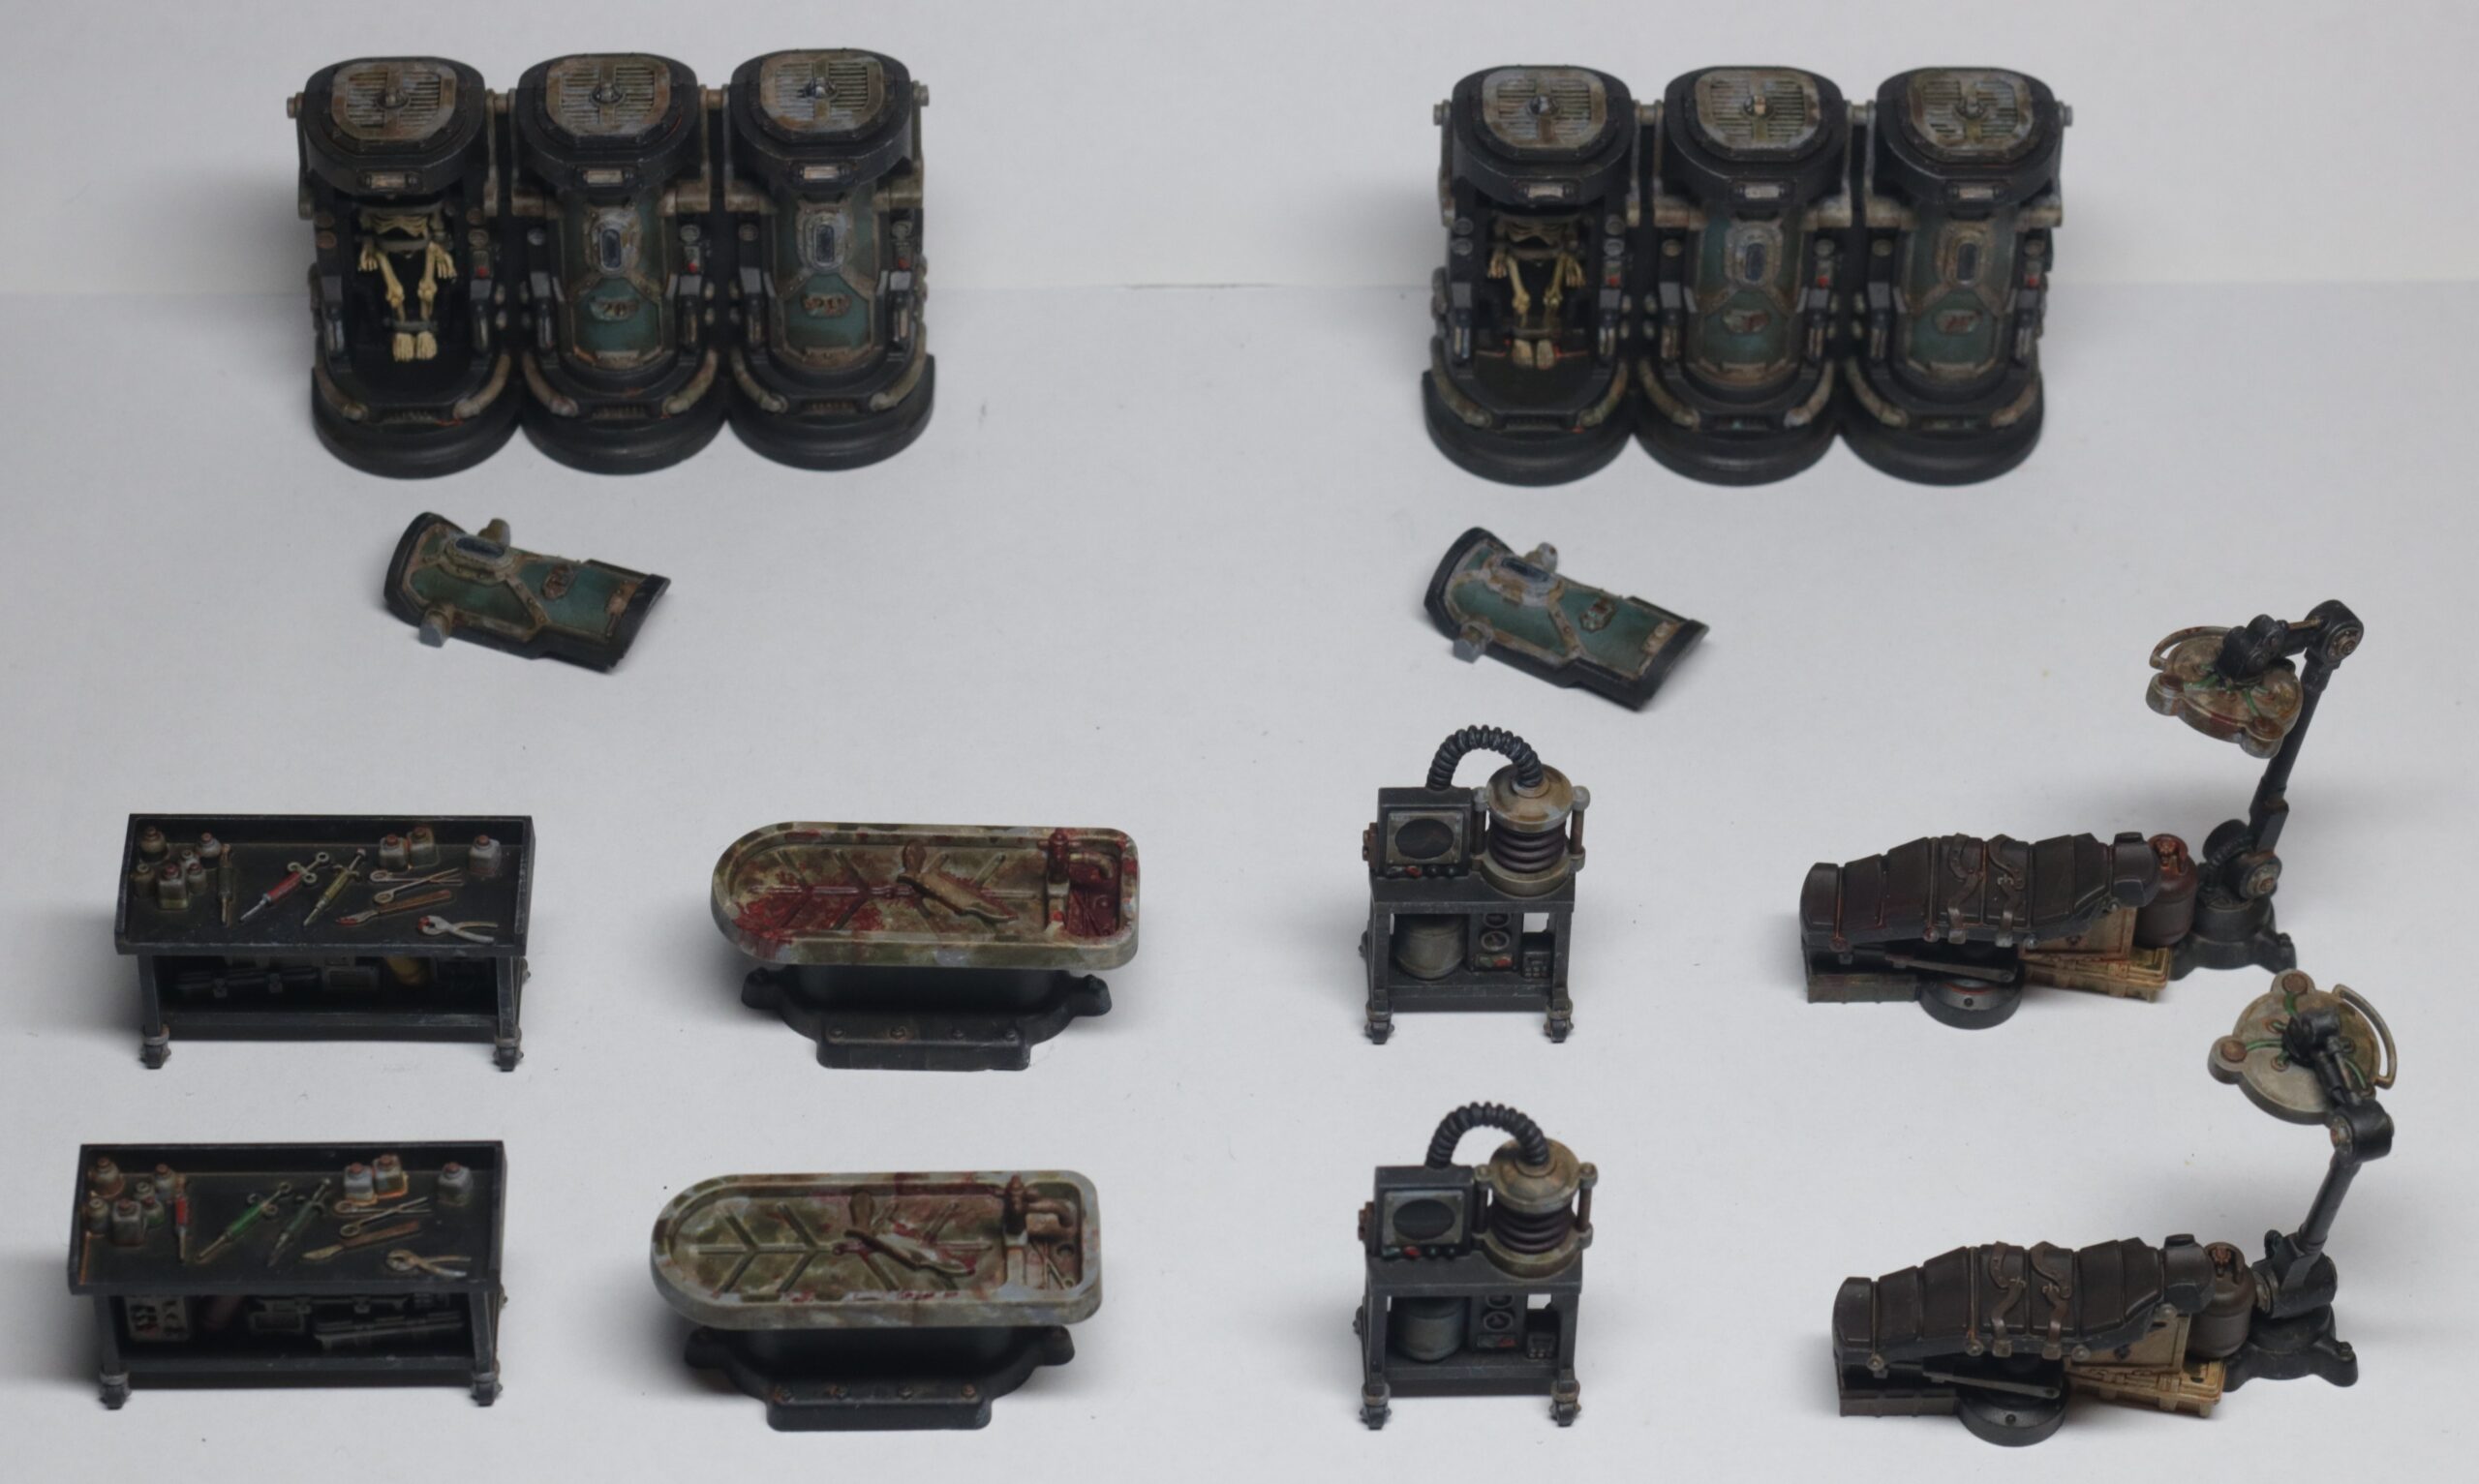
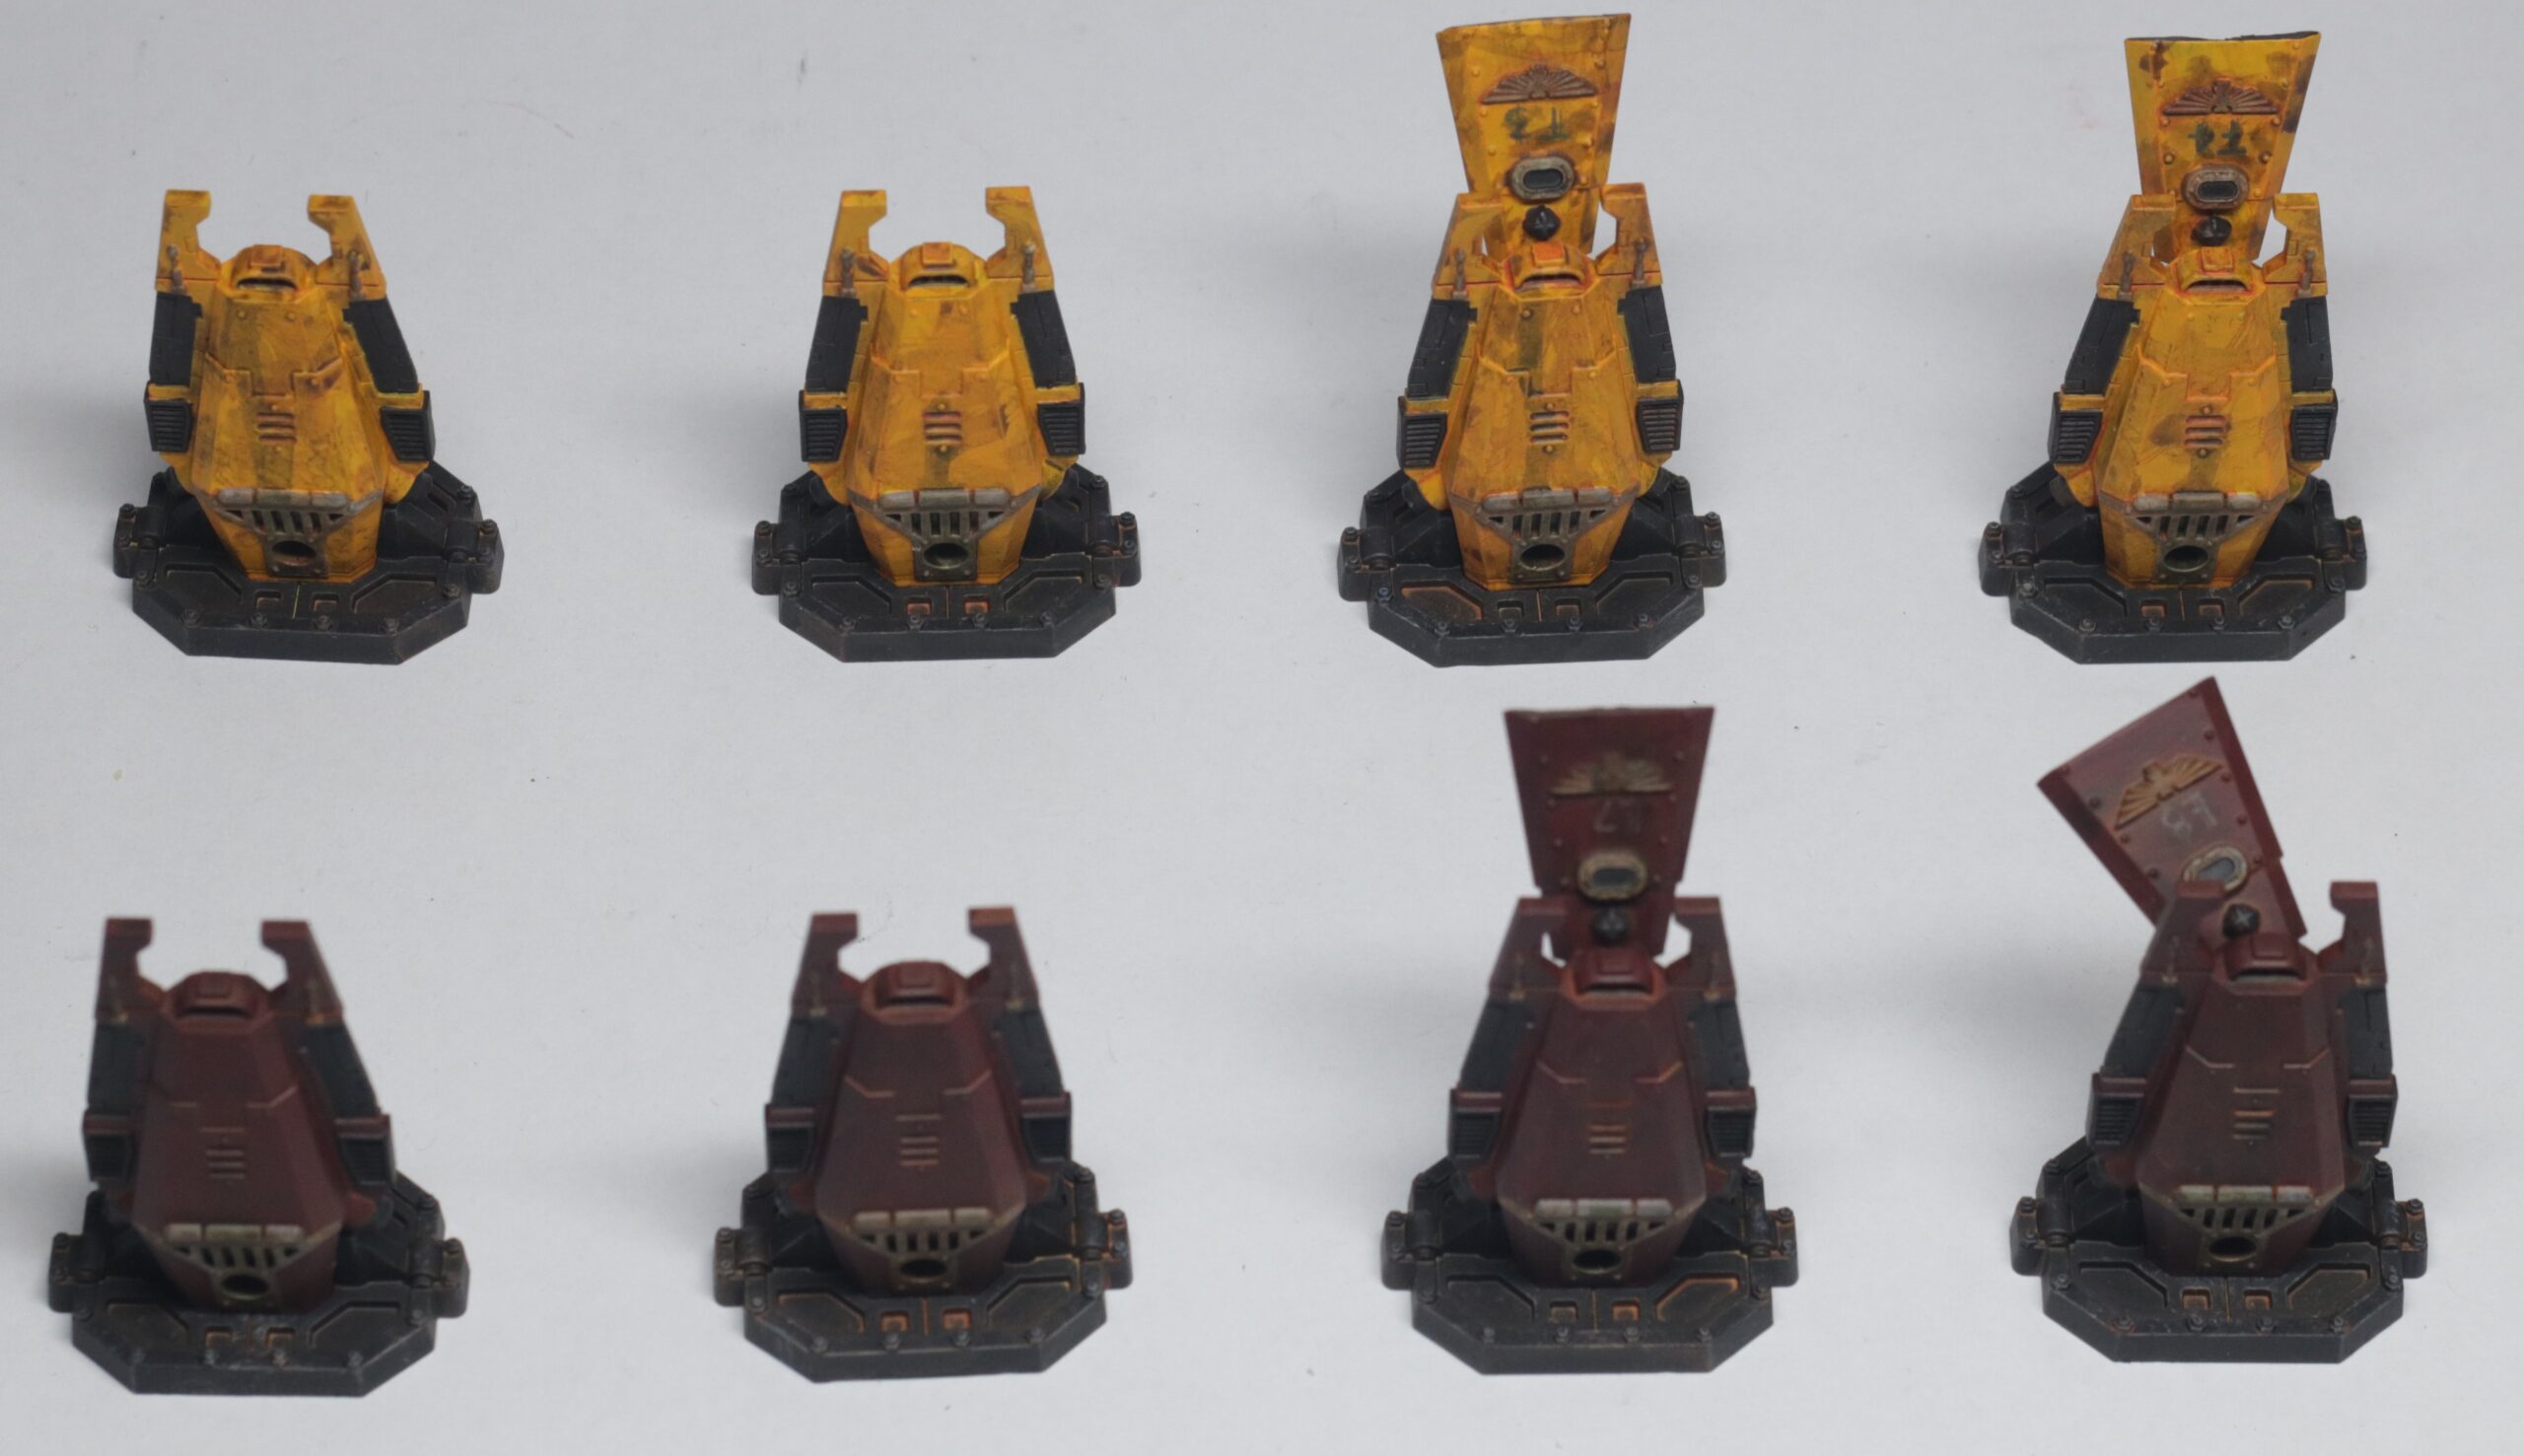
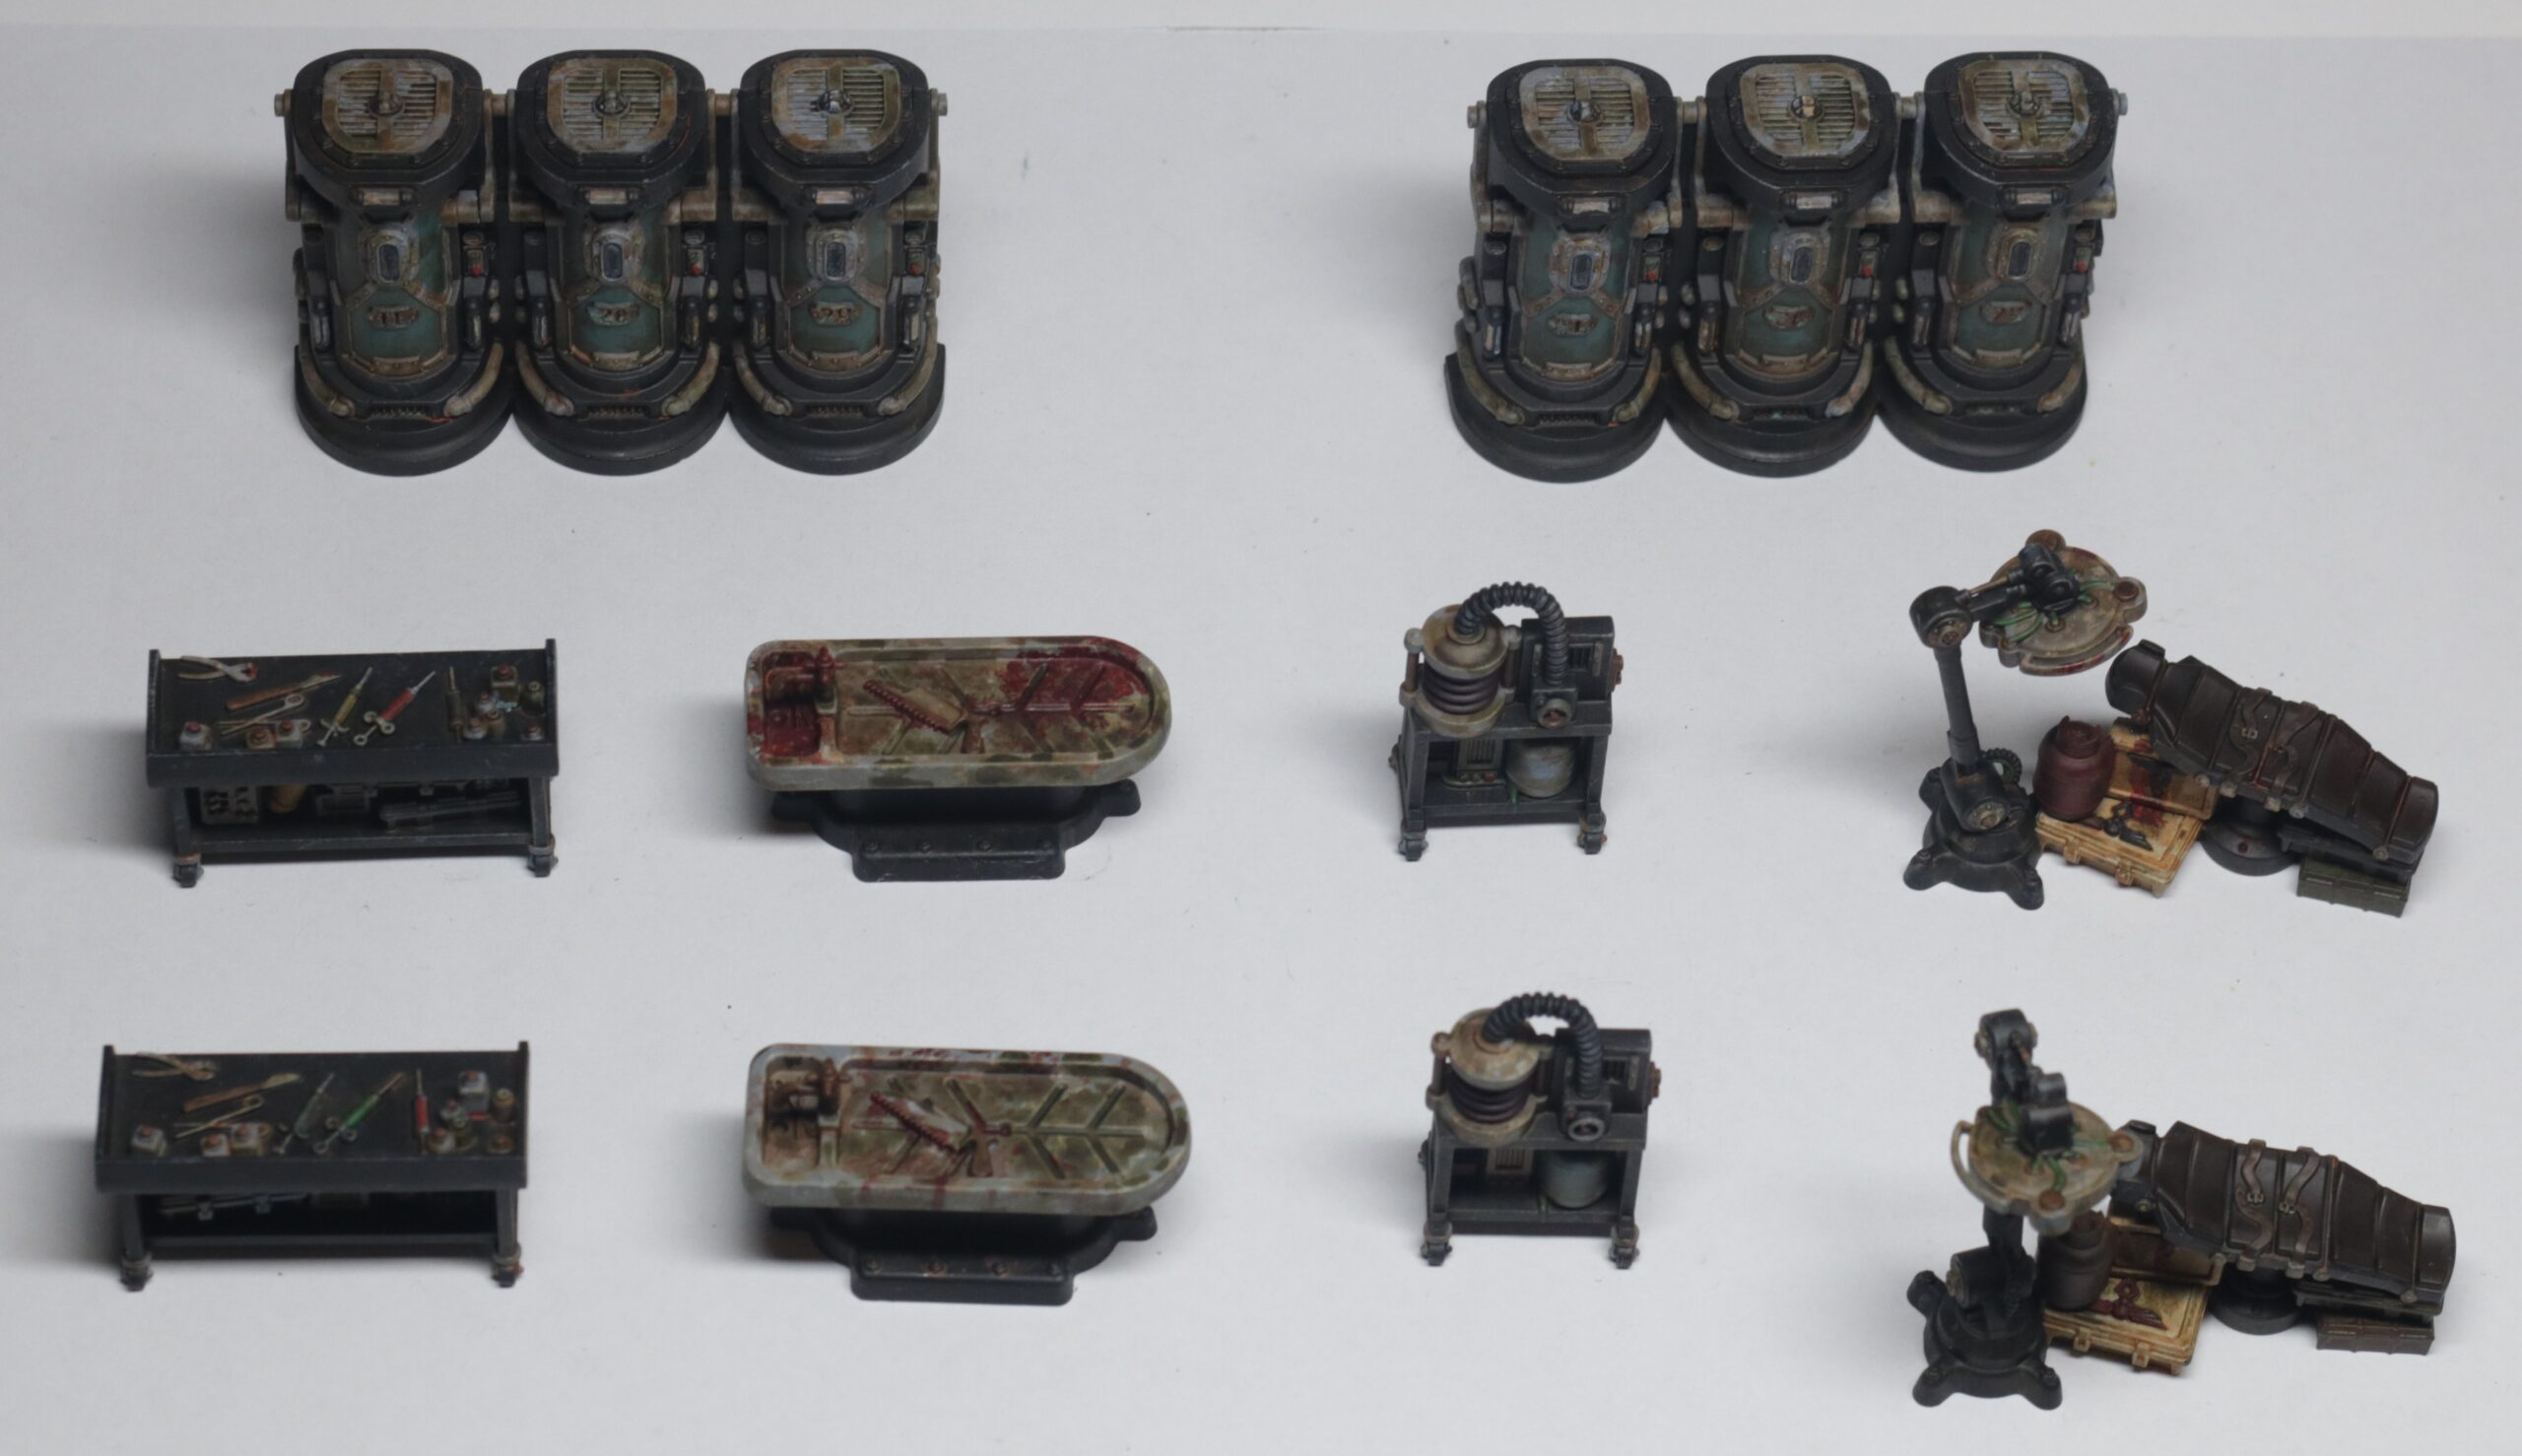
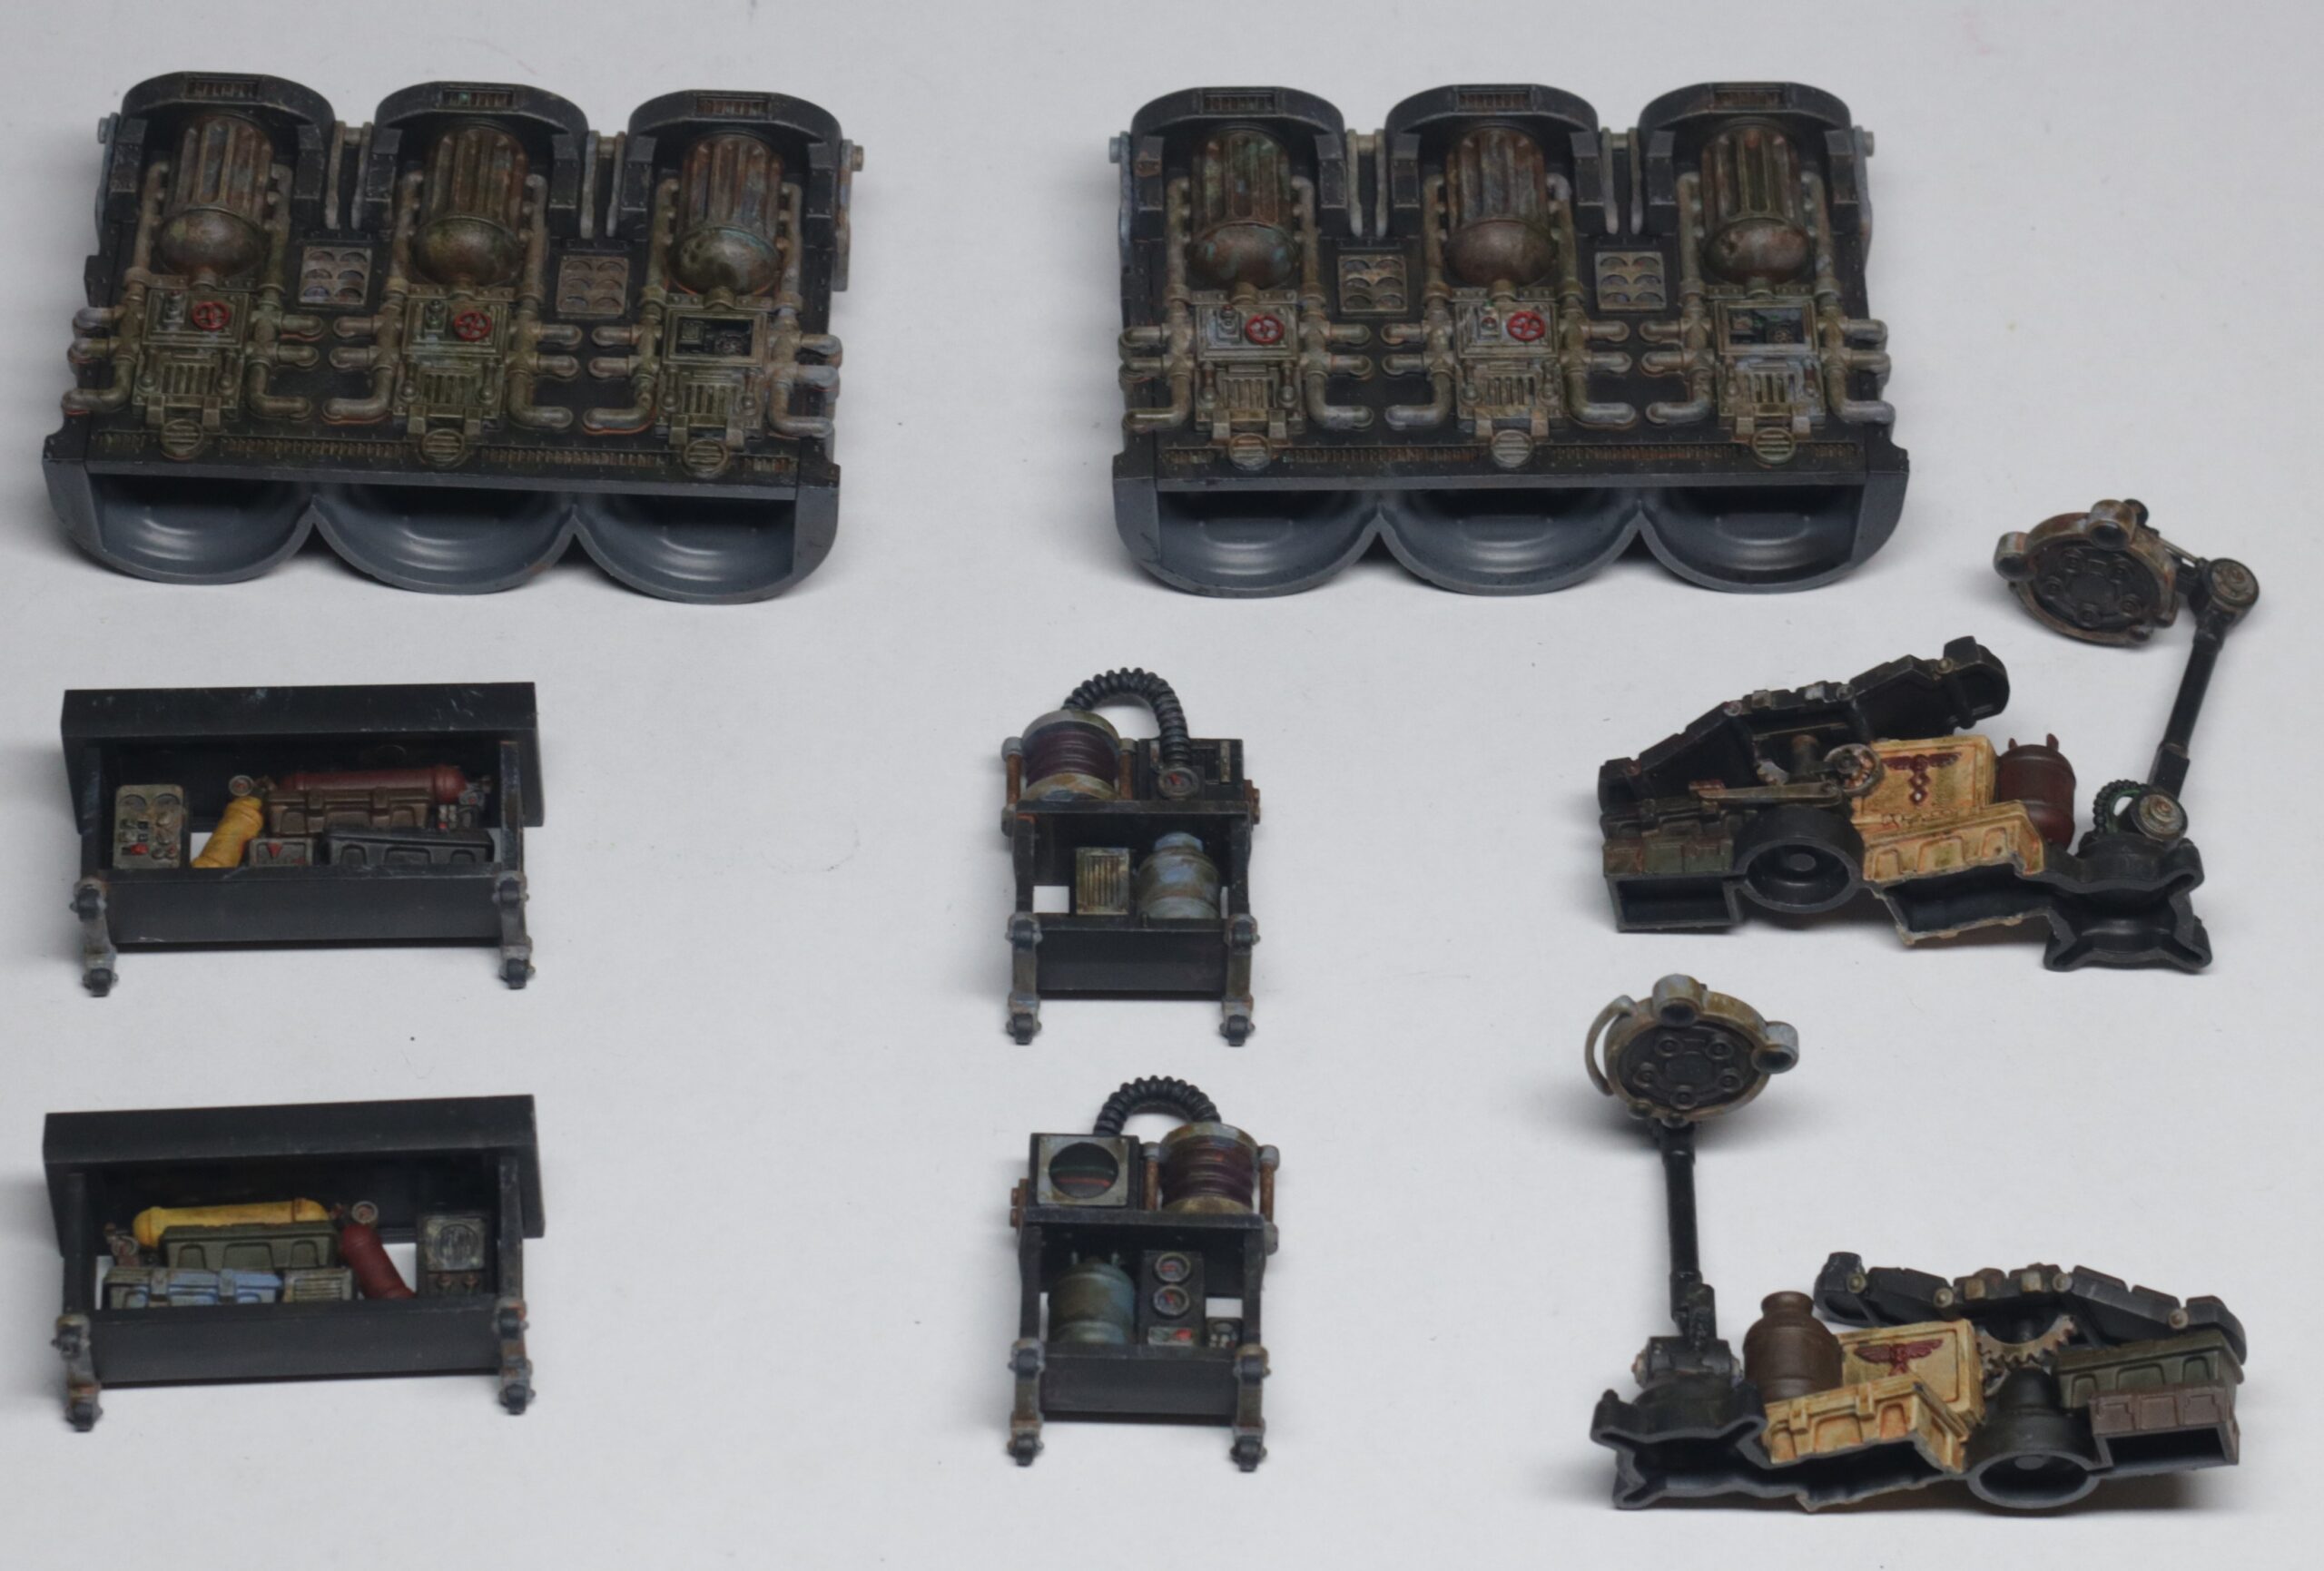
The final upgrade set comes with medical equipment like stasis tubes and mortuary slabs, but also 8 escape pods.
The stasis tubes come with an optional cover which I left separate so that they can be removed as needed, but even after filing down the connection points, the cover can become quite stuck. I’ve already scratched the paint off when trying to remove these, but I thought it was funny that they have the exact same issue as the wall pieces.
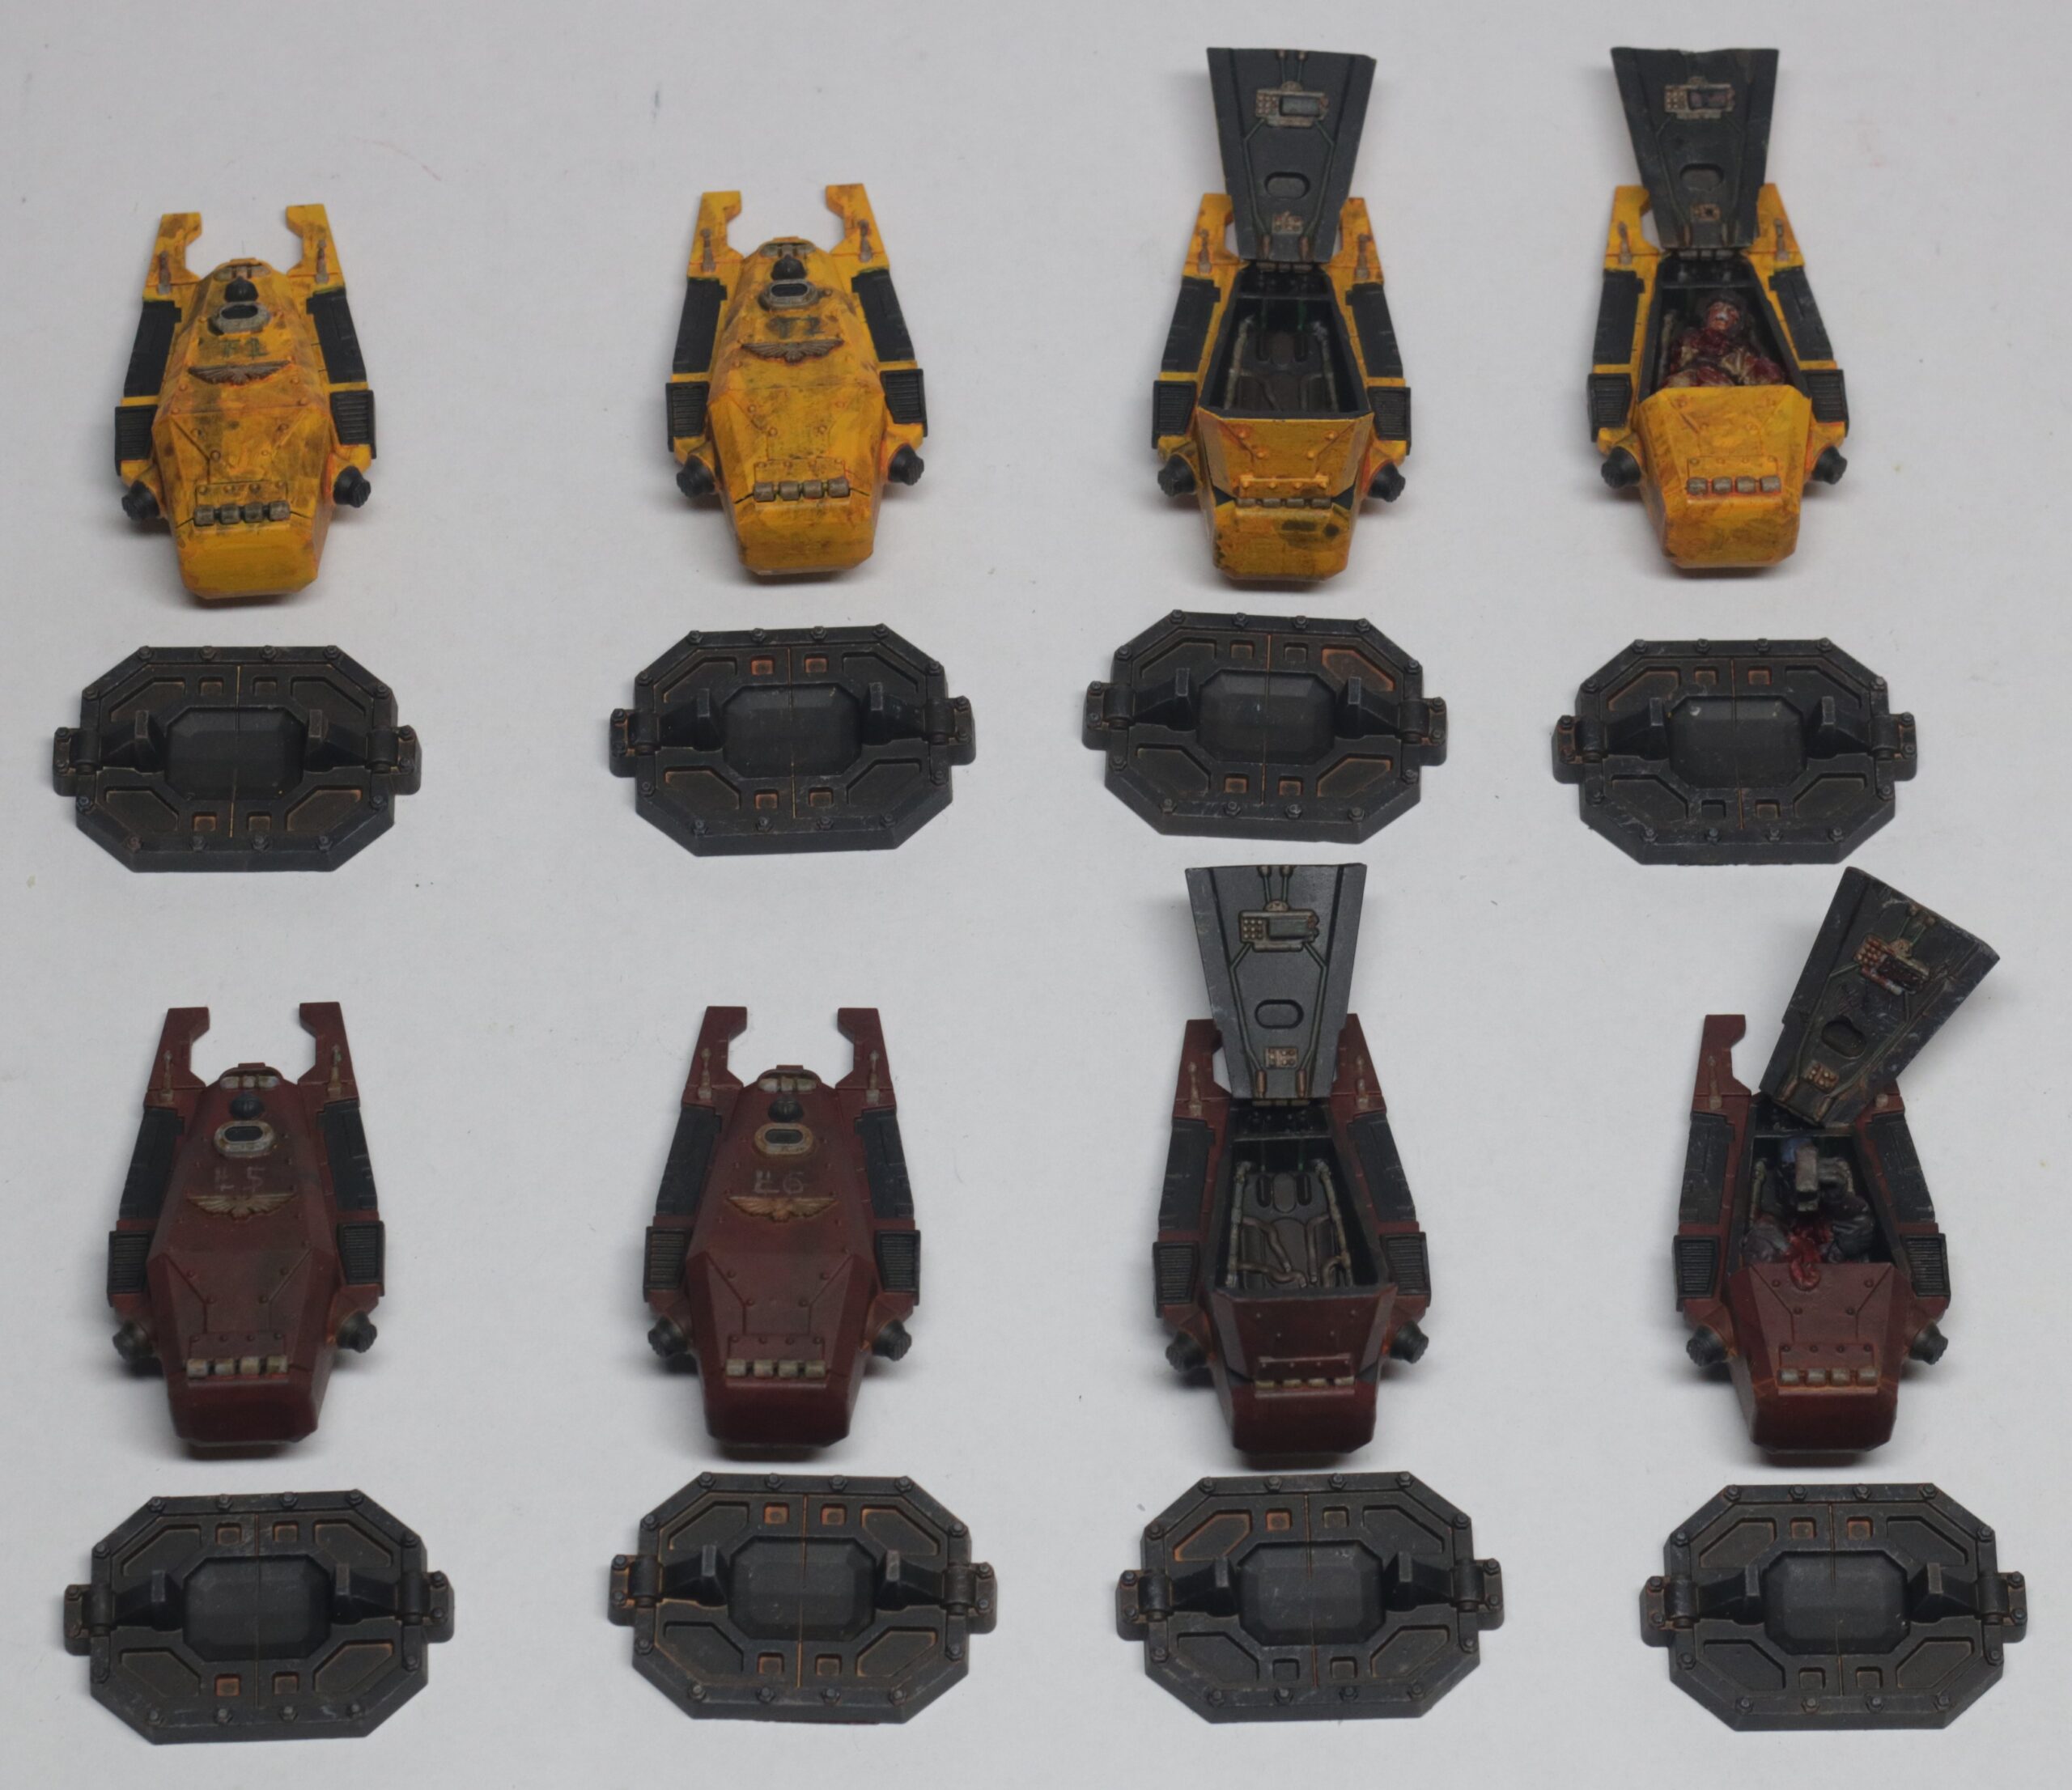
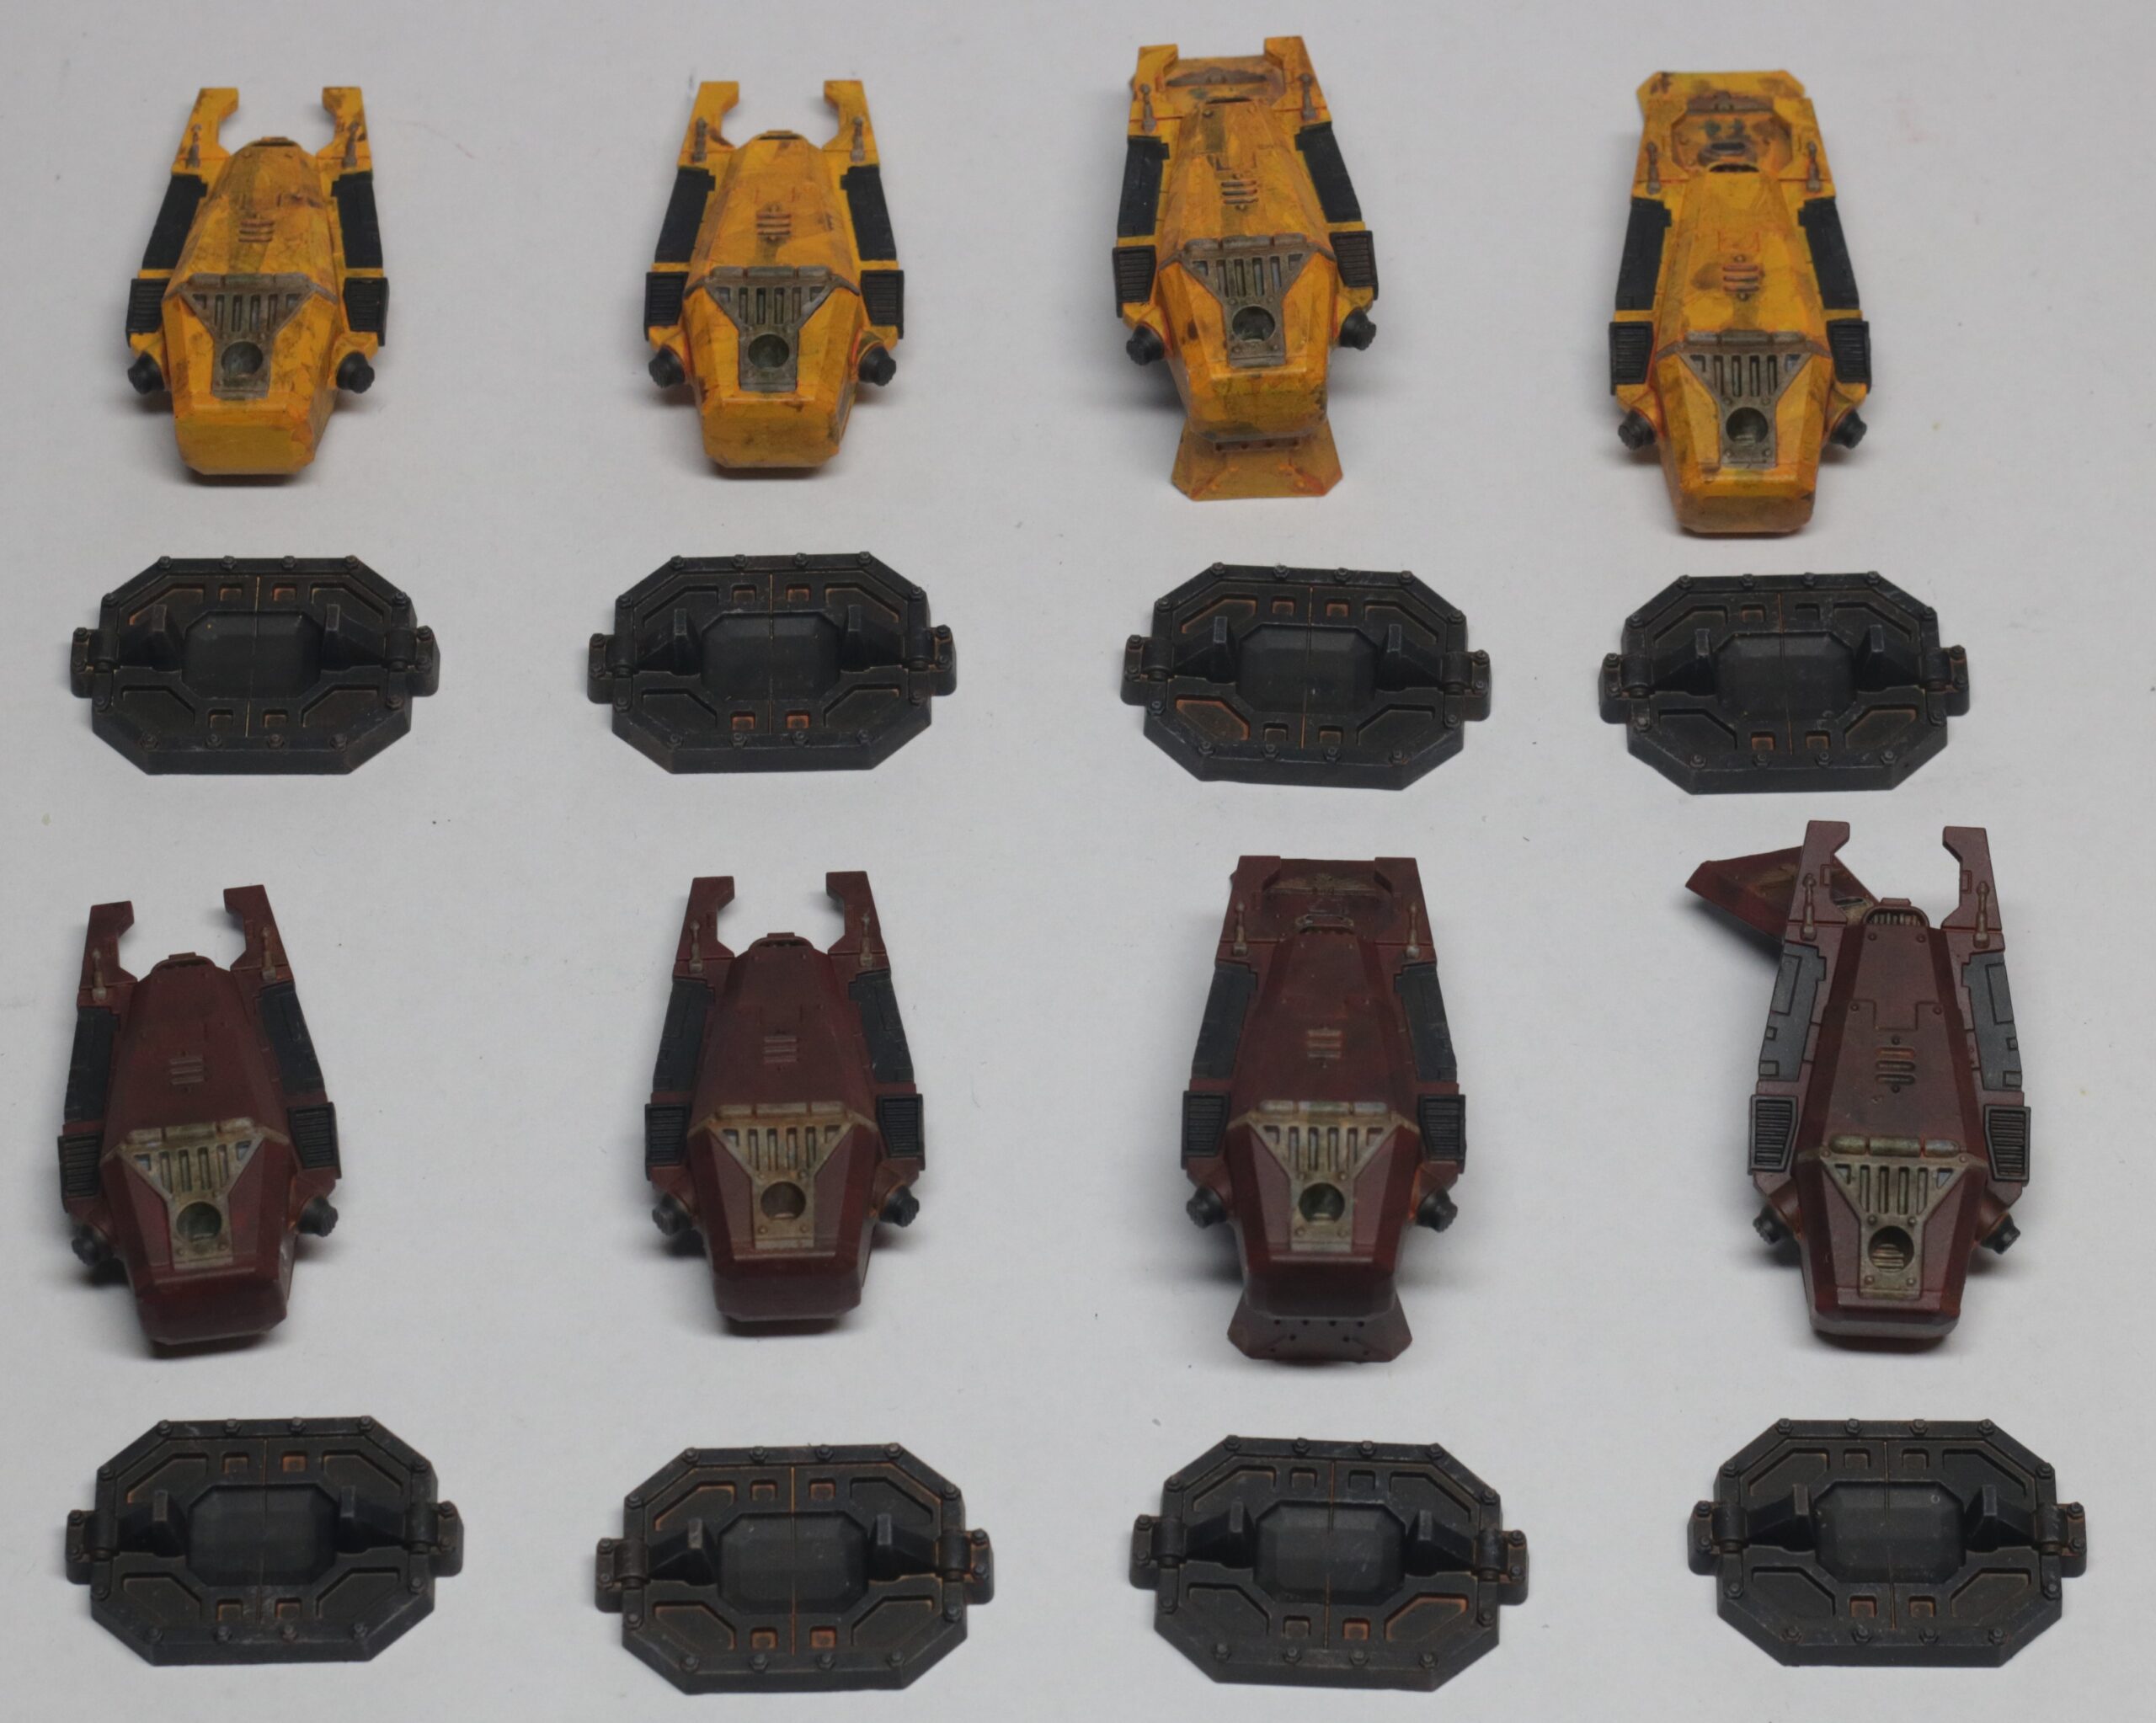
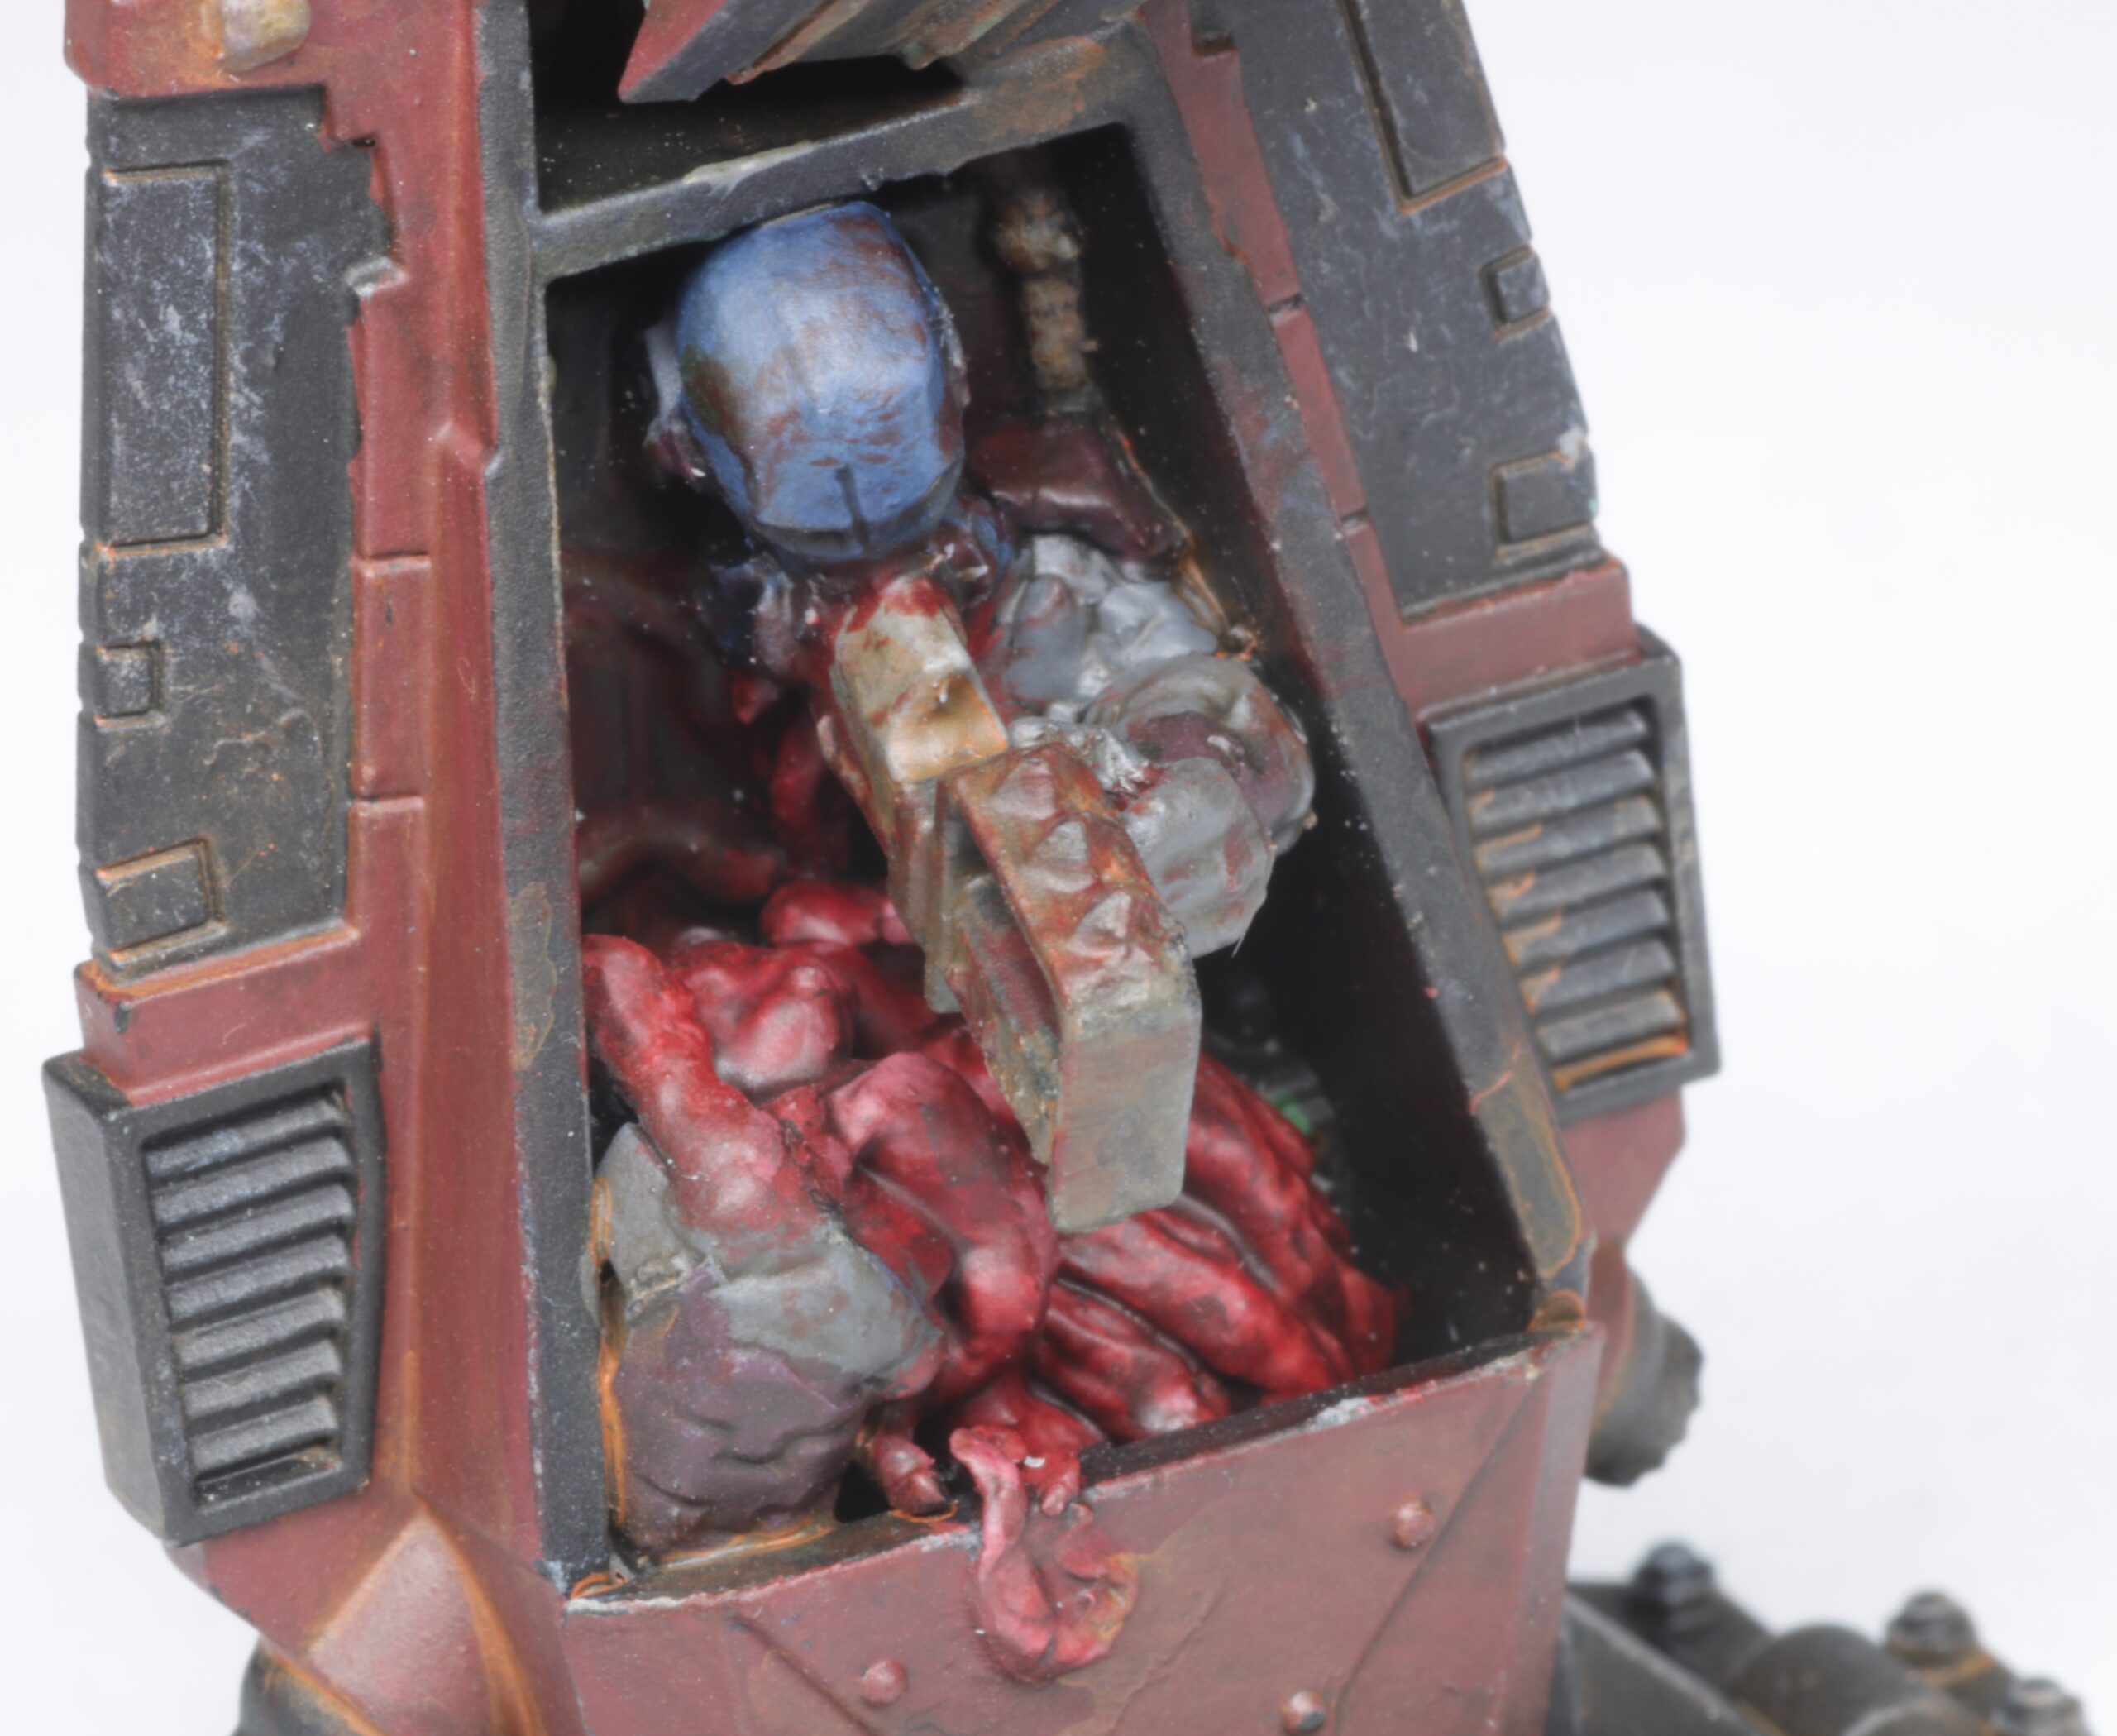
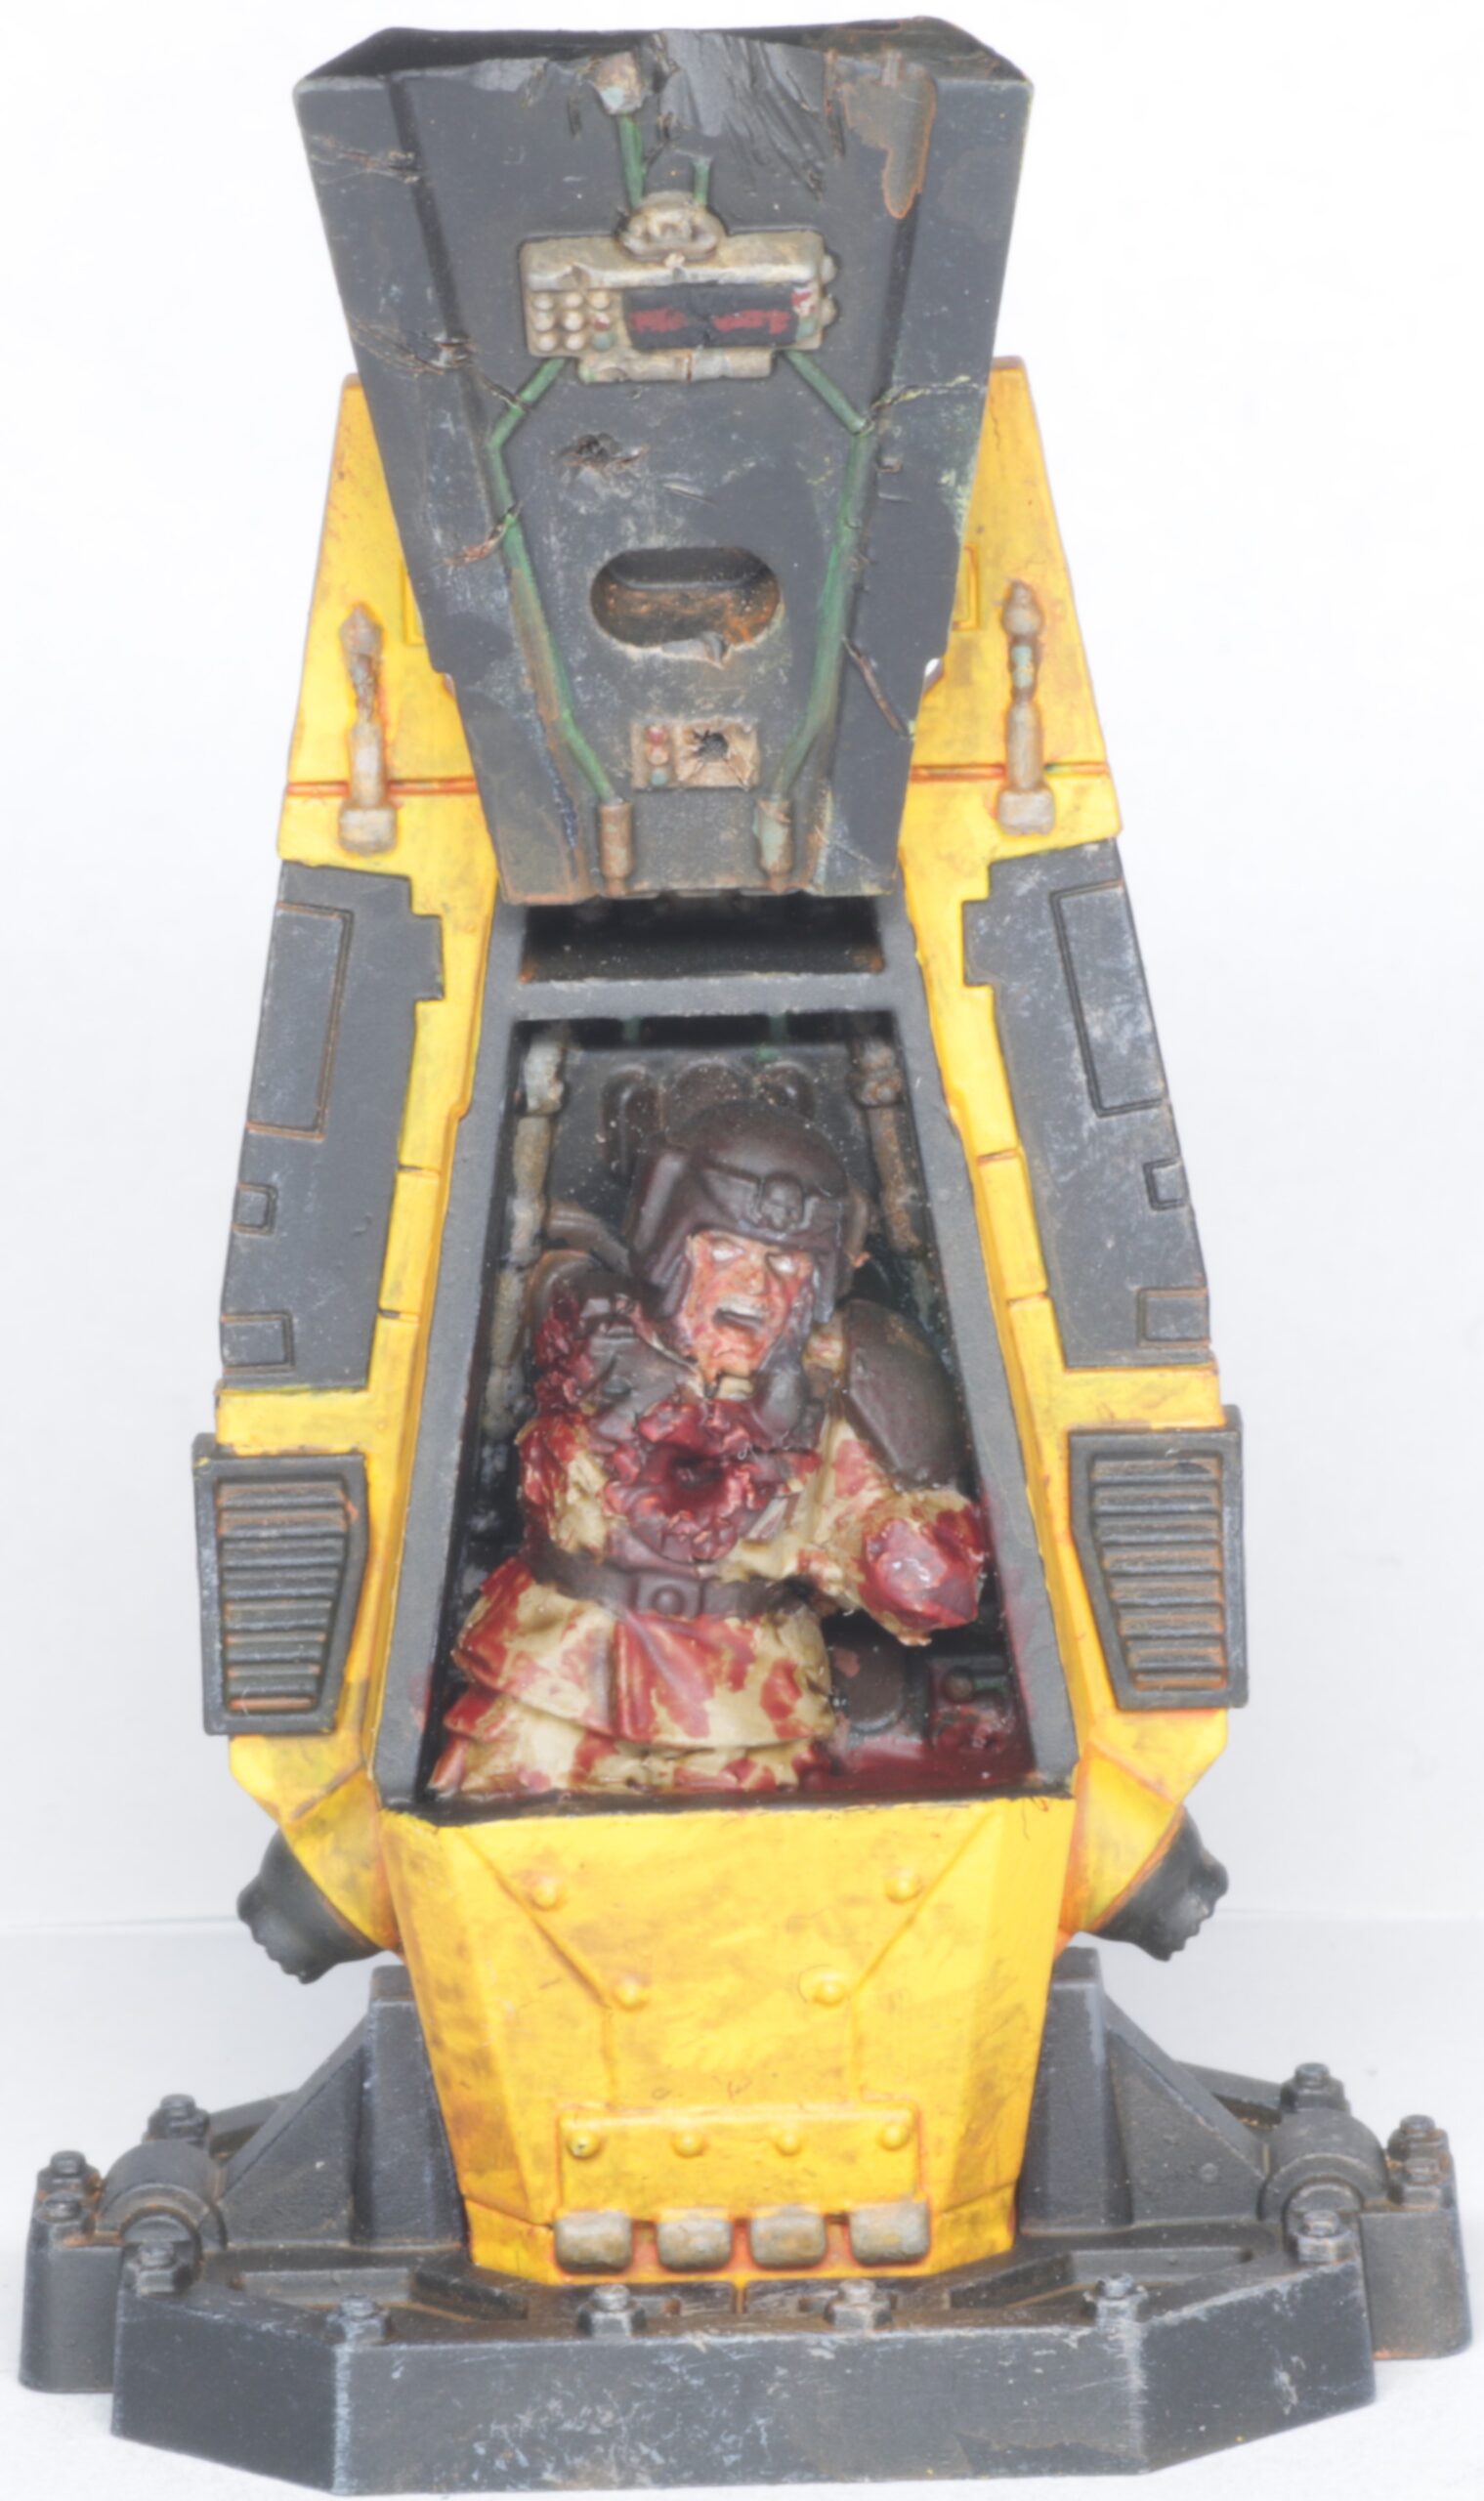
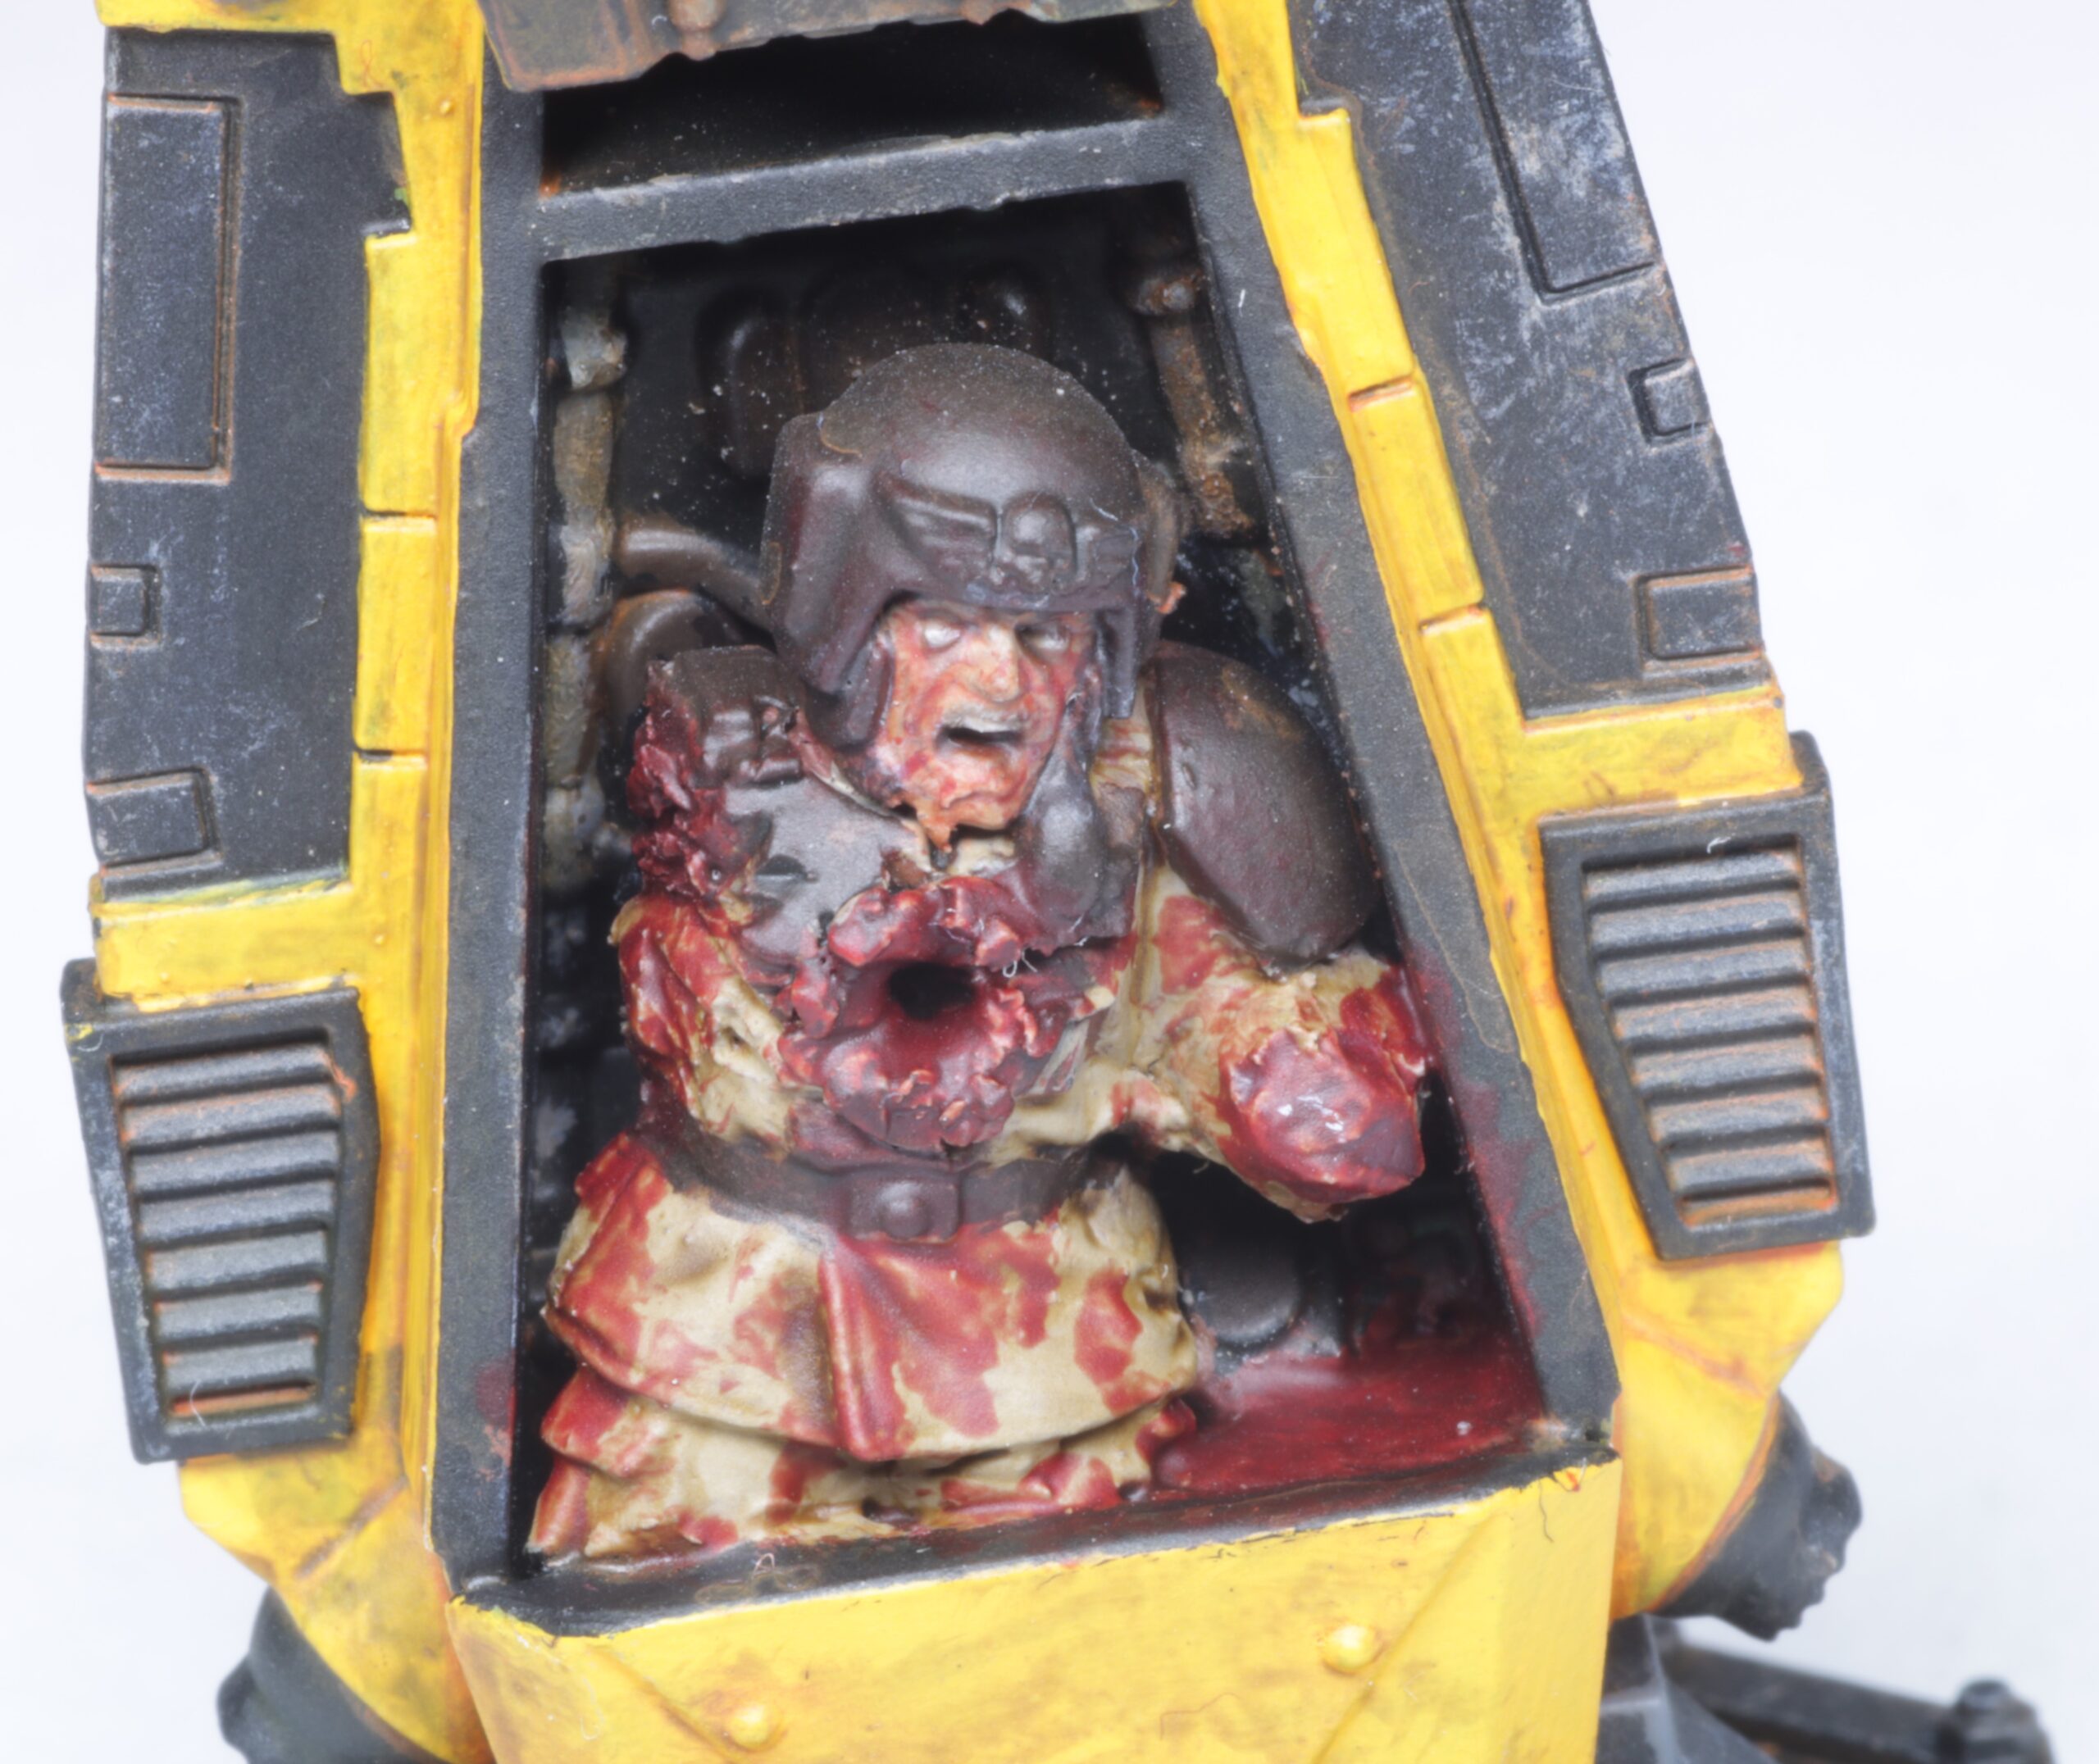
For the escape pods, 4 of them were modelled as closed, and 4 of them as open. For some reason the doors are sculpted as a single piece but there are hinges on the top and bottom indicating that they are meant to open as two pieces. Looking at another terrain set featuring the same escape pod design this was indeed the case, so I cut the doors in half to correct this.
For 2 of these open escape pods I played around with some spare bits and green stuff to tell a little story. This was my first attempt using a colour shaper for sculpting so the end result was a bit messy, the escape pods will need cleaning before use.


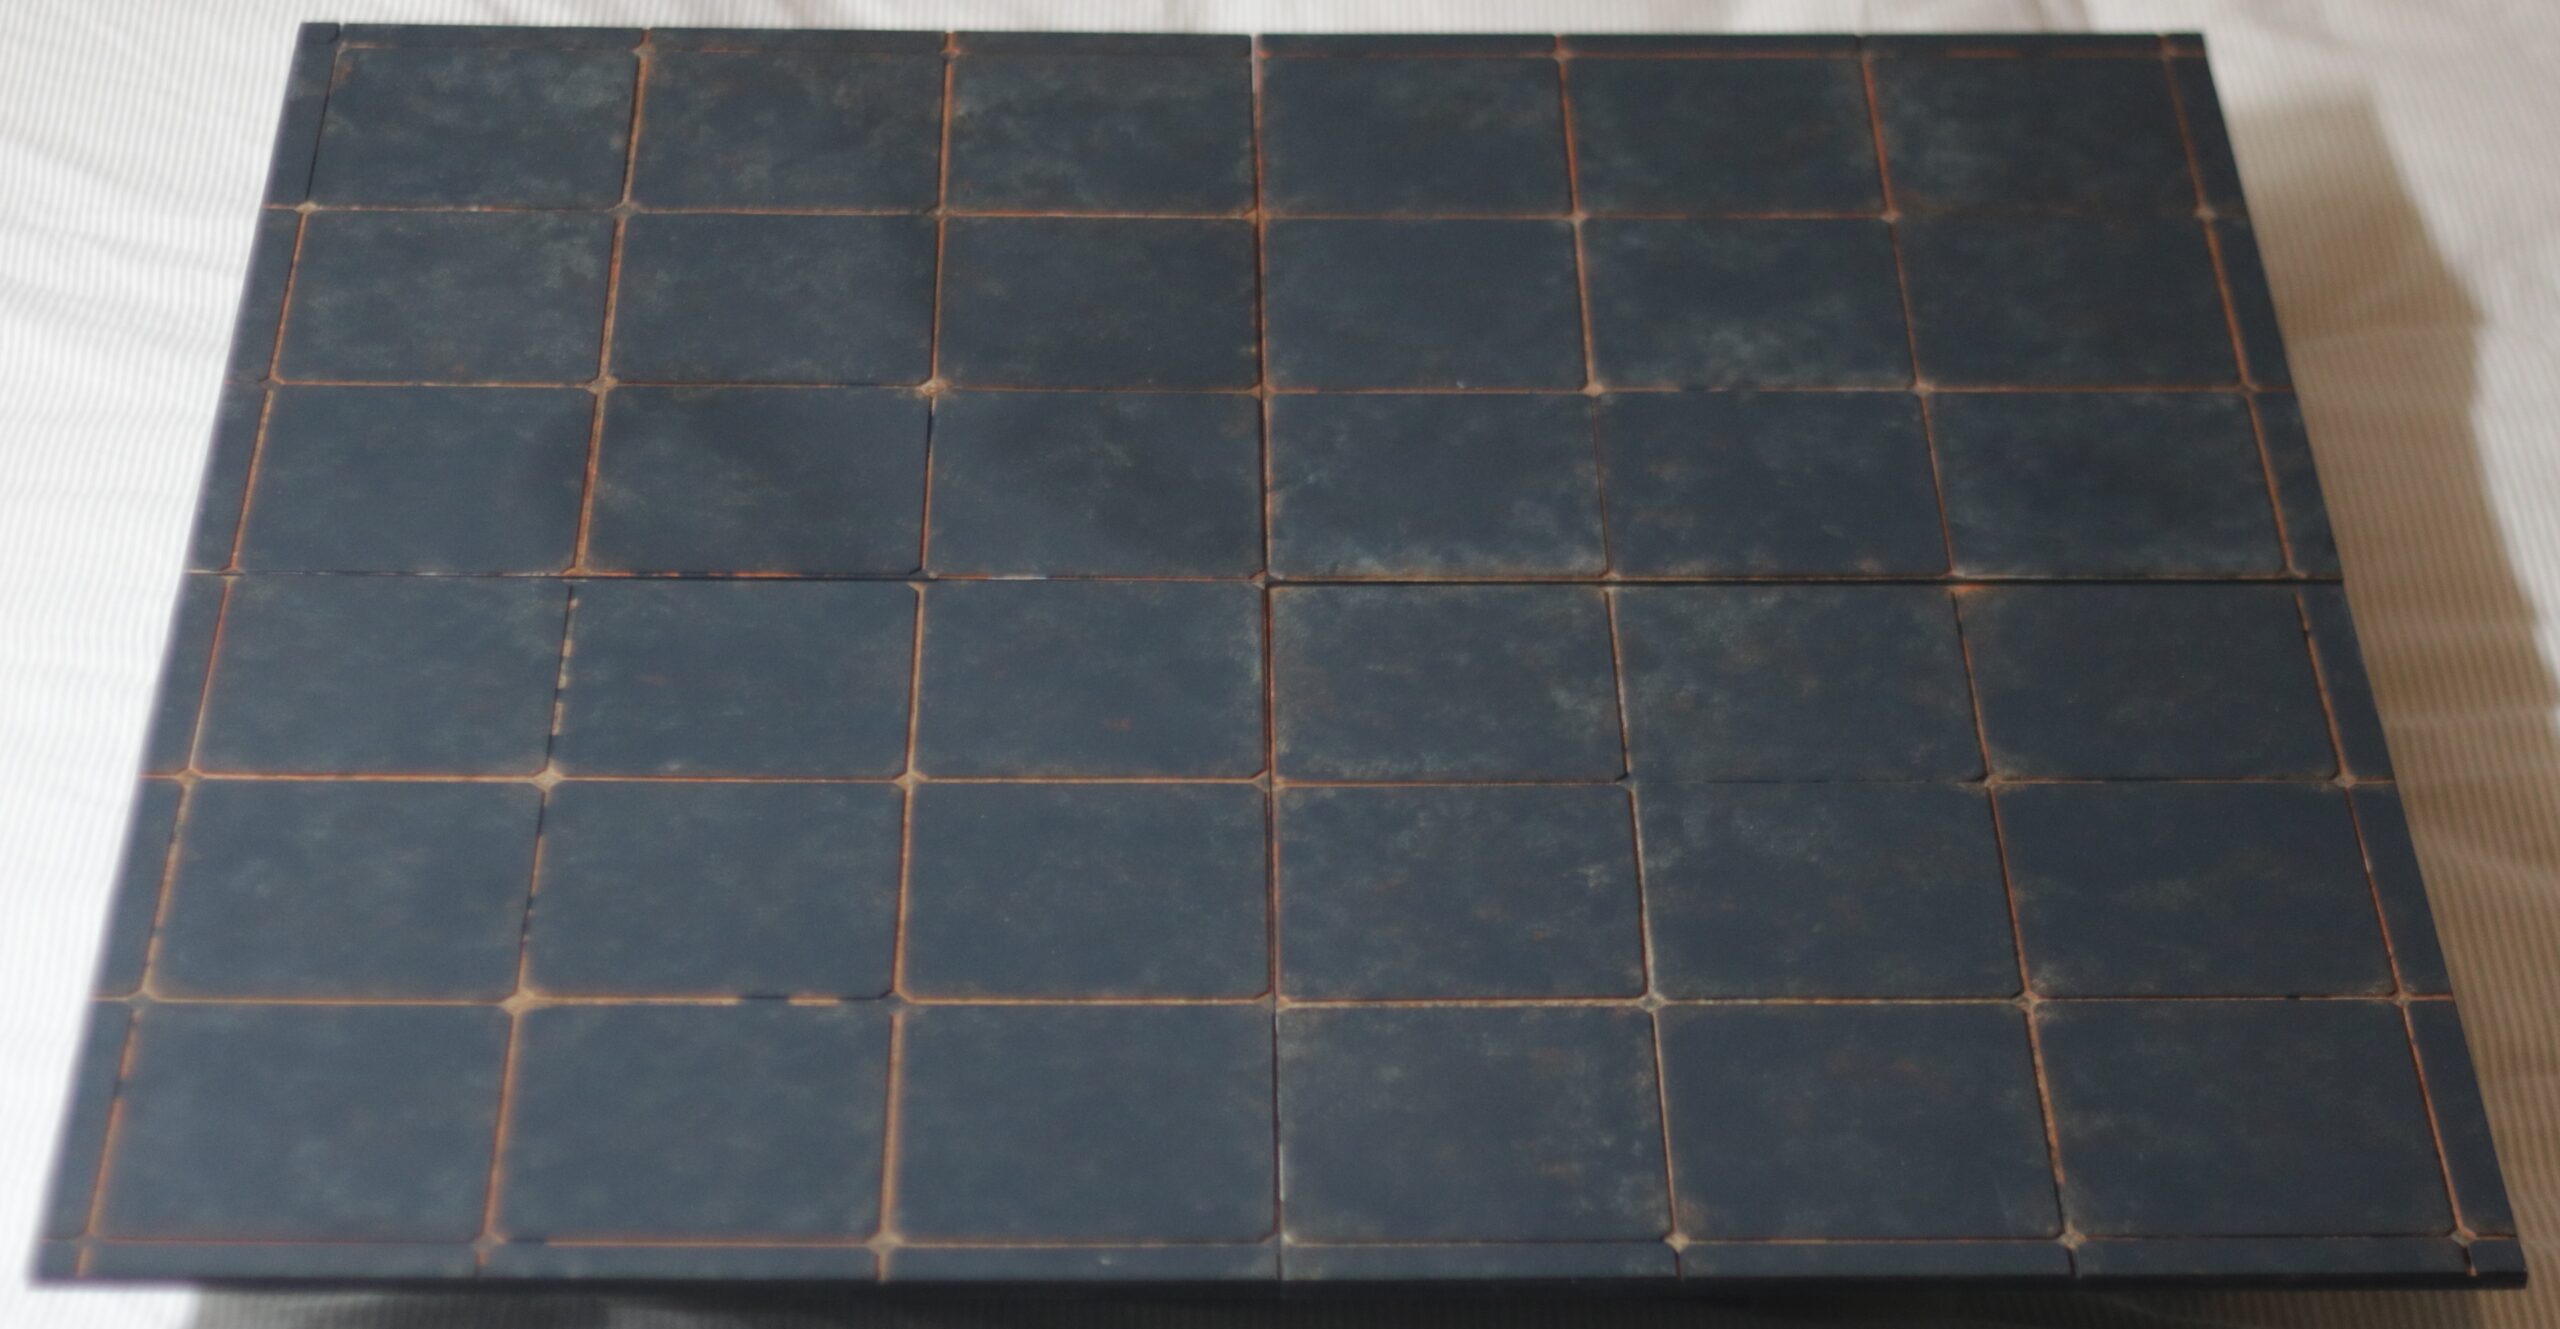
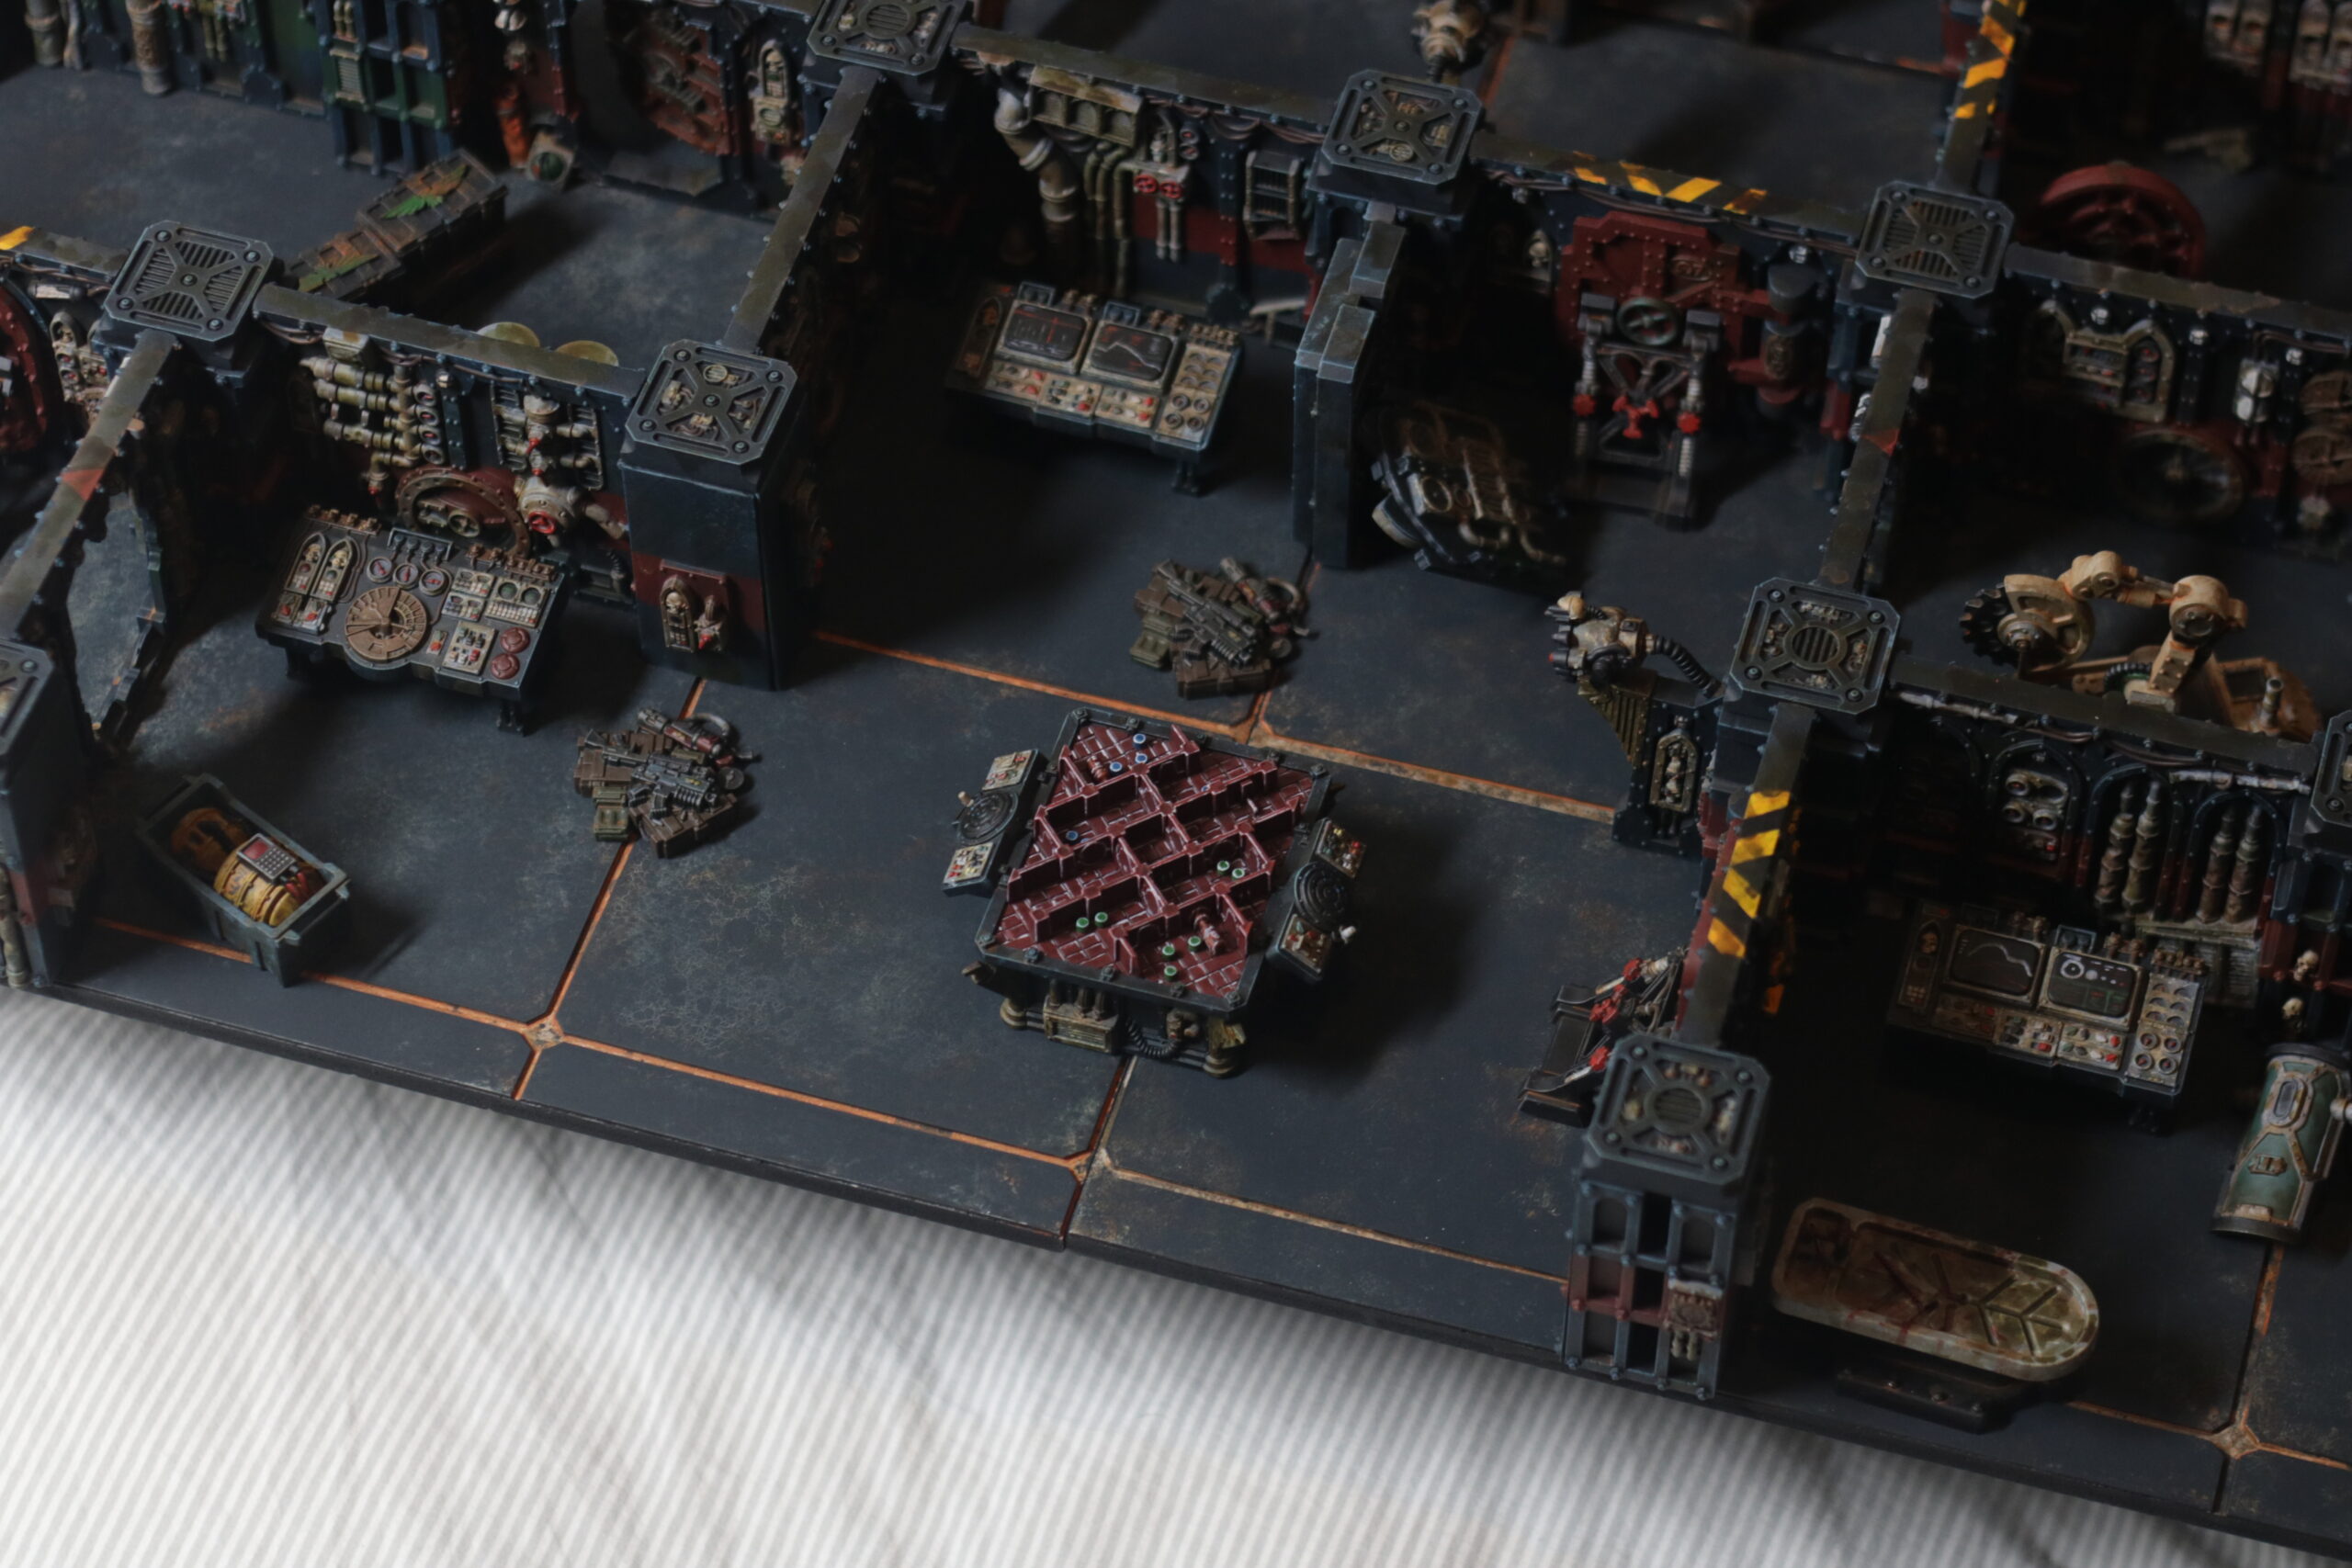
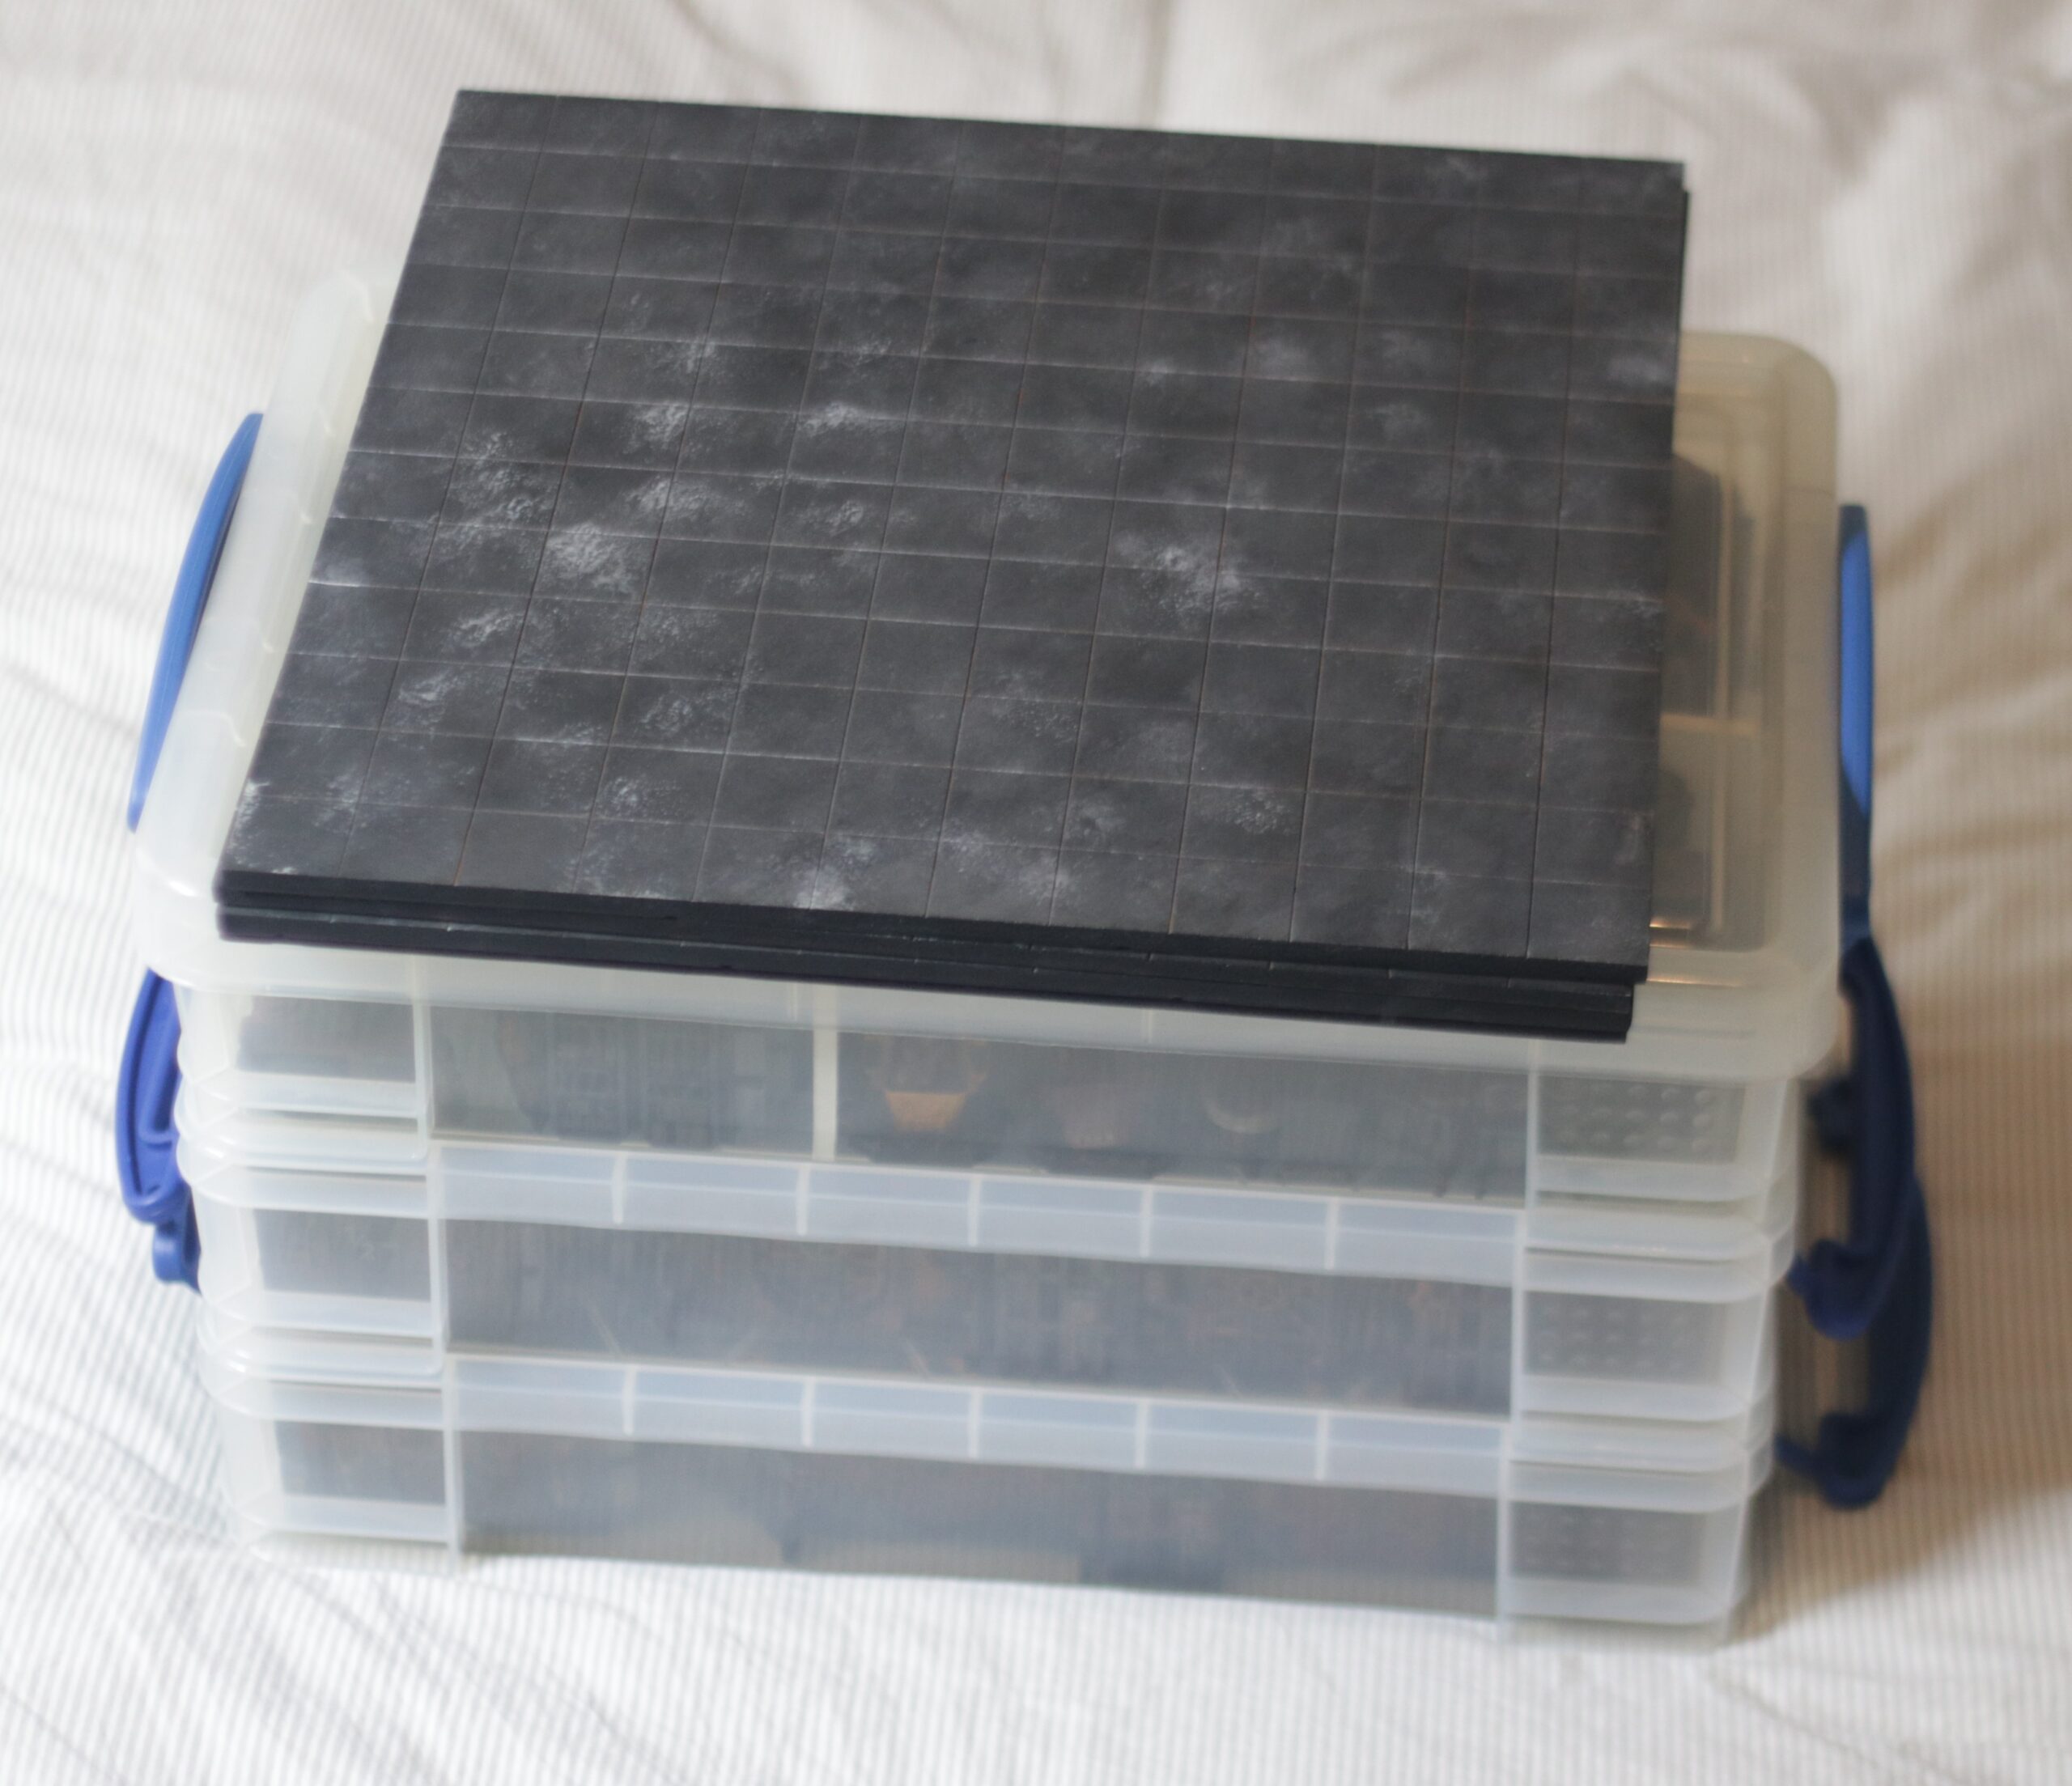
Base Boards
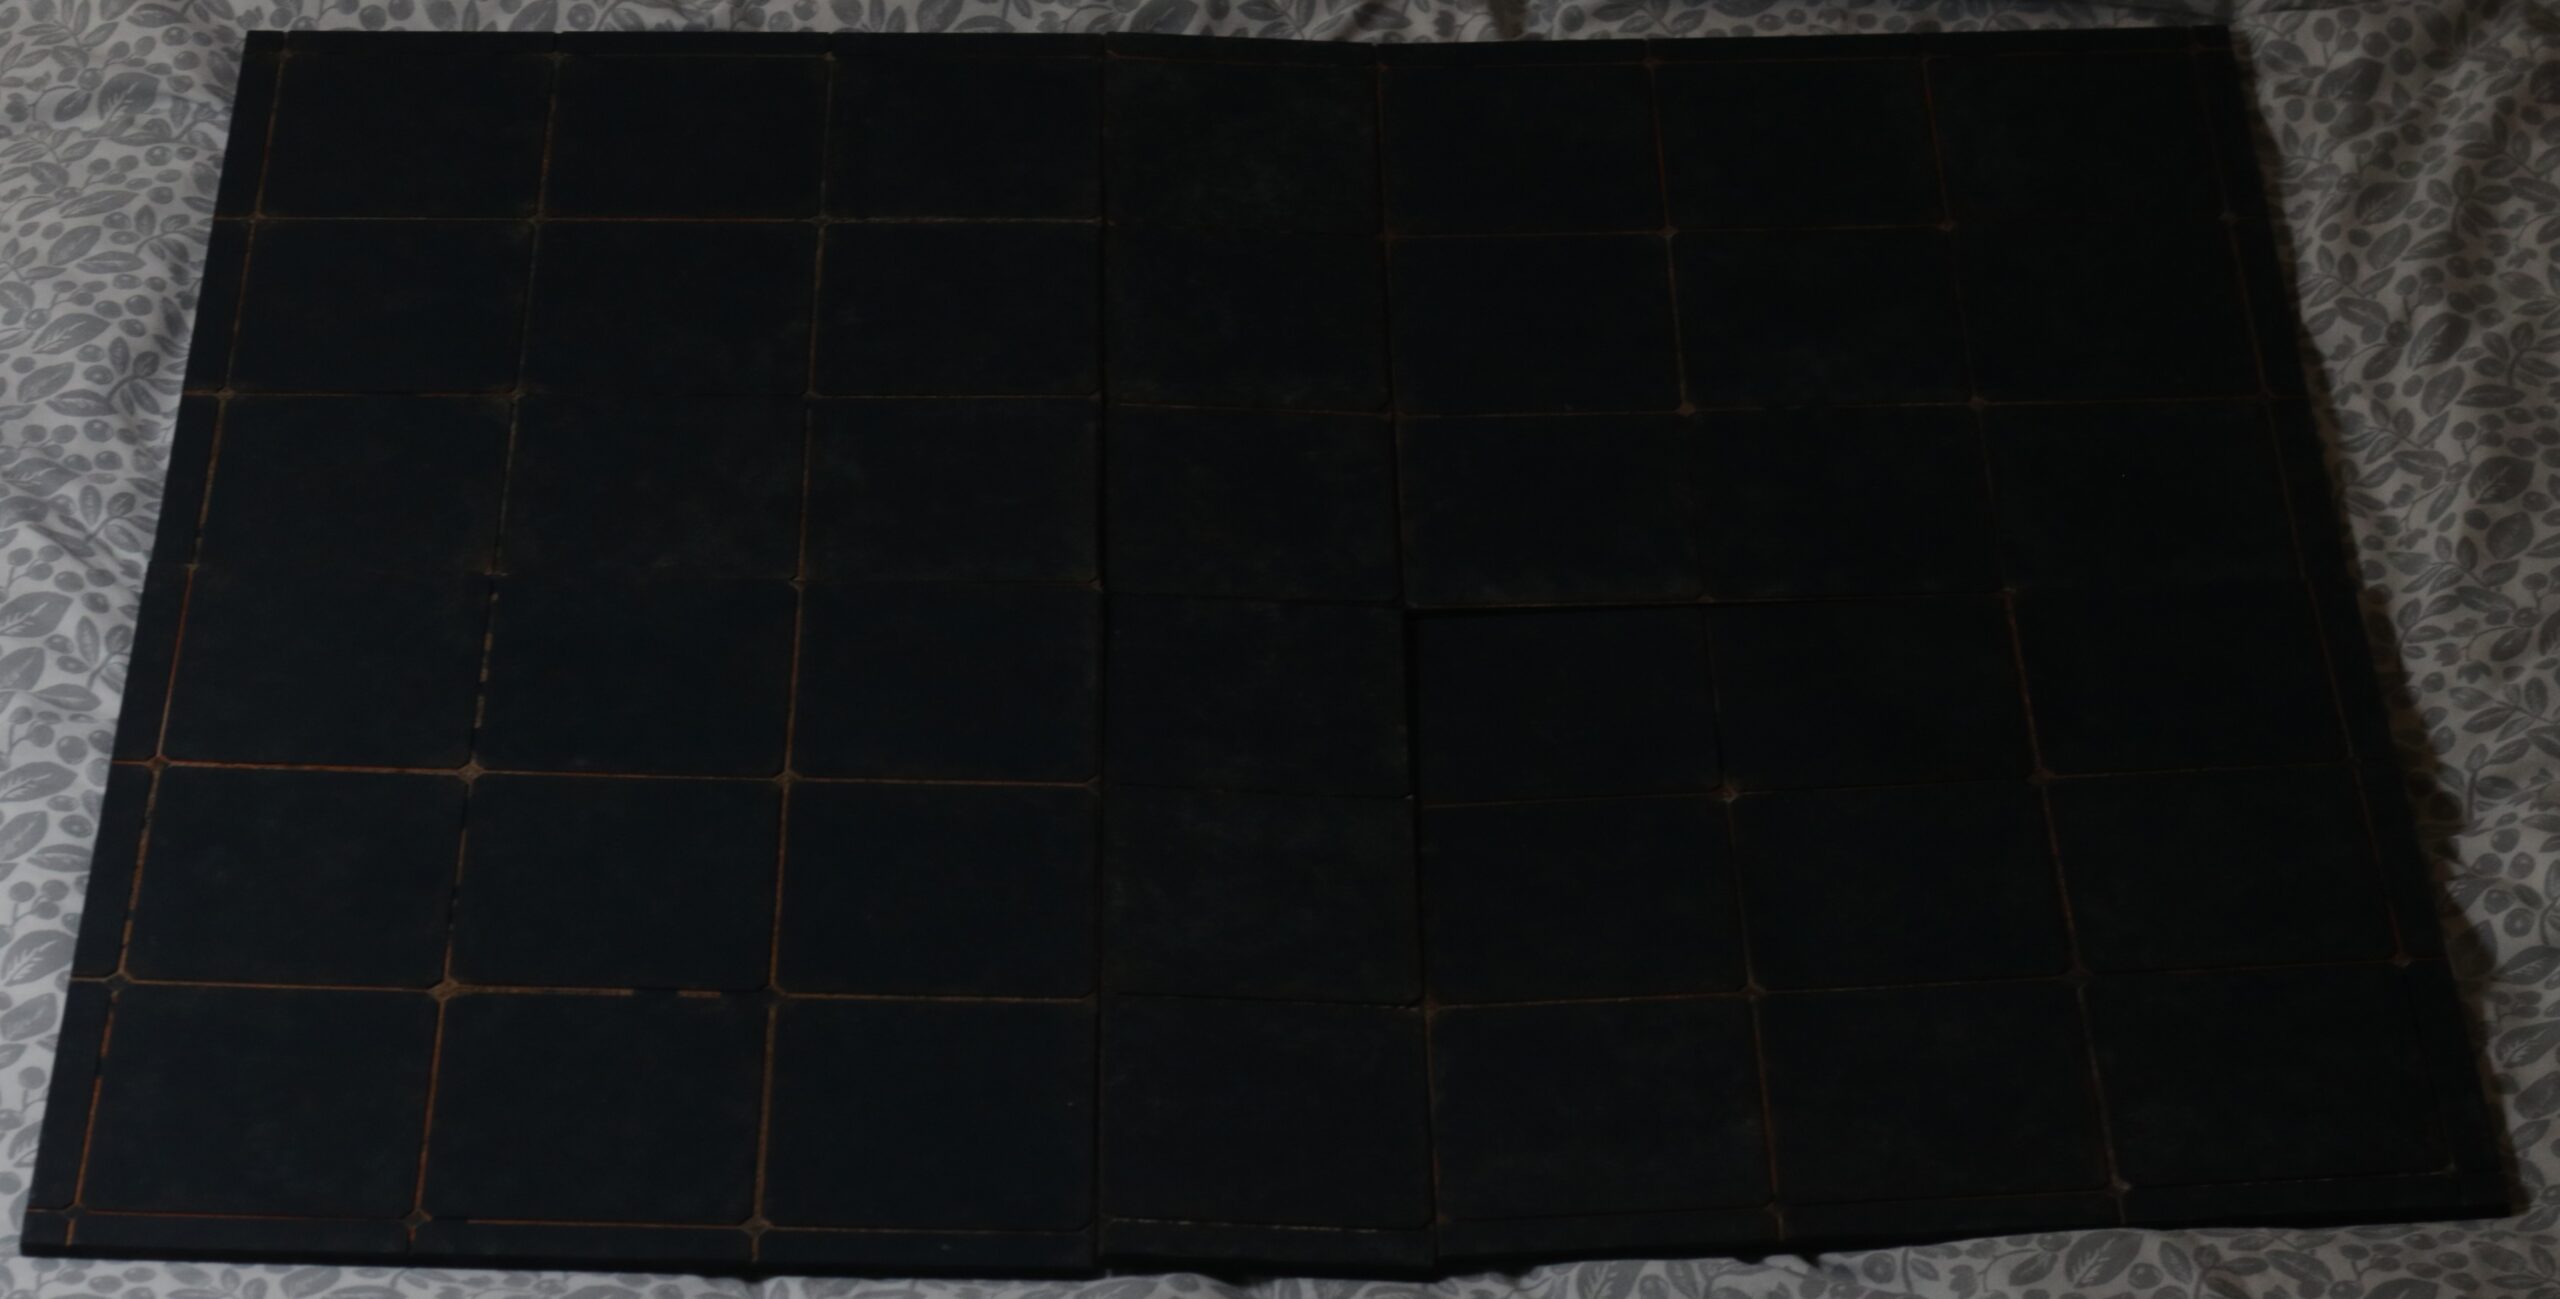
My goal for these was to have a 2’x2′ display board that could also be broken up into 4 smaller 1’x1′ boards to be easily packed away or placed on my display shelves to give my other minis a nice floor.
I ordered extruded PVC from the same website that I used to buy the Planetary Empires Planet Discs, only costing around £15.
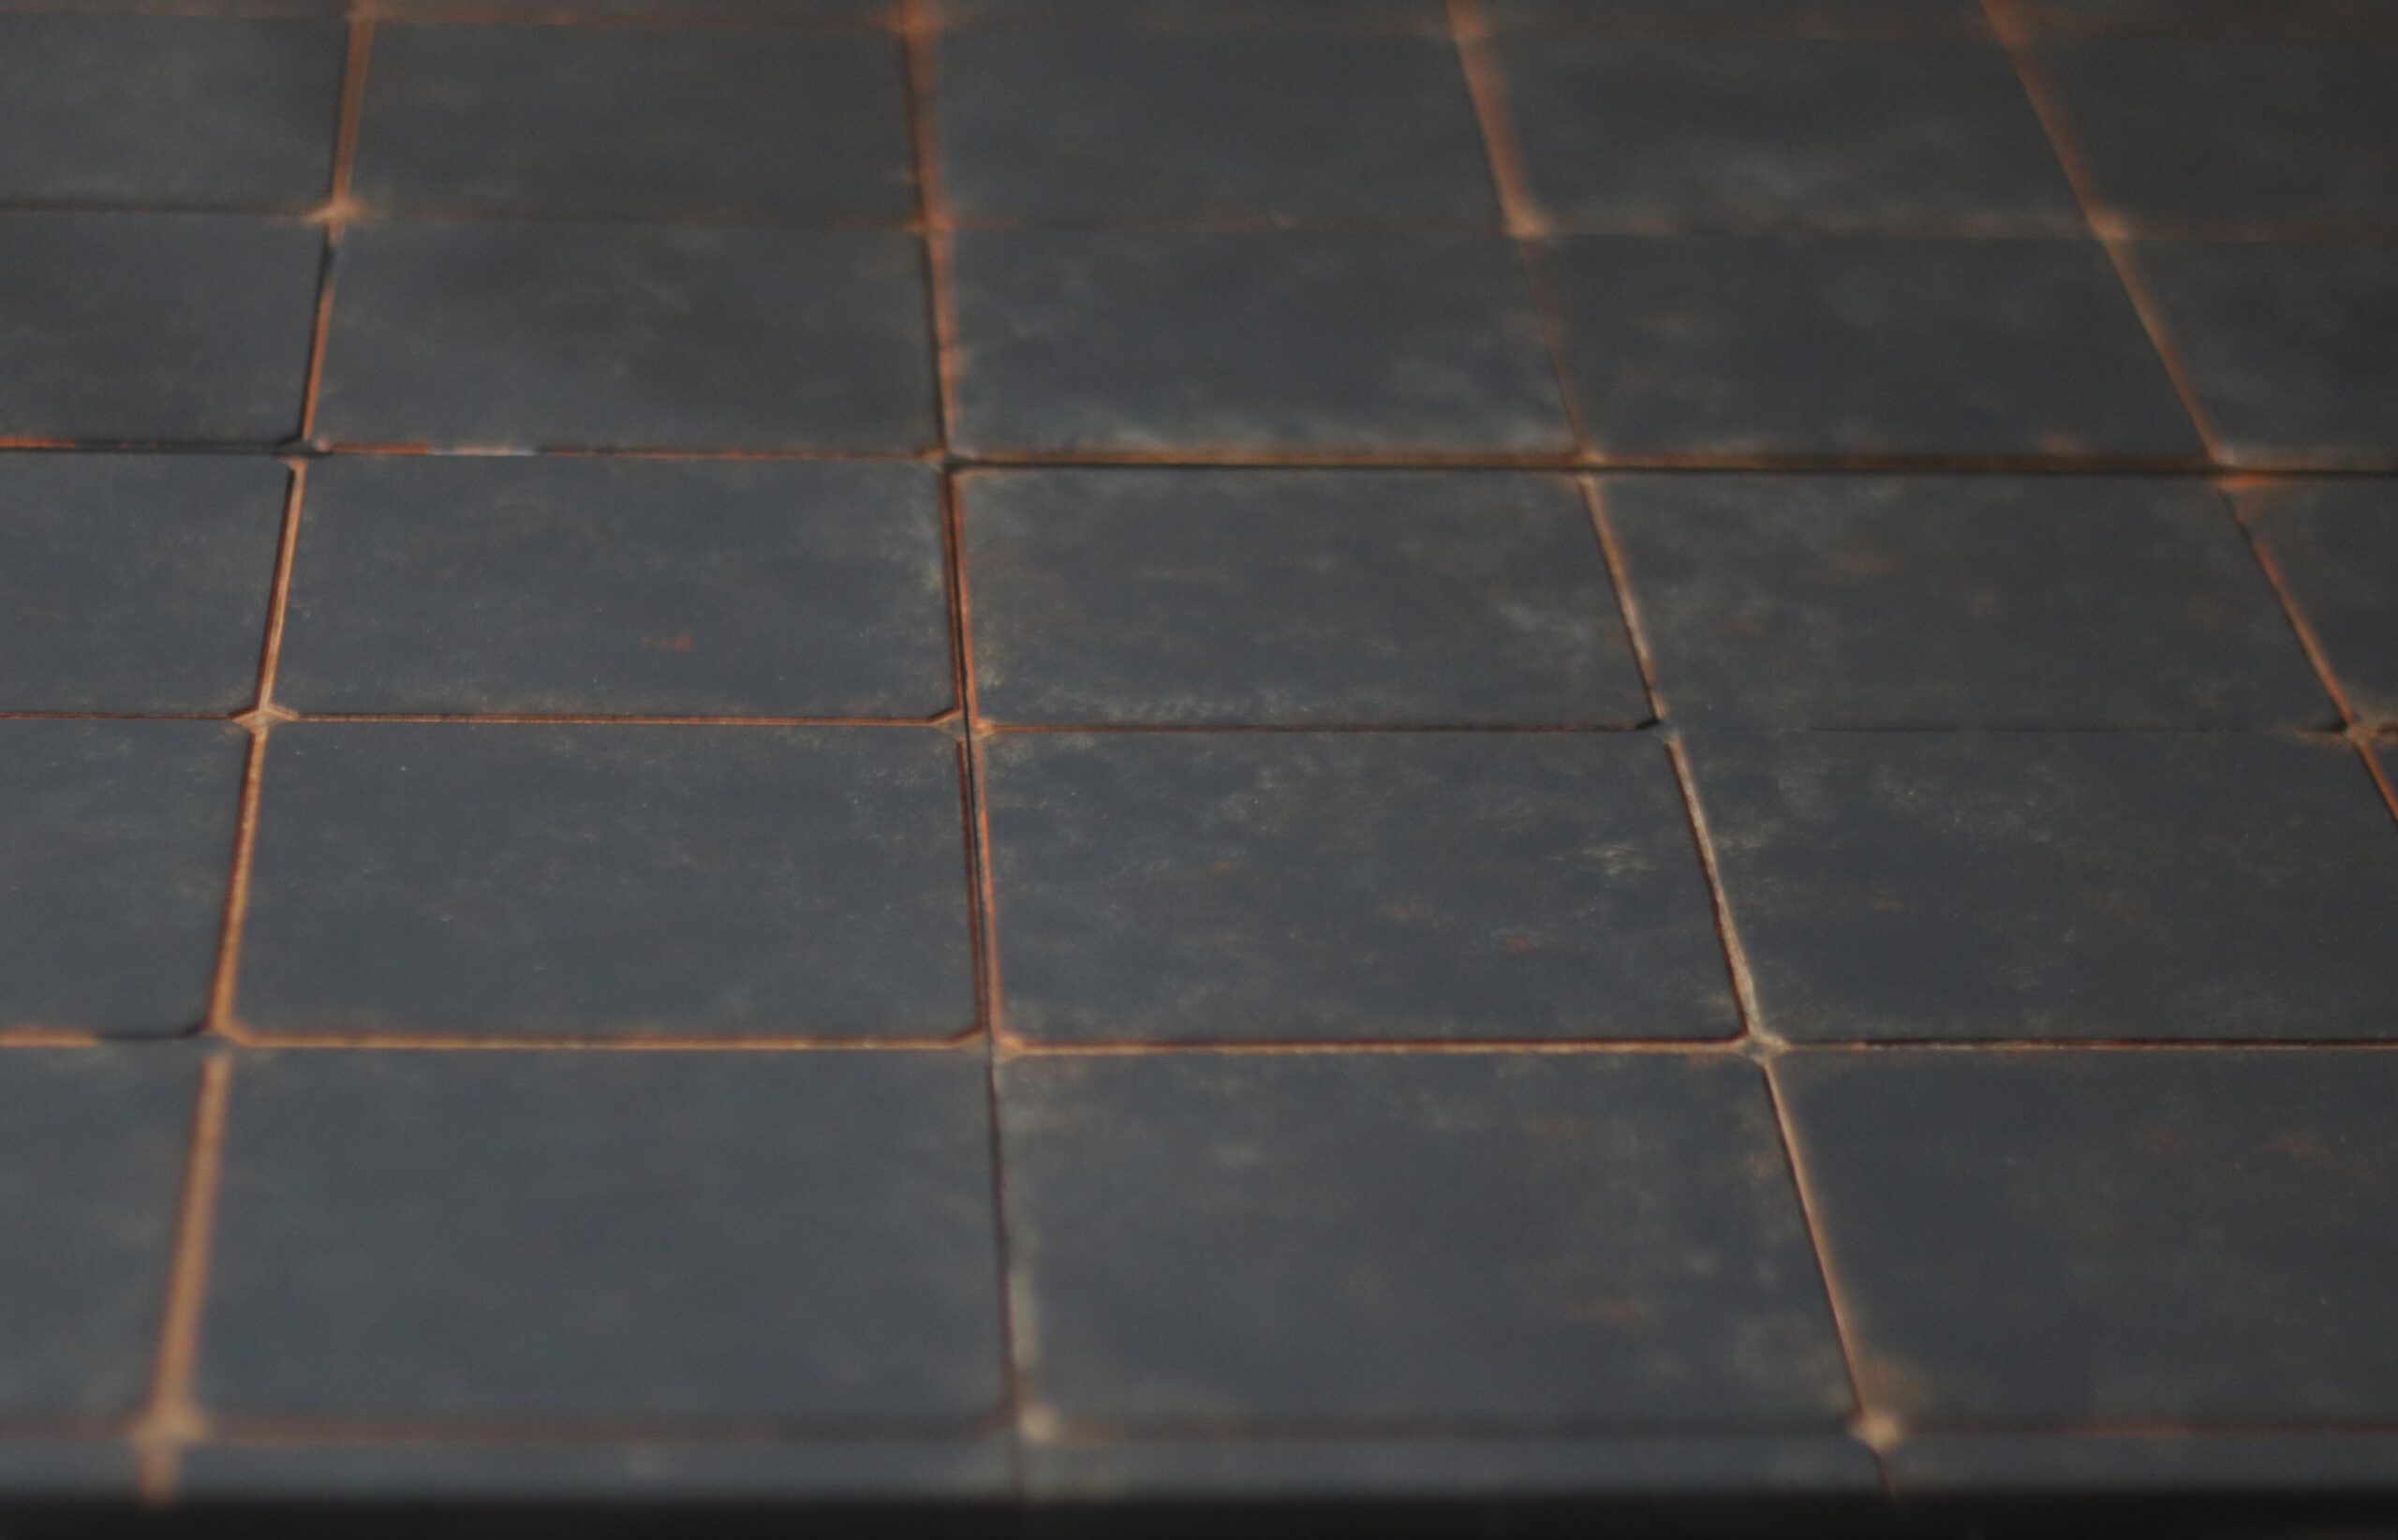
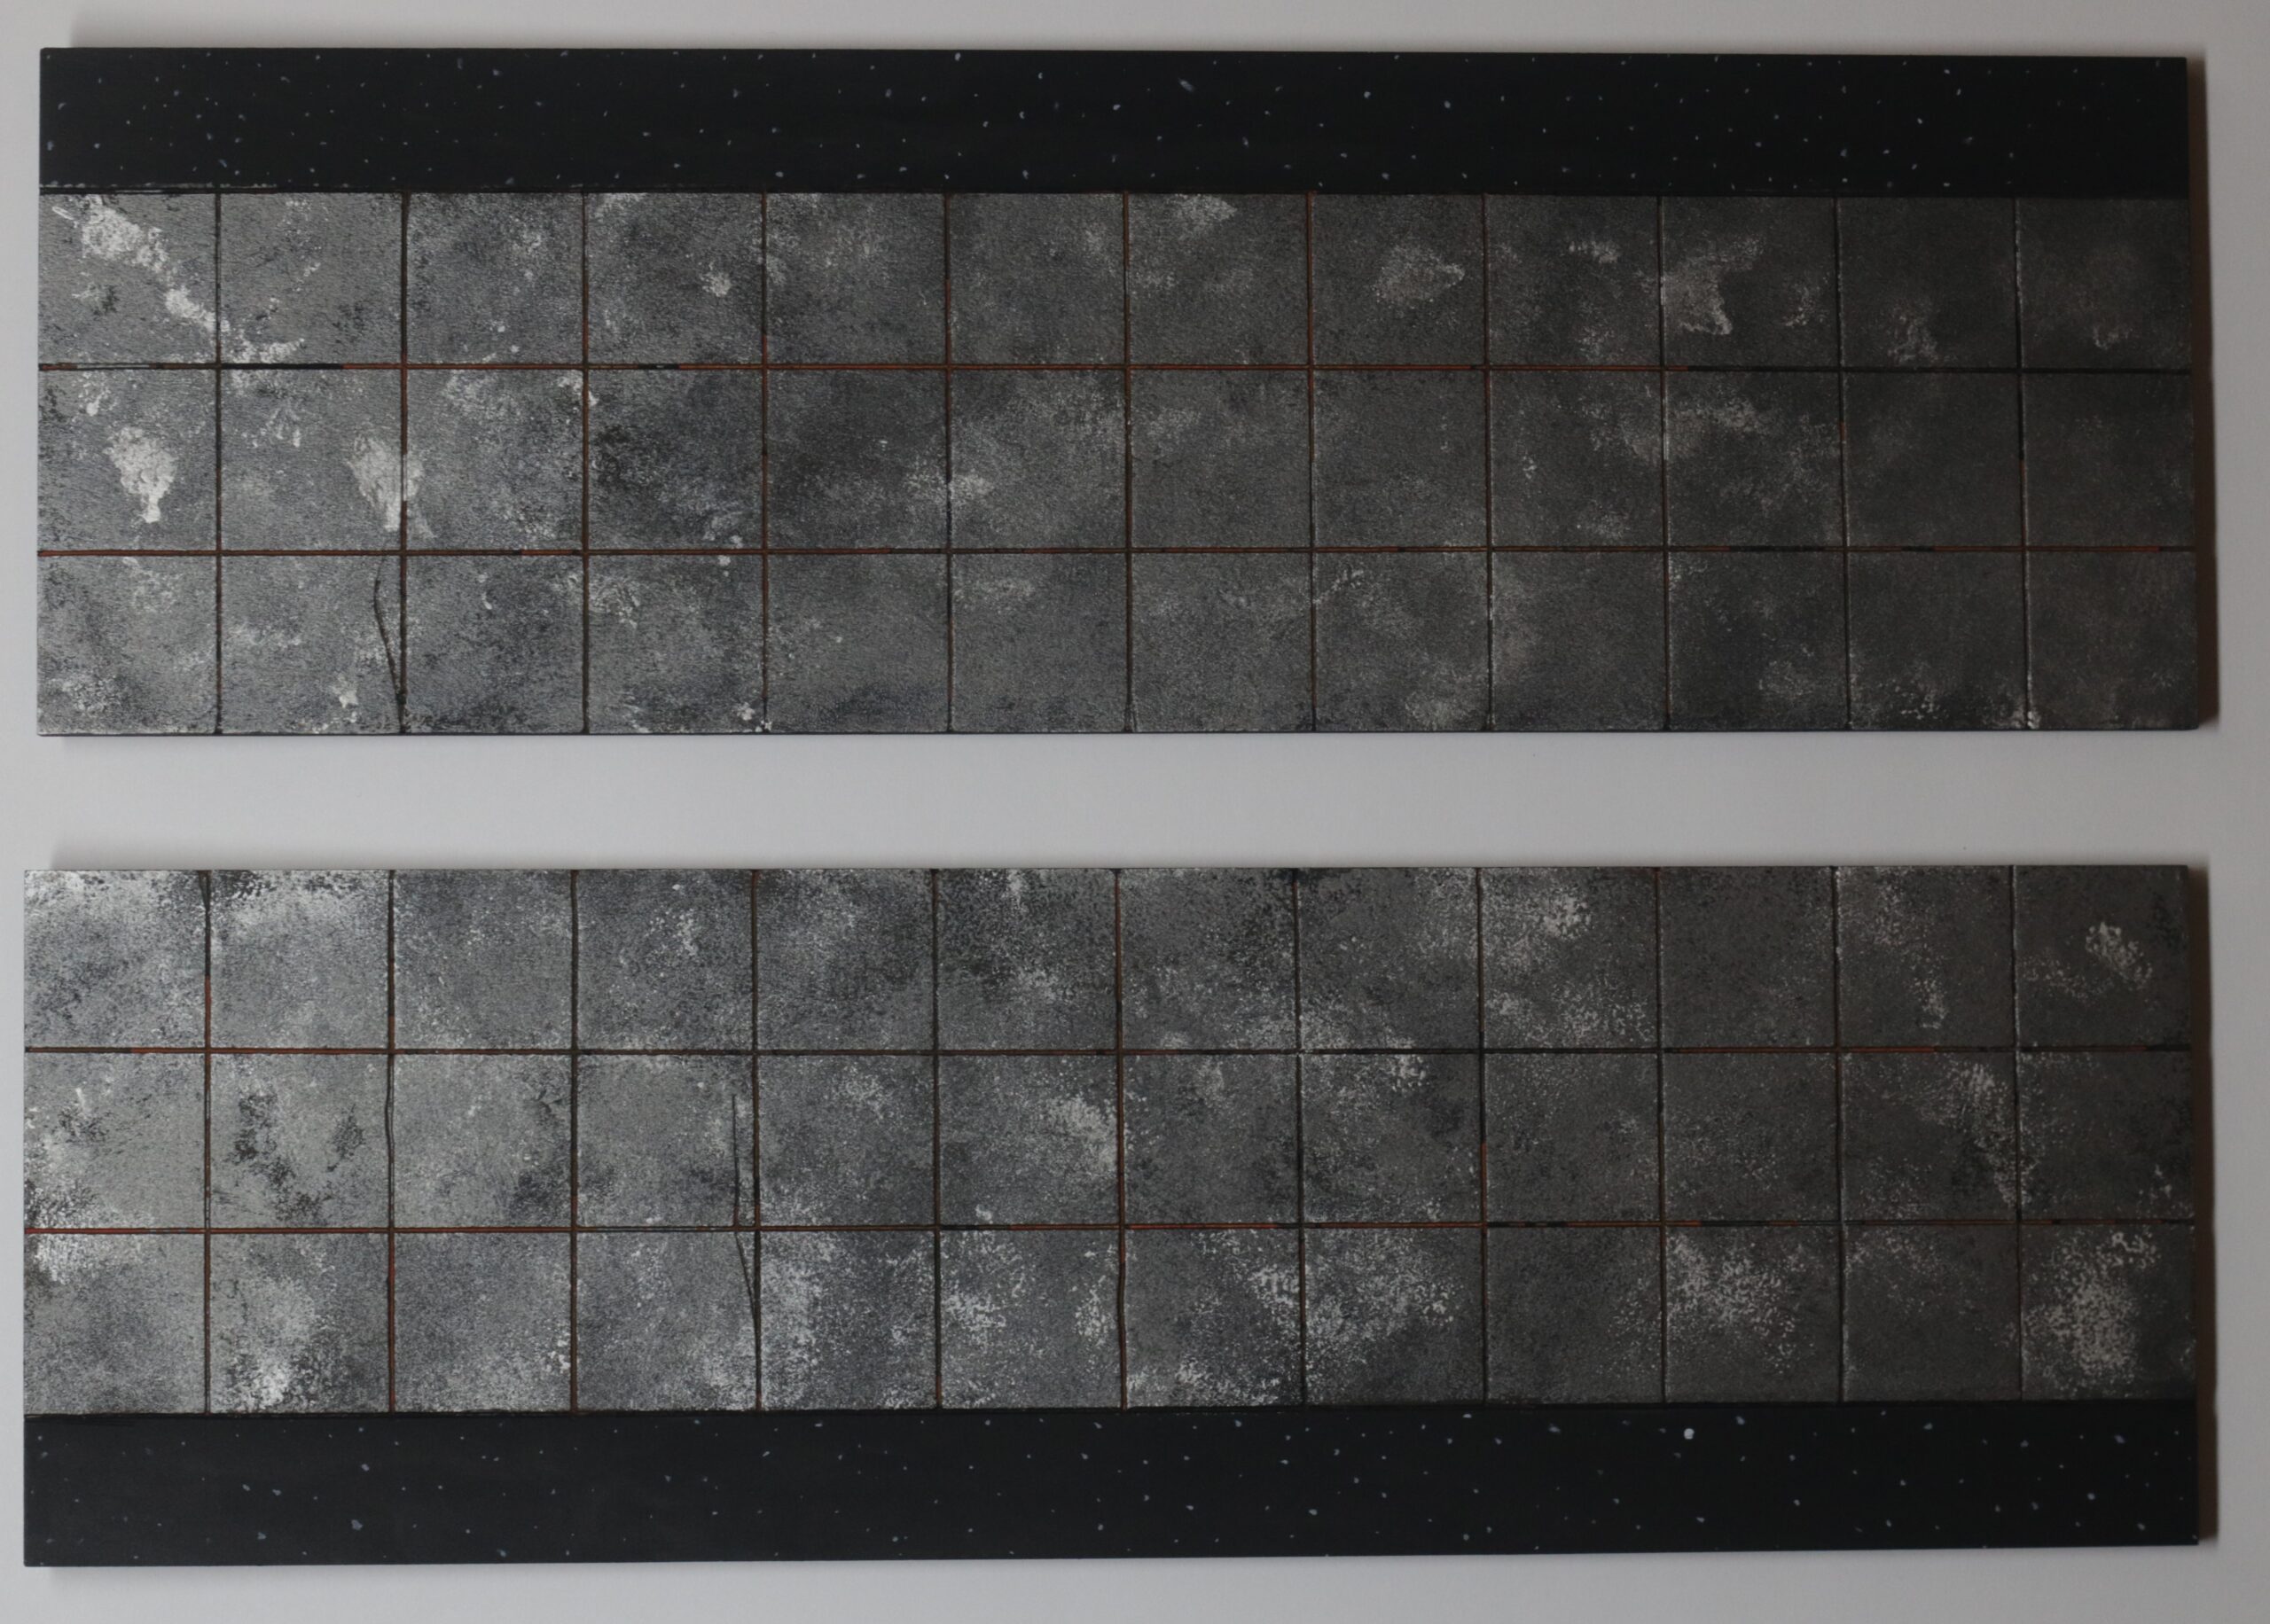
On one side tiles were cut from plasticard and glued down to create a tiled pattern that fits the grid size of the Killzone: Gallowdark terrain. If each tile is broken up further with an imagined 3×3 grid, then this side provides a 1.27″ square grid for RPGs. This size not only fits the terrain perfectly, but is also better suited for the larger base sizes of modern warhammer minis.
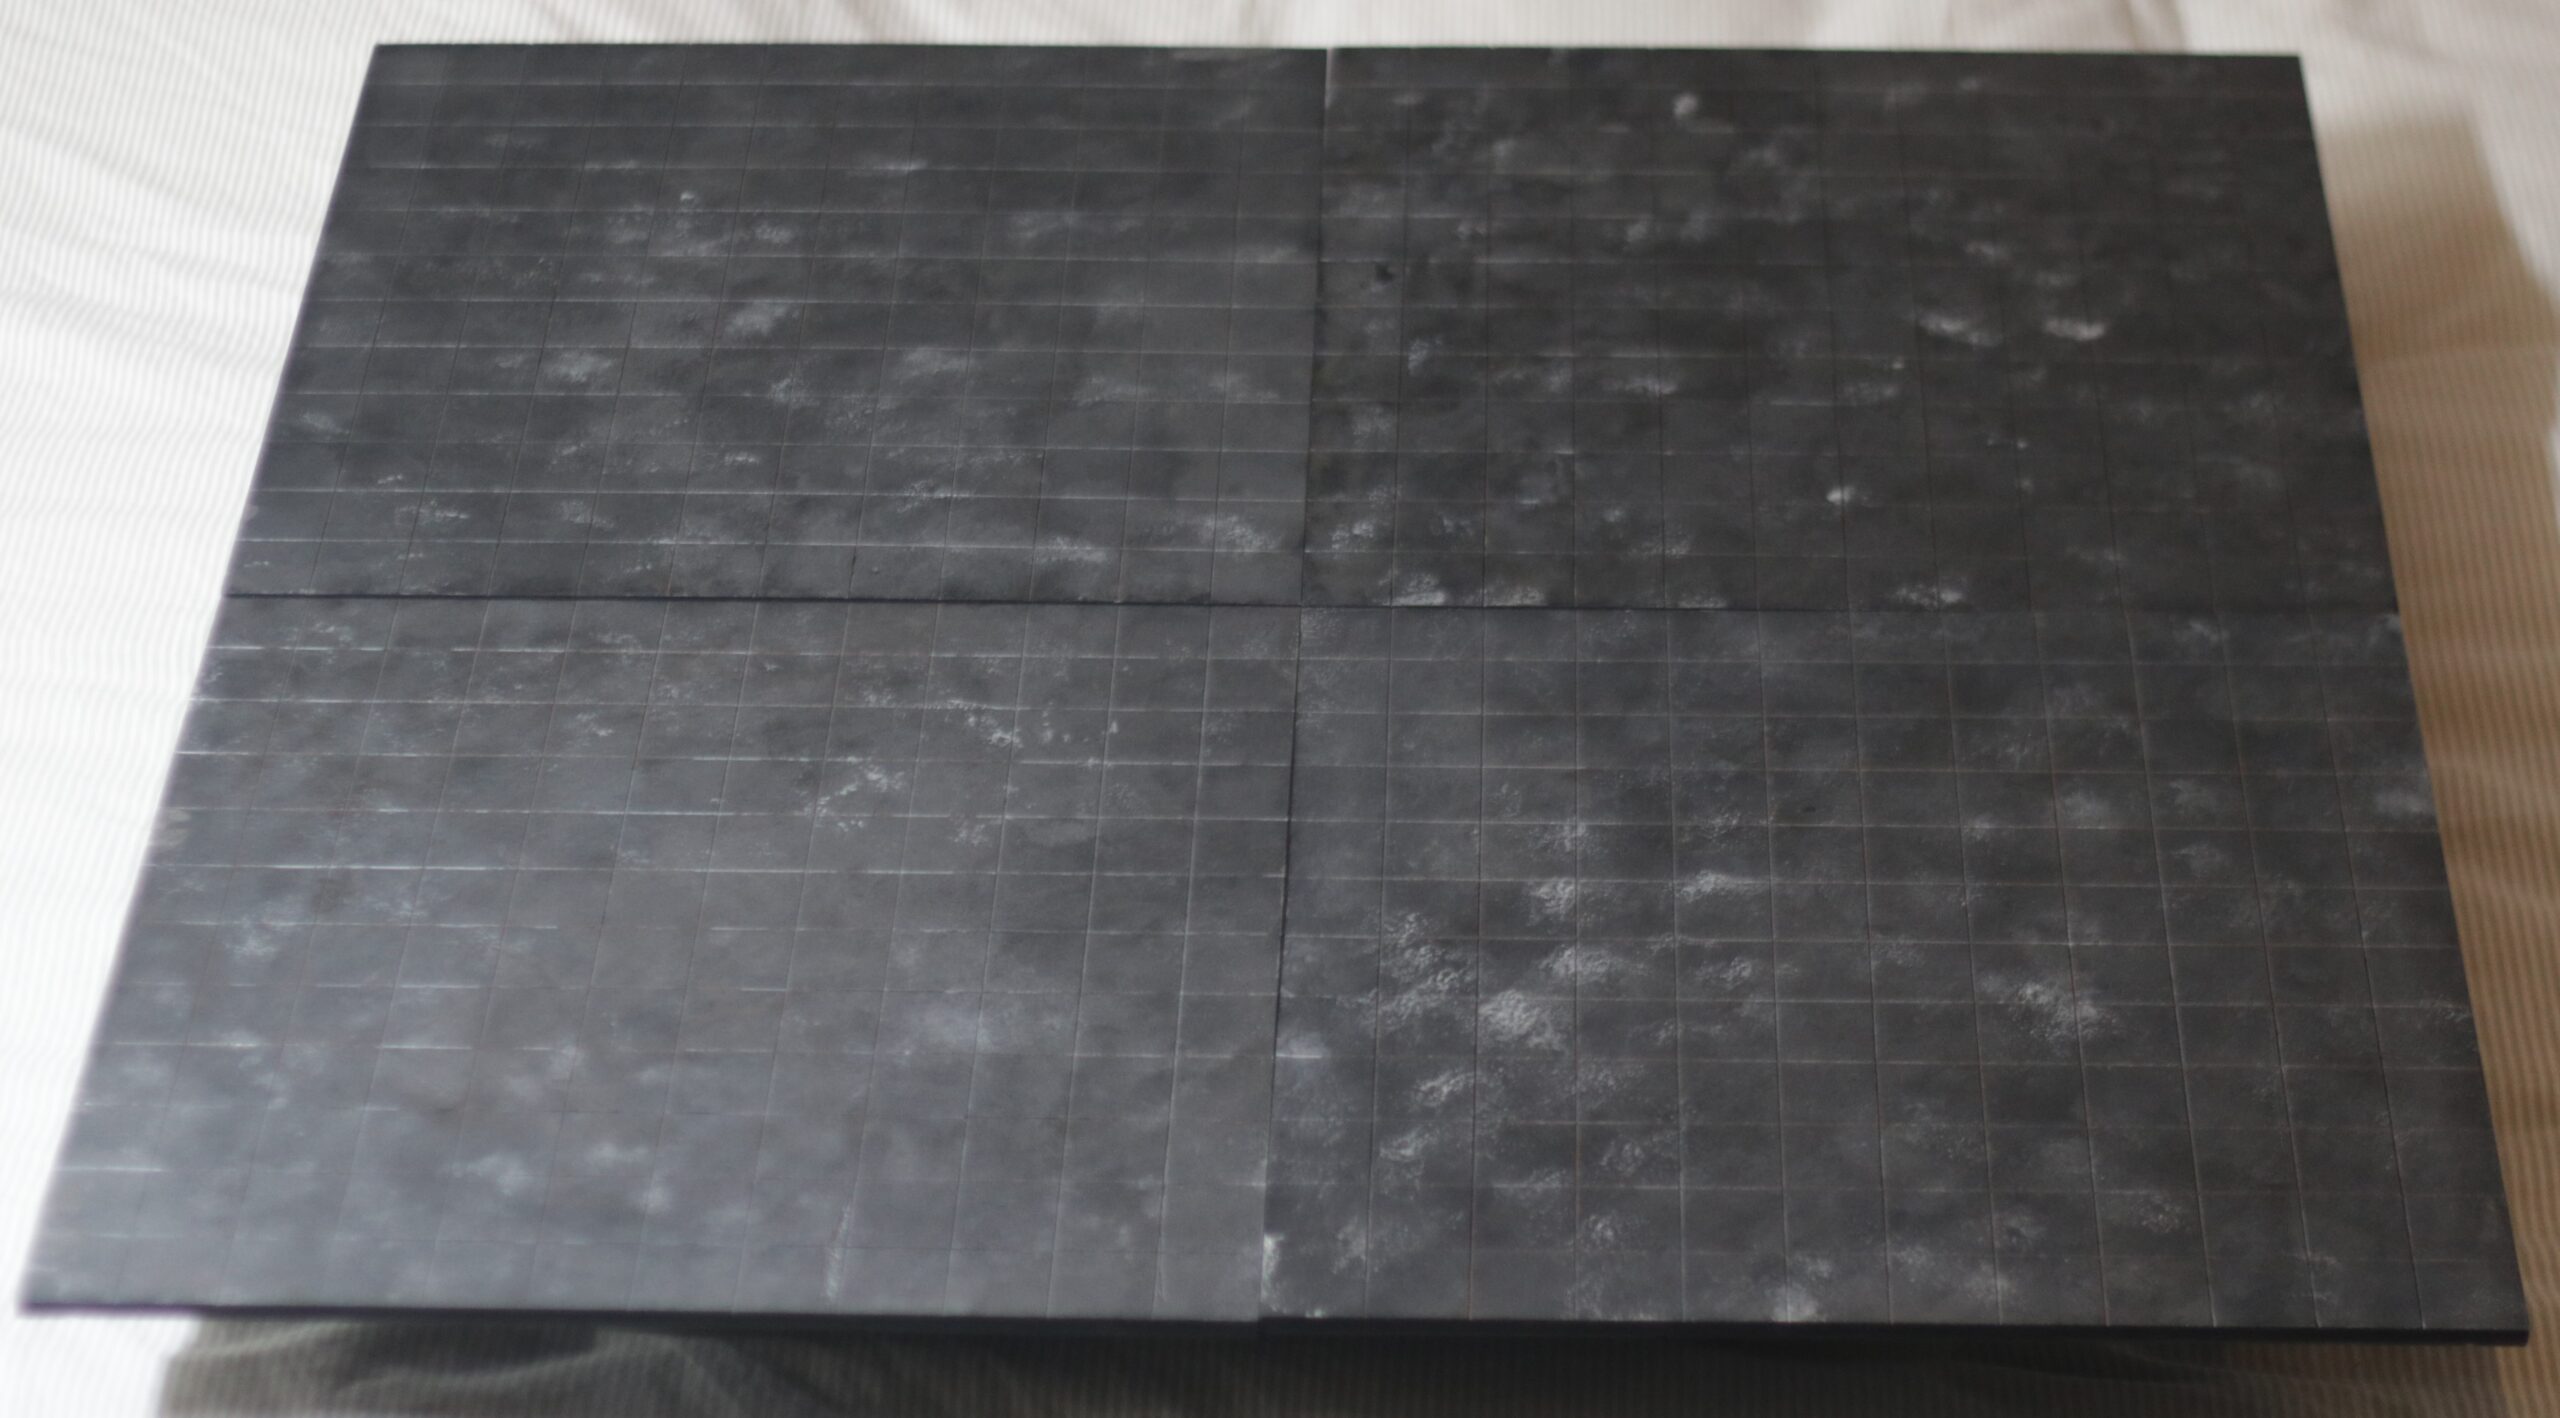
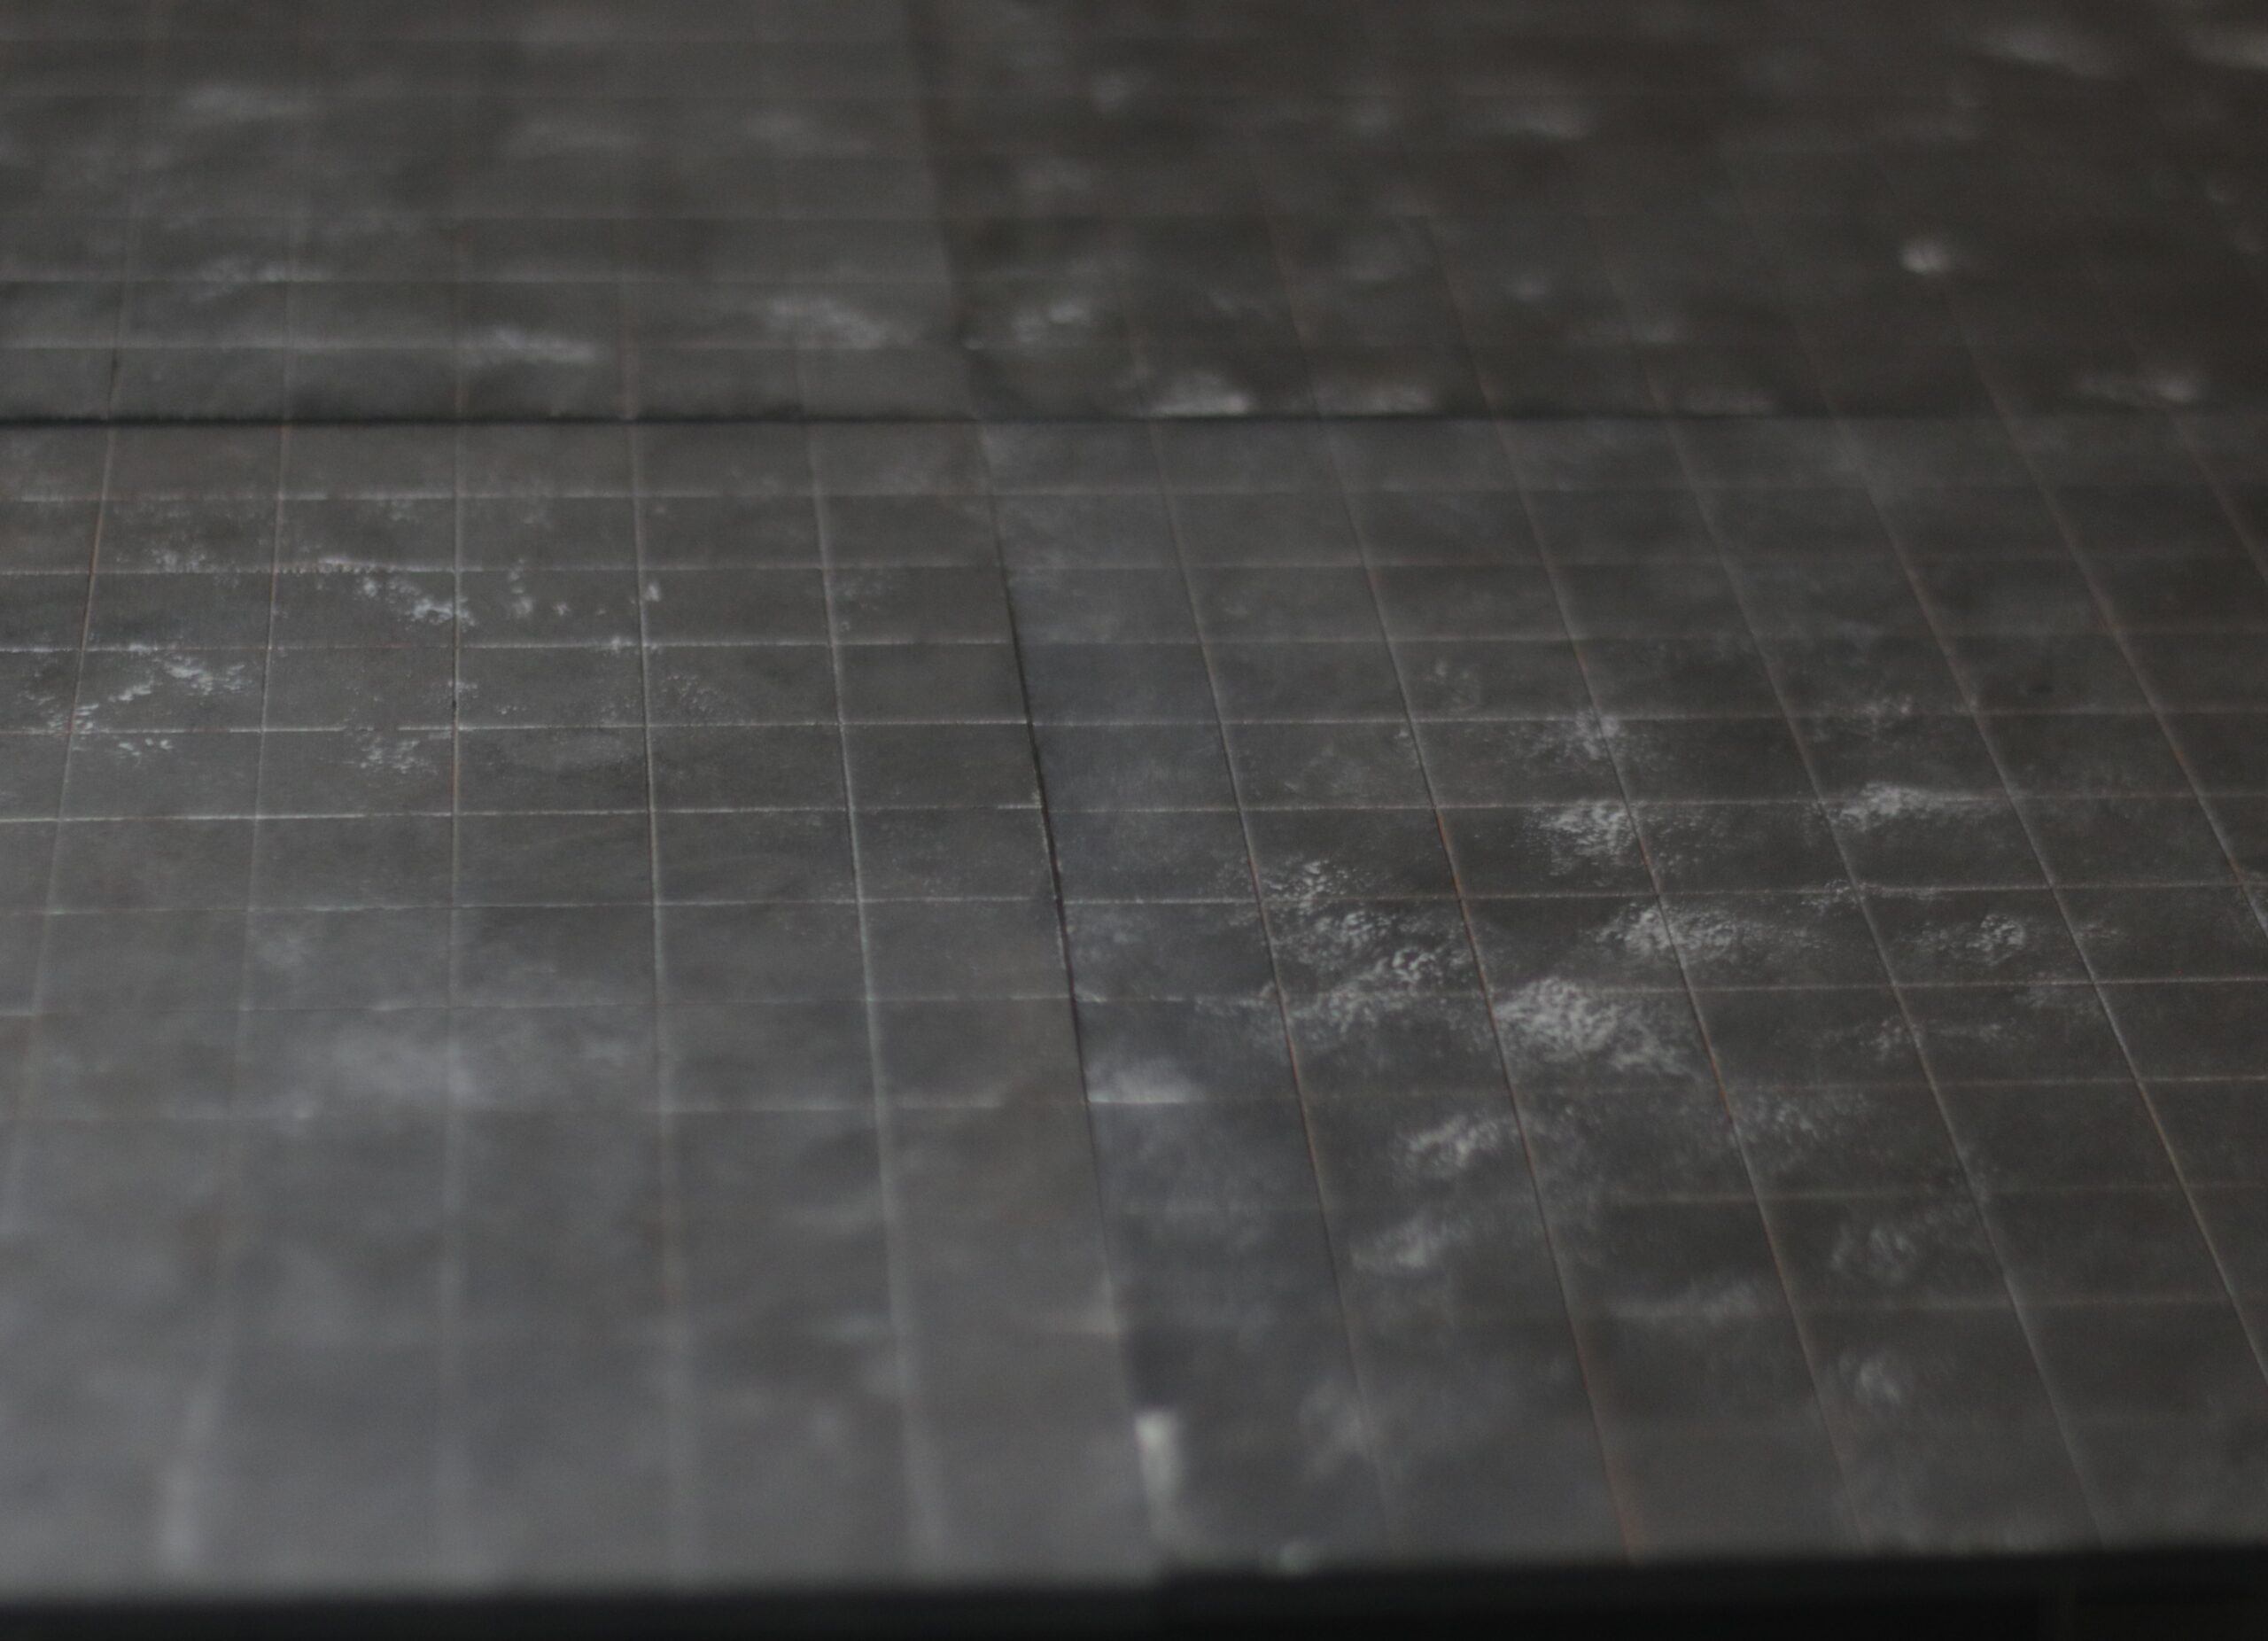
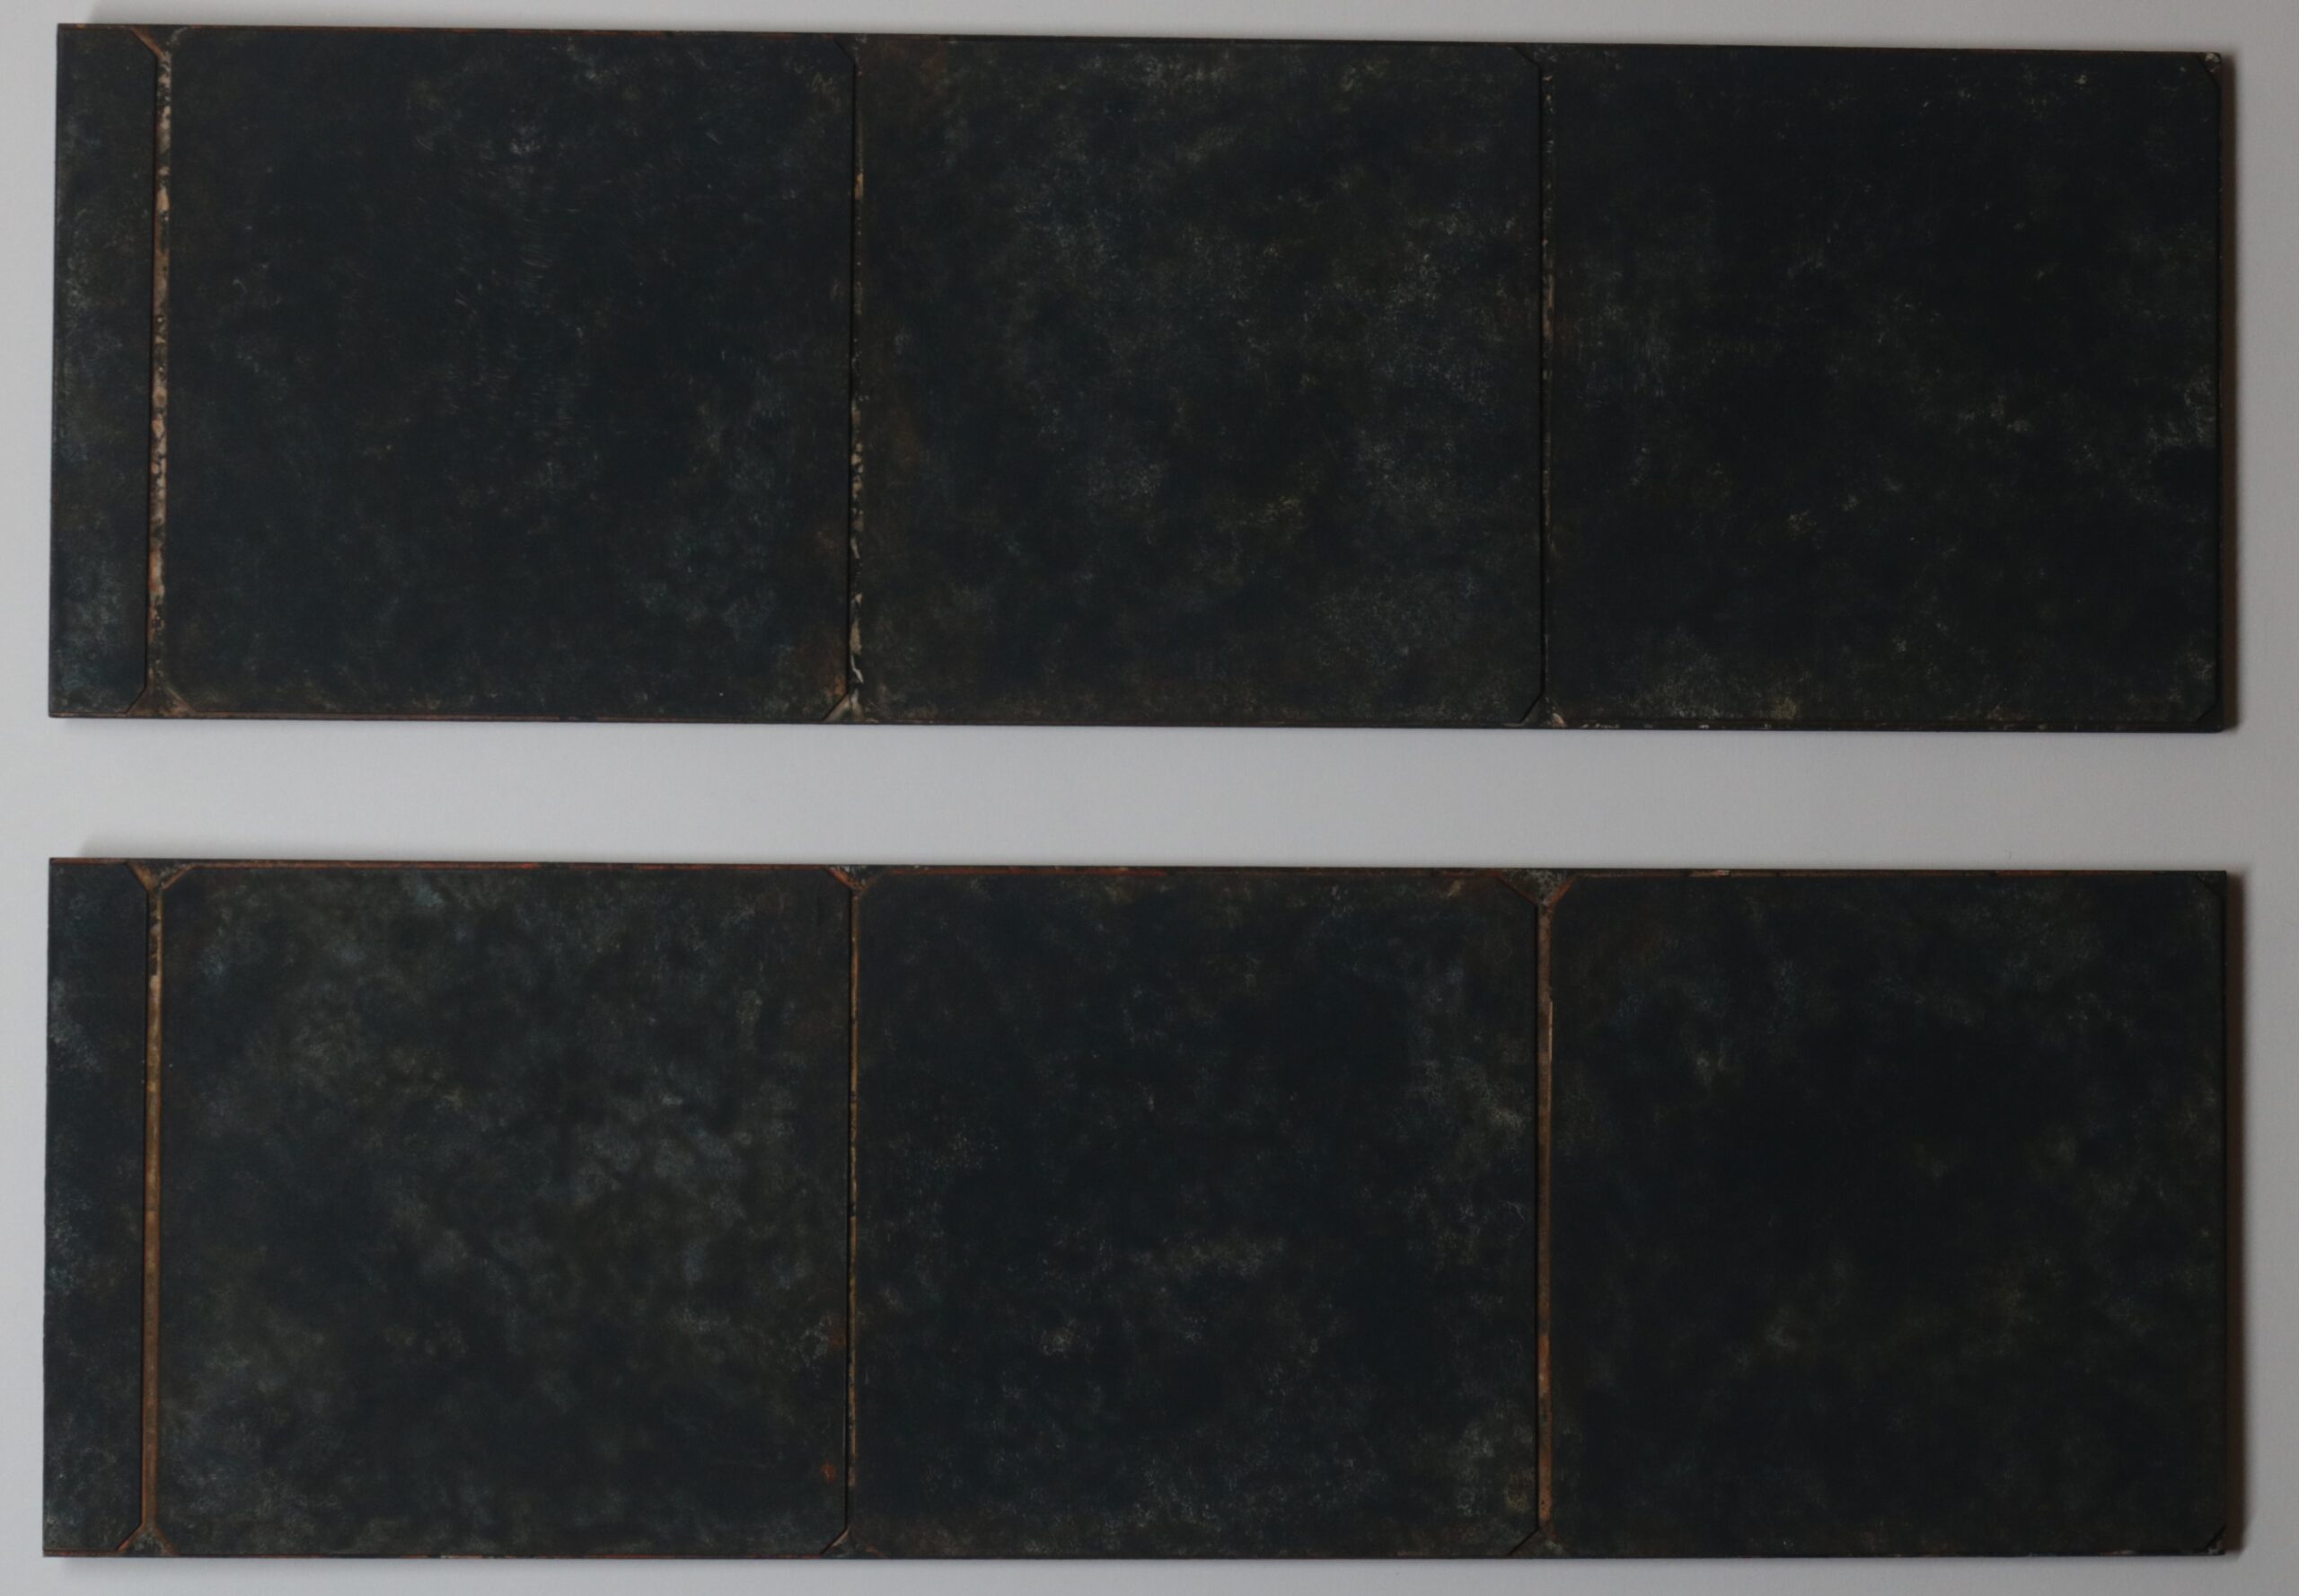
The other side was scored with a sharp file to create a 1″ square grid which is the standard for many RPGs.
Alone, these 4 boards are a little too small for full size games of Kill Team, so I added 2 smaller boards that can be placed in the middle to reach this size. On the other side I added what I could fit for the 1″ grid and left the remainder as a space background so they could be used as boarding craft or similar.